Looking to turn your pine wood into something special?
Let’s talk about grey stain – a finish catching everyone’s attention. When plain pine feels too ordinary, a touch of grey can make all the difference.
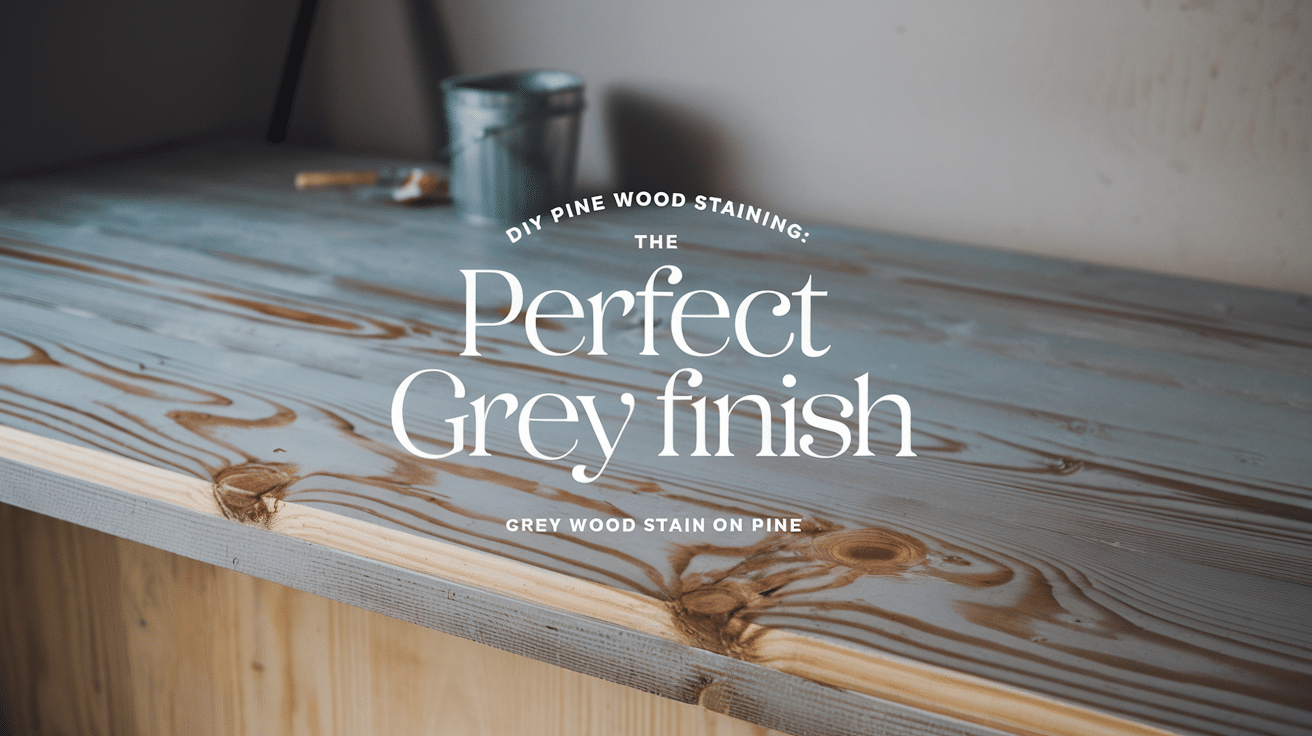
Think about walking into a room with grey-stained pine floors or furniture. The color enhances the wood’s natural beauty while adding a modern touch.
It’s not just paint – a way to let pine’s character shine through a softer, more subtle shade.
Many DIY fans and pros choose grey stain because it works in any setting. From farmhouse floors to modern shelving, this finish fits right in. But pine likes to do its own thing with stains.
Want to know how to get it right? Let’s find out.
Choosing the Right Grey Wood Stain for Pine
Picking a grey stain for pine takes careful thought. Pine wood has its own light color and grain patterns that affect the stain’s appearance. Not all grey stains work the same way on this common wood type.
Testing matters more than you might think when staining pine. The wood’s soft nature means it soaks up stains differently in various spots.
What looks perfect on the can might look quite different on your wood. Before starting the whole project, start with small tests in hidden areas.
Oil-based and water-based stains each work differently on pine. Oil stains soak deeper and often give a richer color, but they take longer to dry.
Water-based options dry faster and make less mess, but they might not color as deeply. Some water-based stains also raise pine’s grain, requiring extra sanding.
Light or dark grey are both good choices for pine. Lighter shades keep more of the pine’s natural warmth visible. Darker greys create more contrast and can better hide the pine’s yellow tones.
The final shade depends on the stain you pick and how the pine grain absorbs it.
Step-by-Step Guide to Staining Pine Wood Grey

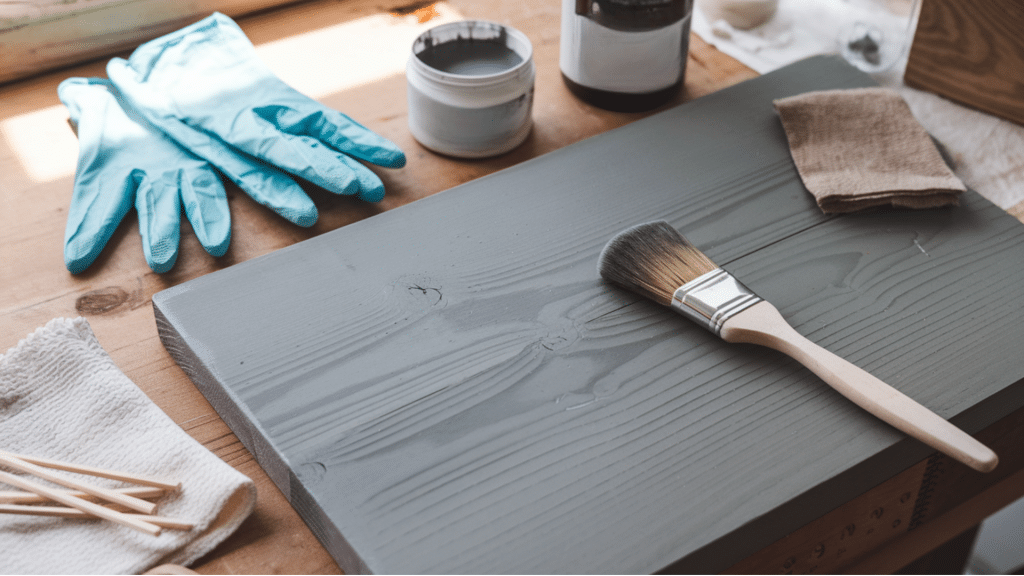
I. Materials You’ll Need
| Material | Purpose | Options/Specifications |
|---|---|---|
| Grey Wood Stain | Main colorant for wood | Minwax Classic Grey (1 qt), Varathane Weathered Grey (1 qt), Rustoleum Driftwood (1 qt) |
| Pre-stain Conditioner | Ensures even stain absorption | Water-based (softwoods), Oil-based (all woods), Application time: 15 mins |
| Foam Brush | Stain application | 2-inch (small areas), 4-inch (large surfaces), 6-inch (floors/decking) |
| Lint-free Cloth | Even application and wiping | Cotton rags, Microfiber cloths, Shop towels |
| Sandpaper | Surface Preparation | 120 grit (initial sanding), 220 grit (final smoothing), Size: 9″x11″ sheets |
| Gloves | Hand protection | Nitrile (chemical resistant), Size: M/L/XL, Powder-free |
| Tack Cloth | Dust removal | Size: 18″x36″, Type: Wax-free, Lint-free |
| Stir Sticks | Mix stain thoroughly | Length: 12-inch, Material: Wood, Width: 1-inch |
II. Application Process
1. Stir the Stain Well
Stir your grey stain thoroughly using slow, deliberate circular motions. Focus on scraping the bottom of the can, where pigments naturally settle.
This step is crucial as proper mixing ensures even color distribution across your pine surface. Continue stirring until you see no color variations or streaks in the stain. This typically takes 3-5 minutes of continuous stirring.
2. Apply Pre-Stain Conditioner
Pour the conditioner into a paint tray or container. Use a foam brush or cloth to apply a generous, even coat following the wood grain. Work in sections of about 2-3 feet to maintain wet edges.
Let it penetrate for exactly 15 minutes—set a timer for precision. The conditioner appears milky at first but becomes clear as it soaks in. Wipe off all excess with clean cloths to prevent a surface film.
3. First Coat of Grey Stain
Pour your well-mixed stain into a clean tray. Dip your foam brush or cloth about 1 inch into the stain, letting excess drip off. Start in a corner and work systematically across the surface.
Apply in long, continuous strokes following the grain pattern. Overlap each stroke slightly to prevent missed spots. Pay extra attention around knots and end grain, which absorb more stain.
4. Wiping Off Excess Stain
Keep clean cloths ready for wiping. Remove any excess stain after your specified wait time (usually 5-15 minutes). Use light to medium pressure, always moving toward the grain.
Replace your wiping cloth when it becomes saturated—using a saturated cloth can redeposit a stain. Check your work from different angles to identify uneven areas or missed spots.
5. Applying a Second Coat
After 4-6 hours, inspect the dried first coat. To achieve a deeper color, lightly sand with 220-grit sandpaper to smooth any raised grain. Then, vacuum and tack the cloth thoroughly to remove all dust.
Apply the second coat like the first, but you might need less stain this time. Pay special attention to any lighter spots from the first coat.
6. Letting It Dry Properly
Place your project in a well-ventilated area with a stable temperature (around 70°F is ideal) and moderate humidity (40-50%). Avoid basements or garages where moisture levels fluctuate.
Position the piece so air can circulate on all sides. Don’t cover it while drying; this can trap solvents and slow the process. Wait at least 24 hours before light use and 72 hours before placing heavy items on the surface.
Video Tutorial
Check out this video for a detailed video on Grey Wood Stain Options (Angela Marie Made):
Common Mistakes to Avoid
- Skipping Wood Conditioner: This crucial mistake leads to blotchy, uneven staining on pine. The conditioner acts as a primer, ensuring your grey stain absorbs evenly across soft and dense wood areas. Without it, you’ll likely end up with dark patches and inconsistent coloring that isn’t easy to fix.
- Poor Stain Mixing: If you don’t stir the stain thoroughly, the pigments will remain settled at the bottom of the can. This results in inconsistent color throughout your project—the first section might be too light, while the end of your project will become dramatically darker as you reach the settled pigments.
- Over-Applying Stain: Applying too much stain or not wiping off excess properly creates a thick, muddy appearance instead of the sophisticated grey tone you aim for. Remember, wood stain is designed to enhance the wood’s natural beauty, not sit on top like paint.
- Rushing Between Coats: Not allowing proper drying time between coats (minimum 4-6 hours) can trap moisture and create adhesion problems. This often results in a sticky surface that never fully cures and may need complete refinishing.
Best Grey Wood Stains for Pine – Product Recommendations
| Product Name | Color Intensity | Best Application | Coverage/Qt | Price |
|---|---|---|---|---|
| Minwax Classic Grey | Medium | Indoor Furniture | 275 sq ft | $17.99 |
| Varathane Weathered Grey | Light-Medium | All-Purpose | 275 sq ft | $15.99 |
| Minwax Slate Grey | Dark | Indoor/Outdoor | 250 sq ft | $18.99 |
| Varathane Sun Bleached | Light | Indoor Only | 275 sq ft | $14.99 |
| Carbon Grey by Varathane | Very Dark | All-Purpose | 275 sq ft | $16.99 |
Conclusion
Transforming pine with grey stain is both an art and a science. Success lies in proper preparation, which always starts with thorough sanding and wood conditioning.
Test different stain varieties on scrap pieces to find your perfect shade, whether aiming for a light, weathered look or a deep, contemporary finish.
Remember that each piece of pine will accept stain uniquely, creating subtle variations that add character to your project.
Adopt these natural characteristics while following the essential steps: careful preparation, even application, proper wiping technique, and adequate drying time between coats.
Don’t hesitate to experiment with different grey stains and application methods. Each project is an opportunity to refine your technique and discover new effects.
With patience and attention to detail, you’ll achieve that beautiful grey finish that transforms ordinary pine into a stunning piece.


