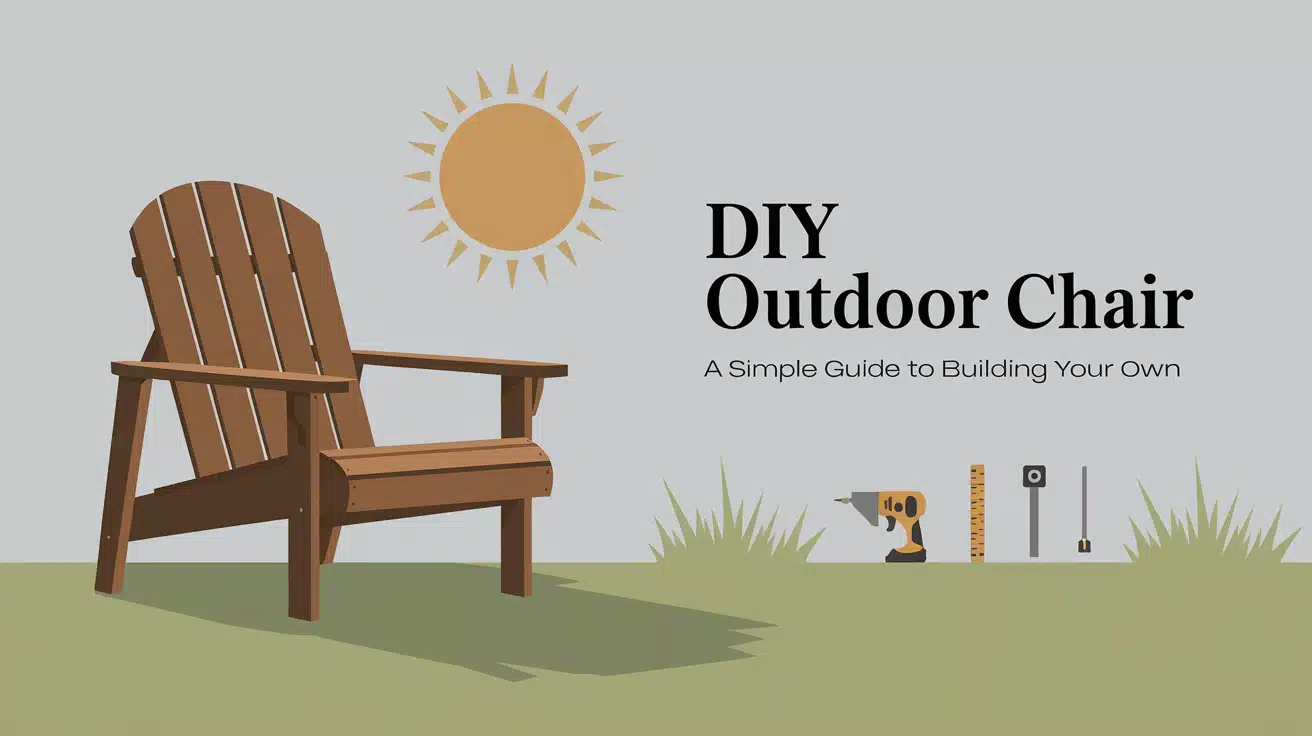
Building your own outdoor chair might seem like a big task, but what if you could create a sturdy, comfortable seat using basic tools and materials from your local store?
Many people spend hundreds of dollars on outdoor furniture when they could build their own for much less.
Here’s the good news: You can make a solid outdoor chair using just a drill, a miter saw, and simple construction lumber.
This guide will show you exactly how to build a perfect chair for your patio or garden.
You’ll learn the exact measurements, clear steps, and helpful tips to build a chair that will last for years.
By the end of this guide, you’ll have the skills to create outdoor seating that fits your style and budget.
What We’ll Need
Tools Required
| Tool/Material | Purpose |
|---|---|
| Miter saw | Primary cutting tool |
| Power drill with drill bits | Drilling holes |
| Impact driver | Driving screws |
| Measuring tape | Measuring dimensions accurately |
| Pencil | Marking cut lines |
| Speed square | Ensuring accurate angles |
| Clamps | Holding pieces together |
| 3/4-inch plywood scrap | Used as a spacing guide |
| Workbench or flat surface | Stable workspace for assembly |
Materials List
| Material | Purpose |
|---|---|
| 4 pieces of 2×4 lumber | Main structural components |
| 1 piece of 2×6 lumber | Additional support or base |
| 2 1/2-inch deck screws | Fastening pieces together (coated for outdoor use) |
| Wood glue (optional) | Provides extra strength and stability |
Lumber Cut List
| Piece Dimensions | Material | Purpose |
|---|---|---|
| 2 pieces at 20 inches | 2×4 | Seat frame |
| 2 pieces at 27 inches | 2×4 | Armrests |
| 2 pieces at 21 1/2 inches | 2×4 | Front legs |
| 2 pieces at 24 inches | 2×4 | Seat Support |
| 10 pieces at 17 inches | 2×4 | Seat and back slats |
| 2 pieces at 24 1/2 inches (cut at a 30-degree angle) | 2×6 | Back legs |
Step-By-Step Outdoor Chair Building Process
Step 1 – Making The Base
Start with creating the leg assemblies – these form the foundation of your chair:
- Set your miter saw to 30 degrees for the back legs
- Cut your 2×6 piece at this angle, measuring 24 1/2 inches from the longest point
- Make front legs at 21 1/2 inches using 2×4 lumber
- Create armrests from 2x4s at 27 inches long
For assembly:
- Position the front leg 1 inch from the armrest edge
- Place back leg 13 inches from the front
- Use two screws at each connection point
- Make two identical leg sets (left and right sides)
Step 2 – Building The Seat
The seat needs to be sturdy and comfortable:
- Create a 20×20 inch frame using 2x4s
- Cut five slats at 17 inches for the seat surface
- Space slats evenly using a 3/4 inch board as a guide
- Pre-drill holes to prevent wood splitting
- Secure each slat with two screws on both ends
Step 3 – Building The Back
The back requires careful attention to angles:
- Cut back supports at 24 1/2 inches with a 15-degree angle
- Create a U-shape frame with your angled pieces
- Add horizontal 17-inch slats
- Keep equal spacing between slats
- Ensure each slat is level before securing
Pro Tip- Pre-drill all screw holes and check for level surfaces as you build each section. This attention to detail makes the final assembly much easier.
Step 4 – Putting It All Together
Follow these careful steps to turn your separate pieces into a solid chair:
1. Start With One Side
- Measure up 15 inches from the bottom of each leg
- Mark a clear line for seat placement
- Attach seat with one screw per side initially
- This allows for adjustments as you work
2. Level The Seat
- Place your level across the seat frame
- Adjust until perfectly balanced
- Add remaining screws once level
- Use two screws at each connection point
3. Add The Back
- Slide the U-shaped back assembly between legs
- Secure bottom support first
- Add screws through arms into back frame
- Check for stability before final tightening
Step 5 – Final Steps
Securing Everything
- Add three screws to each back support
- Double-check all connections
- Tighten any loose screws
- Test the chair’s stability
Making Adjustments
- Check seat level again
- Ensure back support is firm
- Test all joints for tightness
- Look for any gaps in connections
Step 6 – Finishing Touches
Making It Last
Construction lumber performs well outdoors if protected.
Sand all surfaces until smooth to eliminate splinters.
Seal the chair against moisture with outdoor wood products, especially the bottom of the legs and end grain, which absorb water quickly.
This maintenance helps your chair endure sun, rain, and daily use.
Quality Checks
Inspect your finished chair thoroughly before finalizing the project.
Sit in the chair from various angles and apply pressure to different areas.
Ensure all screws are tight, joints secure, and the chair stable on level ground.
This inspection catches issues before regular use.
Video Tutorial
Here is the video related to the DIY outdoor chair from the Cedar River Woodworking channel:
Common Mistakes To Avoid
1. First-time builders often rush through measurements or skip pre-drilling holes, leading to split wood or misaligned pieces.
2. A common error is not checking lumber for straightness at the store, resulting in warped chairs that wobble.
3. Many people also forget to account for wood thickness when cutting pieces, which can throw off the entire project.
4. Taking extra time with initial measurements and material selection prevents these basic but significant problems.
Care And Maintenance
1. Check for loose screws monthly, especially after heavy use or rain.
2. Sand worn areas lightly and apply outdoor sealer to prevent small issues from becoming costly problems.
3. Incorporate cleaning into your routine by brushing off debris and washing with mild soap and water using a soft brush.
4. Avoid pressure washers or harsh chemicals. Let the chair dry in sunlight before applying a new finish, focusing on joints where water collects.
5. Position your chair wisely each season on a flat, dry surface, using small pads under the legs to avoid ground contact.
6. During wet seasons, tilt the chair forward when not in use to allow water runoff.
Conclusion
Building your outdoor chair brings satisfaction and practical value to your outdoor space.
You’ve created a sturdy, comfortable seat that fits your needs by following these steps and using basic tools.
Remember, the key to success lies in careful measurement, proper assembly, and regular maintenance.
Your new chair isn’t just a piece of furniture – it’s a project you can be proud of.
With proper care, it will serve as a comfortable spot for morning coffee, evening relaxation, or friendly conversations for years to come.
If you encounter any challenges during your build, revisit the steps and take your time.
Woodworking skills improve with practice, and each project teaches valuable lessons for the next.


