DIY Monitor Stand: Build a Sleek, Modern Riser from Scratch
Are you struggling to find the perfect monitor stand that matches both style and budget? This step-by-step guide will help you craft your sleek monitor stand!
This project converts ordinary wood into a sleek solution with curved corners and asymmetrically placed legs, similar to high-end designs but at a fraction of the cost.
By building this yourself, you’ll create a functional piece that advances your monitor to ergonomic viewing height while adding refinement to your workspace.
The mortise and tenon joinery provides exceptional stability, and the customizable dimensions ensure it fits perfectly in your setup.
Ready to change your desk with this practical, stylish addition that looks store-bought but showcases your craftsmanship?
Why Buy When You Can Build?
In a market flooded with generic, overpriced monitor stands, building your own gives you something store-bought options can’t, total control over quality, style, and size. Instead of settling for cheap materials or cookie-cutter designs, you get to craft a piece that’s custom-fit for your workspace and personality.
Making it yourself means you can:
-
Save money while achieving a high-end look—no need to spend $100+ on boutique brands.
-
Customize everything, from wood species and stain color to leg shape and dimensions.
-
Gain practical skills that transfer to future DIY or woodworking projects.
-
Take pride in your craftsmanship, knowing every curve and joint was created by your own hands.
It’s more than just a monitor stand—it’s a project that converts your desk, improves ergonomics, and lets your creativity shine. Whether you’re a seasoned maker or trying your first serious woodworking piece, this project offers the perfect balance of challenge and reward.
Crafting the Perfect Monitor Stand: Step-by-Step
Tools and Materials Needed:
| Tools | Materials |
|---|---|
| Router with straight bit | Wood board (42″ x 8″ x 3/4″) |
| Router edge guide | Smaller wood pieces for legs |
| Track saw or circular saw | Wood glue |
| Orbital sander | Painters tape |
| Hand sander | Superglue |
| File | Black wood stain |
| Chisel | Oil-based polyurethane |
| Measuring tape | 400-grit sandpaper |
| Pencil | Template material (hardboard/plastic) |
| Straight edge | Soft cloths or tack cloths |
Step 1: Cutting the Shelf to Size
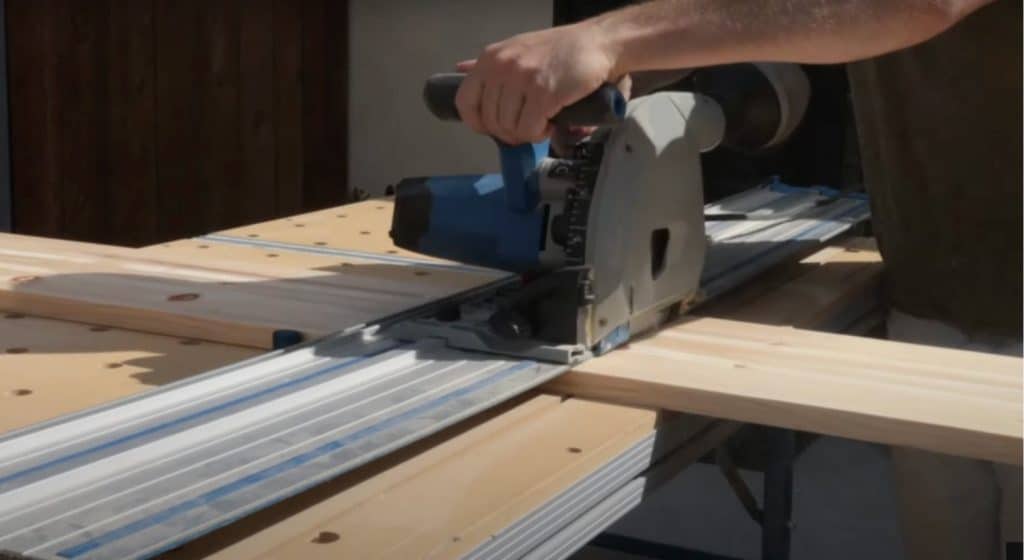
Begin your project by cutting your main wooden board to the desired dimensions. For this monitor stand, a size of 42 inches by 8 inches works well to accommodate most monitors while providing enough space for small accessories.
Measure carefully and mark your cutting lines with a pencil before making any cuts. Using a track saw or circular saw, cut along your marked lines to create the shelf. Take your time with this step as it forms the foundation of your entire project.
Remember to sand the edges after cutting to remove any splinters or rough spots that might catch on your hands later.
Step 2: Creating the Corner Template
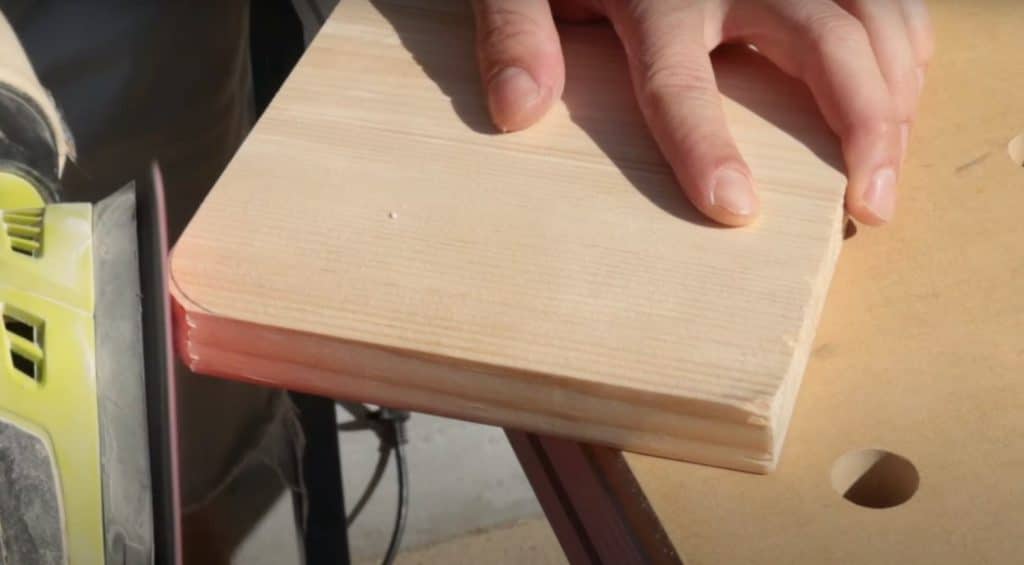
For those beautiful curved corners that advance this design, you’ll need to create a template. Cut a small piece of hardboard or plastic into a quarter-circle with your desired radius (about 1-2 inches works well). This template will ensure all corners have identical curves for a professional finish.
After cutting your template, sand the edges smooth to prevent any imperfections from transferring to your shelf. Position the template on each corner of your shelf and trace the curve with a pencil.
This simple step significantly improves the final appearance of your monitor stand, giving it that refined, high-end look.
Step 3: Preparing the Leg Pieces
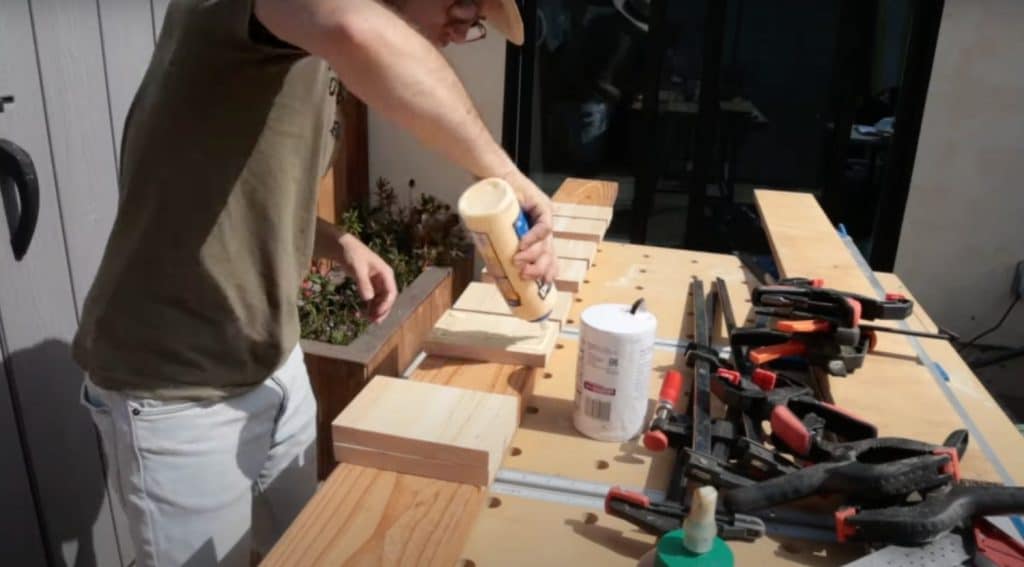
For the legs, cut pieces slightly oversized from your 3/4-inch thick wood. To create the thicker appearance of premium monitor stands, glue two pieces face-to-face for each leg. Apply wood glue evenly across one face, press the pieces together, and clamp until dry.
Once the glue has cured, use your track saw to trim all leg assemblies to identical dimensions. This method ensures consistency across all legs, which is crucial for stability. Consider cutting the legs about 3-4 inches high, which provides good clearance under your monitor stand for cables and small desk items.
Step 4: Adding Curved Corners to Legs
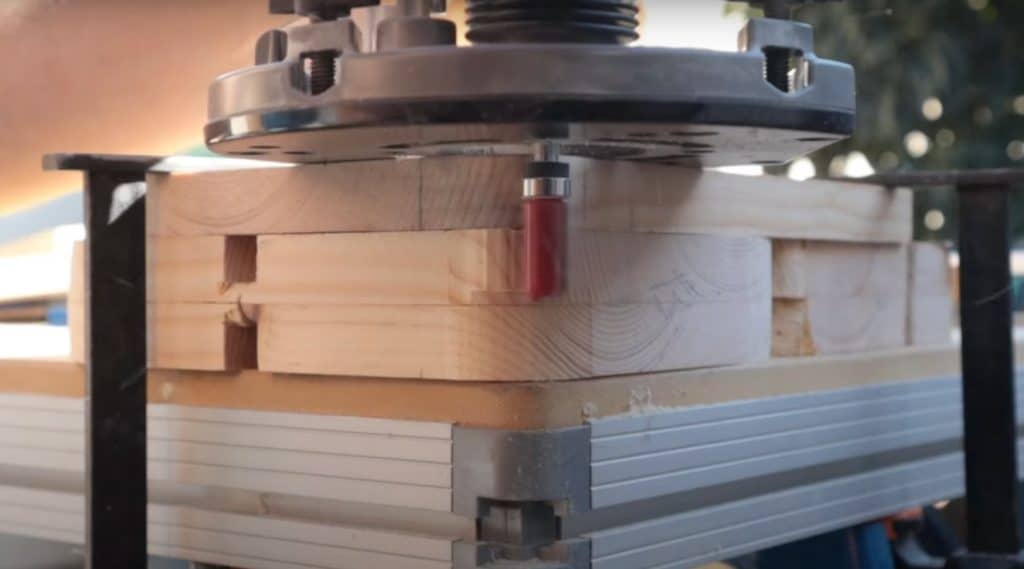
To maintain design consistency, add curved corners to your leg pieces using the same process you used for the shelf. Secure your legs together temporarily, utilizing the painter’s tape and superglue method mentioned in the transcript.
This approach allows you to shape multiple pieces simultaneously, ensuring identical curves. With the leg pieces secured as a block, trace your corner template on each corner. Then, using your router with the bearing-guided bit, carefully route each corner following the template. After routing, separate the pieces and sand the curved edges smooth. This detail creates cohesion between the shelf and legs.
Step 5: Creating the Mortises
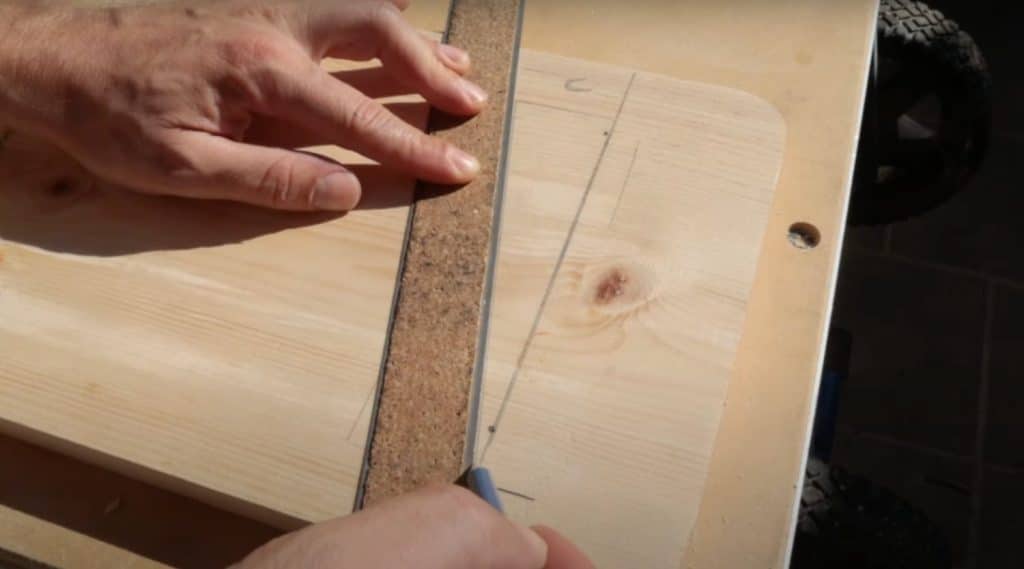
For the mortise and tenon joints that will connect your legs to the shelf, start by marking the mortise locations on the underside of the shelf. Draw rectangles at your desired leg positions, keeping in mind that asymmetrical placement creates visual interest.
Find the center of each rectangle by drawing diagonals from corner to corner. Set up your router with an edge guide and plunge about 1/4 inch deep into the shelf at each marked location. Make a start and stop hole, then route out the entire mortise area, working carefully to stay within your guidelines.
Step 6: Crafting the Tenons
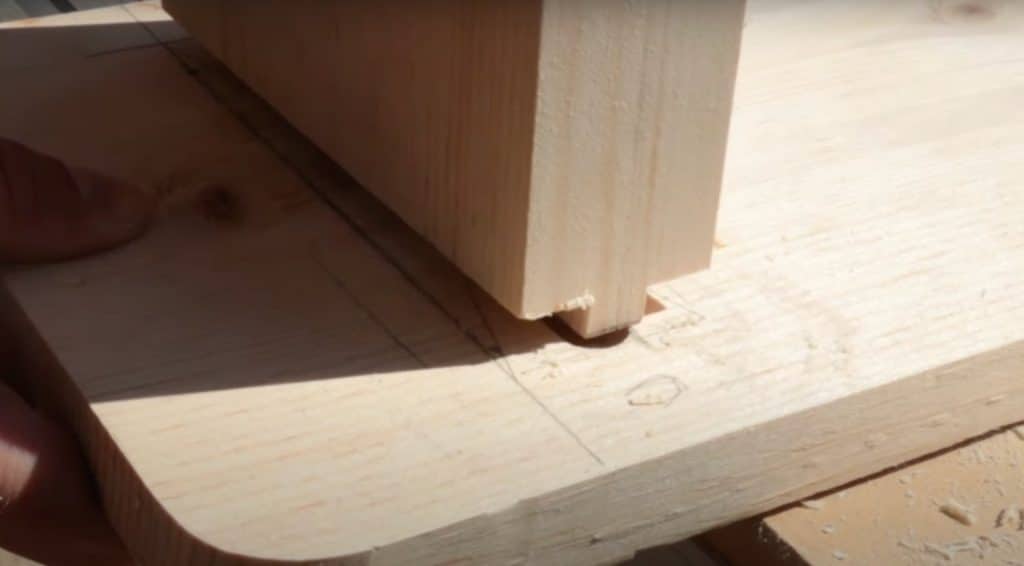
With your mortises complete, it’s time to create the tenons on your leg pieces. Measure the mortises carefully and mark the corresponding tenon dimensions on the tops of your legs. The tenons should be 1/4 inch in height and 1/2 inch wide to match your mortises.
Using your router, make light passes to create the tenons, testing the fit frequently and gradually. If your mortises have curved corners, use a file to shape the corners of your tenons to match. Continue adjusting until you achieve a snug fit between each leg and its corresponding mortise. This joint provides exceptional strength and stability to your finished stand.
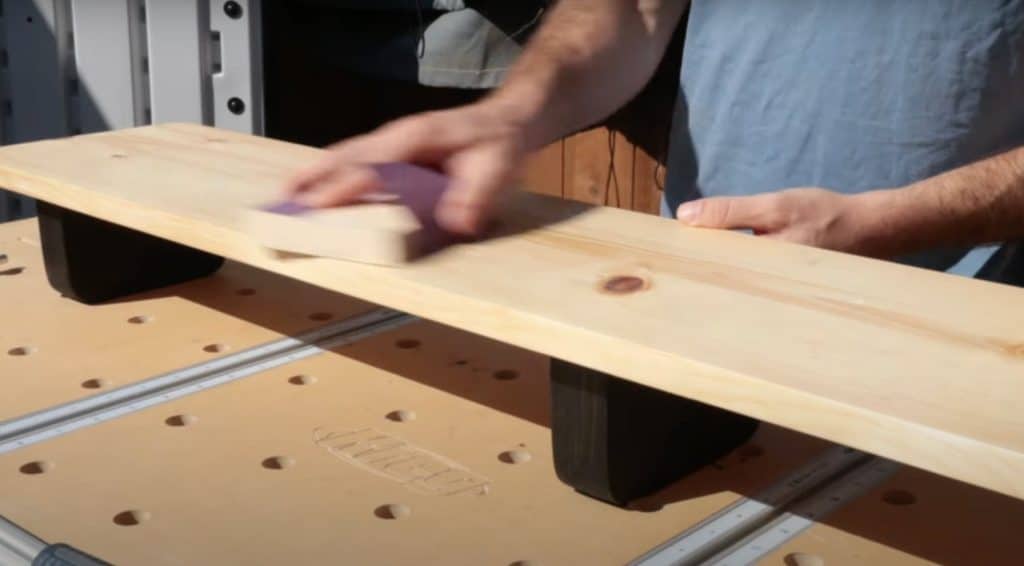
Step 7: Sanding and Finishing
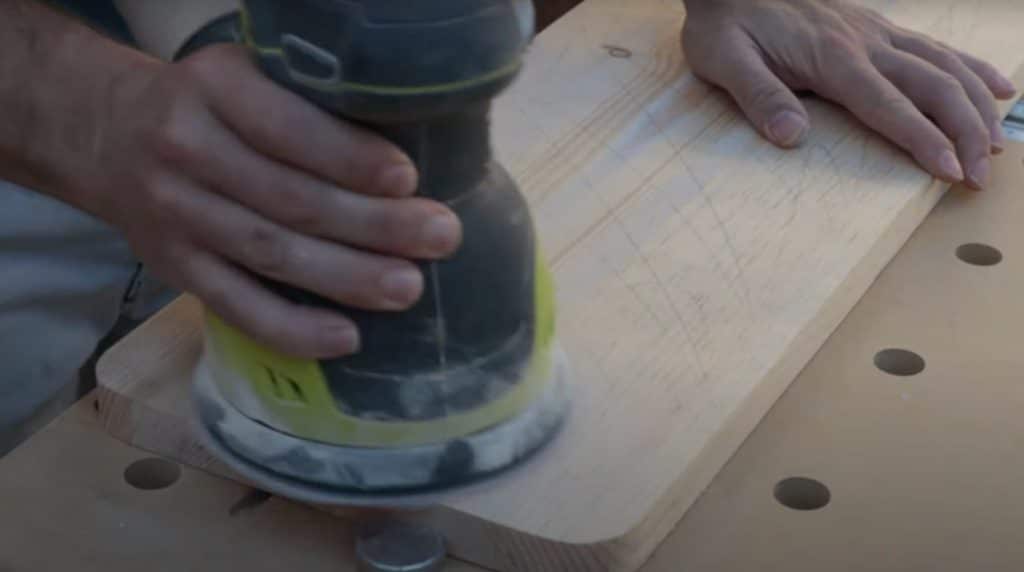
Before assembly, thoroughly sand all surfaces of your shelf and legs. Start with coarser grit sandpaper and work your way to finer grits for a smooth finish. Pay special attention to the curved corners and edges. Once sanded, apply black stain to the legs as shown, which creates an attractive contrast with differently colored desks.
Allow the stain to dry completely between coats, using as many coats as needed for your desired depth of color. For the shelf and final protection, apply three layers of oil-based polyurethane, sanding with 400-grit sandpaper between coats to ensure a silky-smooth finish.
Step 8: Final Assembly
With all pieces finished and dry, it’s time for final assembly. Apply wood glue to the tenons and inside the mortises, being careful not to use too much, which could cause messy squeeze-out. Insert the tenons into their corresponding mortises with firm pressure or gentle taps with a rubber mallet.
Wipe away any excess glue immediately with a damp cloth. Allow the glue to cure completely according to the manufacturer’s instructions, typically 24 hours for full strength. Once cured, your DIY monitor stand is ready to use! Position it on your desk, place your monitor on top, and enjoy the improved ergonomics and enhanced aesthetic of your workspace.
Video Tutorial
Check out this YouTube video for a detailed step-by-step Tutorial by Way of the Late Bloomer.
Customization Ideas to Make It Yours
Your monitor stand doesn’t have to look like everyone else’s. Here are some creative ways to personalize your build:
-
Choose a Unique Wood Type – Swap standard pine for walnut, oak, or maple for a richer look and better durability. Want a bold, modern touch? Try birch plywood with exposed edges.
-
Play with Color – Instead of black stain, choose natural finishes, whitewash, or bold colors to match your workspace aesthetic. Use colored stains or tinted polyurethane for subtle tones.
-
Change the Leg Shape – Taper the legs for a mid-century modern vibe, or add small brass feet or angled legs for extra flair.
-
Add Cable Management – Drill a discreet hole at the back or underside to route monitor cables or add a USB hub.
-
Adjust Dimensions – You can make the stand wider for dual monitors or deeper for extra storage underneath. You can even scale it down for a laptop riser.
-
Engrave or Etch Details – Personalize the front edge with a laser-engraved design, initials, or logo for a custom look.
-
Use Contrasting Finishes – To add contrast and style, keep the shelf natural and stain the legs dark (or vice versa).
-
Add a Drawer or Shelf – Install a slim drawer underneath or a shelf between the legs to store stationery or sticky notes.
Tips to Keep Your DIY Monitor Stand Looking Sharp
-
Dust Often – Use a microfiber cloth weekly to prevent buildup and surface scratches.
-
Use Coasters – Always place drinks on coasters to avoid moisture rings or damage.
-
Avoid Direct Sunlight – UV rays can fade the stain and dry out the wood over time.
-
Control Humidity – Maintain 30–50% indoor humidity to prevent wood warping or cracking.
-
Check the Finish – Inspect every 6 months; recoat with polyurethane if it looks dull or worn.
-
Sand Lightly Before Recoating – Use 400–600 grit sandpaper for a smooth new finish.
-
Balance the Load – Center your monitor and evenly distribute weight to reduce joint stress.
-
Reinforce Loose Joints – If legs feel wobbly, re-glue and clamp overnight to restore strength.
-
Keep Away from Heat – Don’t place near radiators or heating vents to avoid drying the wood.
-
Use Felt Pads if Wobbly – Compensate for seasonal shifts and uneven surfaces with pads.
Things to Avoid
| Problem to Avoid | Why It’s Problematic | Better Alternative |
|---|---|---|
| Using an inadequate wood thickness | Thin wood can bow under the monitor’s weight | Use 3/4″ thick wood minimum for stability |
| Skipping the sanding between finish coats | Results in a rough, unprofessional appearance | Sand with 400-grit between each coat of finish |
| Rushing the glue drying process | Weakens joints, compromising stability | Allow full 24-hour curing time for all glued joints |
| Ignoring wood grain direction | Can cause splitting when routing corners | Orient cuts and routes with the grain when possible |
| Using water-based products on oiled finishes | Causes finish to cloud or separate | Stick with compatible finishes throughout |
| Placing a stand on uneven surfaces | Creates stress on joints and wobbles | Use on flat surfaces or add adjustable feet |
| Applying stain without testing | Can result in unexpected colors | Always test stains on scrap pieces first |
Conclusion
Your custom DIY monitor stand represents the perfect blend of form and function. It boosts your monitor to an ergonomic height while showcasing your woodworking skills.
By following this guide, you’ve created not just a utilitarian object but a conversation piece that improves your workspace.
The beauty of this project lies in its customizability—you can adjust dimensions, choose different wood species, or experiment with alternative finishes to perfectly complement your existing furniture.
Beyond the practical benefits, the satisfaction of crafting something with your own hands adds immeasurable value.
As you enjoy improved posture and organized desk space, remember that this project serves as an excellent foundation for developing woodworking skills that transfer to countless future projects.
Frequently Asked Questions
What Can I Use Instead of A Monitor Stand?
You can Upgrade Your Monitor Using Sturdy Books, a Stack of wooden blocks, or A Storage box. Just Ensure It’s Stable and At Eye Level.
Do You Really Need a Monitor Stand?
A monitor stand isn’t essential, but it helps improve posture by raising the screen to eye level. This reduces neck strain and clears desk space.
Is It Better to Tilt Your Monitor Up or Down?
It’s better to tilt your monitor slightly upward, so the top of the screen is at or just below eye level. This promotes a more natural, upright posture.