Building a proper shelter for your horse doesn’t have to break the bank or require professional contractors.
Many horse owners struggle with the high cost of boarding fees or inadequate shelter options that leave their animals vulnerable to harsh weather conditions.
What if you could create a safe and comfortable shelter for your equine friend using basic materials and a weekend’s worth of effort? A well-built DIY horse shelter protects your horse from rain, wind, and extreme temperatures while giving you complete control over design and costs.
This guide walks you through every step of planning and constructing your horse shelter. You’ll learn about essential materials, proper dimensions, foundation requirements, and weatherproofing techniques that ensure your horse stays dry and comfortable year-round.
Planning Your DIY Horse Shelter
Planning your horse shelter requires careful consideration of location, design, and finances to ensure your project’s success.
Site selection forms the foundation of your shelter project. Choose a spot with natural drainage that slopes away from the structure, easy access for both horses and maintenance vehicles, and natural protection from your area’s strongest winds.
Your shelter design must meet specific size requirements, with the British Horse Society recommending a minimum of 12×12 feet for a single horse, though 12×14 feet provides more comfort and movement space. Key planning considerations include:
- Drainage and accessibility – Avoid low-lying areas that collect water and ensure year-round vehicle access
- Proper orientation – Position the opening away from prevailing winds while maximizing natural shade during hot months
- Budget flexibility – Plan for $800-$2,500 depending on materials, size, and local labor costs. If you’re considering prefab horse barns, you should expect to pay $4,500 to $7,200
The shelter’s orientation plays a crucial role in your horse’s comfort throughout the year. Position the structure so the opening faces southeast or south to capture winter sun while providing summer shade, and always turn the back wall toward your region’s harshest weather patterns.
Step-By-Step DIY Horse Shelter Construction
Protect your horses from harsh weather with this complete guide to building an affordable DIY shelter from start to finish. Learn how to create a sturdy three-sided structure using basic carpentry skills.
Tools Required:
| Tool | Purpose |
|---|---|
| Post hole digger | Digging foundation holes |
| Shovel | Manual digging and cleanup |
| Level | Ensuring posts are straight |
| Drill/Screwdriver | Securing screws and hardware |
| Measuring tape | Accurate measurements |
| Cattle panels | Layout and squaring guide |
Materials Required:
| Material | Quantity/Size |
|---|---|
| Treated lumber posts | 4×4 or larger |
| Rafters | 2×4 lumber |
| Top plate | 16-foot 2×4 |
| Metal roofing sheets | Based on shelter size |
| Screws and hardware | Various sizes |
| Concrete (optional) | For post setting |
Step 1: Layout and Planning
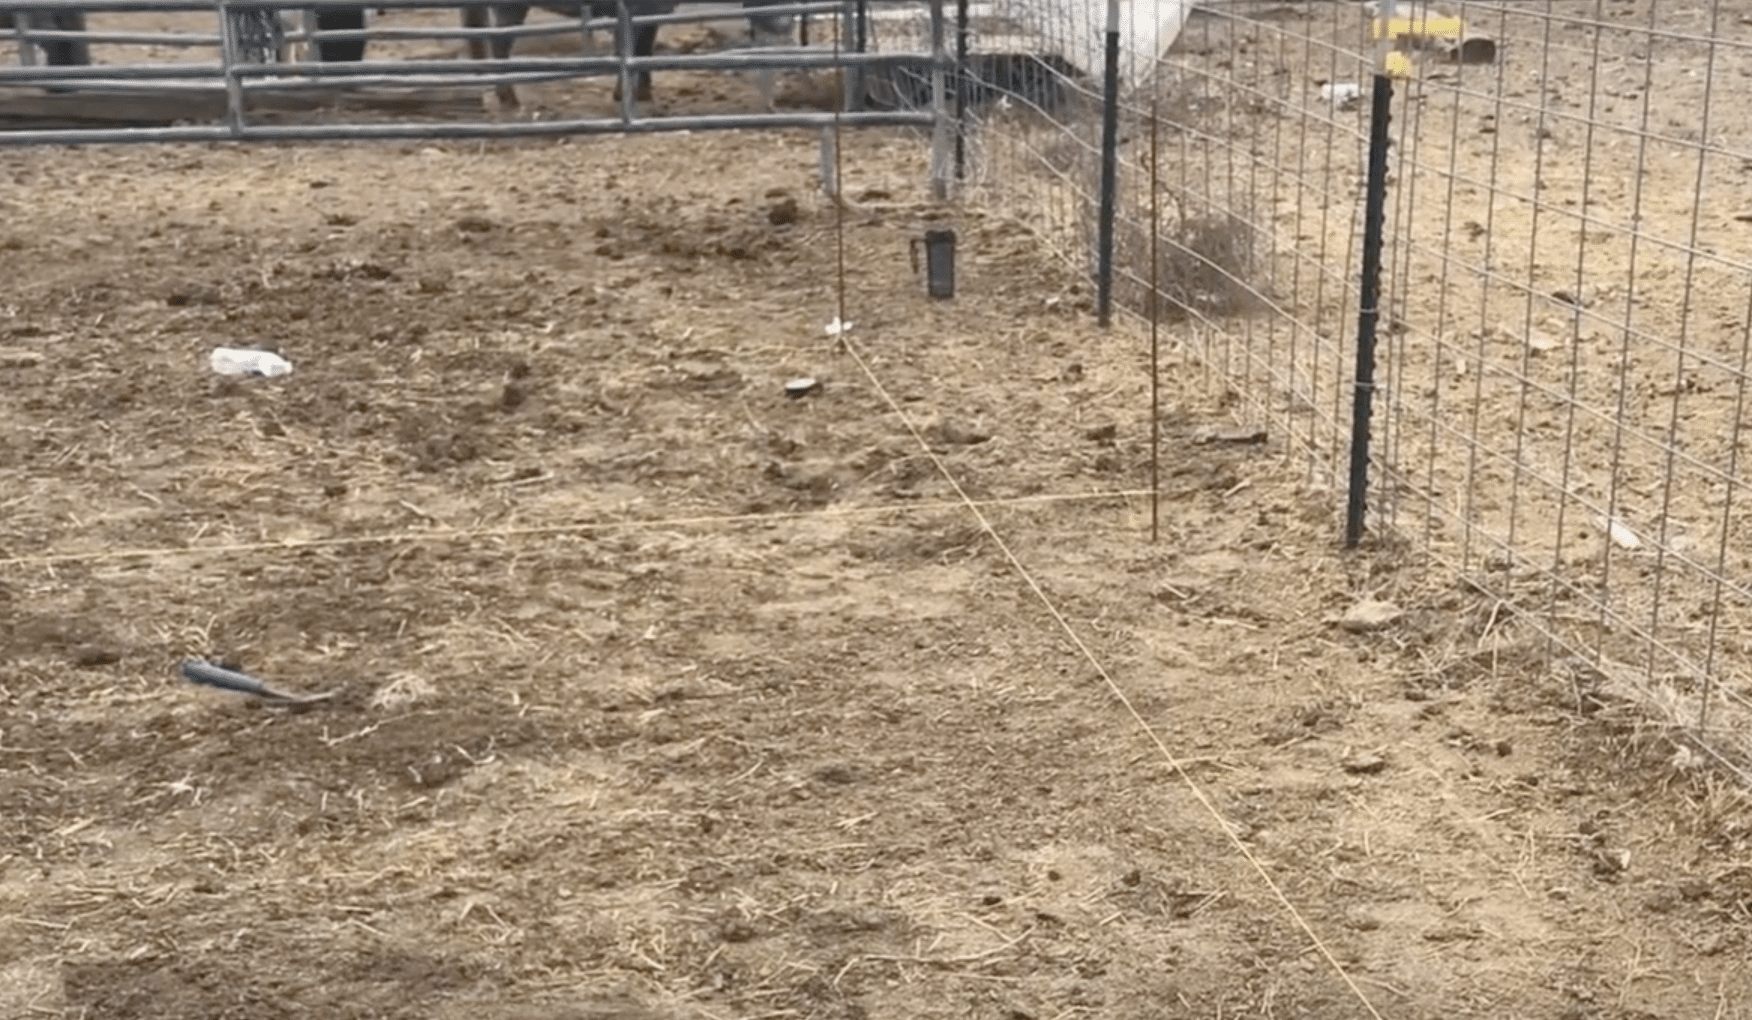
Start by marking your shelter’s exact location using stakes and string lines. Achieving a perfectly square structure is crucial for stability and the proper fit of materials. Use cattle panels as a guide, as they’re already manufactured to be square, which helps ensure your layout is accurate.
- Mark all four corners with stakes and connect with string lines.
- Use cattle panels or the 3-4-5 triangle method to verify square corners.
- Double-check all measurements before proceeding with digging.
Remember: Take extra time on layout – fixing mistakes later costs more time and materials.
Step 2: Dig Post Holes
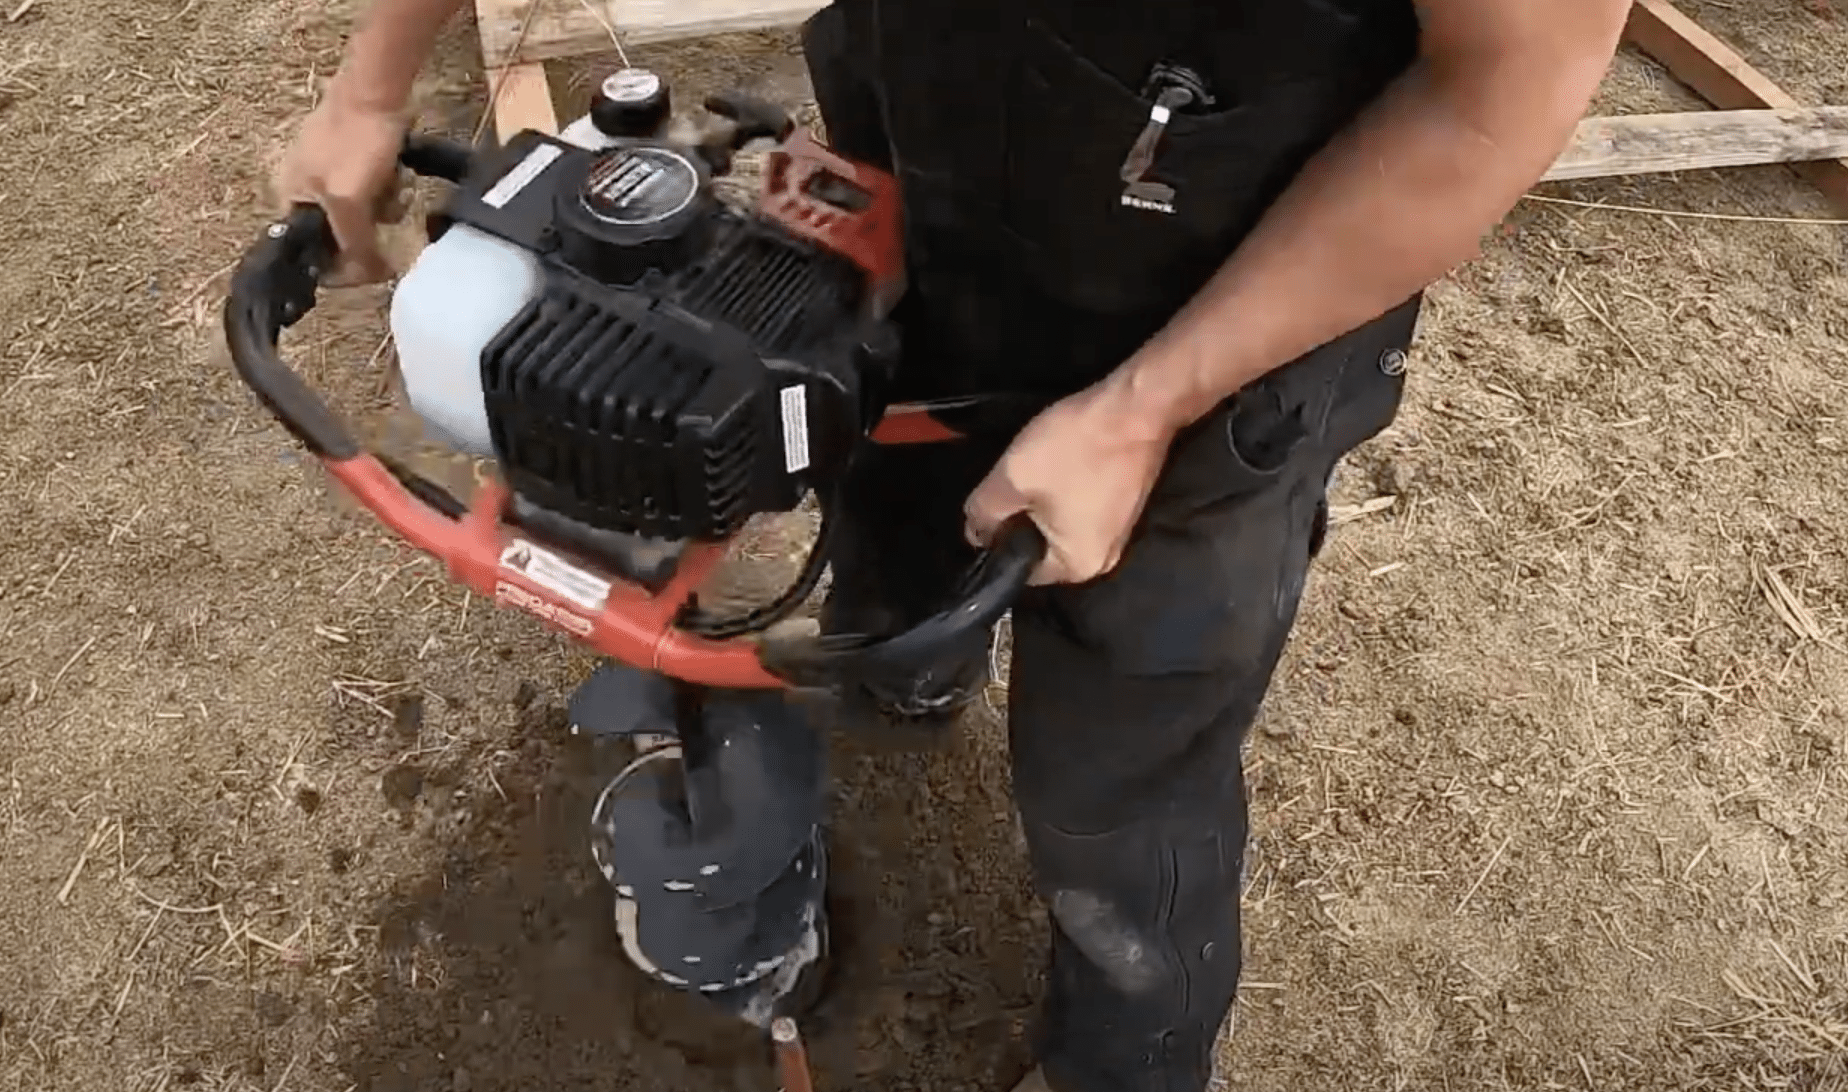
Dig holes for your corner posts using a post hole digger, aiming for a depth of 2-3 feet, depending on your soil conditions. Some holes may go off-center during digging, requiring manual correction with a shovel. Consistent hole depth ensures your shelter frame stays level.
- Use a post hole digger for initial holes, then finish with a shovel if needed.
- Dig holes 2-3 feet deep for stability in most soil types.
- Keep excavated soil nearby for backfilling around posts.
Remember: Dig holes slightly larger than your posts to allow for easy positioning and leveling.
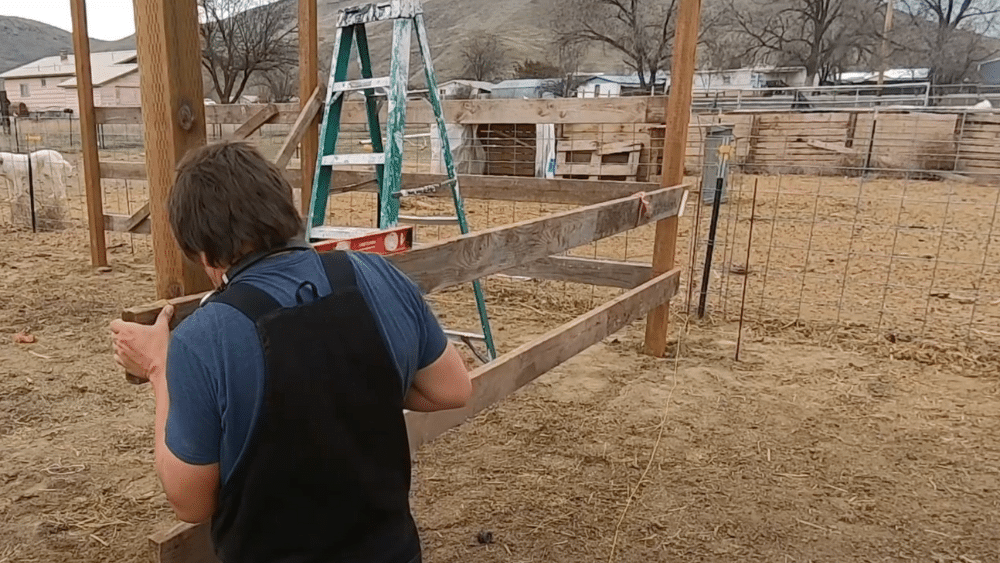
Step 3: Set and Level Posts
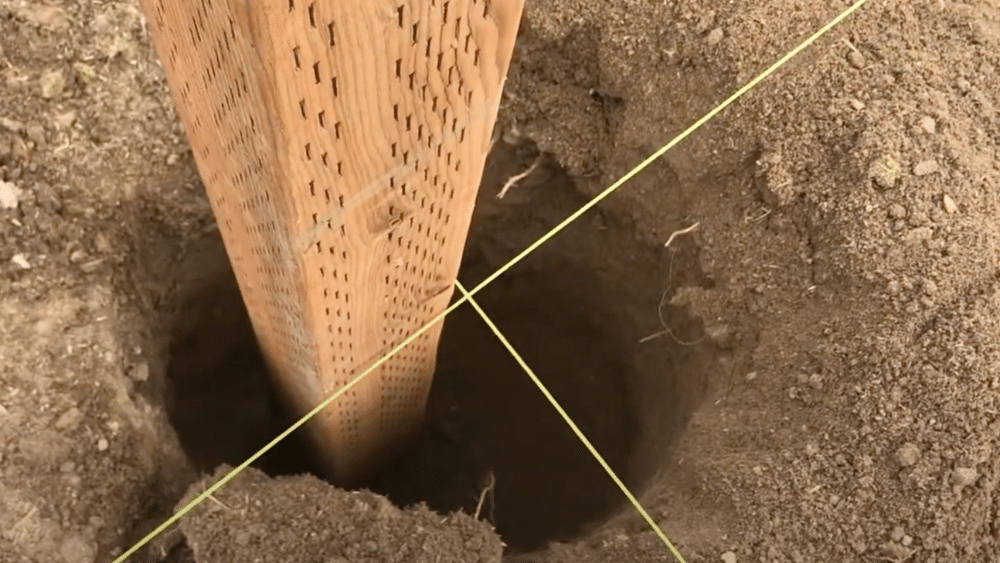
Place your corner posts in the holes and use a level to ensure they’re perfectly vertical. This step requires patience as you may need to adjust multiple times. Once posts are level and properly positioned, secure them temporarily with braces.
- Check each post from multiple angles.
- Adjust the post position by adding or removing soil underneath.
- Install temporary braces to prevent movement during the construction process.
Remember: Level posts are essential – uneven posts cause problems throughout the entire build.
Step 4: Install Top Plate
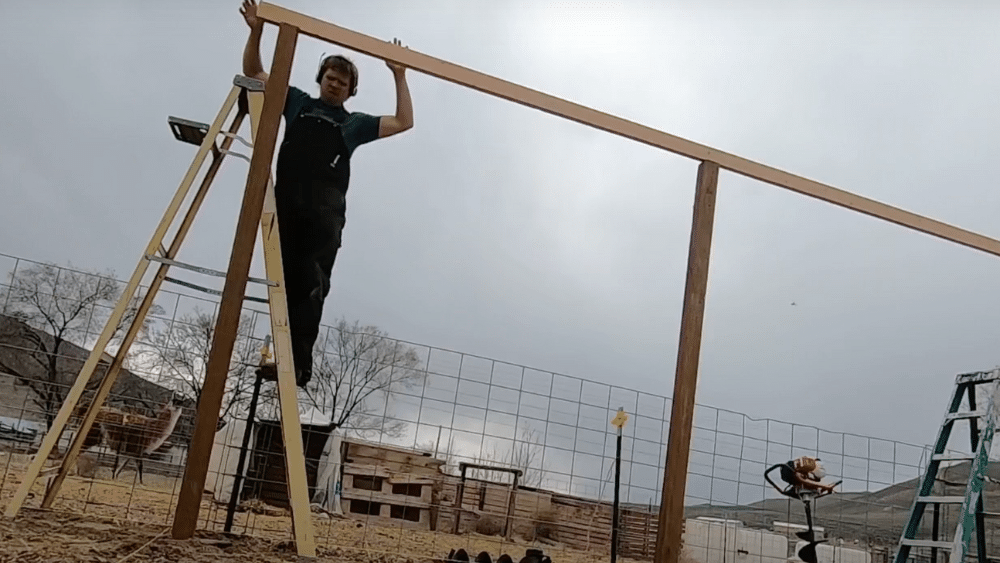
Connect your corner posts with a horizontal top plate, typically a 2×4, 16 feet long, for standard shelter sizes. This creates the frame’s structural integrity and provides attachment points for rafters. Secure the top plate with appropriate screws or bolts.
- Measure and cut the top plate to the exact length needed.
- Position the top plate level across the posts before securing.
- Use quality screws or bolts for strong connections.
Remember: The top plate must be level and securely fastened as it supports the entire roof structure.
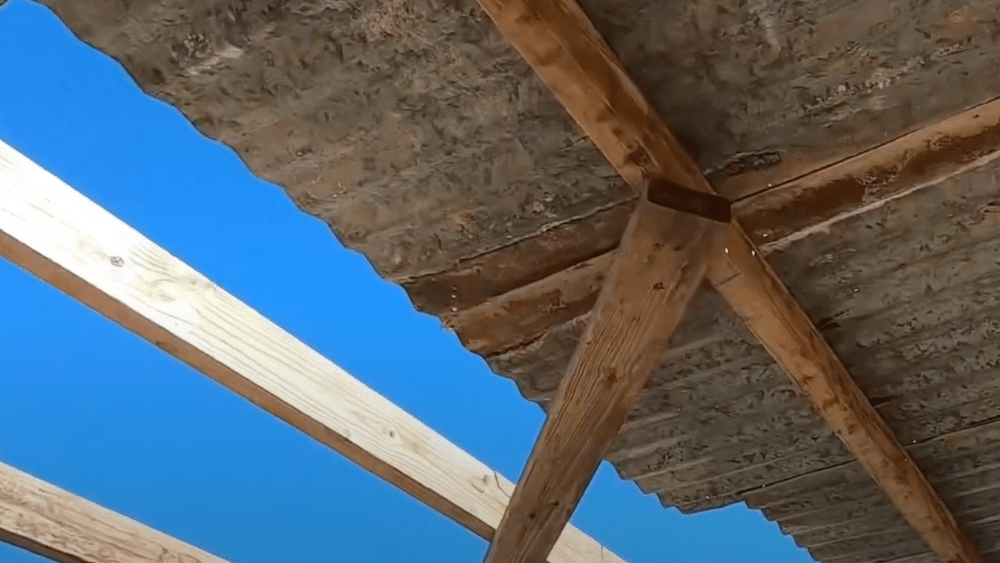
Step 5: Install Rafters
Cut and install rafters according to your shelter’s design, spacing them typically 24 inches on center. This process may require several work sessions, as each rafter requires precise measurement and cutting. Proper rafter installation ensures your roof can handle weather loads.
- Measure and cut each rafter individually for the best fit.
- Space rafters evenly, typically 24 inches on center.
- Secure the rafters to the top plate with the appropriate fasteners.
Remember: Take your time with rafters – they’re critical for roof strength and weather protection.
Step 6: Install Metal Roofing
Attach metal roofing sheets to your rafter system, starting from one end and working systematically across. Metal roofing provides excellent weather protection and durability. Plan this step for calm weather conditions to make handling large sheets easier.
- Start the installation from the lowest edge and work your way upward.
- Overlap sheets according to the manufacturer’s specifications.
- Use proper roofing screws with rubber washers for weather sealing.
Remember: Metal roofing is easier to install on calm days – wind makes large sheets difficult to handle safely.
Step 7: Final Touches and Reinforcement
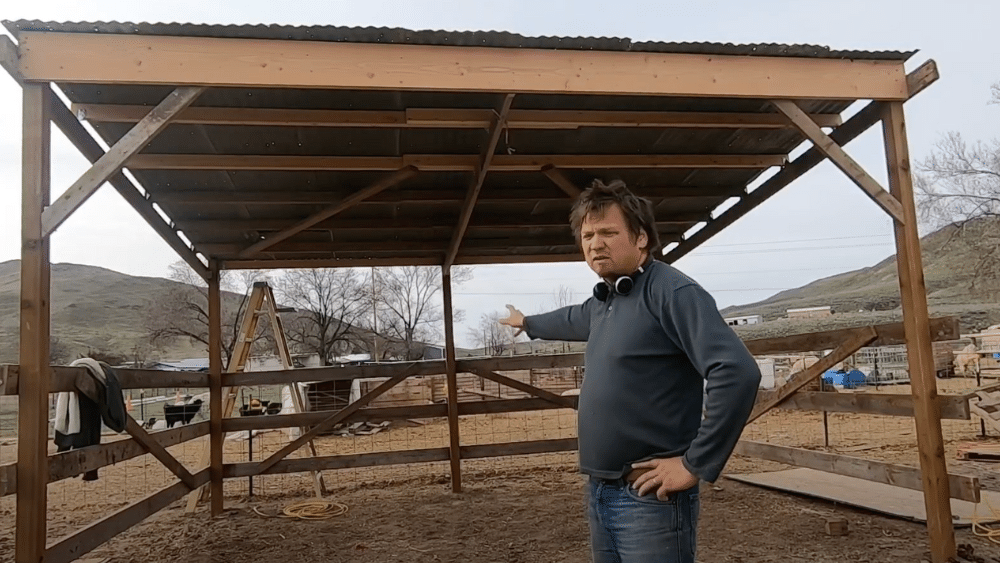
Complete your shelter by adding any necessary reinforcements, especially if converting from a lighter structure like a chicken coop. Horses require stronger construction than smaller animals, so upgrade posts and connections as needed.
- Replace any undersized structural members with horse-appropriate materials.
- Add corner bracing for extra stability if needed.
- Clean up construction debris and check all connections.
Remember: Horses are powerful animals – ensure all structural elements can handle their strength and movement.
Video Tutorial
For a visual tutorial, refer to this video by Rocket Family Farms Homesteading
5 Maintenance and Safety Tips
1. Structural Inspections – Examine all posts, rafters, and connections monthly for signs of damage, rot, or loosening, with extra attention after storms, high winds, or heavy snow loads that could compromise the stability of your shelter.
2. Weather Damage Assessment – After severe weather events, inspect metal roofing for loose panels, damaged screws, or rust spots, and examine foundation areas for erosion or settling that may affect the shelter’s levelness.
3. Pest Prevention – Remove debris, old feed, and standing water that attract rodents and insects, while sealing any gaps in walls or roofing where pests might enter and establish nests.
4. Ventilation Management – Ensure adequate air circulation by keeping openings clear of obstructions and adding ventilation gaps near the roof line if moisture or condensation problems develop inside the shelter.
5. Safety Hazard Elimination – Remove protruding nails, sharp metal edges, or splintered wood that could injure horses, and maintain clear pathways around the shelter free from tools, materials, or equipment that might cause accidents.
Conclusion
Building your horse shelter offers both financial savings and the satisfaction of providing quality protection for your equine companion. This project requires careful planning, proper materials, and patience – as our real-world example showed, what seems like a weekend project often takes a whole week to complete correctly.
Your DIY shelter will serve your horse for years with regular maintenance and inspection. The investment in time and materials pays off through reduced boarding costs and the peace of mind that comes from knowing your horse has reliable weather protection.
Remember to prioritize safety during construction and choose quality materials that can withstand your local climate conditions.
Ready to start your shelter project? Gather your materials, mark your calendar for a full week of work, and provide your horse with the protection it deserves.