Stubborn grease in the kitchen creates a constant cleaning challenge. It sticks to surfaces, attracts dust, and turns into hard-to-remove grime over time.
While store shelves offer many cleaning options, natural solutions work as well. Making your own degreaser allows you to control the ingredients while saving money.
Natural cleaners protect your family’s health by avoiding harsh chemicals. Simple items like vinegar, baking soda, and lemon tackle tough grease without leaving harmful residues.
This guide shows you how to make effective degreasers at home. It includes key ingredients, proper mixing methods, and tips for the best results.
Plus, you’ll learn how these earth-friendly solutions benefit your wallet and the environment. Let’s make your kitchen cleaning routine safer and simpler.
Understanding Grease and Degreasers
What is Grease?
Grease consists of fats and oils that stick to kitchen surfaces.
These substances bind with dust and food particles, creating a stubborn layer that’s hard to remove with regular cleaning.
Grease’s sticky nature makes it particularly troublesome in cooking areas.
When exposed to heat during cooking, grease particles become airborne and settle on nearby surfaces, from countertops to cabinet doors.
How Degreasers Work
Degreasers contain substances that break the bonds between grease molecules and surfaces. These cleaning agents work by surrounding oil and fat molecules, lifting them away from the surface they’re stuck to.
The process relies on a simple scientific principle: like dissolves like. Oil-based cleaners remove greasy buildup, while water-based solutions with special additives help wash away the dissolved grime.
Benefits of Homemade Degreasers
Making your cleaning solutions at home offers several key advantages. Store-bought cleaners often contain harsh chemicals that might affect your health and the environment.
Natural ingredients like vinegar and baking soda clean effectively without leaving harmful residues. The cost savings are significant since most homemade degreaser ingredients are common household items.
Essential Ingredients for Homemade Degreasers
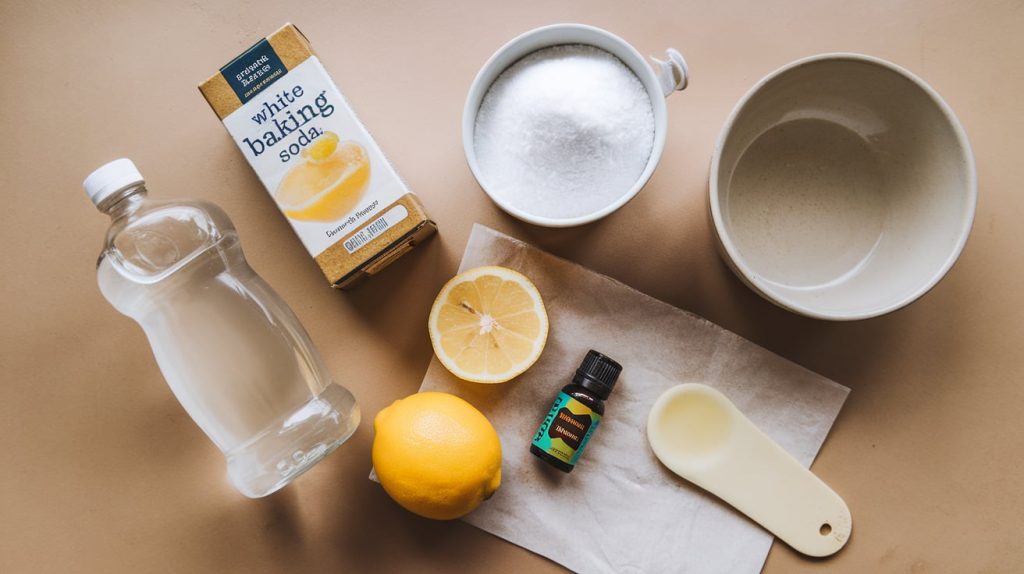
1. White Vinegar
White vinegar stands as a fundamental ingredient in homemade cleaning solutions. Its natural acid content helps break down grease while killing common household bacteria.
Vinegar, mixed with equal parts water, creates an effective spray for daily kitchen cleaning. You can increase its strength by letting lemon peels sit in the vinegar before mixing your cleaning solution.
2. Baking Soda
Baking soda is a gentle abrasive that dissolves grease naturally. It tackles tough, stuck-on kitchen messes without scratching surfaces when mixed with water to form a paste.
This common pantry item proves particularly useful for stovetops and ovens. The fine particles help lift away buildup while the natural compounds break down oils and fats.
3. Dish Soap
Regular dish soap contains surfactants that separate oil from surfaces. A small amount added to your cleaning mixture helps remove fingerprints and food residue from many kitchen areas.
The soap bonds with both water and oil molecules. This dual action lets it lift grease away and suspend it in water for easy wiping.
4. Lemon Juice and Citrus Peels
Fresh lemons provide natural acids that cut through kitchen grime. Adding lemon juice to your cleaning mixture enhances grease-fighting abilities while creating a fresh scent.
Citrus peels can infuse vinegar with extra cleaning power. Place the peels in vinegar for several days before straining and using the liquid in your cleaner.
5. Essential Oils
Pure essential oils add pleasant scents to your homemade cleaners. While they don’t significantly boost cleaning power, they make the cleaning experience more enjoyable.
Citrus oils like orange or lemon complement cleaning mixtures well. Remember to use only pH-neutral oils to protect your surfaces from damage.
A Step-By-Step DIY Homemade Degreaser-Making Guide
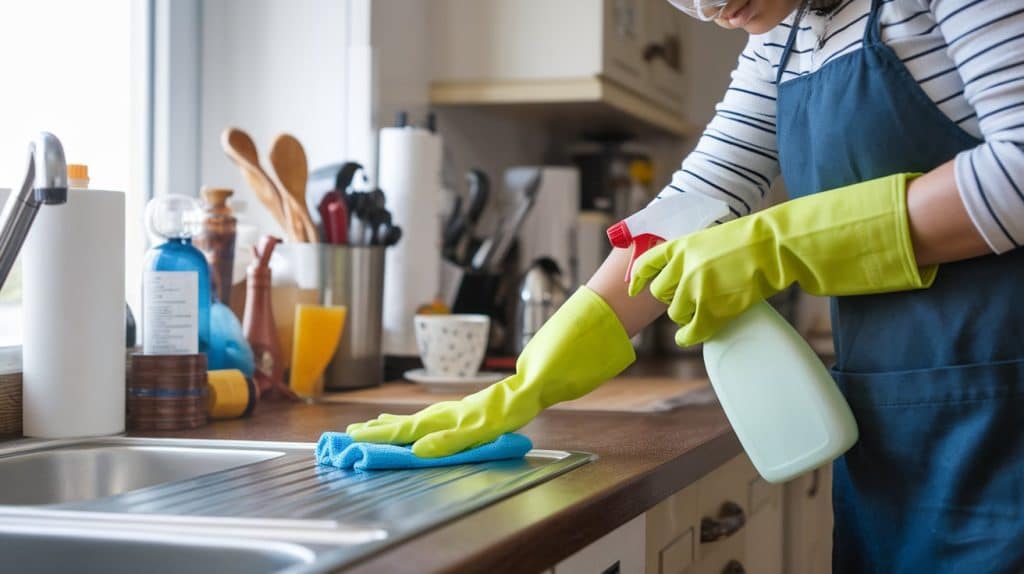
STEP 1: Prepare Your Spray Bottle
Rinse a 32-ounce spray bottle thoroughly with warm water to ensure it’s clean and ready for use. This helps avoid any leftover residue that might interfere with your homemade degreaser.
STEP 2: Mix the Ingredients
Add 1 cup of white vinegar, a drop of natural liquid soap, and one tablespoon of baking soda to the bottle. Fill the bottle with warm water up to the neck.
STEP 3: Add Essential Oil (Optional)
If you want to mask the vinegar smell, add a few drops of essential oil. Citrus oils are great for a fresh scent, but use any fragrance you like.
STEP 4: Shake the Mixture
Close the spray bottle tightly and shake it well to mix all the ingredients thoroughly. This ensures your degreaser is properly blended and ready to tackle grease.
STEP 5: Start Cleaning
Spray the degreaser onto greasy surfaces, wipe with a clean sponge, and follow with a damp dishcloth. This removes residue and leaves your surfaces clean and fresh.
Precautions and Best Practices
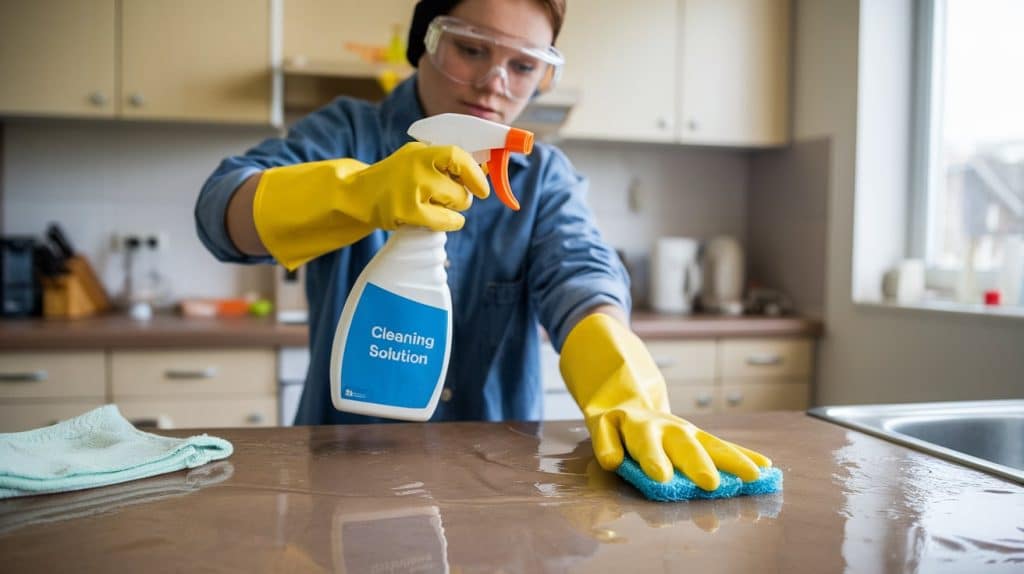
1. Safe Handling of Ingredients
Always wear rubber gloves when mixing and using homemade degreasers. Your skin needs protection even from natural cleaning ingredients that might irritate.
Open windows or run fans to keep your cleaning area well-ventilated. Watch your eyes while spraying cleaners, and consider wearing safety glasses during heavy cleaning sessions.
2. Proper Mixing Techniques
Mix ingredients in the correct order to prevent unwanted reactions. Start with water as your base, then add vinegar and small amounts of soap or other ingredients.
Never combine bleach with vinegar or any acidic ingredients. This mixture creates dangerous fumes that can harm your lungs and breathing.
3. Storage Guidelines
Store your homemade degreaser in a clearly labeled spray bottle. Keep all cleaning solutions out of direct sunlight and away from heat sources.
Place cleaning supplies high enough to prevent children and pets from reaching them. Properly stored, most homemade degreasers have a shelf life of several months.
4. First Aid Measures
When cleaning, keep basic first aid supplies nearby. If cleaning solutions contact your eyes, rinse them immediately with water for 15 minutes.
For skin contact, wash the area with soap and water. Should someone swallow cleaning solution, contact poison control and seek medical help immediately.
The vinegar-based cleaners typically last indefinitely when stored correctly. However, soap solutions may need replacement after a few months if they develop an odd smell or texture.
Remember to test your cleaning mixture on a small, hidden area first. This step helps prevent surface damage while ensuring the solution works effectively.
Maximizing Effectiveness
Tips and Tricks
Use warm water when mixing your homemade cleaners to boost their strength. Heat helps break down grease more quickly, making your cleaning tasks easier.
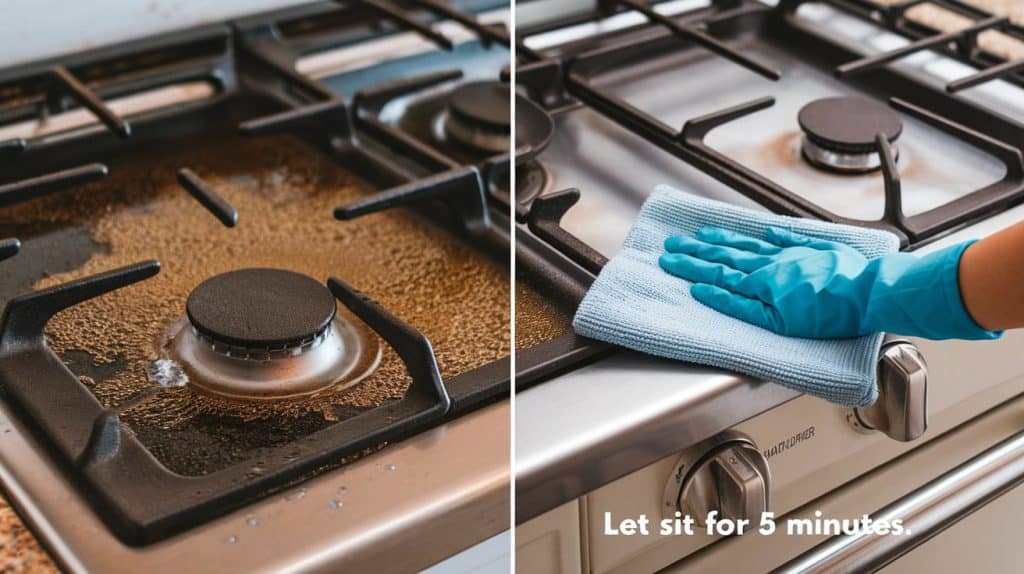
Let your cleaning solution sit on greasy spots for 5-10 minutes before wiping. This waiting period gives the ingredients time to break tough buildup.
For best results, clean grease spills as soon as they happen. Fresh grease comes off more easily than old, hardened grease that has bonded to surfaces.
Combining Methods
Start with gentle cleaning methods before moving to stronger solutions. A simple mix of vinegar and water often works for daily cleaning needs.
Add baking soda paste for stubborn spots that won’t budge. The mild abrasion helps lift away stuck-on grease without damaging your surfaces.
When dealing with old grease buildup, try layering different cleaning methods:
- Spray the area with vinegar solution
- Apply baking soda paste
- Let the mixture bubble and work for several minutes
- Wipe clean with a damp microfiber cloth
Using a microfiber cloth helps grab and hold onto grease better than paper towels. Make sure to rinse your cleaning cloth often in hot water while working.
For vertical surfaces like backsplashes or cabinet fronts, spray your cleaner on the cloth first. This method prevents drips and ensures better coverage of the cleaning solution.
Test tough spots by wiping them with a clean white cloth. You need another cleaning round if the fabric picks up yellow or brown residue.
Comparing Homemade vs. Commercial Degreasers
Effectiveness Analysis
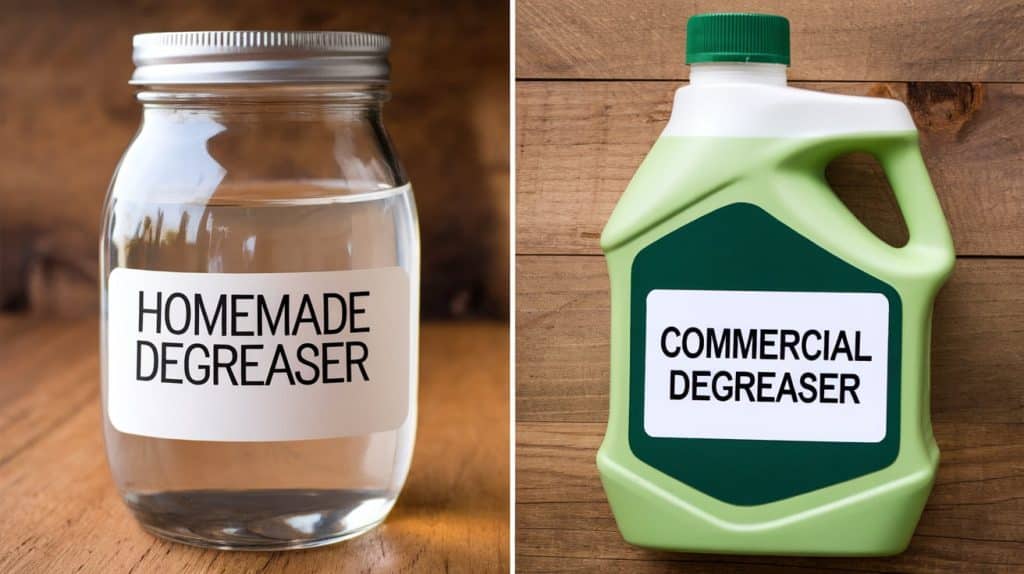
Homemade degreasers work well for regular kitchen maintenance and fresh spills. Daily use of natural cleaners prevents tough buildup and keeps surfaces clean.
Store-bought products might work faster on heavy buildup. However, natural cleaners prove just as effective when given proper time to work on the grease.
Kitchen tests show vinegar-based solutions remove most cooking splatter. Users report equal satisfaction with homemade mixtures compared to purchased products for daily cleaning tasks.
Cost Comparison
A basic homemade degreaser costs about 50 cents per bottle, while the same commercial cleaner typically sells for $4 to $8.
Let’s break down the costs for a basic recipe:
- Vinegar: 20 cents per cup
- Baking soda: 10 cents per tablespoon
- Essential oils: 15 cents per batch
- Water: negligible cost
- Reusable spray bottle: one-time cost of $2-3
Environmental Safety Considerations
Eco-Friendly Practices
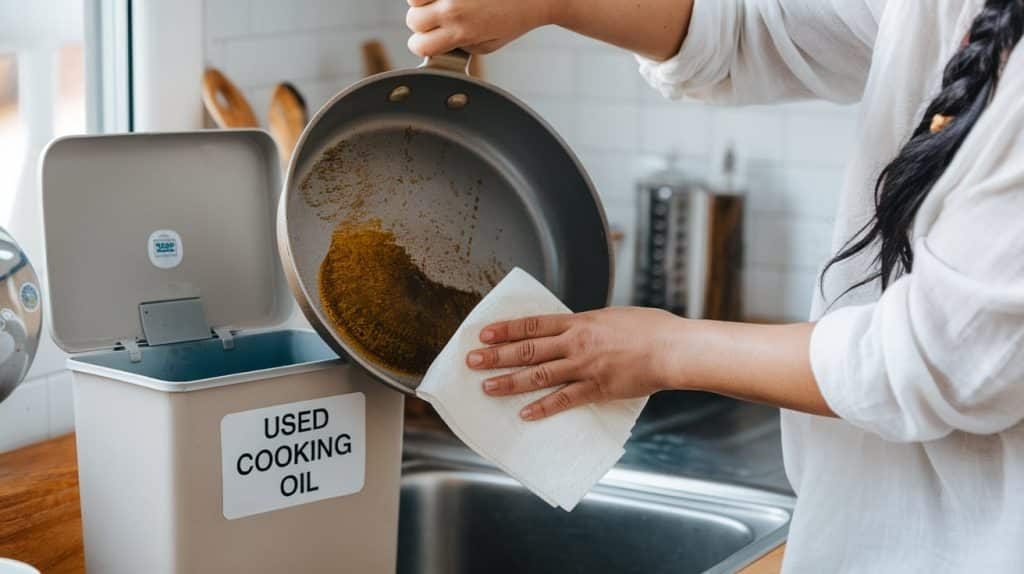
Never pour used grease down your sink or toilet. Collect cooking oil in a sealed container and check local recycling centers for proper disposal.
Wipe excess grease from pans with paper towels before washing. This practice prevents oils from entering water systems and causing clogs.
When cleaning greasy surfaces, use washable cloth rags instead of disposable wipes. You’ll reduce waste while saving money on cleaning supplies.
Consider these natural disposal methods for your used cleaning solutions:
- Pour diluted vinegar solutions into your garden
- Add baking soda paste to your compost
- Use old cleaning water to water non-edible plants
Allergen Information
Some people may react to citrus oils and peels in cleaning products. If you have sensitive skin or are allergic to citrus, skip these ingredients.
Test new cleaning mixtures on a small area of skin before full use. Watch for redness, itching, or irritation that might signal a reaction.
Natural cleaners can still cause reactions in sensitive individuals. Keep windows open while cleaning to reduce exposure to strong scents.
Replace scented oils with unscented options if needed. Your cleaner will work just as well without added fragrances.
Label all cleaning bottles with complete ingredient lists. This practice helps others avoid exposure to potential allergens.
Remember these key points for safe cleaning:
- Keep cleaning supplies away from food areas
- Store solutions in original containers with clear labels
- Never mix different cleaning products
- Use separate cleaning cloths for different tasks
Regular cleaning with natural products prevents the need for harsh chemicals. Make daily efforts to keep your kitchen clean while protecting your health and the environment.
Final Thoughts
Making your kitchen degreaser puts safer cleaning power in your hands. These natural solutions work well, cost less, and protect our environment.
Your kitchen stays clean without exposure to harsh chemicals. Basic items like vinegar, baking soda, and lemon do the heavy lifting against tough grease.
Start small with a simple vinegar-water mix. As you gain confidence, try different recipes to find what works best in your kitchen. Remember to clean spills quickly and maintain a regular cleaning schedule.
Share these cleaning tips with friends and family who want healthier choices. Every switch to natural cleaners helps reduce chemical use in our homes.

