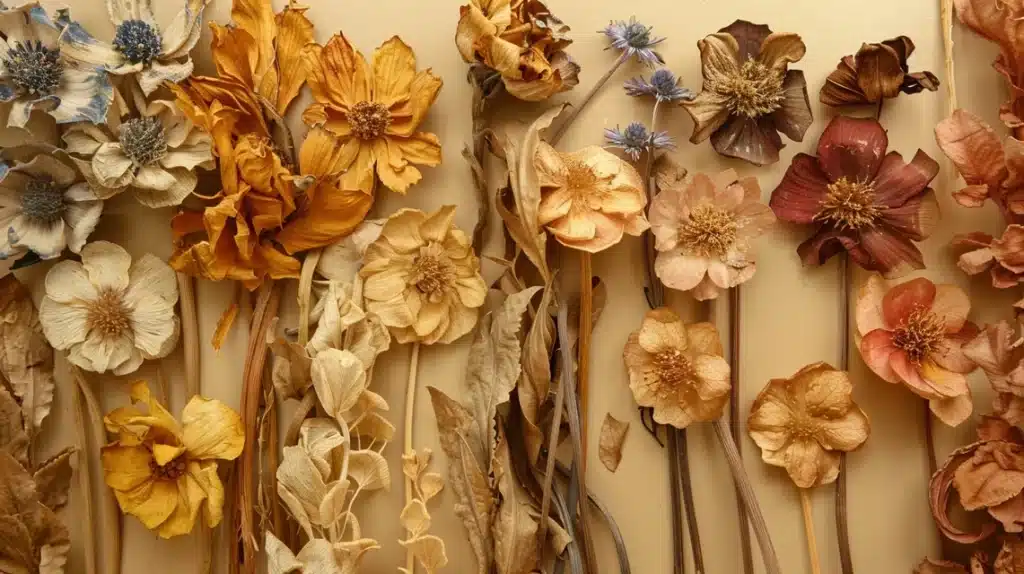
Creating beautiful, nature-inspired ornaments using dried flowers is a rewarding and creative way to personalize your holiday decorations.
This guide combines various techniques, from dried flower preservation to assembling different ornaments, whether pressed in frames or encased in resin.
Materials Needed
Pressed Flower Ornaments (Framed Glass)
- Dried, pressed flowers (e.g., salvia, lantana, pansies, ivy, juniper, holly)
- Hexagon-shaped glass frames (or any preferred shape)
- Tweezers (for delicate handling)
- Wire-edged ribbon, yarn, or string
- Heavy book or weight for pressing flowers (if not using pre-dried flowers)
Resin Flower Ornaments (Gold Hoop)
- Resin (high-performance, slow-hardener recommended)
- Gold hoop frames (or other metal rings)
- Resin tape or other adhesive tape
- Dried flowers (ensure they are fully dried to avoid rot)
- Ribbon or string for hanging
- Mixing stick
- Glitter (optional for a snowy effect)
Additional Tools for Both Projects
- Scissors
- Drill and drill bit (for making holes in resin pieces)
- Heat gun (for popping resin bubbles)
- Parchment paper (for preventing scratches during assembly)
- Foam board (to drill through safely)
Stepwise Instructions for Different Dried Flower Ornaments
Part 1: Preparing Dried Flowers
Collecting and Pressing Flowers
- Pick flowers that are in full bloom.
- Place flowers between the pages of a heavy book. Arrange them carefully to achieve your desired final look. You can layer more than one flower per book page, but ensure they’re evenly spaced.
- Place a weight (like a flour canister) on the book to apply consistent pressure.
- Leave flowers to press for 1–2 months, though a few weeks can work for most blooms. Ensure they are completely dry before removing them.
Choosing and Arranging Flowers
- After pressing, carefully remove flowers using tweezers to avoid tearing delicate petals.
- Sort your flowers by thickness; some may be better suited for framed projects, while thin blooms work well in resin.
Part 2: Creating Pressed Flower Ornaments in Glass Frames
Arranging Flowers in Glass Frames
- Open the glass frame and arrange the flowers inside to create a pleasing design. The arrangement should fit neatly within the edges of the frame.
- Close the frame securely, ensuring there are no gaps. This will protect the flowers from dust and maintain the ornament’s durability.
Attaching Ribbon for Hanging
- Thread a ribbon, string, or yarn through the top loop of the frame.
- Tie a secure knot or loop for hanging, adjusting to your preferred length.
Optional Variations
- Besides glass frames, dried flowers can be adhered to other surfaces using decoupage or pressed into air-dry clay.
Part 3: Making Resin Dried Flower Ornaments with Gold Hoops
Preparing the Resin Base Layer
- Tape one side of the gold hoop with resin tape to create a base for pouring.
- Mix a small amount of resin and pour a thin layer inside the hoop to create the foundation for your flowers.
Placing Flowers
- Place dried flowers on top of the first resin layer. Use a mixing stick to press the flowers into the resin and ensure they’re fully submerged.
- Allow this layer to set, preventing flowers from floating in the resin.
Adding Glitter and Second Resin Layer
- Sprinkle glitter lightly over the flowers to add a subtle sparkle effect.
- Mix and pour a second layer of resin to completely cover the flowers. Work slowly to avoid spilling over the edges.
Finishing and Drilling Holes
- Once the resin has fully cured, carefully peel off the tape.
- If needed, drill a small hole at the top for the ribbon or cord. To protect your workspace, use a foam board underneath.
Sanding and Adding Top Coats (Optional)
- If resin spilled over the edges, sand down any rough areas. You can add a top coat of resin to achieve a smooth, glossy finish.
Attaching Ribbon
- Measure and cut the ribbon to your preferred length.
- Thread it through the drilled hole, securing it with a knot for hanging.
Part 4: Additional Tips and Troubleshooting
For Pressed Flower Frames: Use thin flowers to prevent bulging and ensure the frame closes properly. If flowers are too thick, trim the stems or leaves.
For Resin Ornaments:
- Preventing Bubbles: Use a heat gun to pop bubbles in the resin after each pour. Be cautious around flowers, as they can shift.
- Avoiding Moisture Issues: Ensure flowers are completely dried before adding to resin. Any moisture can lead to rot over time.
- Layering Colors: Add a color-shifting pigment or glitter between resin layers for a unique, multi-dimensional effect.
Displaying and Storing Your Ornaments
- Hang on a Christmas tree or wall, or use larger frames as year-round décor.
- After the holidays, store ornaments in a cool, dry place to preserve their color and quality.
Summary
These DIY dried flower ornaments blend natural beauty with creativity, providing a memorable way to showcase garden blooms all year.
With pressed flowers in glass frames and resin-encased floral designs, your tree or home decor will feature personalized touches that can be treasured for years.
Enjoy experimenting with different flower types, frame shapes, and resin finishes for endless customization options.
Frequently Asked Questions
How Do I Prevent Mold in Dried Flower Ornaments?
Ensure flowers are fully dried before use, as any moisture can cause mold. Store ornaments in a dry environment and avoid exposing them to humidity.
What Types of Flowers are Best for Drying?
Flowers like lavender, pansies, salvia, and roses dry well due to their structure and vibrant colors, which tend to hold better through drying.
How Long Do Dried Flower Ornaments Last?
Properly dried and preserved flower ornaments can last several years if kept in low humidity, away from direct sunlight, which helps maintain their color and integrity.

