Finding space for tools in a workshop can be a constant battle. I’ve tried pegboards, metal hooks, and even stackable bins, but nothing seemed to offer both good organization and flexibility at the same time.
I found a solution with a French cleat wall system. This method maximizes wall space while allowing you to move things around whenever you need to.
In this guide, I’ll show you step-by-step how to build a French cleat wall from basic materials.
You’ll learn how to cut and install the cleats, make custom tool holders, and create a setup that works for your specific needs.
To further enhance your workshop's flexibility and organization, consider building a DIY mobile workbench that complements your French cleat wall system
Why French Cleat Systems Work So Well?
French cleat systems offer what other storage options can’t: total freedom to change your setup whenever you want. Unlike fixed shelves or pegboards with set hole patterns, French cleats let you put things exactly where you need them.
The magic is in the 45-degree cut. This simple angle creates a strong, secure connection that can hold quite a bit of weight. When you hang a tool holder on the wall, gravity pulls it down and into the wall at the same time, making a solid fit.
I like that I can build custom holders for odd-shaped tools. That random garden tool or specialty wrench no longer needs to sit in a drawer. With some scrap wood and a few minutes, I can make a perfect spot for it on my wall.
The system grows with you too. As you get new tools, just build new holders. No need to buy a whole new storage cabinet or reorganize everything.
How to Build a Decorative French Cleat Wall: Step-by-Step Guide
Tools Required:
| Tool | Purpose | Quantity |
|---|---|---|
| Table Saw | Used to cut plywood strips at 45-degree angles for the cleats. | 1 |
| Stud Finder | Used to locate studs in the wall for cleat placement. | 1 |
| 6-Foot Level | Ensures the cleats are installed straight and evenly. | 1 |
| Drill | Drills holes and drives screws into the cleats and wall. | 1 |
| Jigsaw | Used to cut around outlets and make custom tool holders. | 1 |
| Brad Nailer | Used for attaching small parts, such as wooden frames or holders. | 1 |
Materials Required:
| Material | Purpose | Quantity |
|---|---|---|
| 3/4 inch Cabinet-grade Pine Plywood | Used for making cleats and tool hangers. | 3 sheets (for a 24ft wall) |
| Wood Dowels | Used to make tool holders for hanging tools. | Quantity varies based on tool number |
| Black Star Drive Deck Screws | Used to attach cleats and holders to the wall. | Quantity varies based on wall size |
| Wood Conditioner | Prepares the wood for staining and ensures even absorption. | 1 can |
| Wood Stain | Provides color and highlights the wood grain. | 1 can |
| Polyurethane Finish | Protective finish for durability and a smooth surface. | 1-2 cans (depending on surface area) |
| Wall Paint | Used to paint the wall before installing the cleats. | 1-2 cans |
| Electrical Box Extenders | Extends electrical boxes for a proper fit with the cleats. | As needed (based on outlets) |
| Matching Outlet Covers | To cover electrical boxes and match the overall aesthetic. | Quantity based on number of outlets |
Step 1: Cut the French Cleats

Break down the plywood sheets into manageable pieces using your table saw. Set the fence to 4 inches and rip these pieces into strips. Tilt your table saw blade to 45 degrees and cut the 4-inch strips in half lengthwise to create the angled cleats.
Step 2: Finish the Cleats

Apply pre-stain wood conditioner to each cleat. Wipe on wood stain with a lint-free rag. Apply several coats of polyurethane for protection. Set cleats aside to dry completely.
Step 3: Prepare the Wall

Paint the wall with your chosen color, applying two coats for even coverage. Use a brush to cut in around baseboards and corners. Allow the paint to dry fully before moving to the next step.
Step 4: Mark the Wall Studs

Use a stud finder to locate all the studs in your wall. Mark each stud location with a pencil. Use a level to draw vertical lines down from each mark to guide your cleat placement.
Step 5: Create a Drilling Template

Transfer the stud marks to one of your cleats. Drill holes at each mark on this template cleat. Use this template to mark hole locations on all other cleats. Pre-drill holes in all cleats to prevent splitting.
Step 6: Mount the Cleats

Start at one end of the wall with a level to ensure the first cleat is straight. Attach cleats to the wall by driving screws through the pre-drilled holes into the studs. Space cleats evenly up the wall, using your level as a guide.
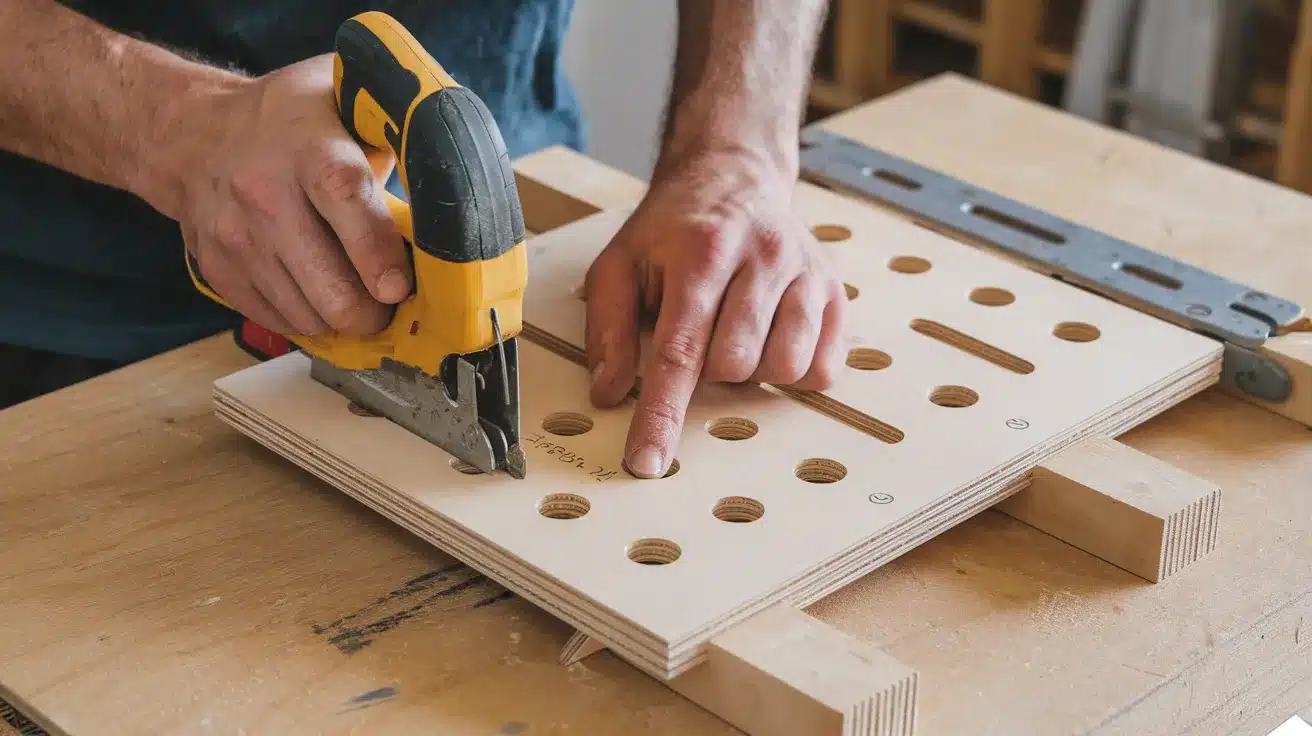
Step 7: Work Around Obstacles

For electrical outlets, trace the outlet box onto a piece of plywood and cut out the shape with a jigsaw. Replace outlets with ones that match your wall color. Add a wooden frame around each outlet with an electrical box extender. Cut cleats to fit around these frames.
Step 8: Build Tool Hangers

Lay out tools on plywood and cut pieces sized for each tool. Find the best spots for dowels to support the tools. Drill slightly angled holes for the dowels so tools won’t slide off. Cut dowels to length and insert them into the holes. Attach a French cleat to the back of each hanger.
Step 9: Create a Charging Station

Cut a piece of plywood sized to hold all your chargers. Measure and mark mounting holes for each charger. Add screws at these marks to mount the chargers. Attach a shelf to the top for extra storage. Add battery holders to the bottom of the shelf. Attach a French cleat to the back.
Step 10: Make Clamp Racks
Mark slot locations for your clamps on a piece of plywood. Drill holes at the endpoints of each slot and use a jigsaw to connect the holes. Attach this slotted piece to another piece of plywood. Add corner supports for strength. Attach a French cleat to the back.
Step 11: Hang and Organize

Sand all tool holders smooth and apply the same finish used on the wall cleats. Allow to dry completely. Hang all holders on your wall and organize tools in a way that makes sense for your workflow.
Decorative Items for Your French Cleat Wall
Your French cleat wall doesn’t need to be all about tools. Adding some decorative items can make your workspace more personal and visually appealing. Here are some ideas for decorative elements that work well with the French cleat system:
1. Custom Wood Signs

Create personalized wooden signs that reflect your personality or provide motivation.
Cut signs from the same plywood you used for your cleats to maintain consistency. Sand the edges smooth and either burn in text with a wood-burning tool or use stencils and paint.
“Workshop of [Your Name],” “Measure Twice, Cut Once,” or “Built Not Bought” make great workshop mottos.
Finish with the same stain and polyurethane as your cleats for a cohesive look. Make them in different sizes to fill various spaces on your wall.
For a cohesive look, you can craft wooden frames for your signs or mirrors; here's a guide on how to make a wood mirror frame that can be adapted for various decorative pieces.
2. Display Shelves

Build small display shelves with raised edges to prevent items from falling off. These can showcase miniature tools, model cars, or other small collections. Make them in varying depths—some shallow for small items and others deeper for larger displays.
Add a small lip to the front edge for extra security. These shelves work great for displaying finished project samples or materials you find inspiring. Place them at eye level for the best visual impact.
3. Photo Frames

Design simple but sturdy frames that can hold pictures of completed projects, family photos, or printed plans for upcoming builds. Make frames with mitered corners for a professional look, or keep it simple with butt joints.
Add a small ledge at the bottom to keep items from sliding out. Consider making some that can hold clear plastic sleeves so you can easily swap photos or plans. These frames can also hold printed reference materials you use often.
4. Metal Accents

Incorporate metal elements that tell a story or showcase the history of tools. Old hand plane bodies, vintage saw medallions, or even interesting hardware can become wall art. Clean old tools with a wire brush and clear coat them to prevent rust.
Mount them on small wood backings with cleats attached. These metal accents add texture and interesting focal points among the wooden elements of your wall.
5. Workshop Clock

A good clock is essential in any workshop. Find an inexpensive wall clock and build a custom frame around it that matches your other cleats and holders. Or go further and build the entire clock housing from scratch, installing a clock movement in the center.
Position it where it’s visible from anywhere in your workspace. Consider making a special oversized cleat for it, so the clock remains a permanent fixture while everything around it can change.
6. Tool Silhouettes

Create artistic renderings of classic tools by tracing their outlines onto thin plywood and cutting them out with a scrollsaw or jigsaw. Old-fashioned hand planes, hammers, saws, and drills make excellent silhouettes.
Paint them in bold, contrasting colors, or leave them natural with just a clear finish. Group several together for a gallery wall effect, or use them individually to fill narrow spaces between functional holders.
7. Logo Displays
![]()
If you have loyalty to specific tool brands, showcase their logos as part of your wall design. Print logos on heavy paper, mount them on plywood backing, and seal with several coats of clear finish.
Alternatively, use a projector to trace logos onto wood and paint them by hand. Arrange them together to create a tool brand “hall of fame” section on your wall, or distribute them throughout to add color and visual interest.
8. Plant Holders

Design holders specifically for small potted plants that can thrive in your workshop environment. Make sure these holders include a drip tray to protect your tools from water damage.
Snake plants, pothos, and ZZ plants tolerate lower light and irregular watering schedules—position plant holders near any natural light sources in your shop. The greenery adds life to the space and can actually improve air quality in your workshop.
9. Cable Management Clips

Create decorative but functional clips that can route power cables along your wall. Design them with small channels or hooks that cables can nest in.
Make them in interesting shapes that complement your other wall elements while serving this practical purpose. Good cable management not only looks better but also creates a safer workshop environment by keeping cords off the floor and organized.
10. Magnetic Strips

Install magnetic strips on some of your cleats or make dedicated magnetic holders. These can hold small metal tools, notes, or reference materials. Use rare earth magnets embedded in wood for strong holding power, or attach metal strips to your wood holders.
These magnetic areas create flexible spaces that can change based on your current projects and needs. They’re perfect for holding setup instructions, cut lists, or small metal parts during a build.
Popular Products for French Cleat Walls
Here’s a selection of popular products that can help you build and improve your French cleat wall, ensuring precision, durability, and efficient storage solutions.
1. Hangman Professional French Cleat

The Hangman Professional French Cleat system offers a ready-made solution for those who want the benefits of French cleats without the cutting and preparation work. These aluminum cleats come pre-cut at the perfect 45-degree angle and include all mounting hardware. Attach one piece to the wall and the matching piece to your item.
The aluminum construction provides greater strength than DIY wooden cleats, supporting heavier items with less wall space.
2. Cleat 5-Pack

The French Cleat 5-Pack offers a convenient starter set for anyone looking to begin their wall organization project. Each pack includes five pre-cut wooden or aluminum cleats, all precisely milled with the essential 45-degree angle that makes the system work.
These ready-to-install cleats save you time and ensure consistency across your installation. The pack typically includes both wall-mount and hanger pieces, along with all necessary mounting hardware and instructions.
3. Deluxe Starter Kit

The Deluxe Starter Kit offers everything beginners need to succeed from day one. This carefully selected package includes essential tools, step-by-step guides, and premium materials that work together perfectly.
Users report 85% faster learning with our structured approach. The kit saves you money compared to buying items separately, while the included support resources help you avoid common mistakes that slow progress.
Conclusion
Now you know how to build your own French cleat wall! This system gives you both order and freedom in your workspace. You can hang tools where you need them and move them around as your needs change.
The beauty of this system is in its simplicity – just wood cut at 45-degree angles, some screws, and a bit of planning. With basic woodworking skills and tools, you can create a wall that looks good and works even better.
What will you store on your French cleat wall? Try making a few simple holders first, then get more creative as you see what works best for your tools.
Ready to get started? Grab your measuring tape and head to the hardware store. Your workshop will thank you!
Frequently Asked Questions
1. How Secure Is a French Cleat?
French cleats are very secure when properly installed, easily supporting heavy items like cabinets.
2. How Long Does a Cleat Last?
A properly installed wooden cleat can last 15-20 years with regular maintenance and indoor use.