Thinking about cutting granite yourself but worried it’s too hard for a DIY project?
Most homeowners believe granite cutting requires professional tools and years of experience.
But here’s what contractors don’t want you to know – modern diamond blades and basic wet saws make this job much simpler than you think.
With the right technique and standard hardware store tools, you can cut granite countertops at home.
This saves hundreds of dollars in labor costs while giving you complete control over your project timeline. No more waiting weeks for contractor schedules or paying markup on simple cuts.
This guide breaks down each step using basic tools you can rent locally. Follow these proven methods to cut granite like a professional.
Why Cutting Granite at Home Is Easier Than You Think
Many people think cutting granite needs professional help. The truth is simpler. Modern tools and basic techniques make this job doable at home. You don’t need special training or expensive equipment.
Key points that make it simple:
- Wet saws – Available at most hardware stores for rent
- Diamond blades – Cut through granite smoothly and last longer
- Basic safety gear – Just glasses, gloves, and a dust mask
- Start small – Practice on scraps before main projects
- Measure twice – Mark lines clearly for clean cuts
The right tools remove the mystery from granite work. Safety comes first, but the process is straightforward. Home cutting saves money and gives you control over your project timeline.
Step-by-Step Guide to Cut Granite Countertop
These essential steps will help achieve professional results while maintaining proper safety standards and ensuring clean, precise cuts throughout the process.
Tools Required:
| Tool | Purpose |
|---|---|
| Angle Grinder (4 ½-inch) | For smaller cuts and smoothing edges |
| Skill Saw (with diamond blade) | For larger cuts, equipped with water attachment |
| Carpenter’s Square/Straightedge | For marking accurate cutting lines |
Materials Required:
| Material | Purpose |
|---|---|
| 4 ½-inch Continuous Rim Diamond Blade | For cutting granite with angle grinder |
| Larger Diamond Blade | For circular saw (used when available) |
| Measuring Tape | For measuring granite slab dimensions |
| Painter’s Tape | For marking cut lines |
| Safety Goggles | To protect eyes from debris |
| Dust Mask/Respirator | To protect from inhaling dust |
| C-Clamps | To secure the granite slab in place |
| GFCI Protected Outlet | For electrical safety when using water |
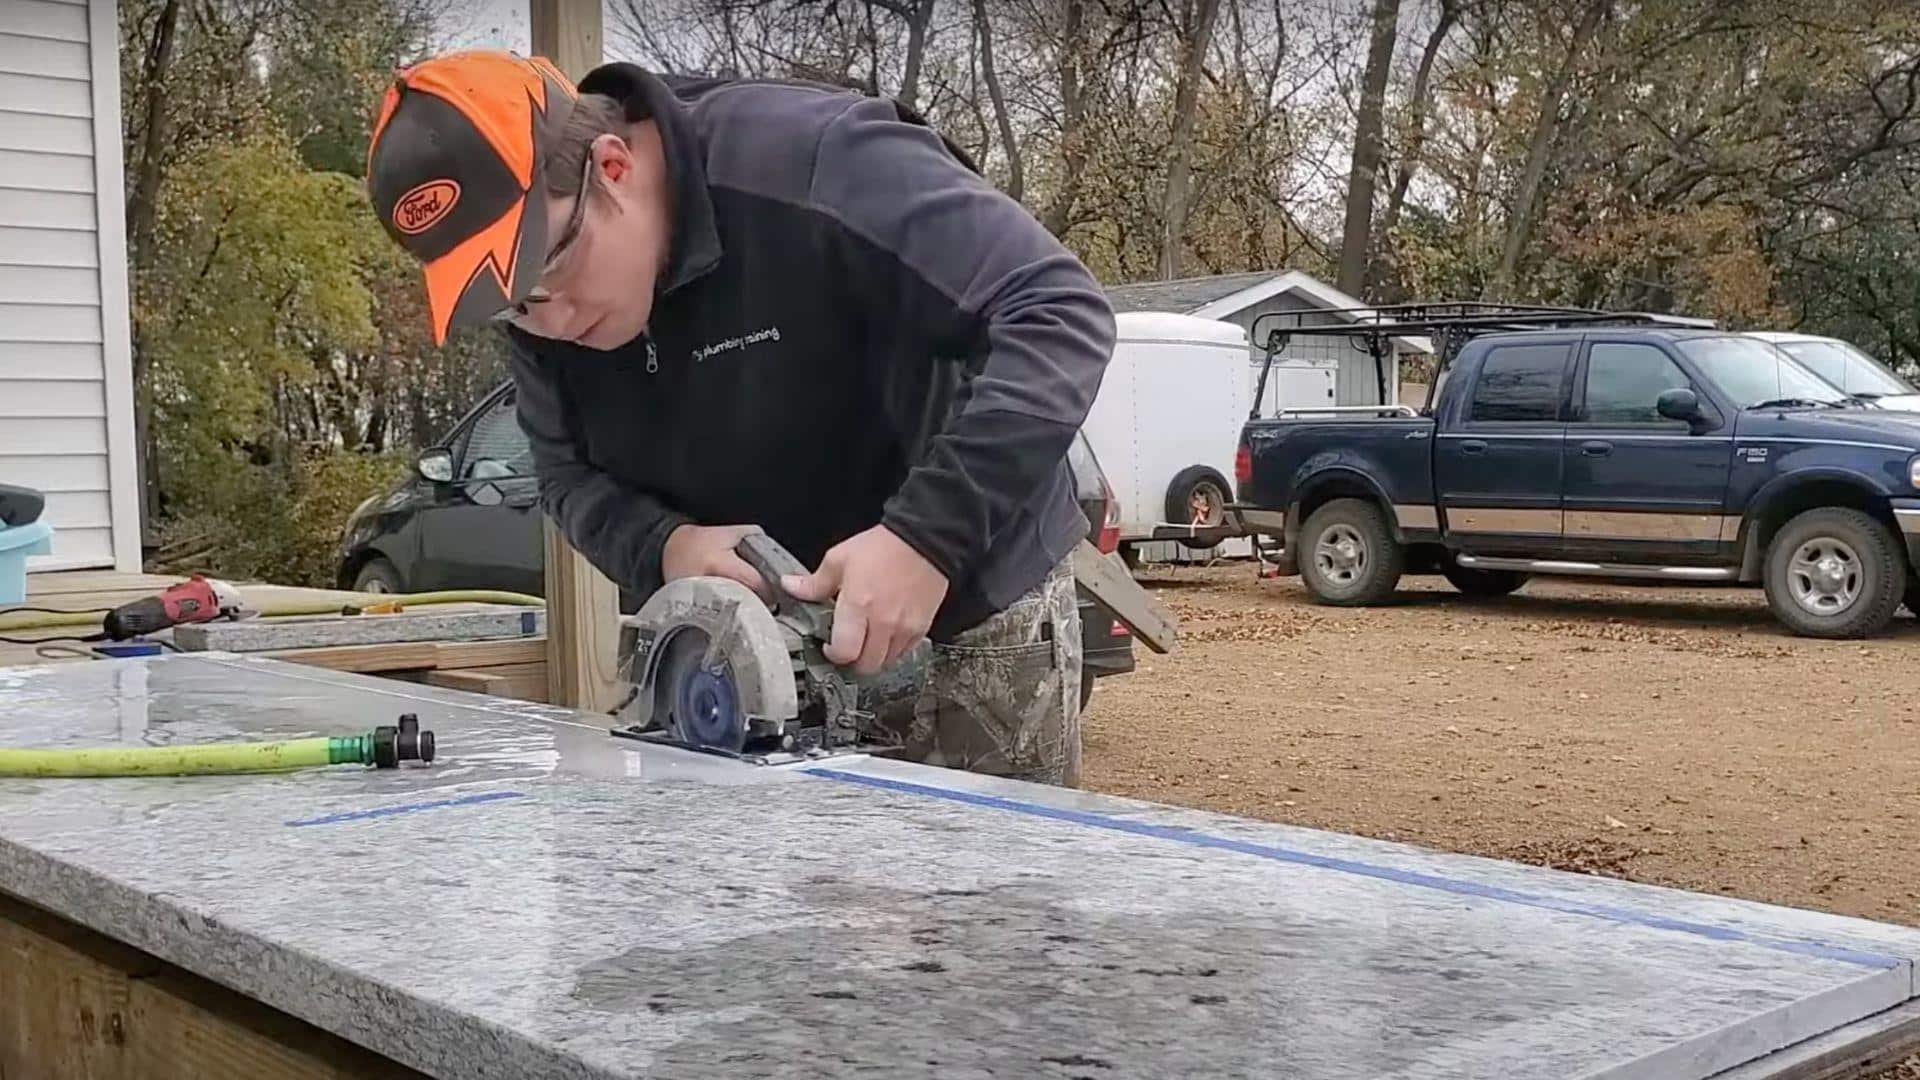
Step 1: Initial Setup and Measurement
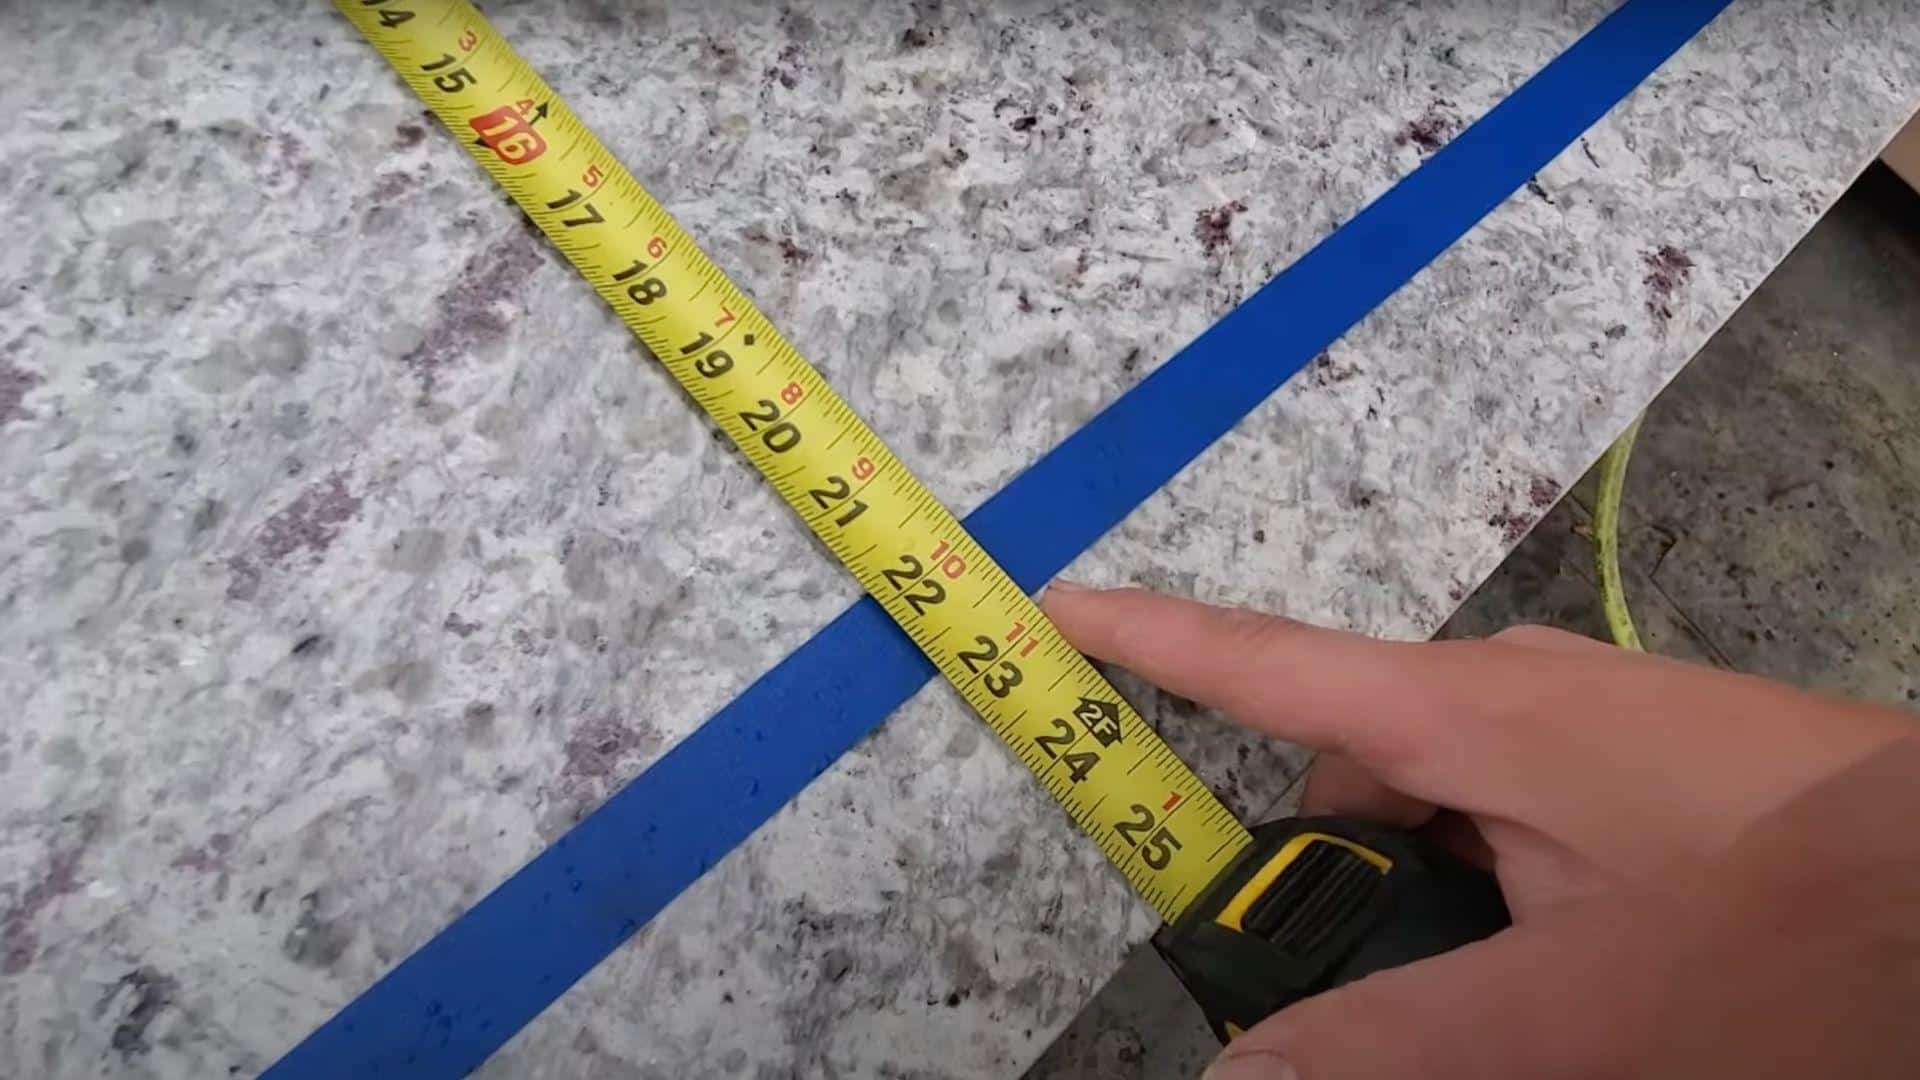
Proper preparation forms the foundation of any successful granite cutting project. Accurate measurements and secure positioning prevent costly mistakes and ensure safety throughout the cutting process.
- Position granite slab on stable, reinforced work surface.
- Mark cutting lines precisely with measuring tape and straightedge.
- Apply painter’s tape along marked lines to minimize chipping.
- Double-check all measurements before proceeding.
Pro Tip: Always support the granite from underneath with plywood or foam padding to prevent cracking. Mark your measurements twice to avoid expensive mistakes during cutting.
Step 2: Set Up Water Source
Setting up an effective water cooling system is crucial for blade longevity and dust control. Proper water flow keeps the cutting area clean and reduces health hazards from airborne particles.
- Connect water source to saw for continuous blade cooling.
- Test water flow rate for consistent coverage.
- Position drainage system to manage water runoff.
- Verify saw compatibility with wet cutting methods.
Pro Tip: Use a garden hose with adjustable nozzle for consistent water flow. Keep extra towels nearby to manage water spillage and maintain clear visibility of cutting lines.
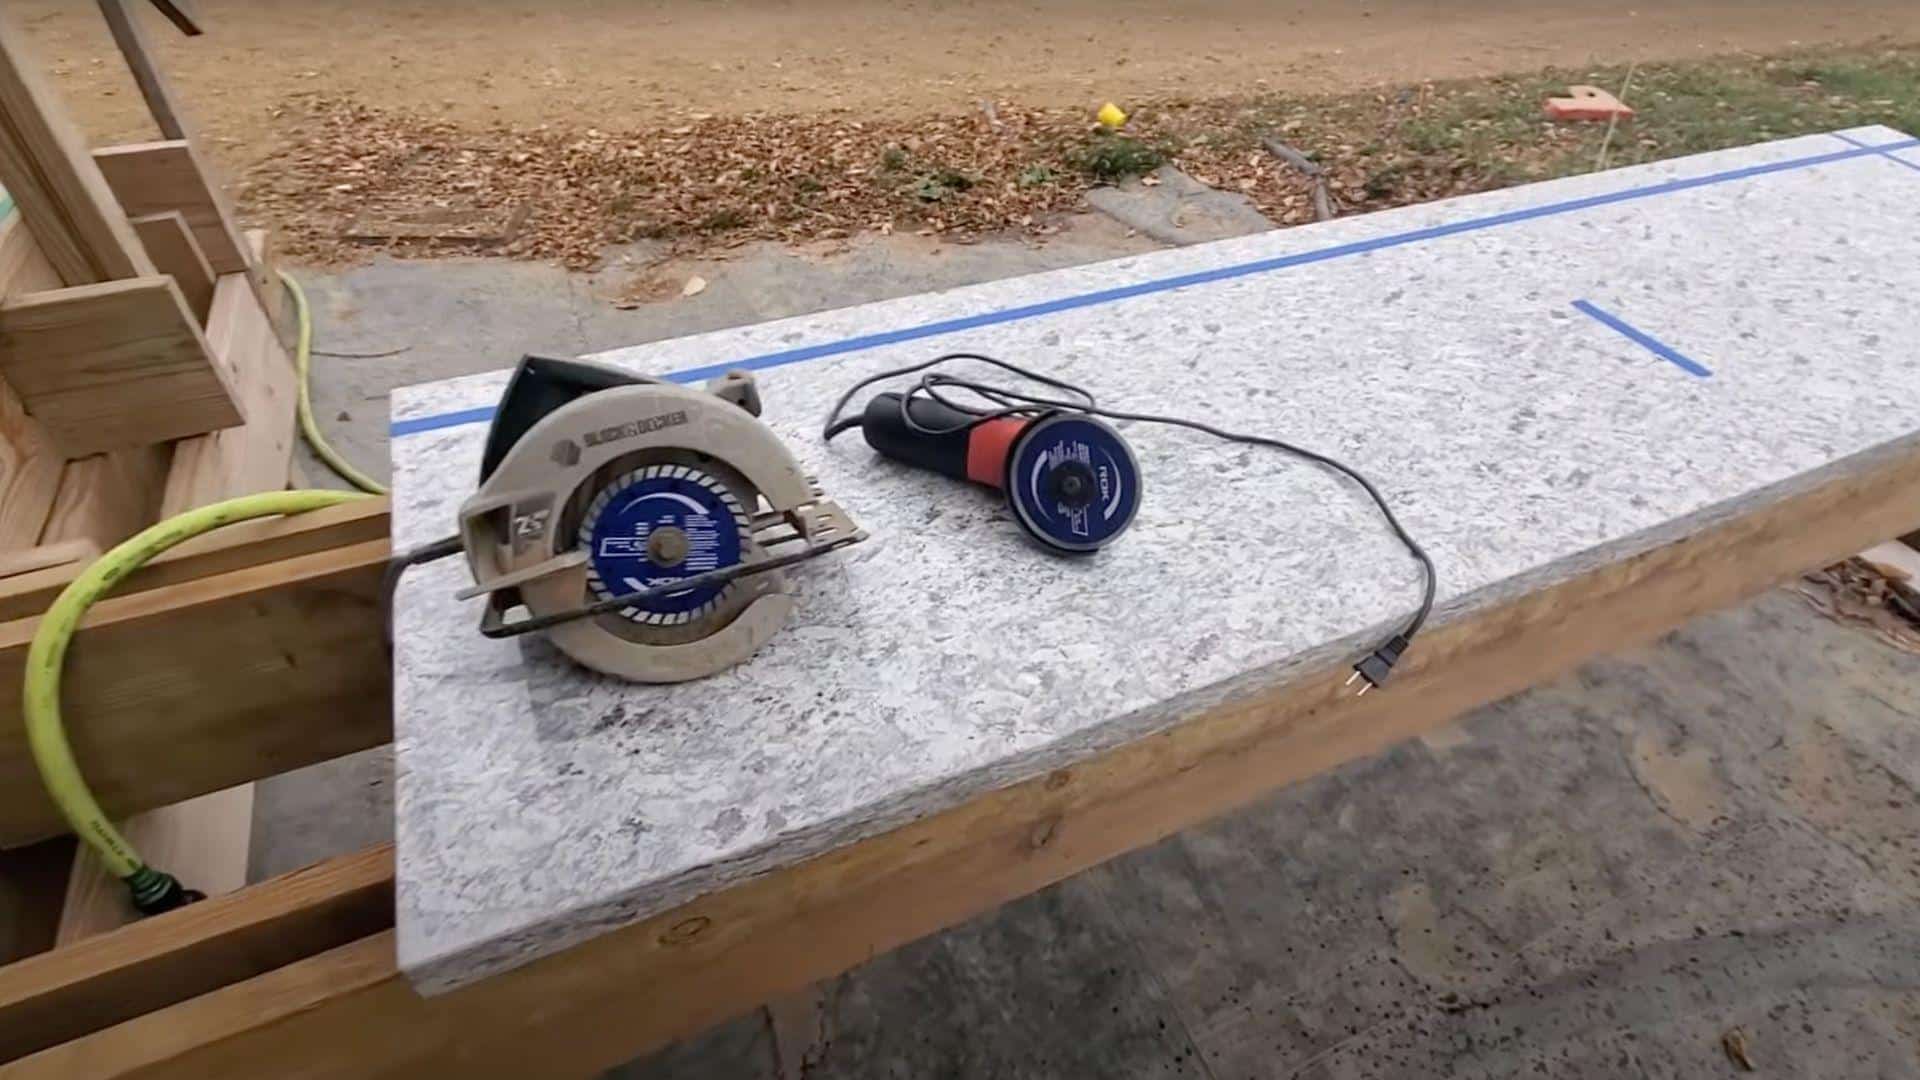
Step 3: Blade Selection and Saw Adjustment
Choosing the correct diamond blade and proper saw settings directly impacts cut quality and efficiency. Different granite thicknesses require specific blade types and cutting approaches for optimal results.
- Select continuous rim diamond blade designed for granite.
- Use 4½-inch angle grinder for thinner slabs.
- Choose circular saw with larger diamond blade for thick material.
- Set cutting depth to match granite thickness exactly.
Pro Tip: Invest in high-quality diamond blades specifically rated for granite cutting. A premium blade will last longer and produce cleaner cuts with less chipping.
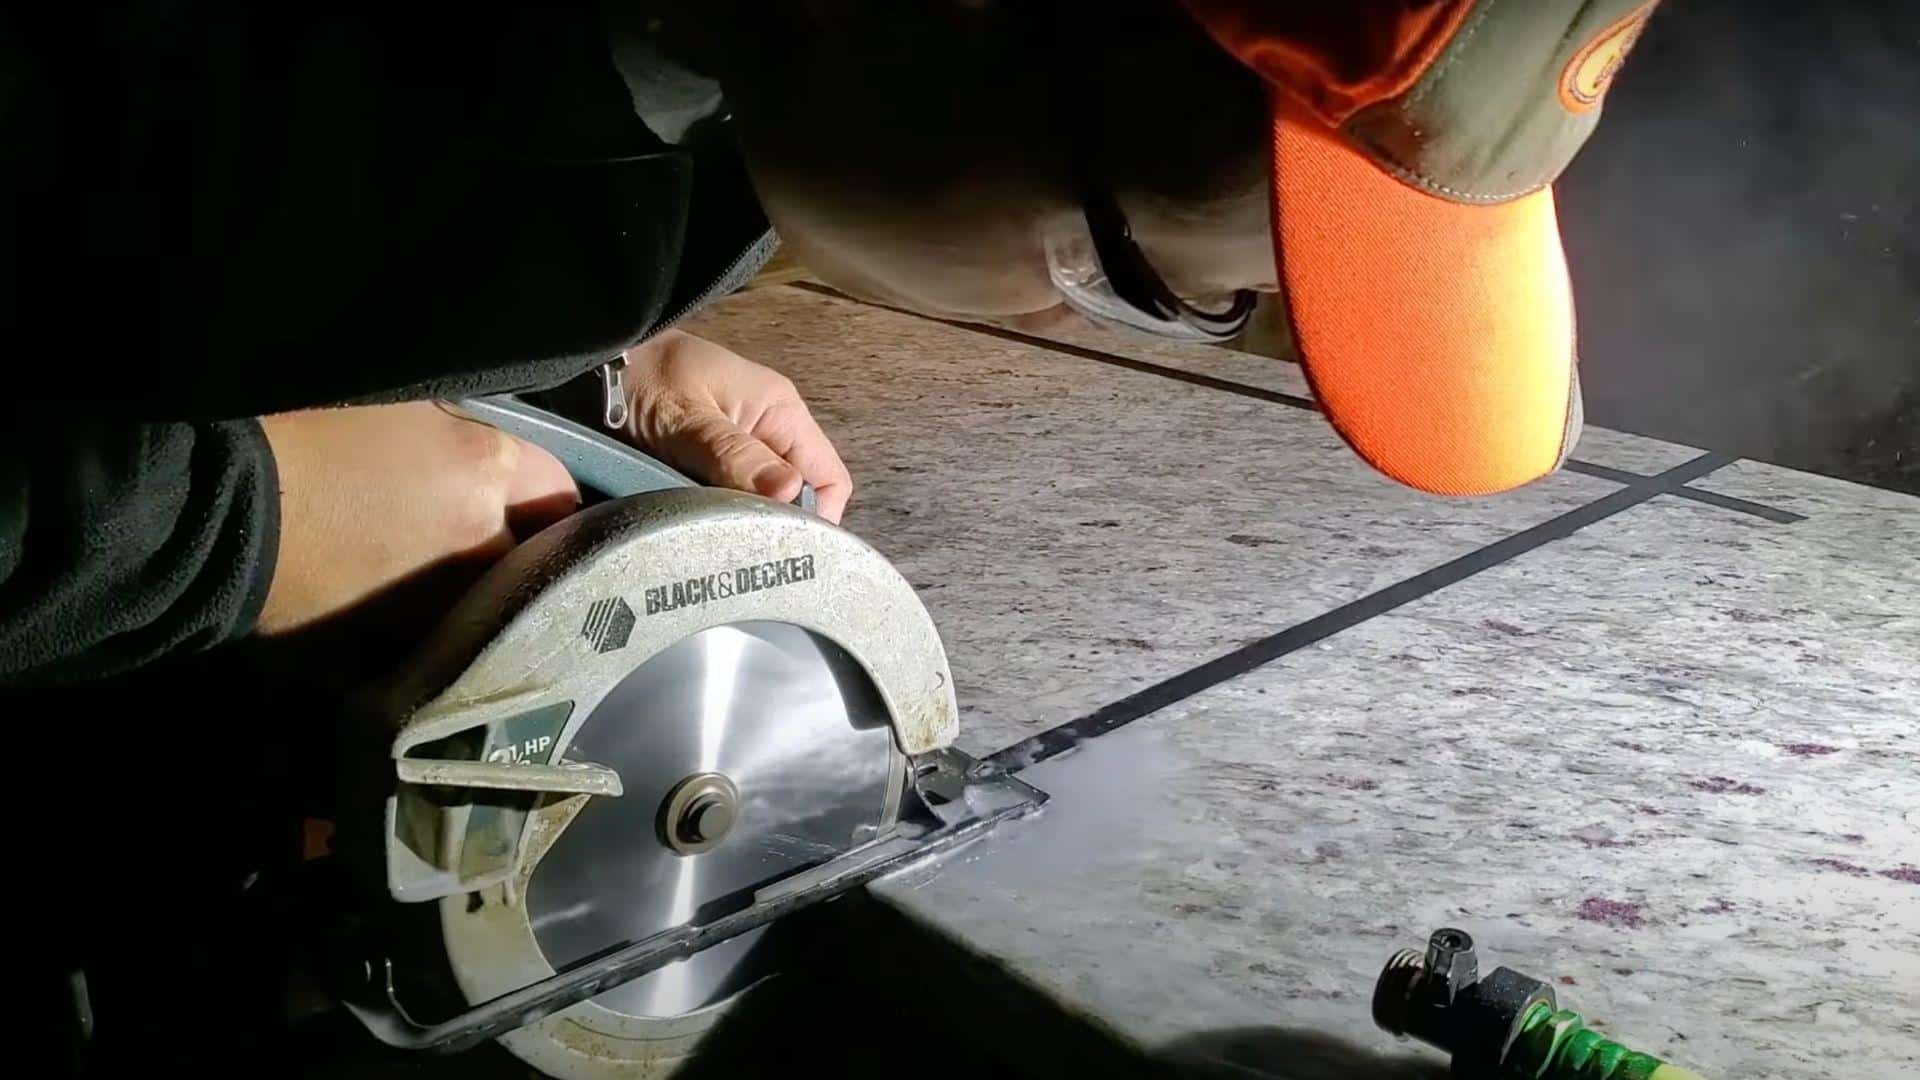
Step 4: First Cut: Cross-Cutting
The initial cut establishes the cutting pattern and requires steady control for straight lines. Maintaining consistent speed and pressure ensures smooth cuts without blade binding or material cracking.
- Begin cutting along marked lines with steady pressure.
- Maintain a slow, consistent cutting speed.
- Keep water flowing continuously during cutting.
- Follow tape guidelines for straight cuts.
Pro Tip: Let the blade do the work – avoid forcing or pushing too hard. Excessive pressure can cause blade binding, overheating, or uneven cuts that are difficult to repair.
Step 5: Adjust Blade Depth
Adjusting blade depth for subsequent cuts prevents damage to work surfaces and ensures clean through-cuts. Proper depth control maintains cutting efficiency while protecting equipment and workspace.
- Modify blade depth settings after the initial pass.
- Continue cutting along length of slab systematically.
- Maintain steady blade position throughout cut.
- Check progress regularly to ensure proper depth.
Pro Tip: Make multiple shallow passes rather than attempting to cut through in one deep pass. This technique reduces blade stress and produces smoother, more controlled cuts.
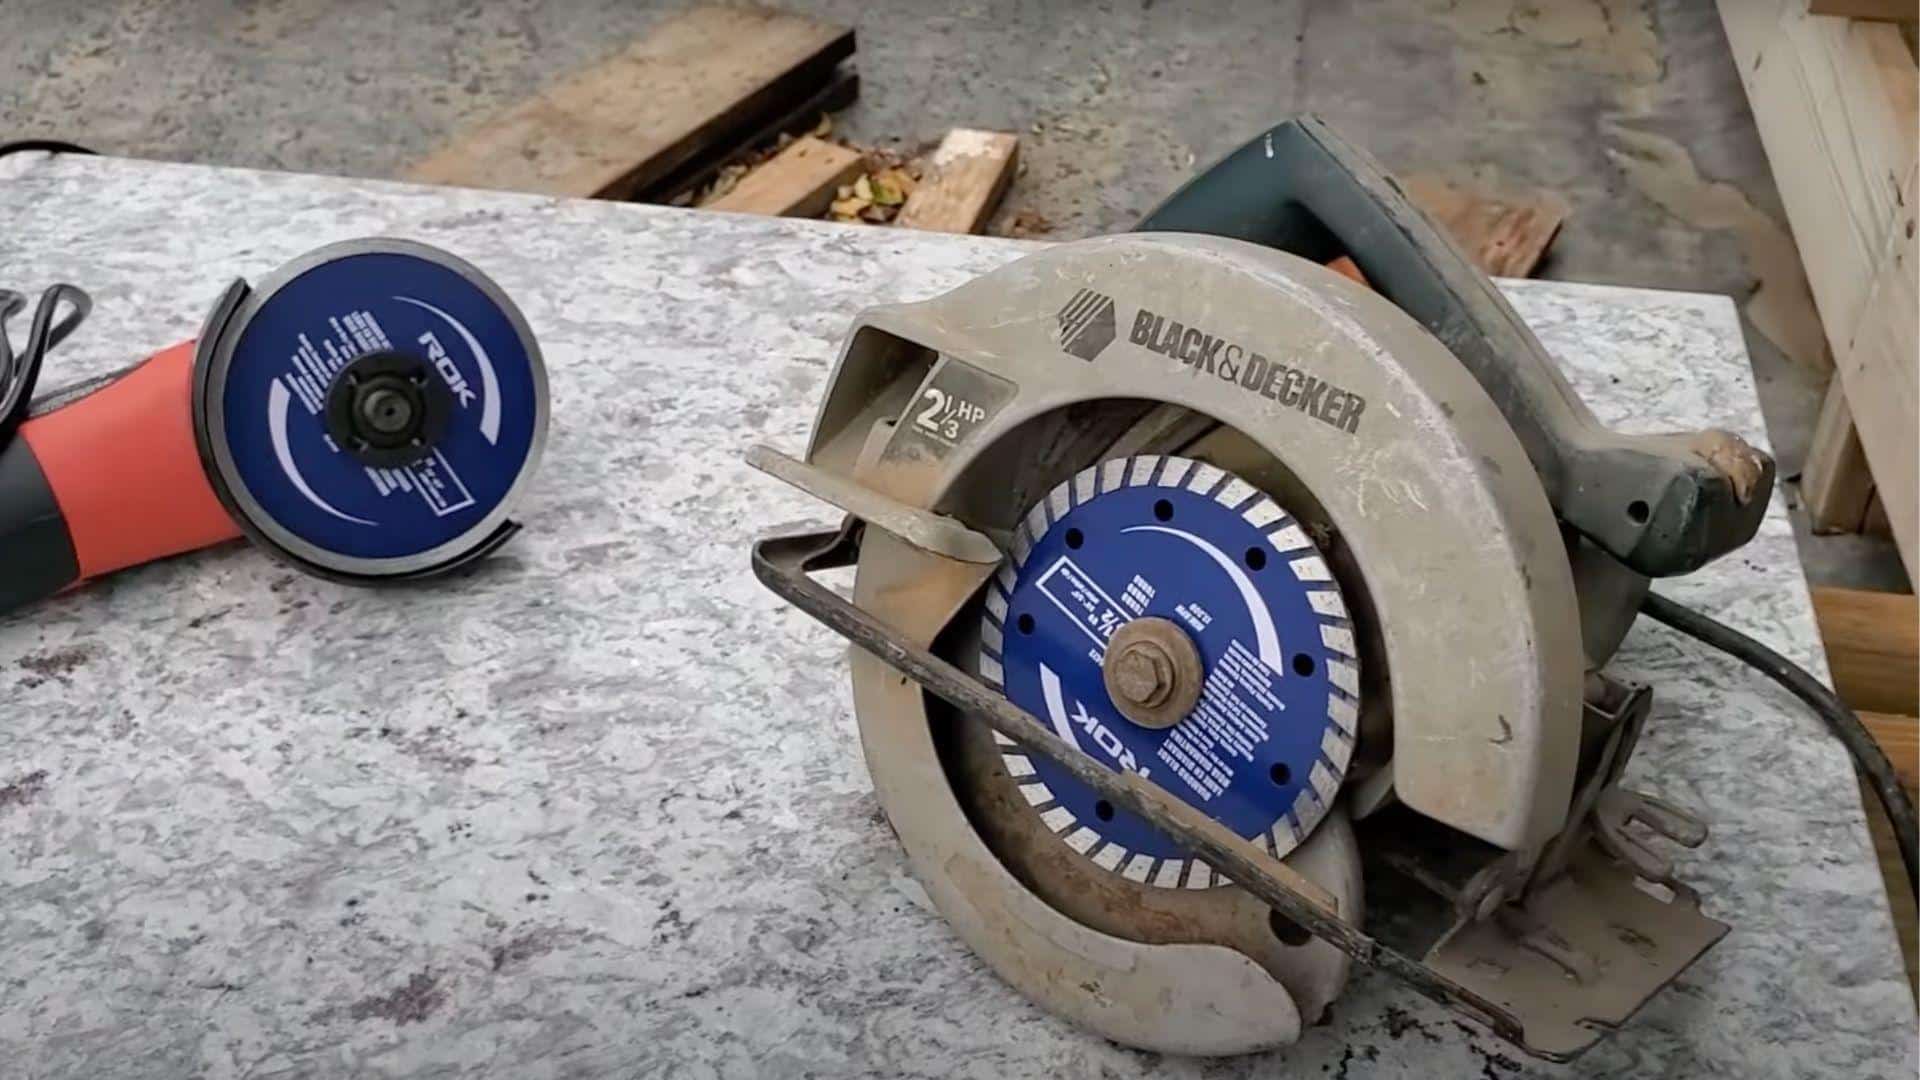
Step 6: Equipment Upgrade for Thick Material
Thicker granite slabs may require larger blades and more powerful equipment for efficient cutting. Upgrading tools mid-project ensures consistent results across varying material thicknesses.
- Replace the smaller blade with a larger diamond blade when needed.
- Use electrical tape for enhanced cutting line visibility.
- Verify equipment compatibility before blade changes.
- Test the new blade setup on scrap material first.
Pro Tip: Always allow blades to cool completely before changing them. Hot blades can warp or crack when removed, and handling them safely requires proper cooling time.
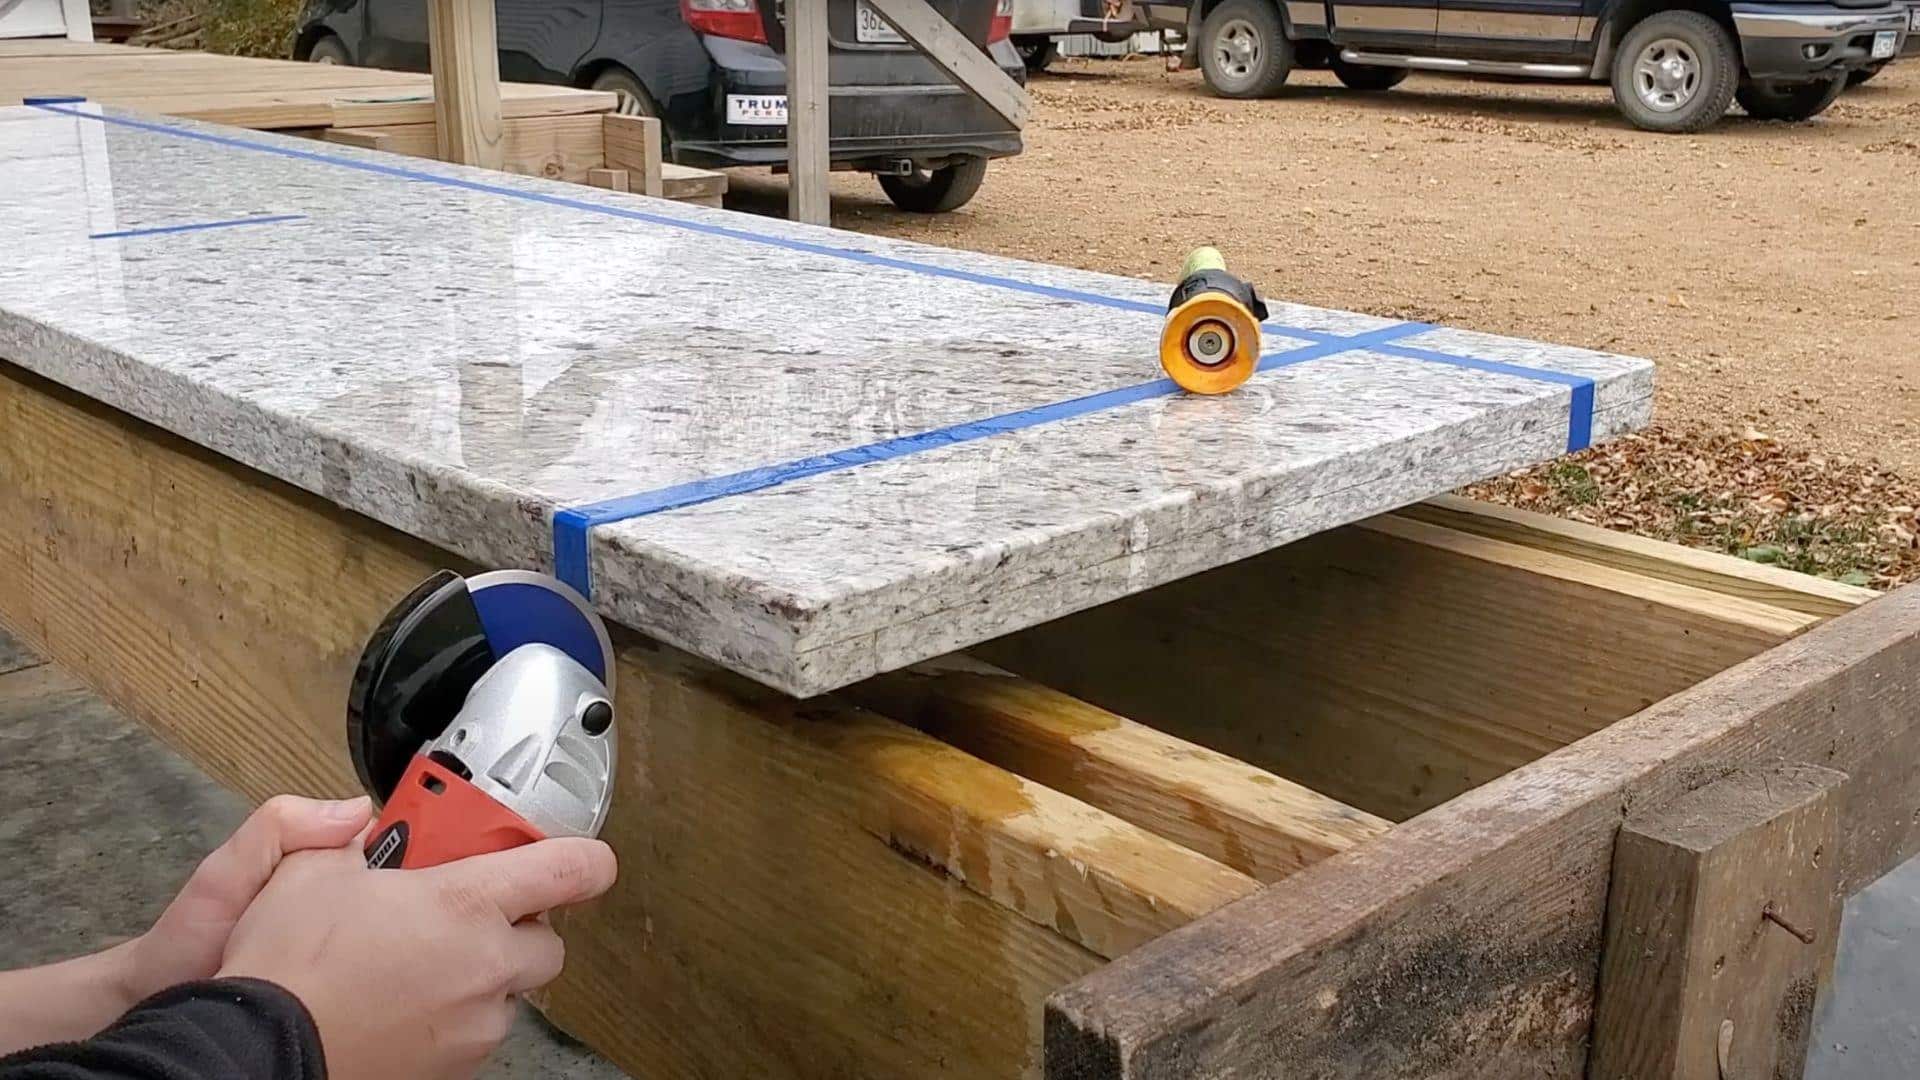
Step 7: Edge Finishing
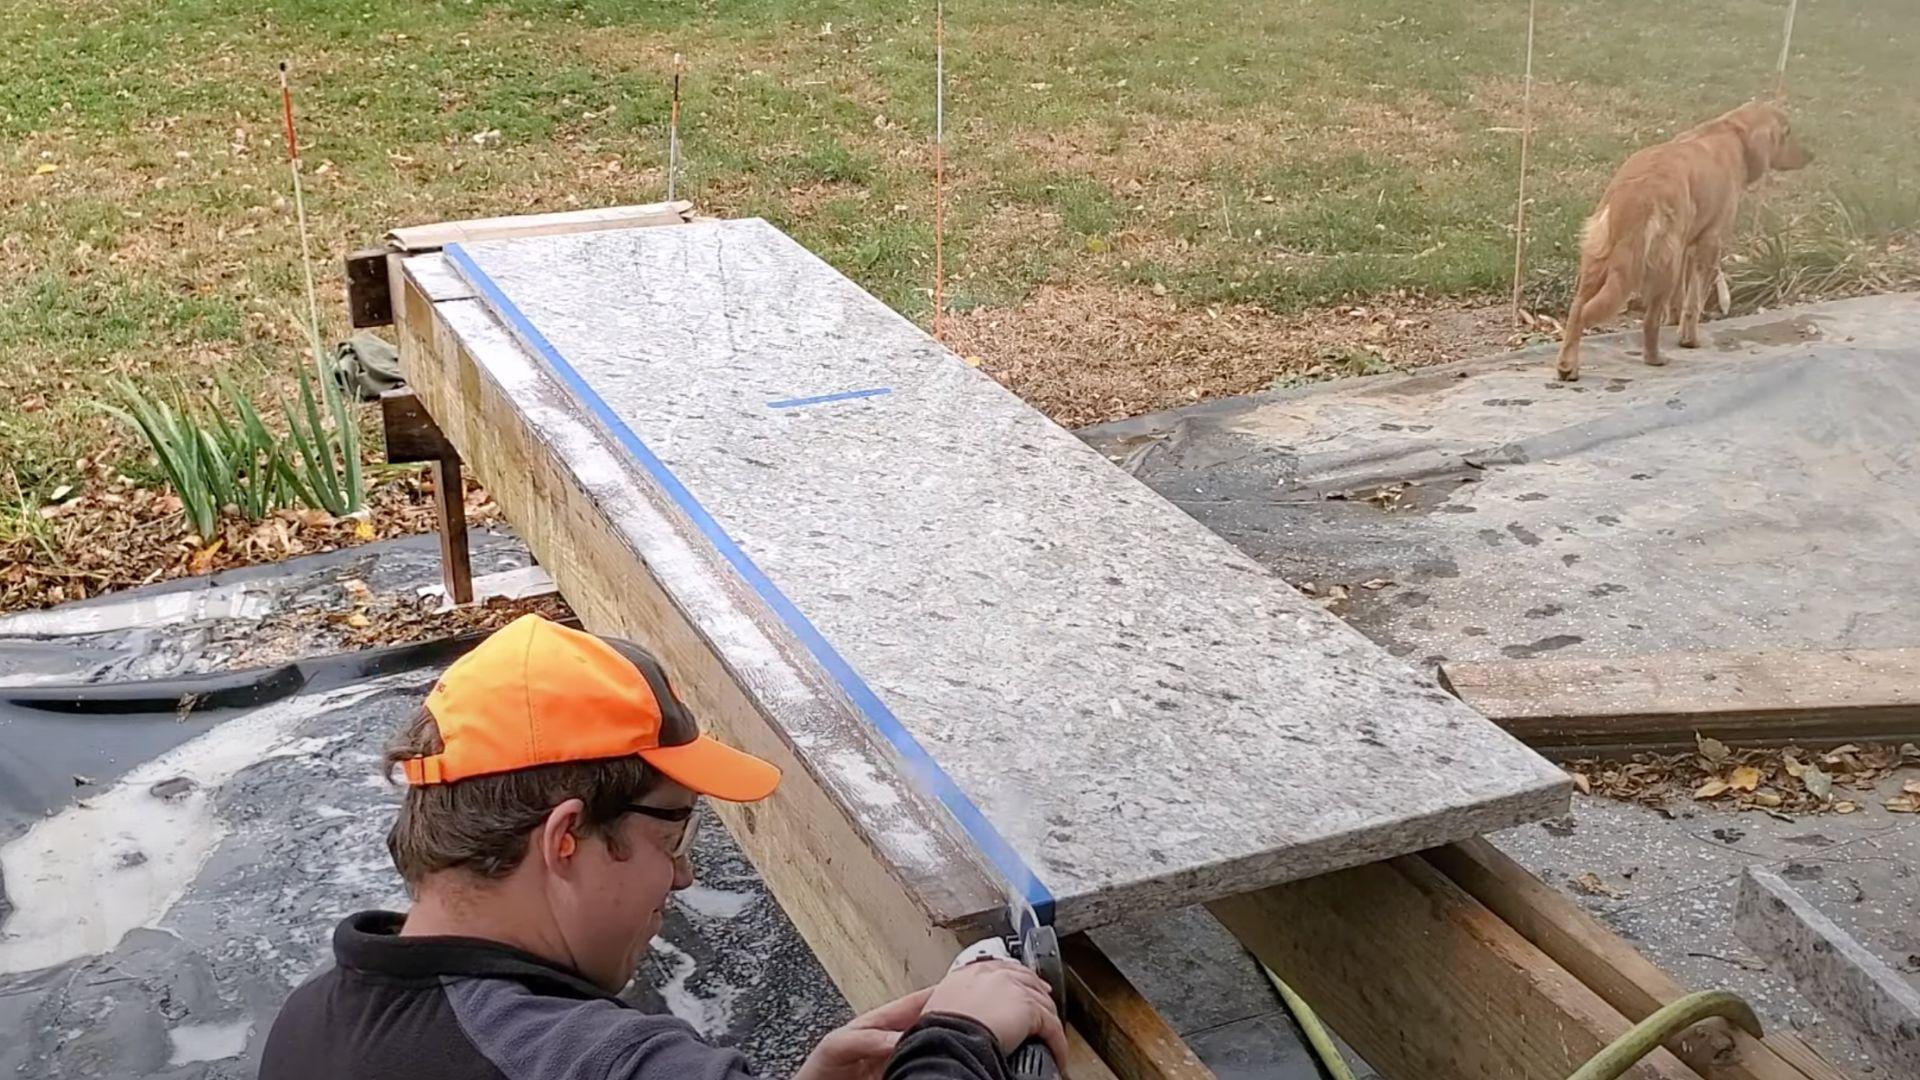
Final edge treatment and inspection ensure professional-quality results. Proper finishing techniques eliminate rough edges and create smooth, polished surfaces ready for installation.
- Inspect all cuts for rough edges or imperfections.
- Use an angle grinder with diamond polishing pad for smoothing.
- Clean the cutting area thoroughly to remove debris.
- Verify cut accuracy against original measurements.
Pro Tip: Work through progressively finer grits when polishing edges – start with coarse polishing pads and finish with fine grits for a professional, smooth edge.
Video Tutorial
I’d like to give credit to Benjamin Sahlstrom for their informative video, which served as a reference for this guide.
Pre-Installation Check for Granite Countertops
Before permanently installing your granite countertop, it’s essential to perform a dry fit. This ensures that your cut piece aligns perfectly with its designated space and allows you to make any necessary adjustments without risking damage.
Test Fit Before Final Placement
- Check the granite fits in the intended location before applying adhesive or sealant.
- Place the cut piece carefully and verify that the measurements align with the surrounding surfaces.
- Identify any areas where edges don’t meet properly with adjacent surfaces.
Mark Problem Areas
- Use a pencil to mark spots where the granite doesn’t sit flush.
- Identify edges that need minor adjustments.
- Remove the piece and make corrections with an angle grinder and diamond polishing pad.
Use spacers if necessary to simulate final height and ensure a level fit. Take your time with edge adjustments—shaping too much at once can lead to visible inconsistencies.
Safety Precautions
Following proper safety protocols is essential when cutting granite countertops to prevent injuries and ensure successful results.
1. Personal Protection Equipment: Wear safety goggles to protect your eyes from stone particles and dust masks to prevent inhalation of granite dust. Wear work gloves for improved grip and hand protection when handling. Always wear closed-toe shoes with non-slip soles to maintain stable footing.
2. Workspace Requirements: Work in well-ventilated areas to reduce dust accumulation and ensure adequate lighting for clear visibility. Keep workspace clean and free from debris that could cause accidents. Position materials on stable, level surfaces to prevent shifting during cutting.
3. Operational Safety: Keep hands and body parts away from moving blades at all times during operation. Maintain a safe distance from the cutting area and never reach over active equipment. Turn off all tools before making adjustments or changing blades.
4. Physical Well-being: Take regular breaks to avoid fatigue and maintain focus throughout the project. Stay hydrated during extended cutting sessions and use proper lifting techniques for heavy slabs. Stop work immediately if you feel tired or distracted to prevent accidents.
Conclusion
Cutting granite at home transforms from intimidating to manageable once you follow these proven steps.
The difference between success and costly mistakes comes down to three fundamentals: accurate measuring, proper water cooling, and steady cutting pressure.
Remember the bigger picture here. This skill opens doors to countless home projects. Kitchen islands, bathroom vanities, custom shelving – you’re no longer limited by contractor availability or scheduling delays.
Your investment in learning these techniques pays dividends across multiple projects. Most homeowners realize they enjoy the control and satisfaction that comes with completing their own stonework.
Take action today. Start with smaller practice pieces before tackling your main countertop. Master these techniques now, and you’ll have this valuable skill ready for every future home improvement project you plan.
Frequently Asked Questions
What Is the Best Tool to Cut Granite?
A wet circular saw with a continuous rim diamond blade is the best tool for cutting granite countertops cleanly and efficiently.
Can a Hacksaw Cut Granite?
No, a hacksaw cannot cut granite. The blade isn’t hard enough to cut through granite’s dense mineral structure effectively.
Can I Put a Diamond Blade on A Circular Saw?
Yes, you can put a diamond blade on a circular saw. Make sure the blade size matches your saw’s specifications.