Ever spotted a gorgeous painted glass vase with a jaw-dropping price tag? I’ve been there too! After years of experimenting with different techniques, I’m excited to share my complete guide to painting glass vases at home.
I fell in love with this craft because it converts ordinary glass into extraordinary art with just a few supplies. The process is genuinely magical, watching transparent vessels become personalized decor that perfectly matches your style.
What’s better than creating designer-looking pieces for pennies on the dollar? Not only will I walk you through four foolproof painting techniques, but I’ll also share my hard-earned troubleshooting tips that will save you hours of frustration.
Ready to convert plain glass into stunning home decor? Let’s start!
Why Glass Vase Painting Has Become a Popular DIY Project?
Glass vase painting has surged in popularity for good reason. In a world of mass-produced decor, there’s something special about creating custom pieces that reflect your personal style.
The conversion process is almost magical—watching a plain, transparent vessel become a work of art through your own hands.
The practical benefits are obvious too. Those designer painted vases you’ve been eyeing in boutique stores? With some basic supplies and a little practice, you can create similar pieces for a fraction of the cost.
Plus, it’s eco-friendly! Instead of purchasing new items, you can upcycle containers you might otherwise discard.
Many crafters also learn the therapeutic benefits of this hobby. The focus required to paint delicate patterns creates a mindful experience that reduces stress and boosts creativity.
Essential Materials for Your Glass Painting Project
Choosing the Right Paint
The best paint for glass vases depends on the effect you’re trying to achieve:
| Paint Type | Best For | Durability | Water Resistance |
|---|---|---|---|
| Acrylic Enamel | Detailed designs | High | Good when sealed |
| Glass Paint | Transparent effects | Medium-High | Good |
| Spray Paint | Even coverage | High | Excellent |
| Chalk Paint | Textured, matte finish | Medium | Needs sealing |
Must-Have Supplies
Beyond paint, you’ll need:
- Fine and medium paintbrushes
- Rubbing alcohol (91% isopropyl)
- Lint-free cloths
- Fine-grit sandpaper (220-320 grit)
- Clear acrylic sealer
- Painter’s tape for clean lines
- Disposable gloves and a mask
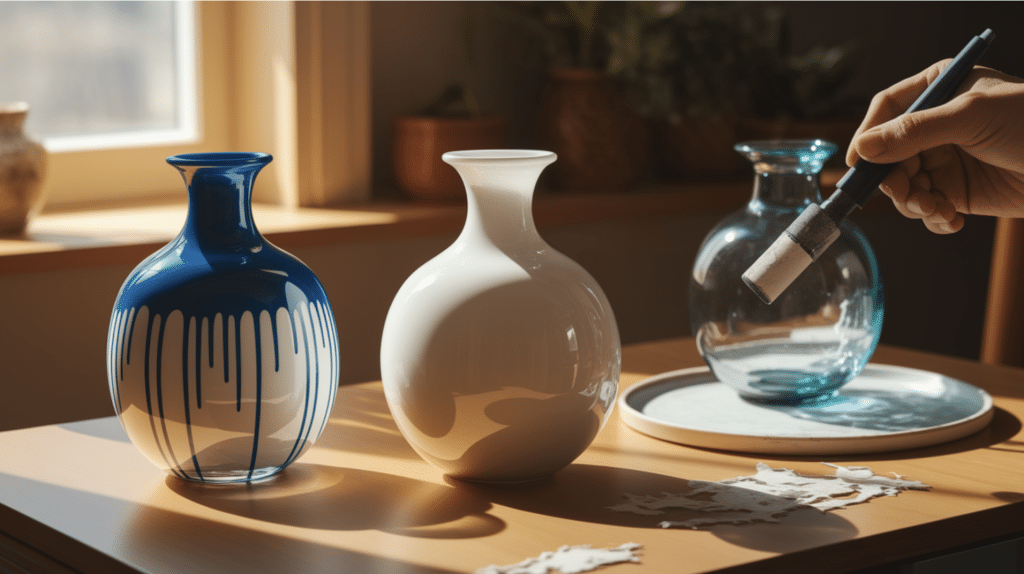
Complete Step-by-Step Glass Vase Painting Tutorial
For those who prefer following a clear roadmap, this comprehensive walkthrough will guide you through the entire process, from selecting your vase to displaying your finished creation.
1. Selecting Your Vase
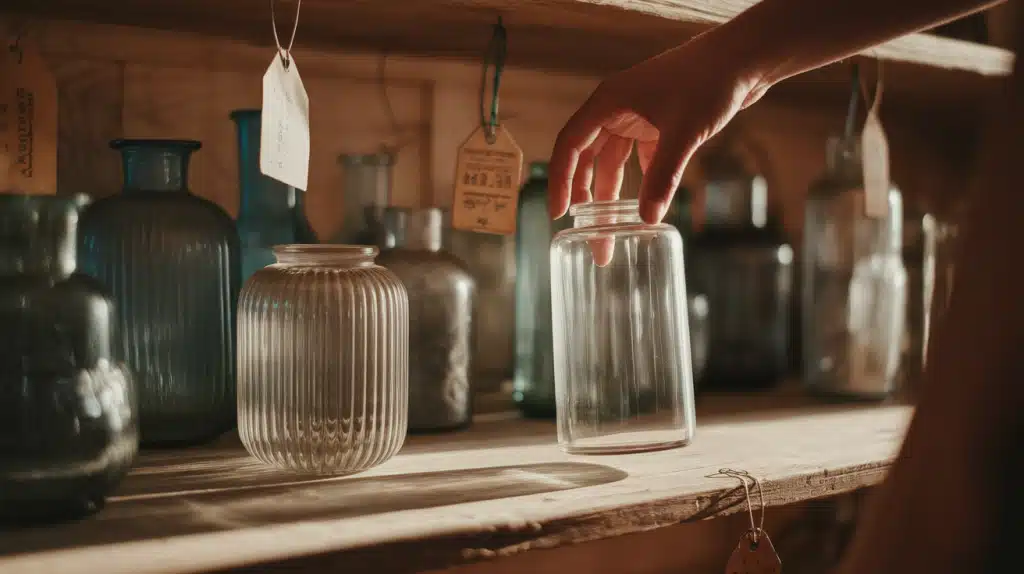
Begin by choosing the right glass vase for your project. Look for one with a shape that complements your intended design.
Simpler shapes work best for beginners, while complex or irregular shapes offer interesting challenges for experienced painters.
Thrift stores are excellent sources for inexpensive glass vases, perfect for experimenting.
2. Designing Your Concept
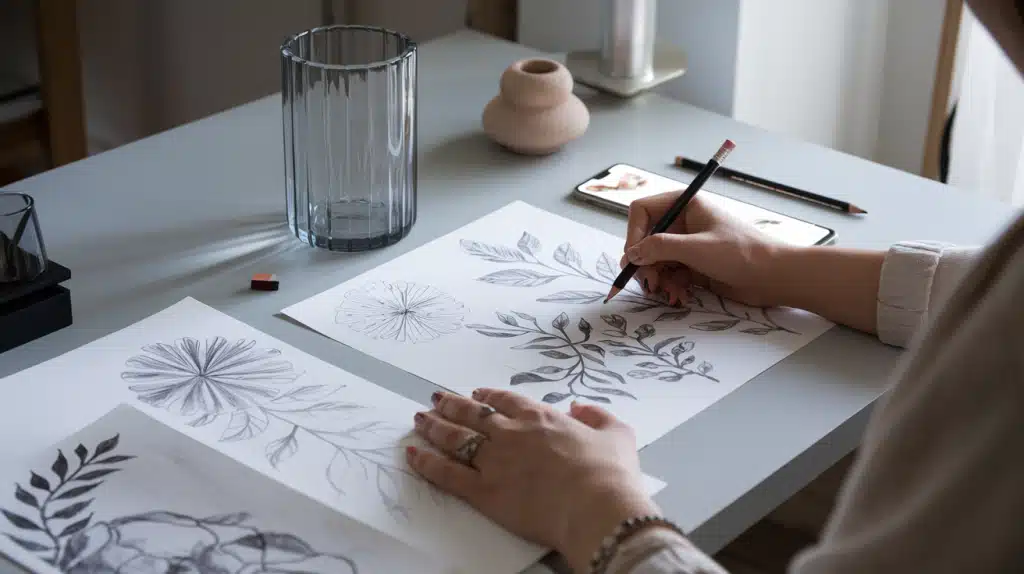
Before touching any paint, sketch your design on paper. Consider how the design will wrap around the vase and how it will look from different angles.
For beginners, start with a simple pattern that doesn’t require perfect precision. Take a photo of your sketch to reference during painting.
3. Preparing Your Workspace

Set up in a well-ventilated, dust-free area with good lighting. Cover your work surface with newspaper or a drop cloth.
Arrange all your supplies within easy reach, and wear clothes you don’t mind getting paint on. Good preparation prevents interruptions during the creative process.
4. Applying Your Base Coat
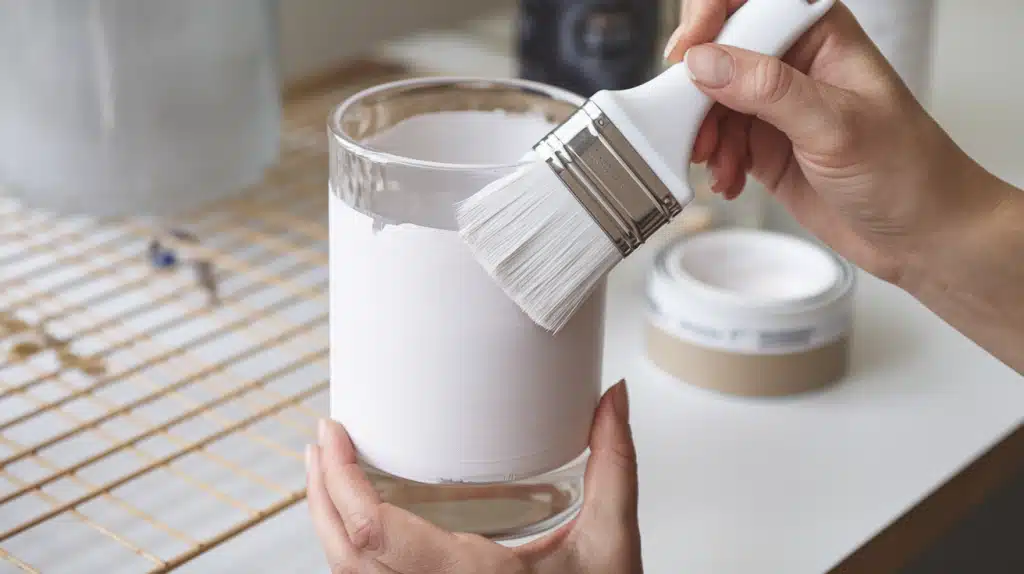
After properly cleaning and prepping your vase (as detailed in the “Prepping Your Vase” section), apply your first coat of paint. For solid backgrounds, use a foam brush for smooth application.
Work in thin layers, rotating the vase to ensure even coverage. Allow this first coat to dry according to the paint manufacturer’s instructions.
5. Creating Your Design

Once your base coat is completely dry, begin adding your design elements. Work from larger areas to smaller details. For geometric patterns, use painter’s tape to create clean lines.
For freehand designs, start with pencil guidelines if your paint allows it, or use a water-soluble marker that can be wiped away after painting.
6. Sealing Your Artwork
After your design is complete and thoroughly dry (at least 24 hours), apply your sealer. Hold spray sealers 8-10 inches away from the surface and apply in swift, even passes.
For brush-on sealers, use a soft, wide brush and apply in thin, even coats, working from top to bottom. Always apply multiple thin coats rather than one thick coat.
7. Displaying Your Creation

Place your finished vase where it can be properly appreciated—near natural light but away from direct sunlight that could fade your design. Consider how it complements your existing decor.
For fresh flowers, remember to place a smaller water-tight container inside to protect your painted design.
Painting Techniques That Always Work
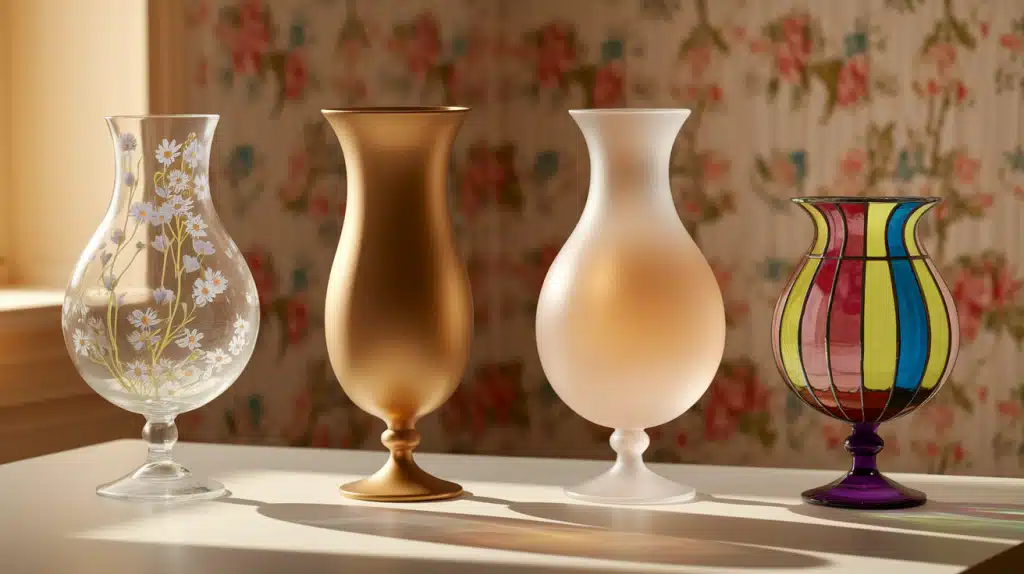
1. The Acrylic Method: Perfect for Detailed Designs
Acrylic painting offers incredible versatility for creating detailed glass vase painting designs. Begin with lighter colors as your base, and work toward darker shades.
Patience is key—allow each color to dry completely before adding adjacent colors.
Try these application techniques:
- Traditional brushing for precise control
- Sponging for textured backgrounds
- Stippling (using the end of the brush) to create dots
- Dry brushing for a weathered look
After painting, let your vase air dry for at least 24 hours. For permanent results, either heat-set in an oven (if using oven-safe glass and paint) or allow to cure for 21 days at room temperature.
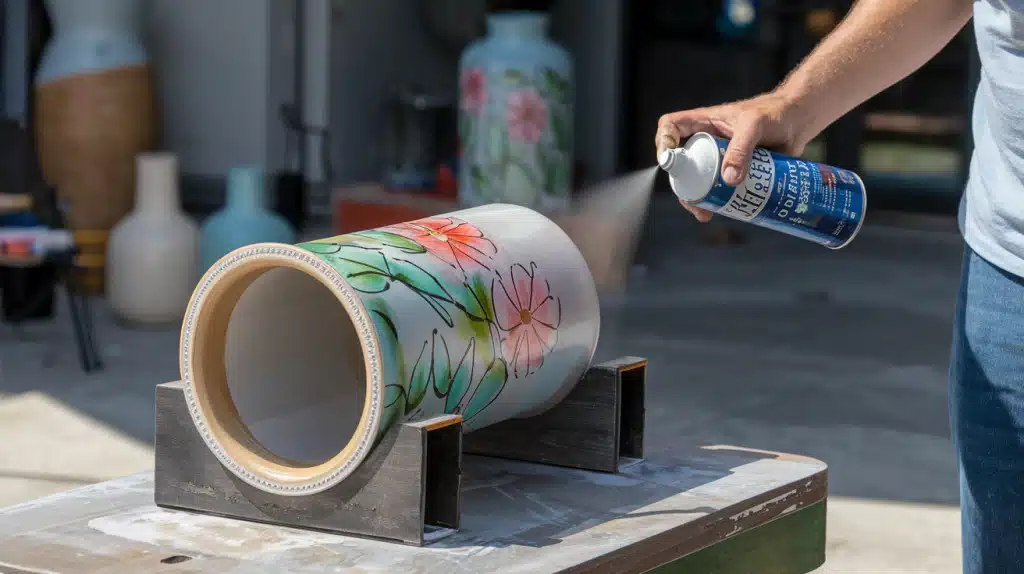
2. Spray Paint Magic: For Smooth, Even Coverage
For modern, sleek looks, spray painting is unbeatable. Set up in a well-ventilated area on a day with moderate temperature (65-85°F) and low humidity.
The secret to drip-free results? Hold the can 8-12 inches away and apply 3-5 very light coats rather than one heavy coat. Wait 15-20 minutes between applications.
Create eye-catching patterns by applying painter’s tape in geometric designs after your base coat has dried completely. Press all edges firmly to prevent bleeding, then spray your second color lightly.
3. Frosted Glass Effects: Ethereal and Sleek
Create refined, light-diffusing vases with frosted effects that mimic expensive designer pieces.
For an all-over frosted look, apply frosted glass spray in very light, even coats. For a gradient effect, position your vase upside down and spray more heavily at the bottom (now positioned at the top), gradually reducing spray as you move toward the middle.
Want something more permanent? Try etching cream with stencils for detailed frosted patterns that can never scratch off.
4. Stained Glass Look: Vibrant and Light-Catching
For stunning, light-catching designs:
- Draw your design and trace outlines with a glass outliner
- Allow the outliner to dry completely (12-24 hours)
- Fill sections with transparent glass paints
- Remove air bubbles with a toothpick
- Let dry for 24+ hours
Mix colors for depth and dimension, but use white sparingly as it reduces transparency.
Technique Comparison: Choose Your Perfect Method
| Technique | Difficulty | Cost | Durability | Best For | Drying Time |
|---|---|---|---|---|---|
| Acrylic | Beginner-Friendly | Low | High when sealed | Detailed designs | 24 hours |
| Spray Paint | Easy | Medium | Excellent | Modern, even finishes | 1-2 hours |
| Frosted | Moderate | Medium | High | Elegant, diffused light | 24 hours |
| Stained Glass | Advanced | High | Medium-High | Vibrant, dramatic pieces | 48+ hours |
This quick comparison helps you choose the perfect technique based on your experience level, budget, and desired effect.
Beginners might start with acrylics for their forgiving nature, while those seeking quick results with minimal effort will appreciate spray painting’s efficiency.
Creating Special Surface Effects
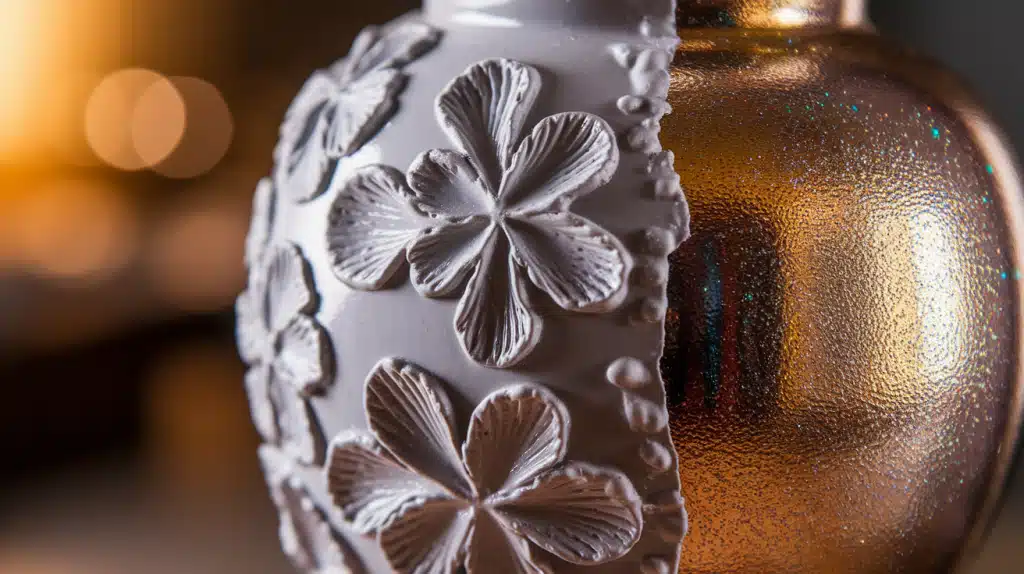
Glass vase painting offers numerous possibilities beyond basic color application. Special surface effects can convert your pieces into truly unique works of art.
Texture Techniques:
Experiment with texture by adding modeling paste to acrylic paint for raised designs. This works beautifully for creating dimensional flowers, geometric patterns, or textured backgrounds.
Apply with a palette knife, then paint over the dried texture.
Metallic and Shimmer Finishes:
Metallic paints add refined glamour to any vase design. Apply gold or silver accents to rim edges or as highlights in your pattern. For an all-over shimmer effect, mix a small amount of fine glitter with transparent glass medium.
Creative Design Ideas for Every Style
Beginner-Friendly Patterns
Not artistically inclined? No problem! These simple techniques create impressive results:
- Polka dots using a pencil eraser as a stamp
- Clean stripes using painter’s tape
- Dipped effect (paint the bottom third of the vase for a modern look)
- Silhouettes using adhesive stencils
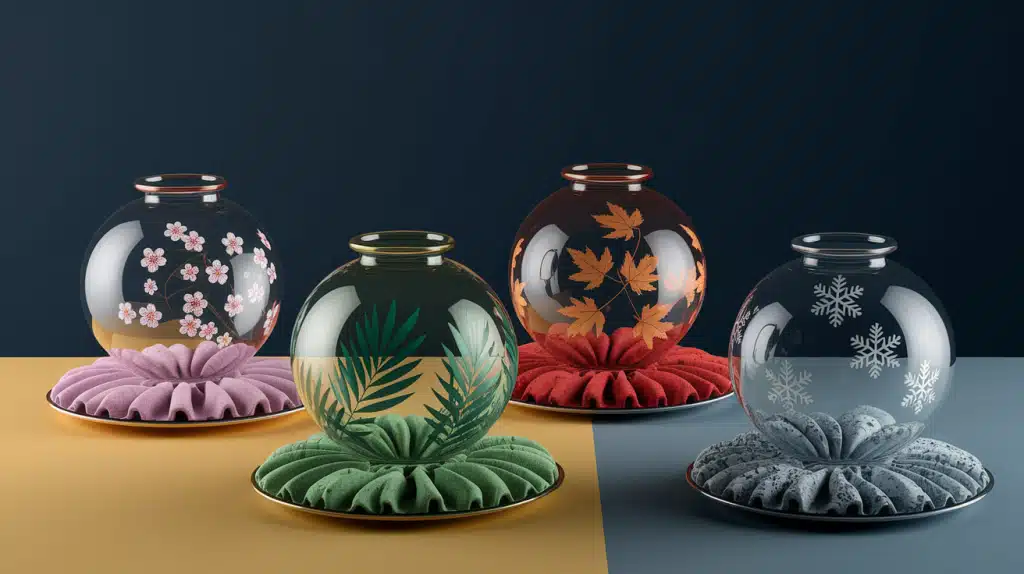
Seasonal Inspiration
Create a collection you can rotate throughout the year:
- Spring: Cherry blossoms against pale blue backgrounds bring delicate beauty to your space. Use a fine brush for branches and a pencil eraser for flower clusters.
- Summer: Vibrant tropical leaves in emerald and lime create bold statement pieces. For beachy themes, try an aquamarine to turquoise ombré with white shell silhouettes.
- Fall: Convert clear vases with amber and rust gradients that mimic autumn leaves. Add leaf motifs in complementary gold, red, and brown tones.
- Winter: Incorporate metallic elements that catch light. Snowflakes in silver against deep blue evoke peaceful winter nights.
Troubleshooting: Fixing Common Problems
1. When Drips Happen- If you notice runs while the paint is still wet, quickly wipe with a damp cloth. For dried drips, gently sand with fine-grit sandpaper, then clean and reapply paint in thin layers.
2. Patchy Coverage Solutions- Uneven coverage? Let the paint dry completely, lightly sand the entire painted area, wipe clean, and apply another thin coat. Consider changing application methods if you continue having trouble.
3. Saving a Project When Paint Peels- Finding your beautiful design peeling is disheartening, but salvageable! Remove all loose paint, sand edges to create a smooth transition, clean thoroughly, and apply glass primer before repainting.
Caring for Your Painted Vases
Keep your creations looking beautiful with these simple care tips:
- Clean only with a soft, dry cloth or a slightly damp cloth if necessary
- Never use glass cleaners or alcohol-based products
- Keep out of direct sunlight to prevent fading
- For fresh flowers, place a smaller glass container inside your painted vase
- Avoid exposure to extreme heat or cold
Conclusion
Painting glass vases transforms ordinary containers into personalized art pieces that elevate any space. With the techniques shared in this guide, you’re now equipped to create stunning decor that showcases your unique style.
Remember, preparation is the foundation of success. Take time to properly clean and prepare your vase, choose the right materials, and apply your design with patience.
Whether you’ve selected the detailed precision of acrylics, the smooth finish of spray paint, the ethereal quality of frosted effects, or the vibrant drama of stained glass techniques, your creativity is the only limit.
Don’t be discouraged by initial mistakes—each project teaches valuable skills. With practice, you’ll soon be creating professional-looking pieces that friends won’t believe you made yourself!
Enjoy the therapeutic process and the satisfaction of breathing new life into ordinary glass.