
Making your cutting board can feel like a tough task when you look at store-bought options.
I’ve been there too, wanting to create something useful and good-looking but not knowing where to start.
The good news is that with some basic tools and materials, you can make cutting boards that are much better than what you’ll find in stores.
I’ll show you how to craft beautiful, lasting cutting boards that will impress everyone who sees them.
This guide will walk you through wood selection, design planning, cutting steps, and finishing methods to help you create boards you’ll be proud to use or gift.
What Are Cutting Boards?
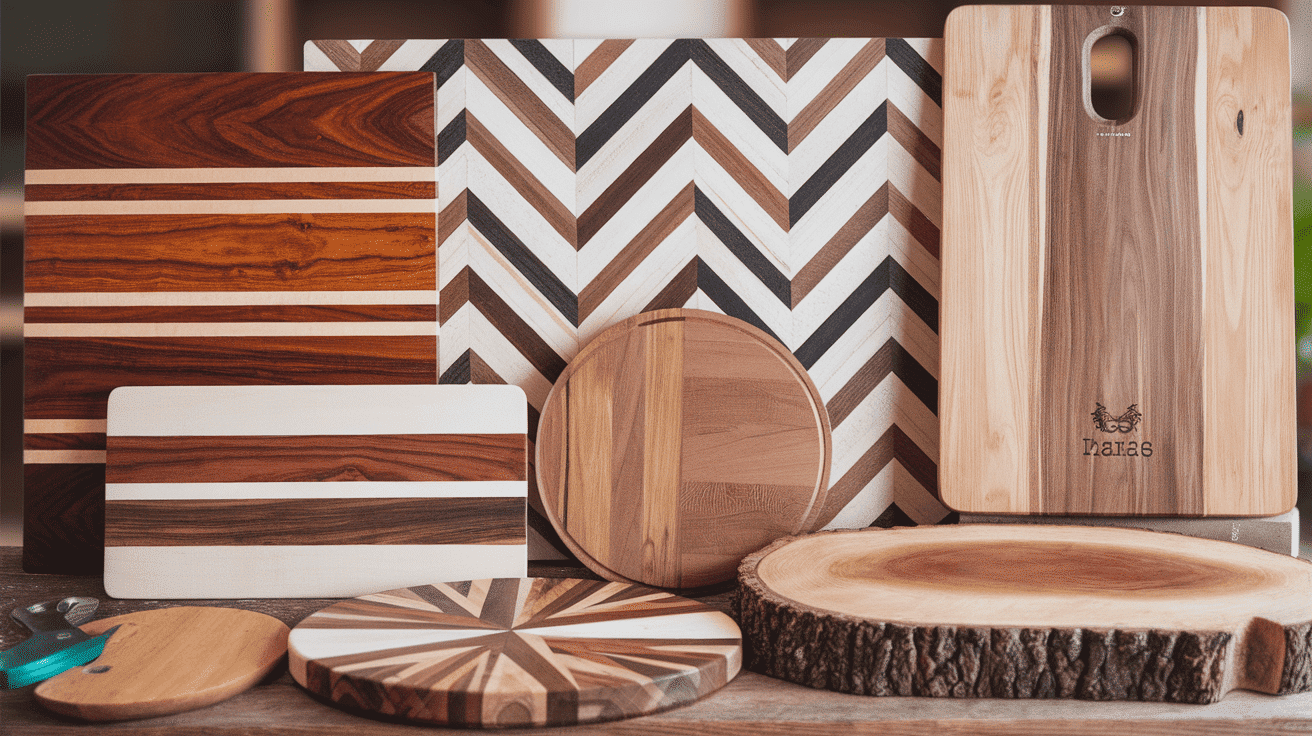
Cutting boards are flat work surfaces made of wood, plastic, or other materials used for food prep. They protect countertops from knife damage while providing a clean area for slicing and chopping.
Most home cooks own at least one cutting board, which comes in many sizes and shapes to fit different kitchen needs. Cutting boards are useful kitchen tools and can also be nice display items.
Step-by-Step Cutting Board Build
Building a cutting board takes careful work, but it is simpler than most people think. With basic woodworking skills and the right tools, you can make one in a weekend.
Tools Required :
| Tool | Use |
|---|---|
| Chop saw / Miter saw | Cut wood strips to size |
| Clamps (bar or pipe) | Hold boards tightly while gluing |
| Benchtop planer | Flatten and smooth the board surface |
| Router (roundover & chamfer bits) | Shape and smooth board edges |
| Sandpaper (120, 150, 220 grit) | Smooth the surface in stages |
| Hot glue gun | Secure board to MDF for planing |
| Scraper / Putty knife | Remove excess glue |
| Measuring tape / Ruler | Measure wood pieces accurately |
| Pencil & Numbering labels | Mark and organize strips |
| Plastic sheet / Tape | Protect your workspace from glue drips |
Materials Required :
| Material | Purpose |
|---|---|
| Hardwood lumber | Maple, walnut, cherry, oak for durability |
| Water-resistant wood glue | Strong, waterproof bonding (Titebond II or III) |
| Food-safe finish | Mineral oil to protect and seal board |
| MDF board | Stabilize board during planing |
| Epoxy kit | Fill holes and imperfections |
| Protective gloves | Optional for safety during finishing |
Step 1: Gather and Select Wood
Pick hardwoods like maple, walnut, cherry, or oak for your cutting board. These woods have tight grain patterns that resist moisture and hold up well to knife cuts, making them safer for food prep and more likely to last for years.
You can find good wood at local lumber yards, woodworking stores, or home improvement shops. Many people save money by using leftover pieces from other projects, which also gives your cutting board a unique character with mixed wood types.
The wood should be at least 3/4 inch thick for a stable cutting board that won’t warp. Avoid softwoods like pine or cedar as they scratch easily, harbor bacteria in their open grains, and can transfer unwanted flavors to your food.
Pro Tip: Use straight-grained boards with few knots. Small ripples in the grain can cause uneven wear, while knots may loosen over time with repeated washing and cutting.
Step 2: Prepare Wood Pieces
Properly cutting and organizing your wood pieces is essential for a cutting board that looks good and stays together for years.
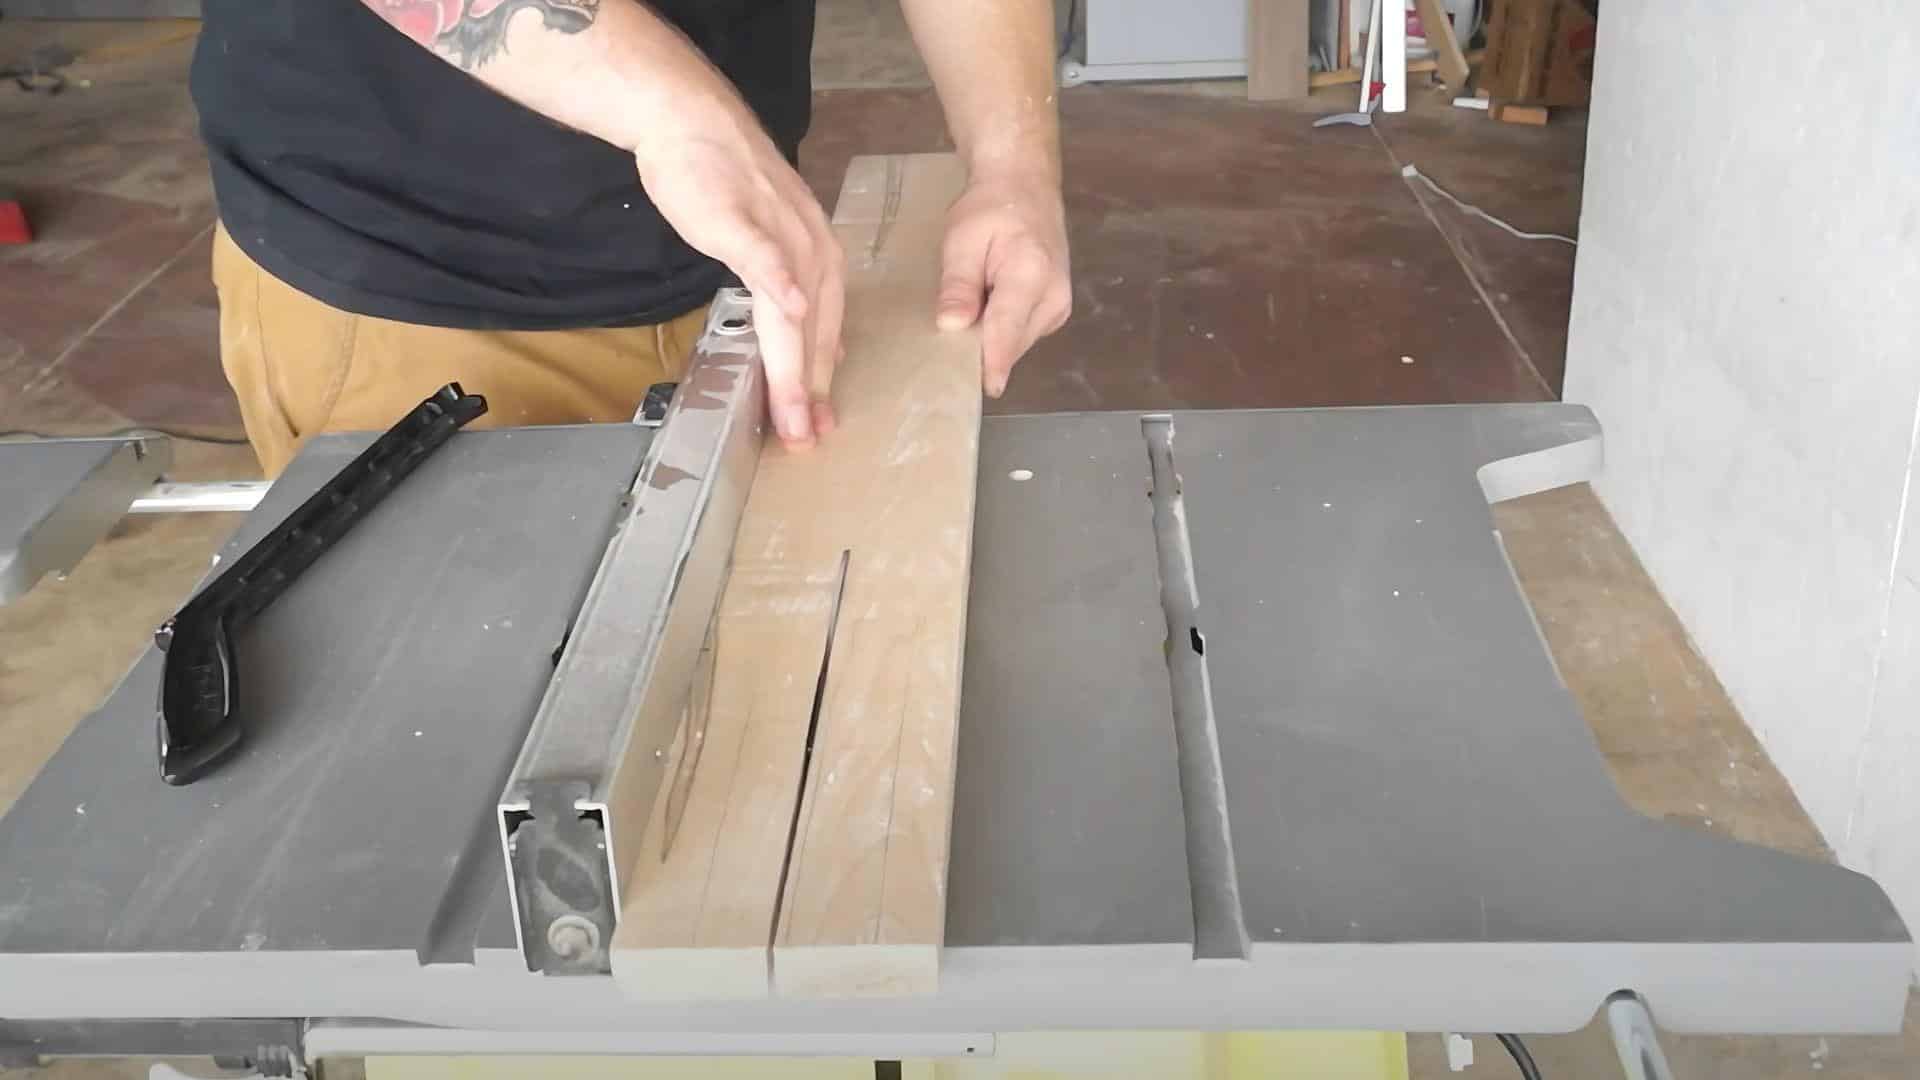
- Using a chop saw or miter saw, cut wide boards into narrower strips (1.5″ to 2.5″ wide).
- Make strips slightly longer than your planned final dimensions to allow for trimming later.
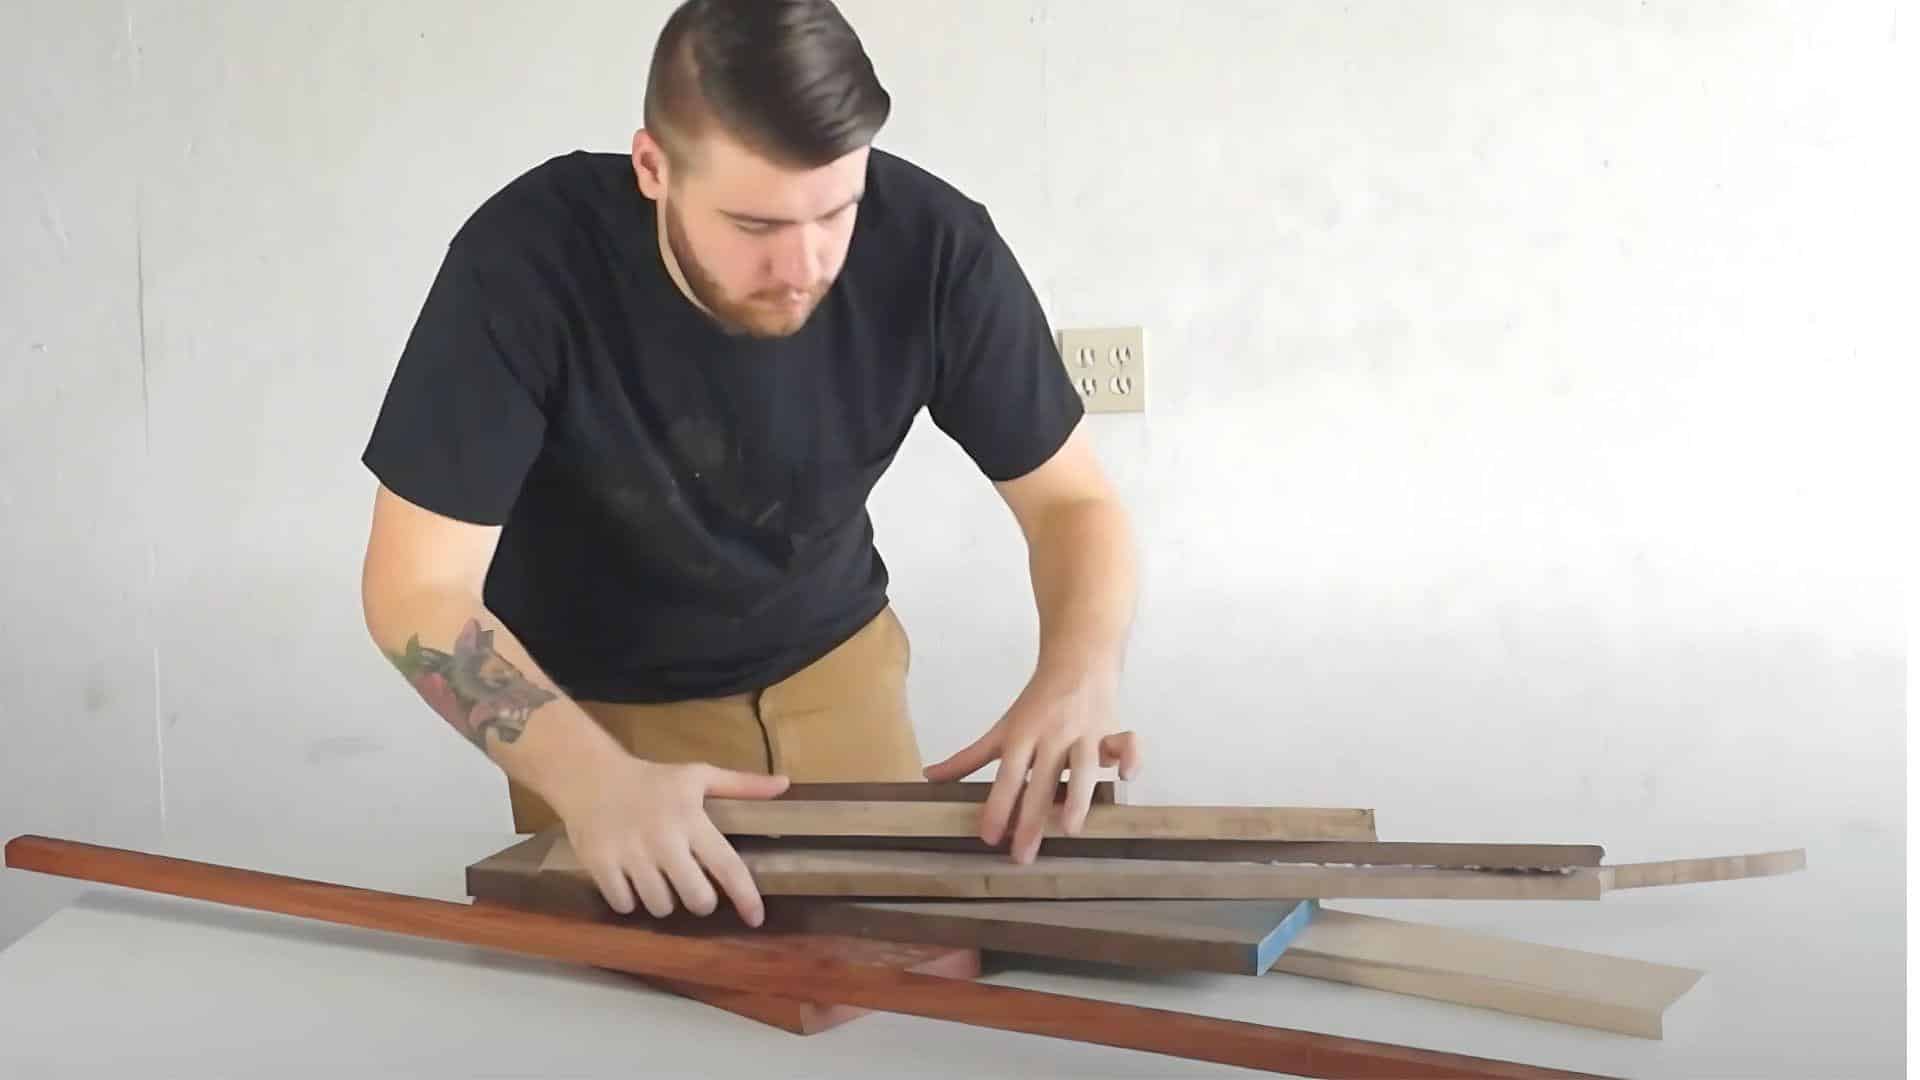
- Plan your pattern by considering the contrast between light woods (maple, cherry) and dark woods (walnut)
- Create visual interest by varying strip widths in your design
- Mark each piece with numbers using a pencil or tape to track their order
- Keep your layout organized on a flat surface to prevent mix-ups
- Check that all strips have straight, square edges for tight glue joints
Pro Tip: Make a paper template of your final board before cutting. This helps you test different strip arrangements and widths without wasting wood on ideas that don’t work.
Step 3: Glue-Up Assembly
The glue-up stage is where your cutting board truly comes together. Careful work here ensures that your board will stay solid through years of kitchen use.
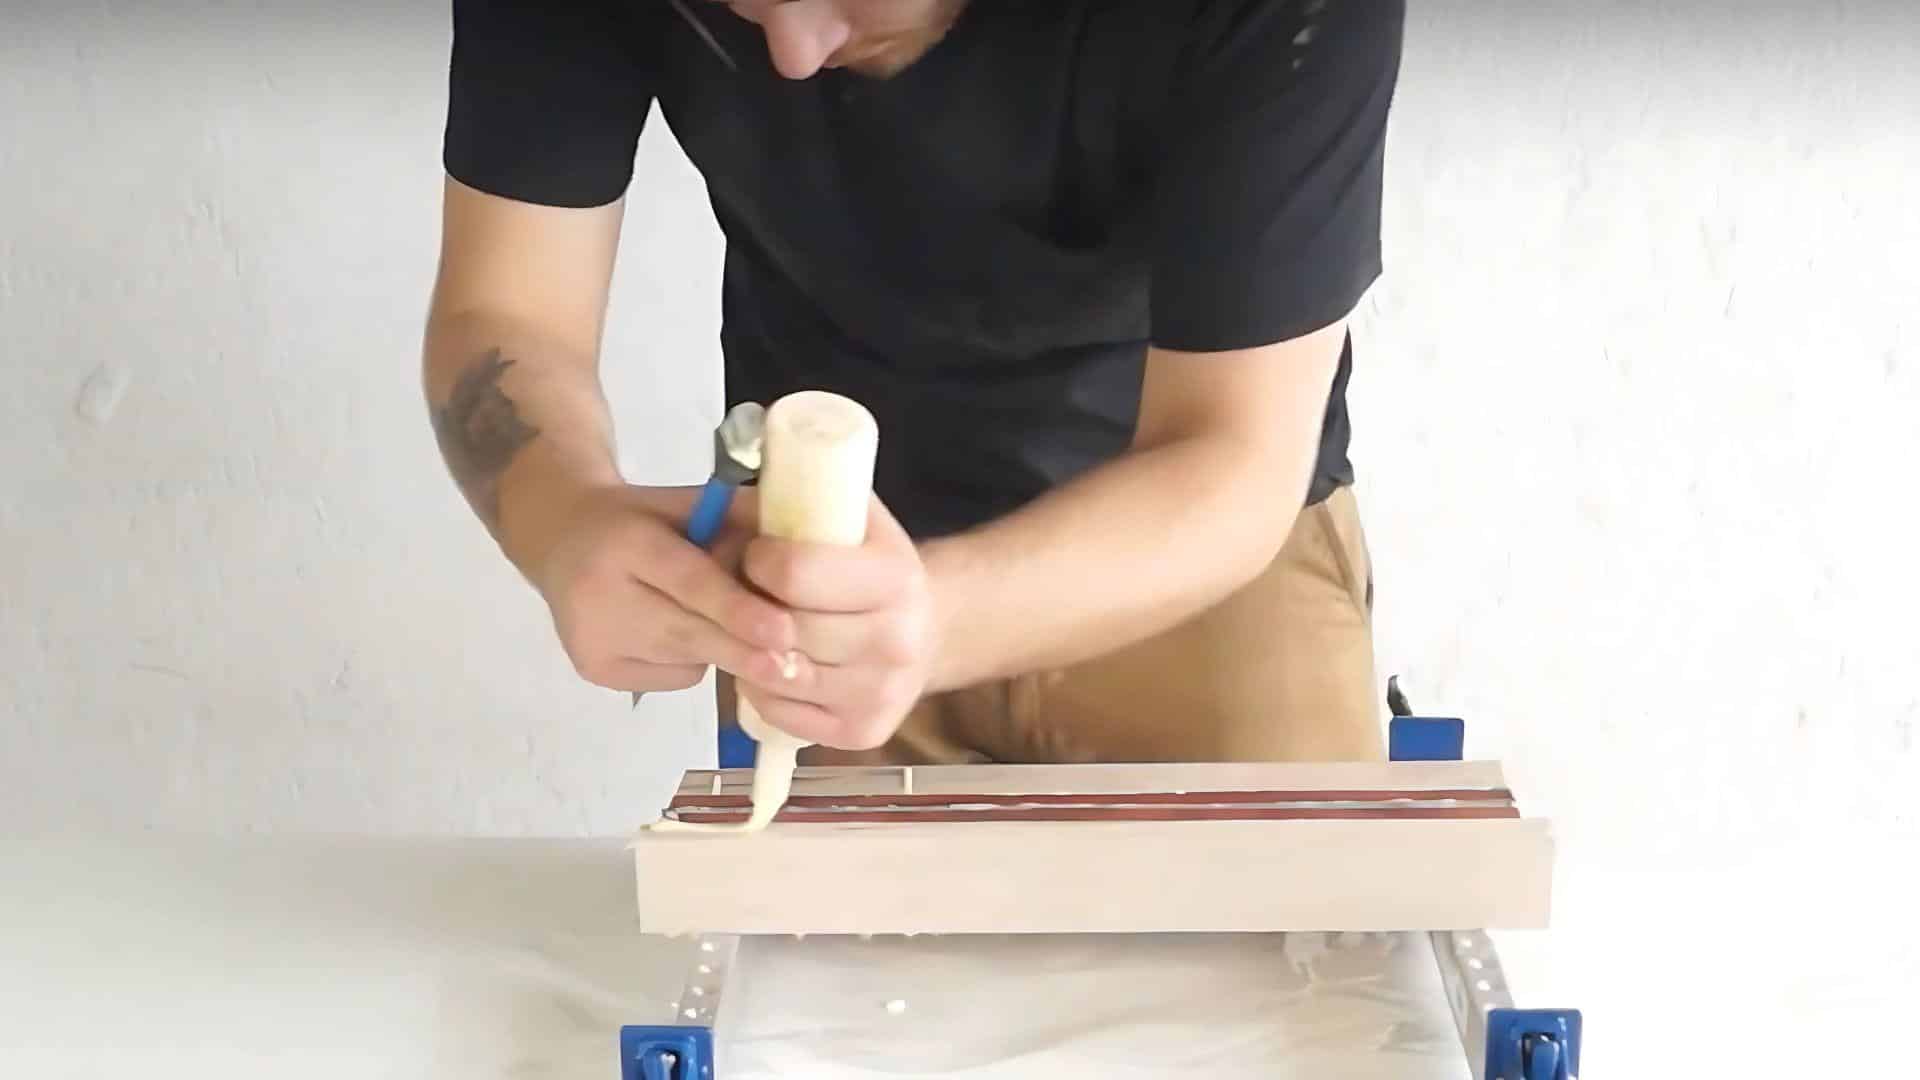
- Arrange strips in your pattern on a flat surface
- Cover the workspace with plastic to catch dripping glue
- Apply waterproof wood glue to all joining edges
- Press strips firmly together, keeping alignment straight
- Place clamps every 4-6 inches for even pressure
- Tighten clamps gradually, starting from the middle
- Wipe excess glue with a damp cloth while wet
- Let the glue dry for 24 hours before removing the clamps
Pro Tip: Use cauls (straight wood strips wrapped in packing tape) above and below your glue-up. These help distribute clamping pressure evenly across the entire board surface.
Step 4: Clean and Flatten
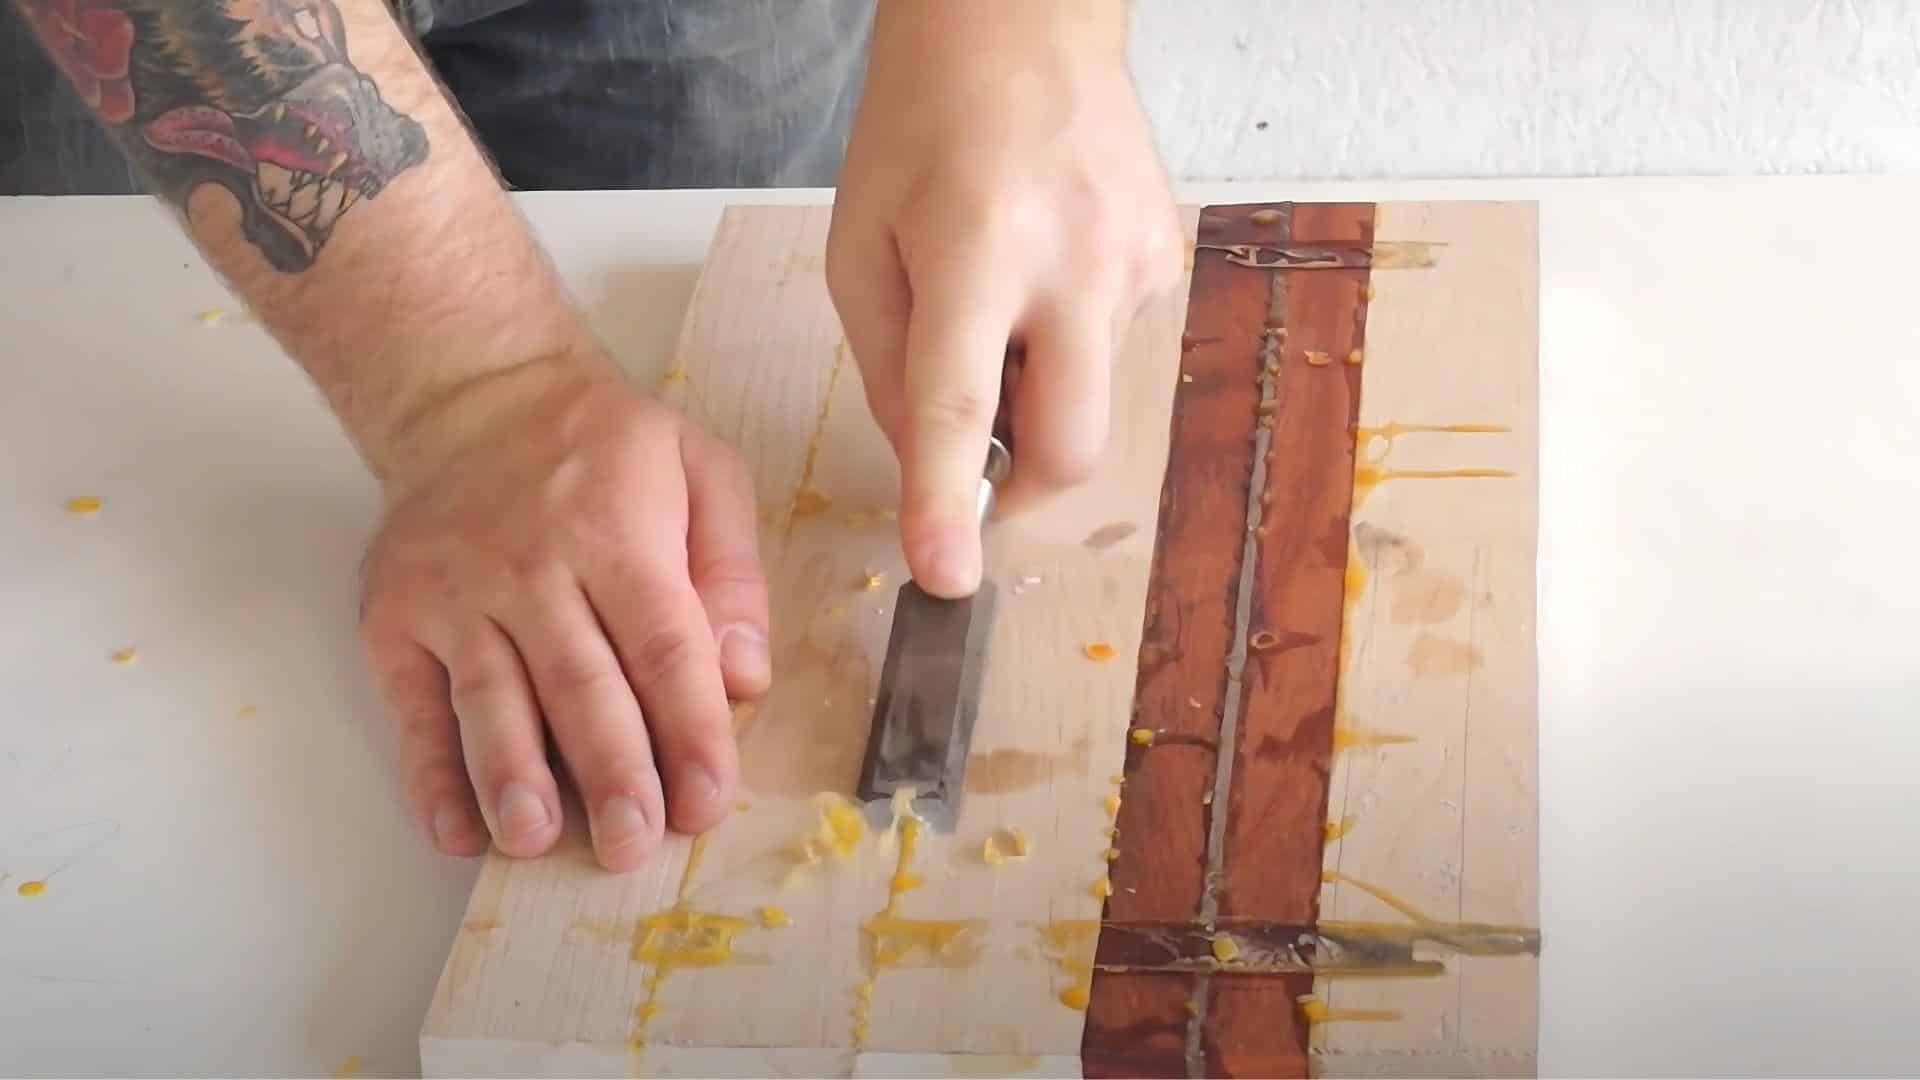
After glue-up, your board needs to be flat and smooth on both faces. This step transforms a rough glued panel into a usable surface.
- Remove all clamps once glue has fully dried (24+ hours)
- Scrape off hardened glue blobs using a putty knife or scraper
- Secure the board to a stable MDF base with hot glue dots if using a small planer
- Add wooden wedges under any low spots to prevent rocking during planing
- Run board through planer, taking light passes (1/32″ or less) to reduce strain
- Flip the board frequently to ensure even thickness from both sides
- Use a miter saw or circular saw with a guide to square the ends
- Sand any areas the planer couldn’t reach with 80-grit sandpaper
Pro Tip: When hot-gluing to an MDF base, place dots in a grid pattern rather than lines. This makes removal easier and prevents warping from heat during the planing process.
Step 5: Edge Profiling
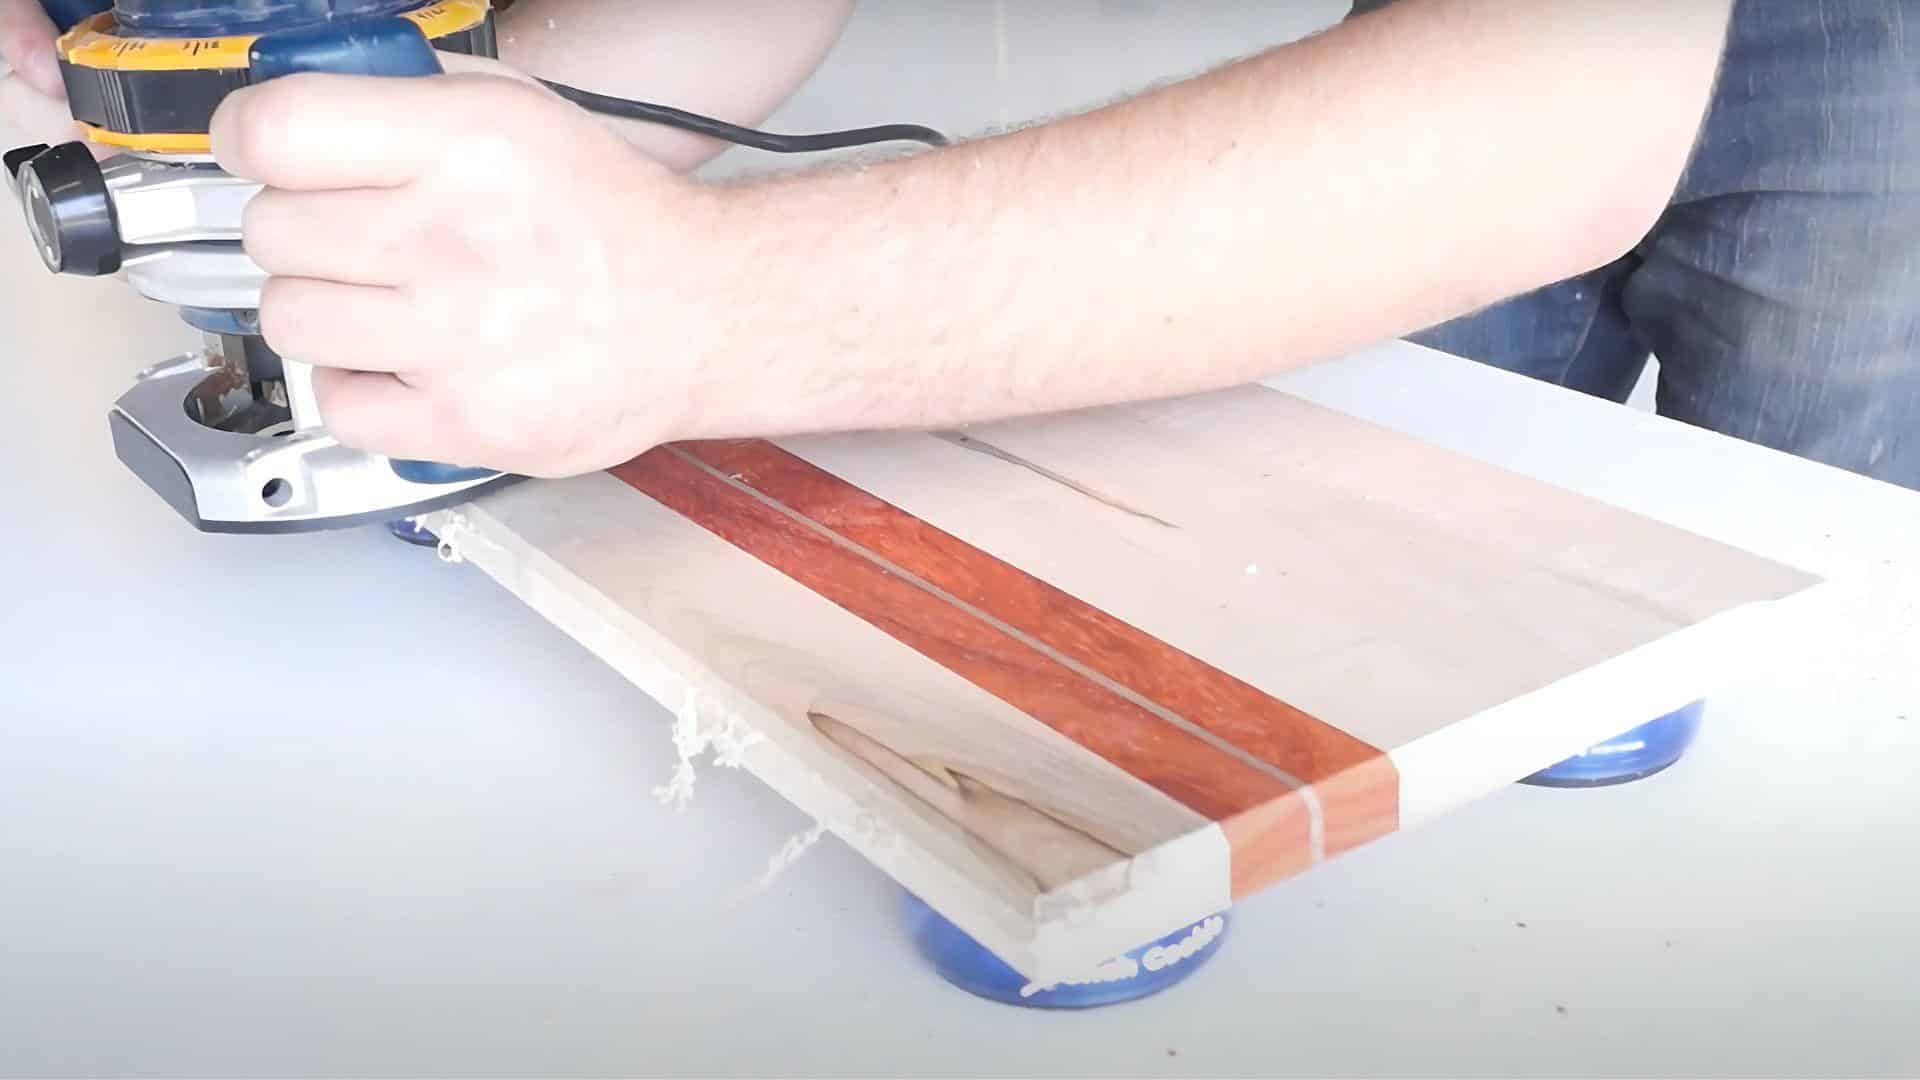
Sharp edges on a cutting board can be uncomfortable to handle and may chip over time. This simple step creates a safer, more user-friendly board.
- Set up router with a roundover bit (1/4″ radius works well)
- Secure the cutting board firmly to the work surface with clamps
- Route all top edges first, moving the router left to right
- Flip the board and repeat for the bottom edges
- Pay extra attention to corners to avoid splintering
- Sand any rough spots left by a router with 150-grit paper
- Option: Use a chamfer bit instead for a more angular look
- Hand sanding also works if you don’t have a router
Pro Tip: Make the bottom edge rounder than the top edge. This subtle difference helps you feel which side is up without looking, useful when washing or handling the board.
Step 6: Surface Preparation and Sanding
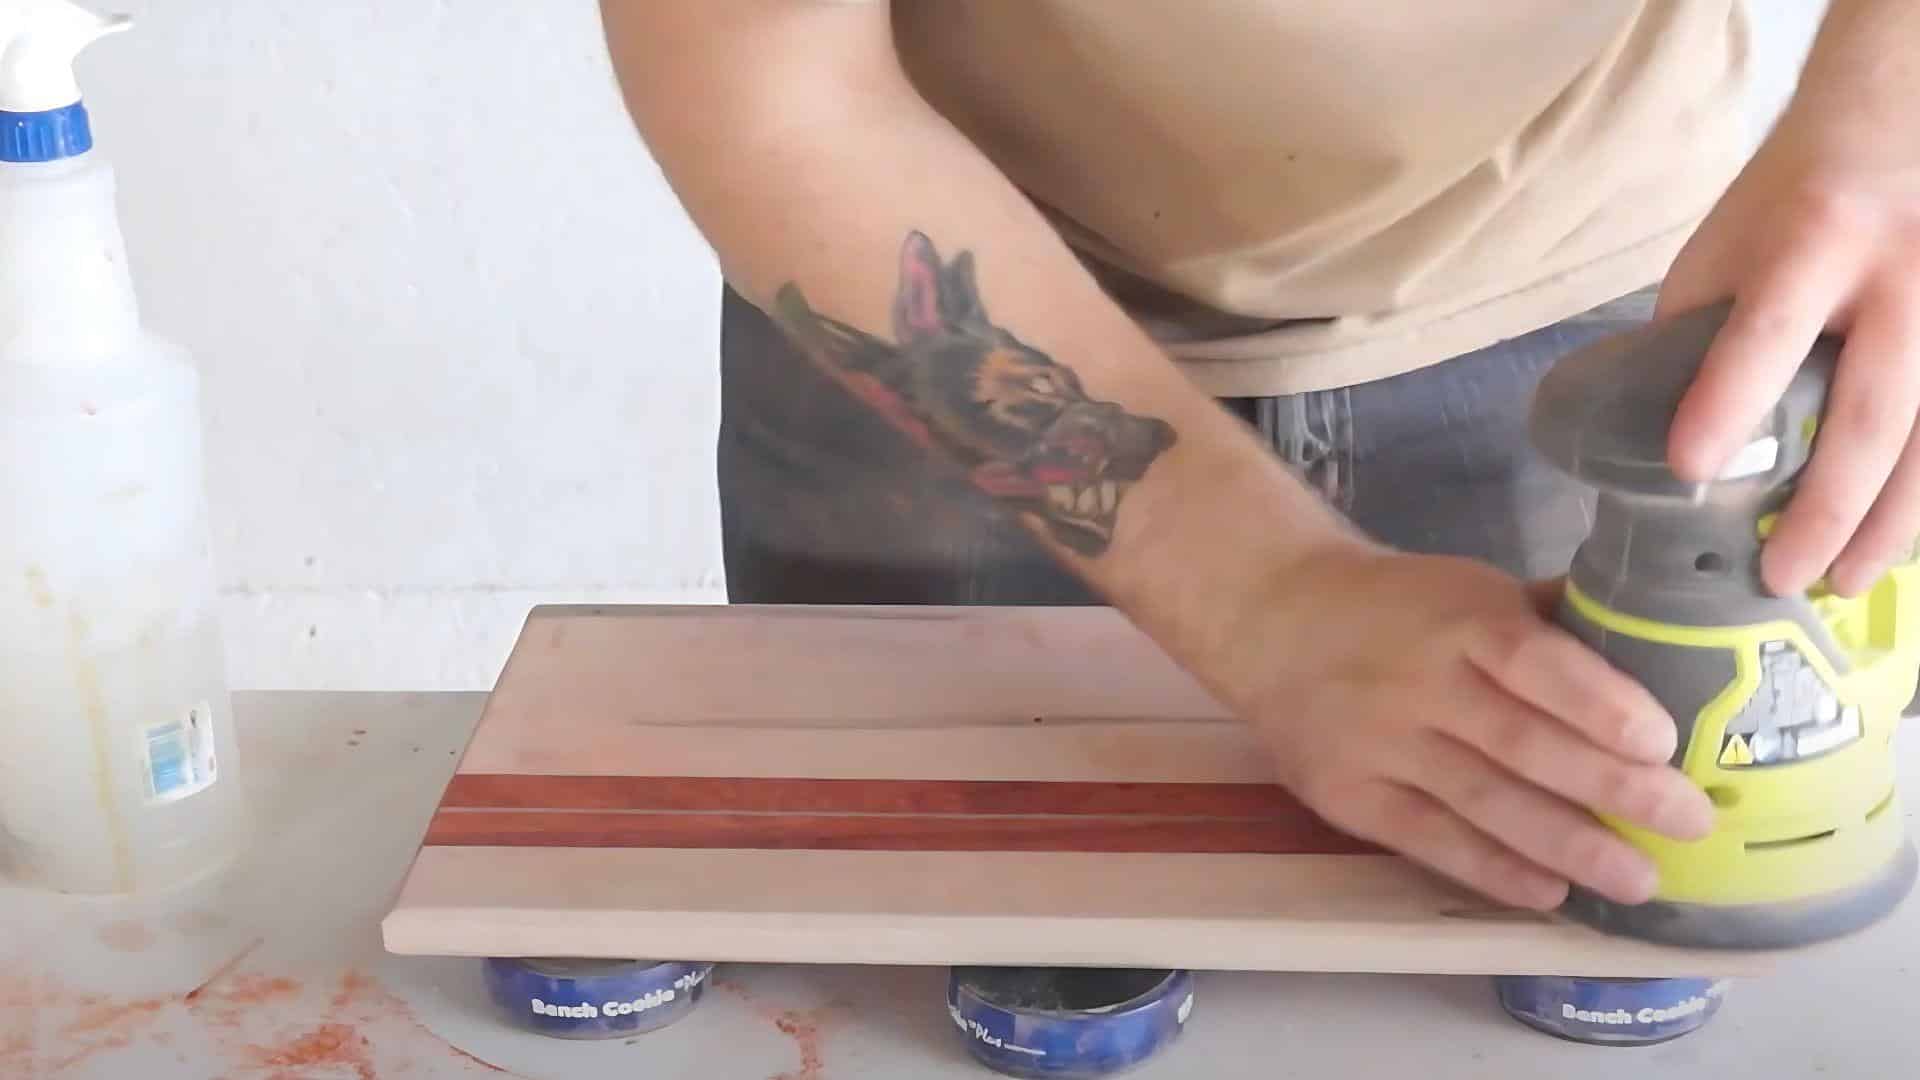
Smooth surfaces make your cutting board both nicer to use and easier to clean. Proper sanding creates a silky finish that feels great.
- Begin with coarse 80-grit sandpaper to remove any planer marks
- Sand the entire board with even pressure in the direction of the grain
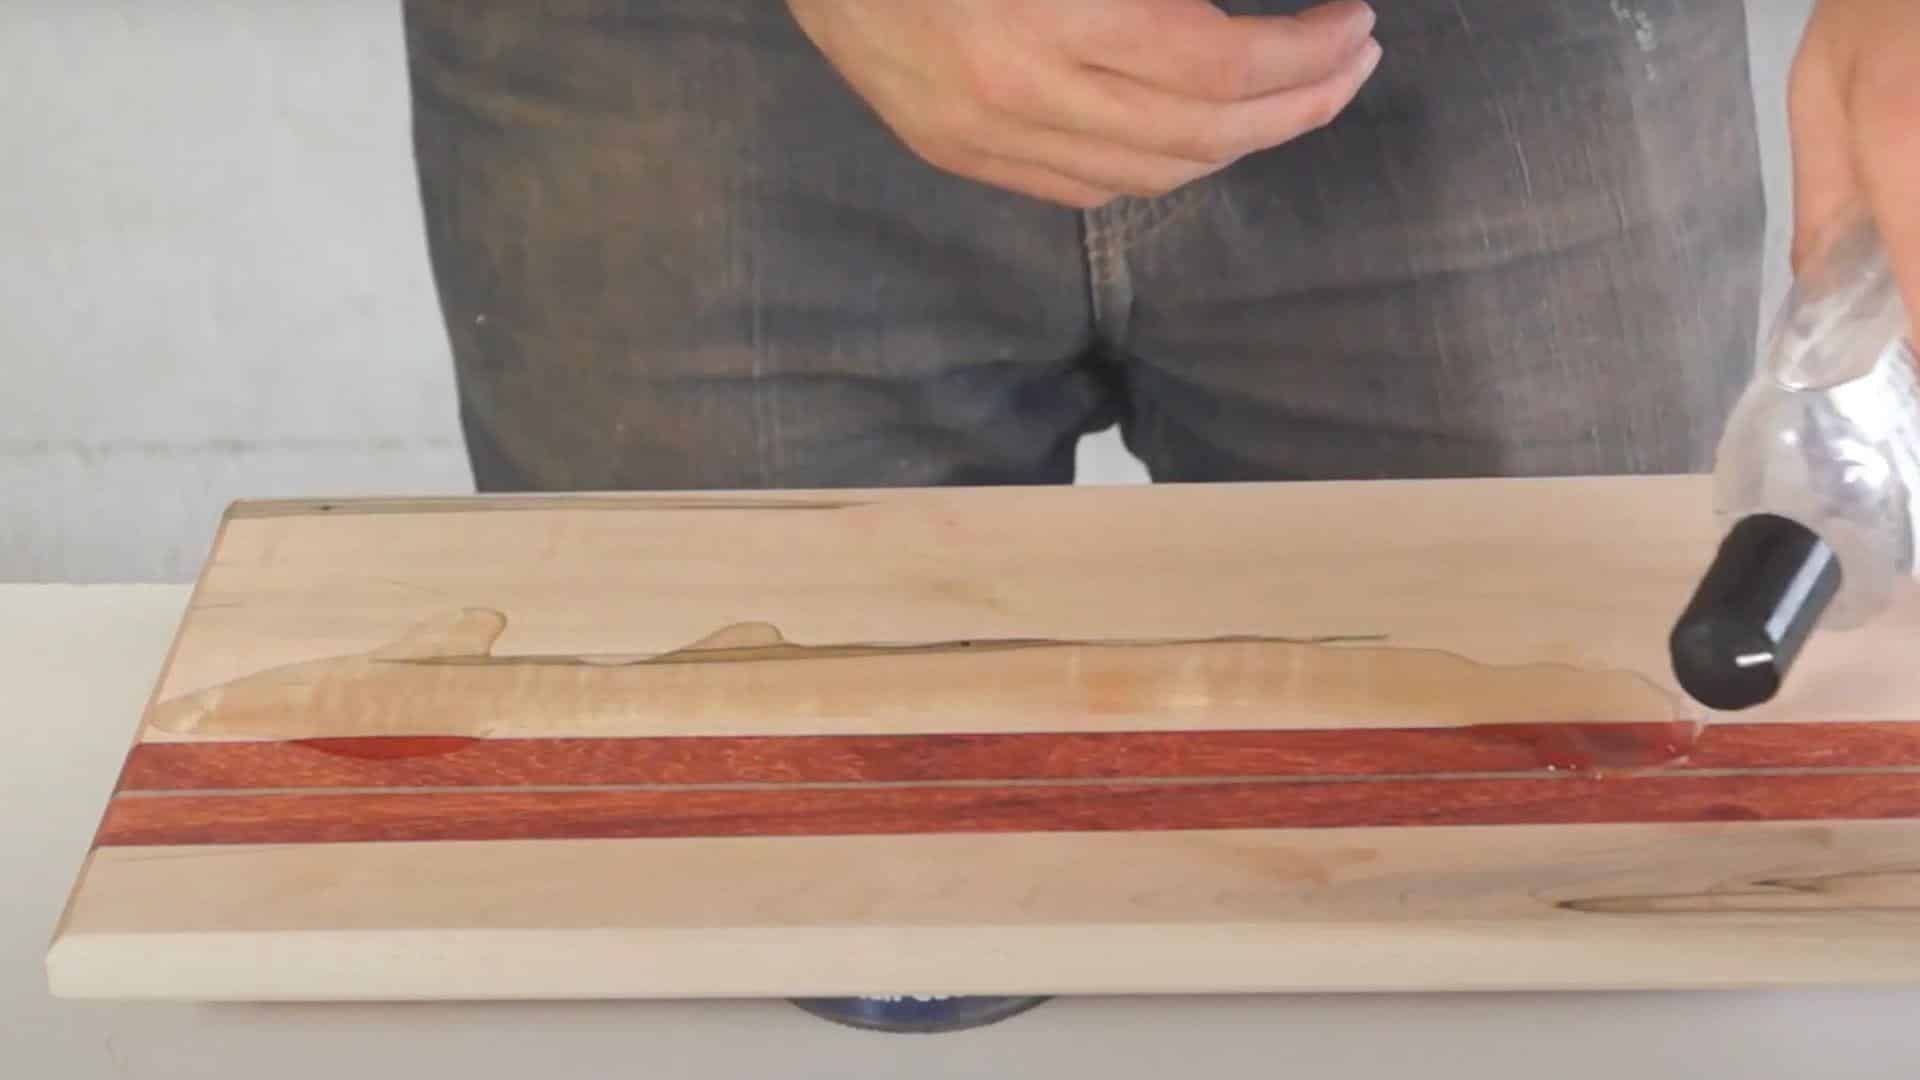
- Move to 120-grit paper for the second pass over the whole board
- Spray water lightly on the surface to raise the grain, then let it dry completely
- Sand again with 120-grit to knock down the raised fibers
- Progress to finer 150-grit, then finish with 220-grit for ultra-smooth results
- Work on flat surfaces first, leaving the edges for your final sanding pass
- Wipe with a clean cloth between grits to remove dust
Pro Tip: Sand with the grain using a sanding block, not just paper. This keeps the surface perfectly flat rather than creating waves that will show once oil is applied.
Step 7: Finishing and Sealing
The final step is what brings out the natural beauty of your wood and protects your cutting board from moisture, stains, and damage, extending its life for many years of use.
- Choose a food-safe finish like mineral oil, beeswax, or commercial board oil.
- Apply the first coat with a clean cloth, working in the direction of the grain.
- Let the oil soak in for 20-30 minutes, then wipe off any excess
- Allow 12-24 hours between coats for proper drying
- Apply at least 3 coats for complete protection and rich color
- Re-oil your board monthly for ongoing protection and beauty
Pro Tip: Make your own board butter by melting 1 part beeswax with 4 parts mineral oil. This creates a longer-lasting finish that needs fewer touch-ups than oil alone.
Special thanks to Modern Builds for providing valuable insights in their video, which I referenced while creating this guide.
Safety Measures
- Always wear safety glasses when using power tools like saws and planers
- Use push sticks when feeding wood through table saws to keep fingers safe
- Secure your workpiece firmly with clamps before cutting or routing
- Wear a dust mask during sanding to avoid breathing wood particles
- Check that all tools are unplugged when changing blades or bits
- Keep your work area clean to prevent trips and falls
- Use cut-resistant gloves when working with sharp edges
- Follow the tool instructions and never remove safety guards
Conclusion
Now you have all the steps to build your custom cutting board. From selecting quality hardwoods to applying the final coat of mineral oil, the process takes work but yields results worth the effort.
Remember that good cutting boards need proper wood, careful gluing, and patient finishing to last for years.
Why does this matter? A handmade cutting board not only serves as a functional kitchen tool but also shows your woodworking skills and makes a thoughtful gift. Each one tells a story through its wood grain and craftsmanship.
Ready to start your project? Gather your materials, set aside a weekend, and enjoy the process. We’d love to see your reviews in the comments below!
Frequently Asked Questions
What Type of Wood is Best for a Cutting Board?
Maple, walnut, and cherry work great due to their tight grain patterns that resist moisture and hold up well against knives.
What Do You Coat Homemade Cutting Boards with?
Food-safe mineral oil is the go-to finish. Apply several thin coats, letting each soak in before adding the next.
What Do Chefs Use for Cutting Boards?
Professional chefs often prefer thick maple boards for meat and plastic boards for raw foods to prevent cross-contamination.