Deep Clean Bathroom Checklist to Save Time & Effort
Does your bathroom cleaning routine leave you feeling frustrated and overwhelmed, with soap scum still clinging to surfaces despite your best efforts?
You’re not alone. Most people struggle with bathroom cleaning because they lack a proven system that tackles every surface systematically.
What if you could clean your bathroom 30% faster while achieving better results? A structured approach converts this dreaded chore into a manageable task that actually prevents future buildup.
This step-by-step guide will show you exactly how to deep clean your bathroom efficiently, from the right preparation steps to the proper cleaning order that prevents you from spreading dirt to already clean surfaces.
Stop wasting time with ineffective cleaning methods and start using techniques that actually work.
Why You Need a Clean Bathroom Checklist?
A clean bathroom checklist helps you stay organized and ensures no spot gets missed during cleaning. Without a proper system, it’s easy to forget certain areas or rush through the process.
Here’s Why a Bathroom Cleaning Checklist Matters:
- Saves Time and Effort: Having a structured list prevents you from cleaning the same area twice. You work more efficiently when you follow a step-by-step approach. This method cuts your cleaning time by up to 30%.
- Ensures Complete Cleaning: Bathrooms have many surfaces that need attention, from faucets to baseboards. A checklist helps you remember every corner, including often-forgotten spots like light switches and door handles.
- Maintains Hygiene Standards: Regular cleaning prevents bacteria and mold buildup. Following a consistent routine keeps your bathroom safe for family use. This is especially important in shared bathrooms.
- Reduces Stress: When you have a clear plan, cleaning feels less overwhelming. You can tackle tasks one by one without feeling scattered or confused about what to do next.
- Creates Habits: Using the same checklist weekly builds good cleaning habits. Over time, the process becomes automatic and requires less mental energy.
Pre-Cleaning Preparation for The Bathroom Cleaning
Getting organized before you start makes the entire cleaning process smoother and more efficient. These simple preparation steps will save you time and help you achieve better results.
| Task | Description |
|---|---|
| Gather all cleaning supplies | Collect disinfectant, toilet bowl cleaner, glass cleaner, microfiber cloths, scrub brush, and rubber gloves. Having everything ready prevents interruptions during cleaning. |
| Remove personal items | Clear countertops, shower shelves, and floor areas of toiletries, towels, and decorations. This gives you full access to all surfaces that need cleaning. |
| Open windows for ventilation | Turn on exhaust fans and open windows to improve air circulation. Proper airflow helps cleaning products work better and reduces chemical fumes. |
| Put on protective gear | Wear rubber gloves to protect your hands from harsh chemicals. Consider using a mask if you’re sensitive to cleaning product smells. |
| Start with dry tasks first | Sweep or vacuum the floor to remove hair and debris before using wet cleaning methods. This prevents dirt from spreading around during mopping. |
| Check water temperature | Ensure hot water is available for effective cleaning. Warm water helps dissolve soap scum and grime more easily than cold water. |
Bathroom-Cleaning Checklist
These deeper cleanings target hidden areas and help prevent long-term damage that weekly cleaning can’t address. Schedule them based on your bathroom’s usage to keep fixtures in good shape and avoid costly repairs.
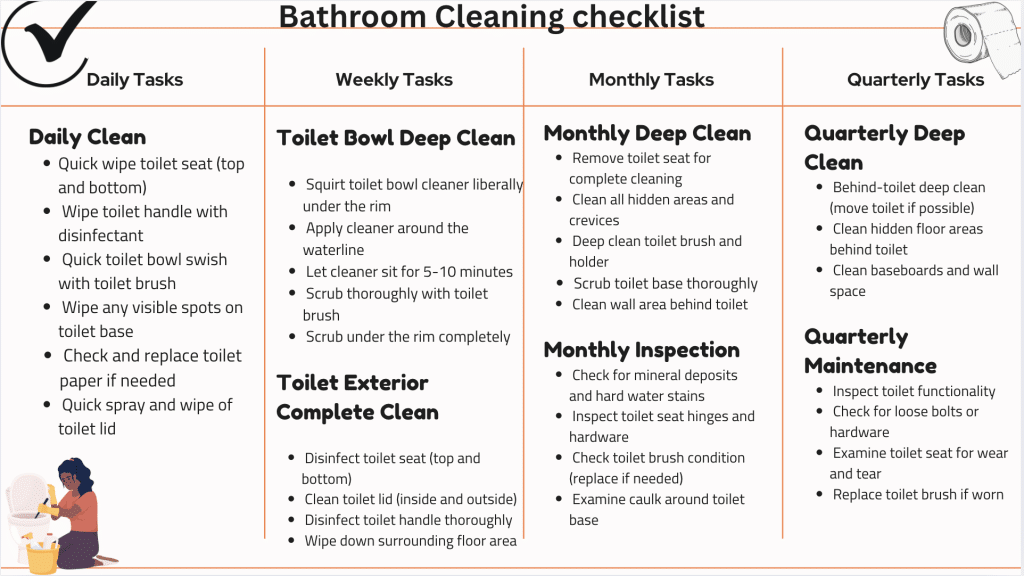
Download the complete checklist from here.
Step-By-Step Cleaning Guide for Bathroom Cleaning
Follow this proven order to clean your bathroom efficiently and thoroughly. Starting with mirrors and ending with floors prevents you from spreading dirt to already-cleaned surfaces.
Tools and Equipment Needed:
- Microfiber cloths
- Scrub brush
- Toilet brush
- Old toothbrush (for grout cleaning)
- Soft sponge
- Broom or vacuum cleaner
- Mop
- Rubber gloves
- Plastic bags
- Rubber bands
1. Mirrors & Glass
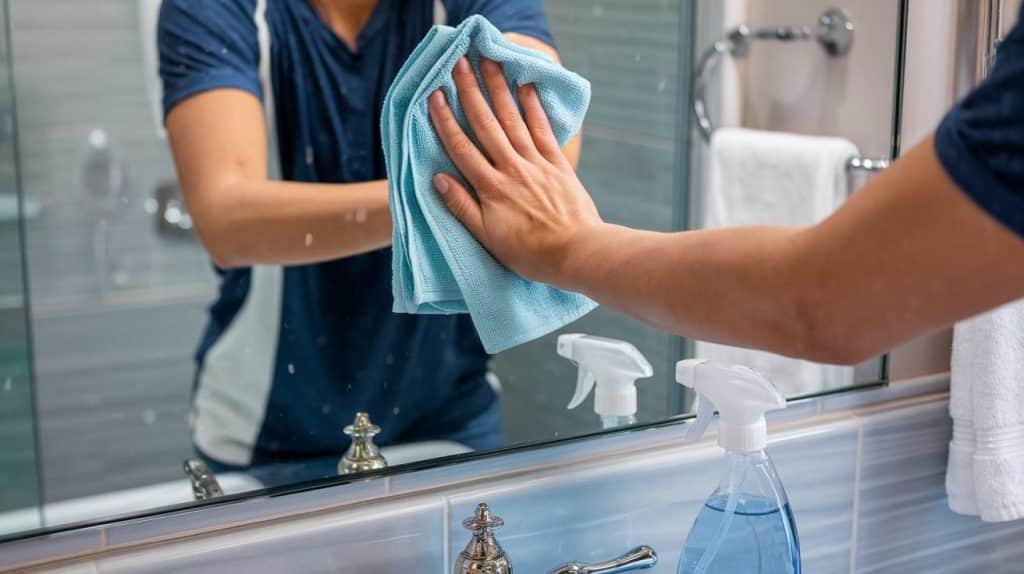
Vinegar: To achieve a streak-free, spotless shine on your mirrors and glass surfaces, use a vinegar-water solution. Mix one part white vinegar with one part water in a spray bottle. This eco-friendly solution effectively breaks down grime and water spots.
Wiping: Spray the solution evenly across the surface and wipe it down with a microfiber cloth using straight, overlapping strokes.
2. Sink & Countertops
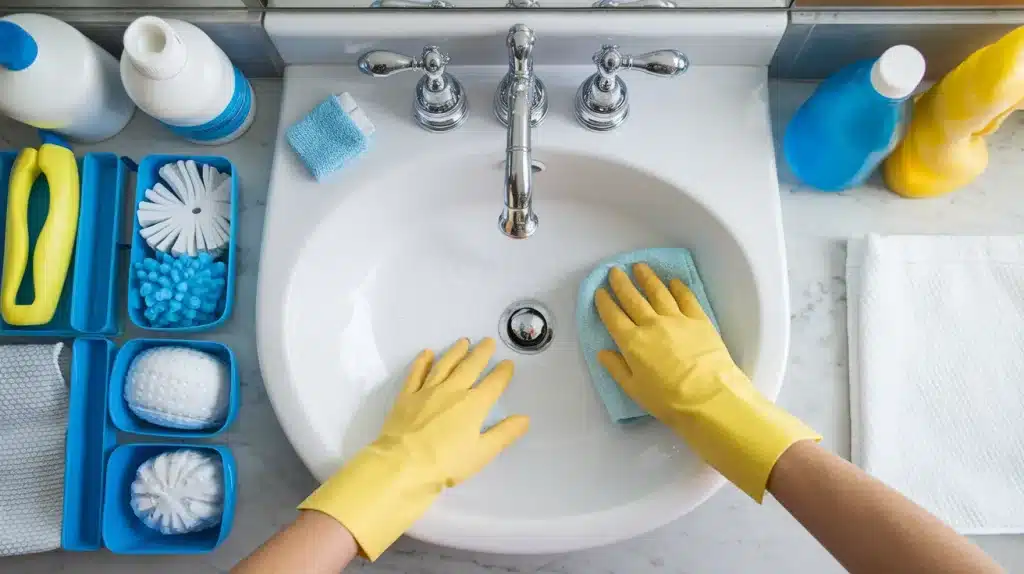
Scrubbing: Apply non-abrasive bathroom cleaner generously to sink basin, faucet area, and countertops. Allow the product to sit for two to three minutes to break down soap scum, toothpaste stains, and mineral deposits effectively.
Faucets: Wrap a vinegar-soaked cloth tightly around the faucet base, handles, and spout areas. Let it sit for five minutes to dissolve hard water stains and soap buildup, then wipe clean with a fresh cloth.
3. Toilet
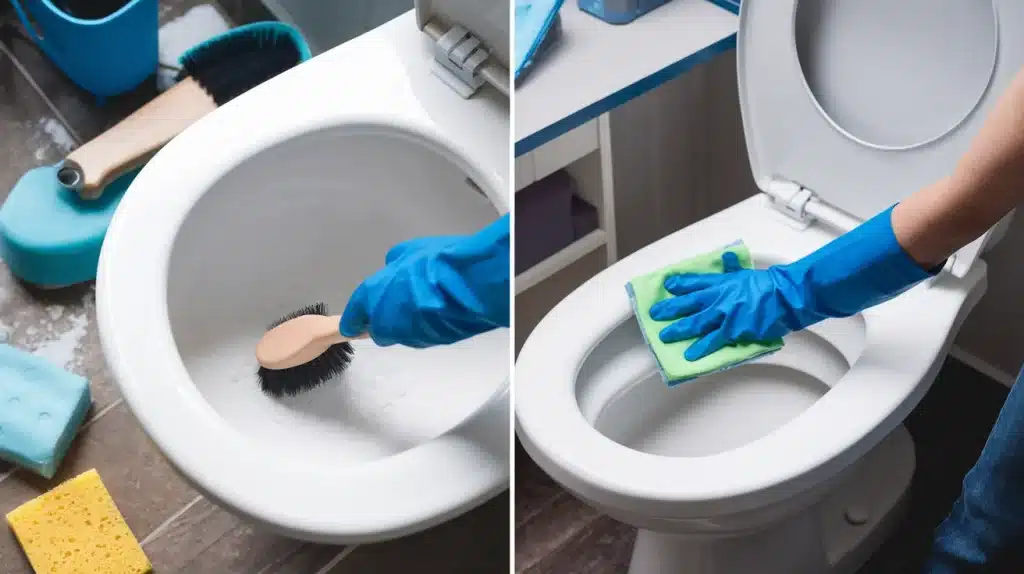
Bowl: Squirt toilet bowl cleaner liberally under the rim and around the waterline. Allow the cleaner to sit for five to ten minutes to break down stains and kill bacteria before scrubbing thoroughly with the toilet brush.
Exterior: Wipe down the toilet seat, lid, handle, base, and surrounding floor area with disinfectant wipes or spray. Pay extra attention to hinges, bolts, and crevices where germs and odors commonly accumulate over time.
4. Shower & Bathtub
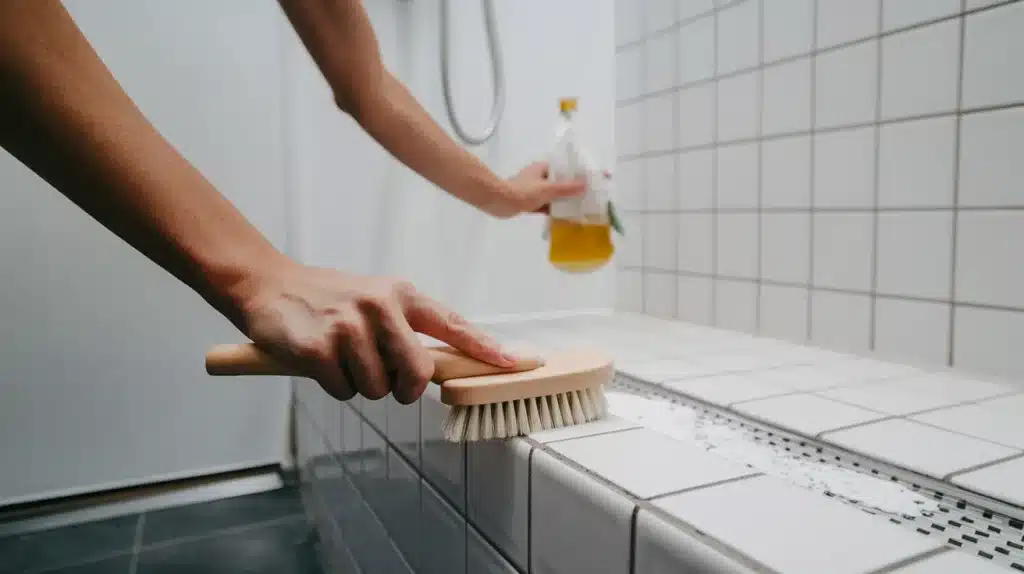
Walls & Tiles: Spray bathroom cleaner on all shower walls, tub surfaces, and tile areas. Use a scrub brush for textured surfaces and a soft sponge for smooth tiles to avoid scratching while removing soap scum and mildew buildup.
Grout: Apply a thick paste of baking soda and water to discolored grout lines. Scrub with an old toothbrush using circular motions, then rinse thoroughly with warm water to remove stains and cleaning residue completely.
Showerhead: Fill a plastic bag with white vinegar and secure it around the showerhead with a rubber band. Let it soak for thirty minutes to dissolve mineral deposits, then remove the bag and run hot water through the showerhead.
5. Floors
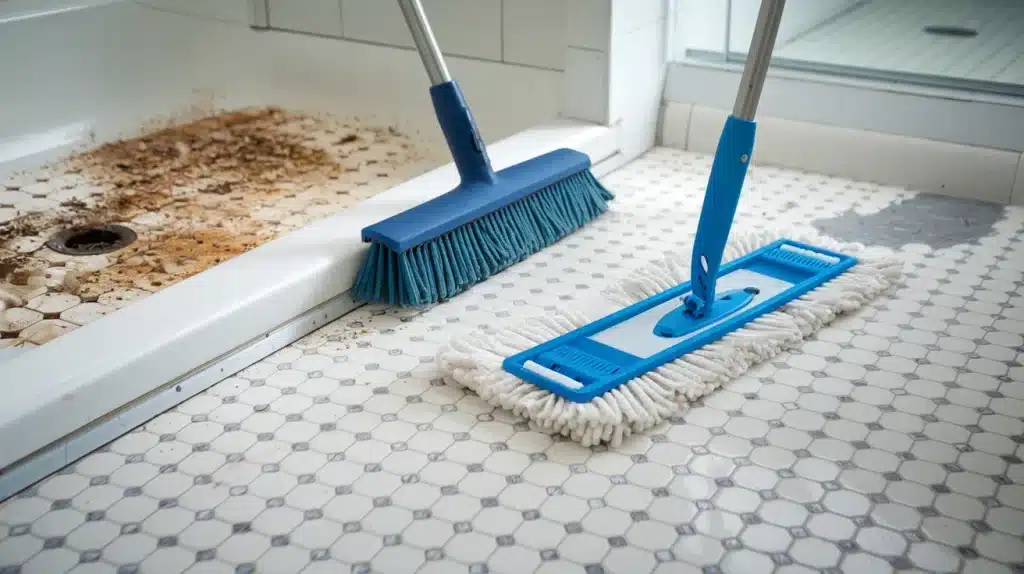
Sweeping: Thoroughly remove all loose hair, dust, debris, and small objects from the bathroom floor using a broom or vacuum cleaner. Pay special attention to corners, behind the toilet base, and under vanity areas where dirt accumulates.
Mopping: Mix bathroom-specific floor cleaner with warm water according to package directions. Start mopping from the farthest corner and work systematically toward the exit door, ensuring you reach all corners and edges for complete floor coverage.
Conclusion
Deep cleaning your bathroom doesn’t have to be a stressful chore when you follow the right system. By using this step-by-step guide, you’ll tackle every surface efficiently while preventing future buildup that makes cleaning harder.
Remember, consistency is key. Weekly cleaning combined with monthly deep tasks keeps your bathroom genuinely hygienic and extends the life of your fixtures. The time you invest now saves hours of scrubbing stubborn stains later.
Your bathroom is one of the most important spaces in your home for health and comfort. A truly clean bathroom protects your family from harmful bacteria and creates a fresh, welcoming environment everyone can enjoy.
Ready to put these techniques into practice? Start with the pre-cleaning preparation and work through each step systematically. What’s your biggest bathroom cleaning challenge?