Let me share how a simple winter evening inspired my journey into creating magical hot chocolate stations.
Through years of hosting cozy gatherings, I’ve discovered that these sweet corners become more than just drink stations – they transform into memory-making spaces where conversations flow as warmly as the chocolate.
My first station began with my grandmother’s silver tray and three mason jars.
Watching guests discover each carefully curated corner brings joy beyond the perfect cup of cocoa.
These aren’t just drink stations – they’re invitations to slow down and savor moments together.
Hot Chocolate Station Ideas
1. Rustic Wood Retreat
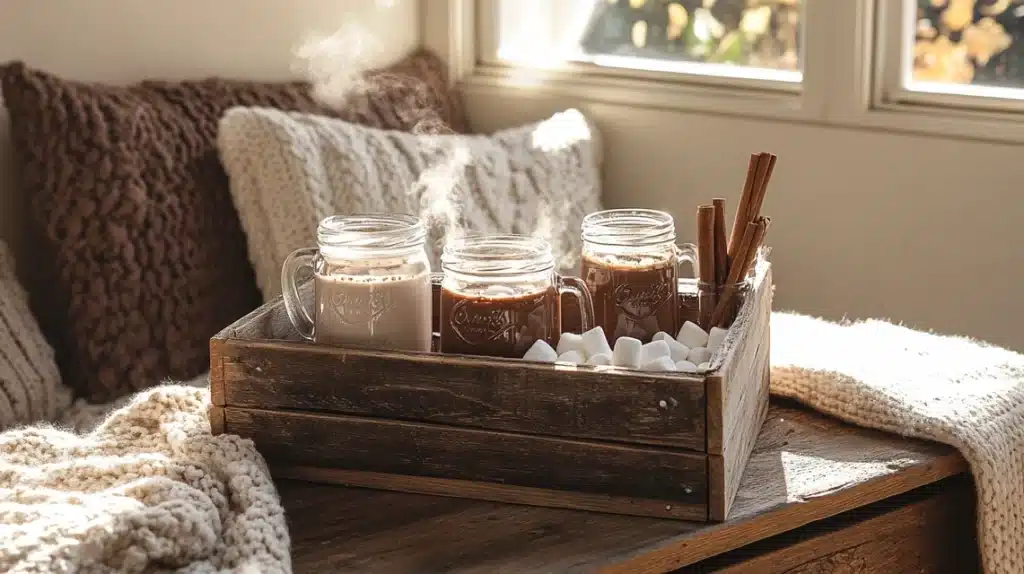
My grandfather’s weathered apple crate became the foundation of our most beloved hot chocolate station.
Each worn slat tells stories through grain patterns, while vintage mason jars filled with cocoa essentials catch the morning light.
I preserved every nail hole and stain, letting character guide my arrangement of steaming mugs and marshmallow jars.
How winter sunlight plays across aged wood grain brings warmth before the first sip is poured.
Complete DIY Setup Guide:
- Clean wood surfaces while preserving authentic wear patterns
- Create proper drainage tray preventing moisture damage
- Install non-slip base protecting counter surfaces
- Design multi-level display, maximizing storage space
- Build a protective mat preventing cup rings
- Develop an organization system for ingredients
- Create proper labeling for various cocoa mixes
- Install subtle lighting highlighting display
2. Vintage Charm Collection
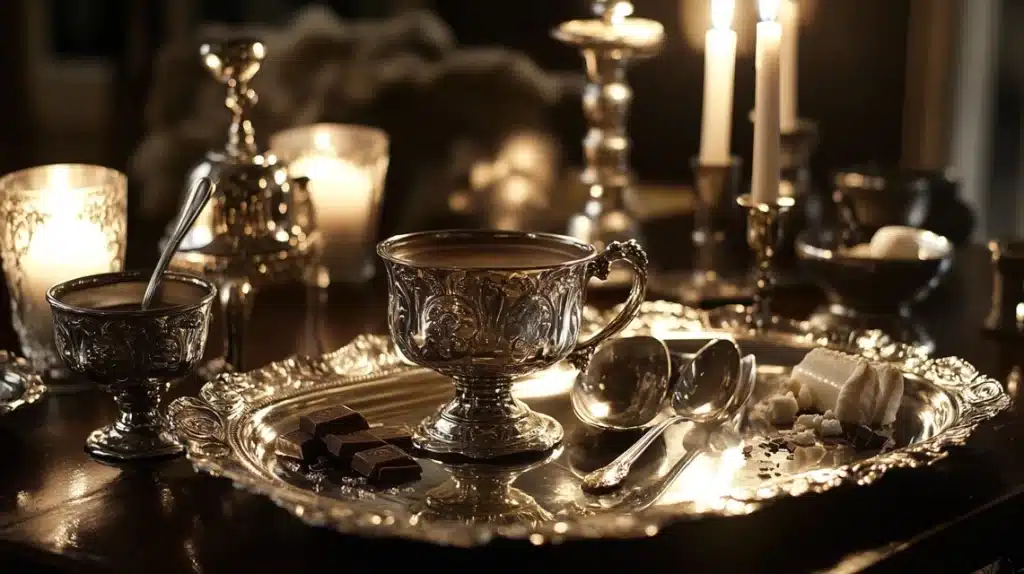
My grandmother’s silver tea service found a new purpose in hosting hot chocolate gatherings.
Each tarnished piece reflects soft lamplight differently, while delicate cups wait in graceful rows for evening cocoa rituals.
I maintained the original patina on serving pieces, letting decades of family gatherings add character to our sweet station.
The way candlelight catches old silver creates magical moments around steaming comfort mugs.
Complete DIY Setup Guide:
- Restore silver pieces while preserving character-building patina
- Create a protective cloth layer preventing surface scratches
- Install proper spacing, ensuring easy access to each element
- Design multi-level risers showcasing vintage pieces
- Build a specialized cleaning station for quick maintenance
- Develop a rotation system to keep the display fresh
- Create proper storage solutions protecting silver between uses
- Install subtle lighting-enhancing metallic surfaces
3. Modern Minimalist Magic
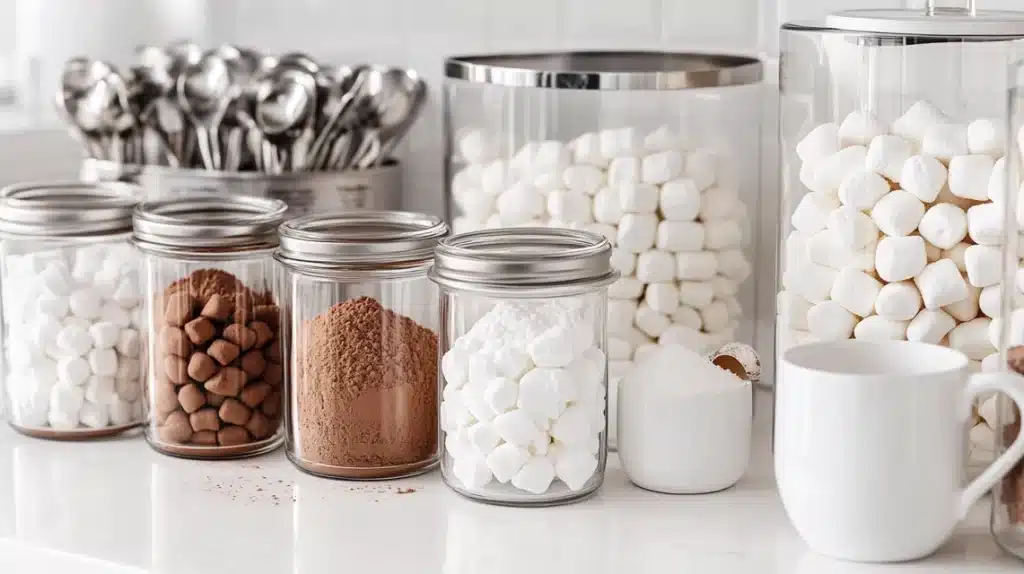
Clean lines and clear glass containers transform my kitchen corner into a sophisticated cocoa sanctuary.
Each transparent jar showcases ingredients like artwork – dark cocoa powder, fluffy marshmallows, and crystalline sugar waiting to sweeten moments.
I arranged everything at perfect angles, letting morning light play through the glass, creating rainbow effects.
Simple white mugs stand ready like a gallery of possibilities, while metallic scoops add subtle sparkle.
Complete DIY Setup Guide:
- Select matching glass containers, creating visual harmony
- Create a proper sealing system maintaining ingredient freshness
- Install non-slip base protecting modern surfaces
- Design a clear labeling system maintaining minimal aesthetic
- Build a specialized cleaning kit to prevent water spots
- Develop an inventory system tracking ingredient levels
- Create a proper measuring system ensuring consistent servings
- Install adequate lighting, maximizing glass effects
4. Holiday Spirit Station
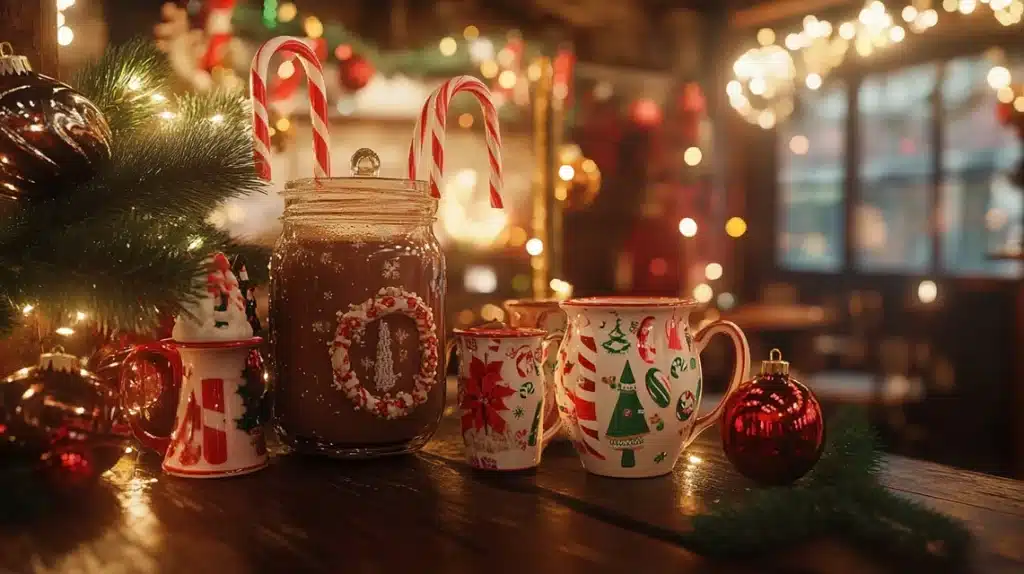
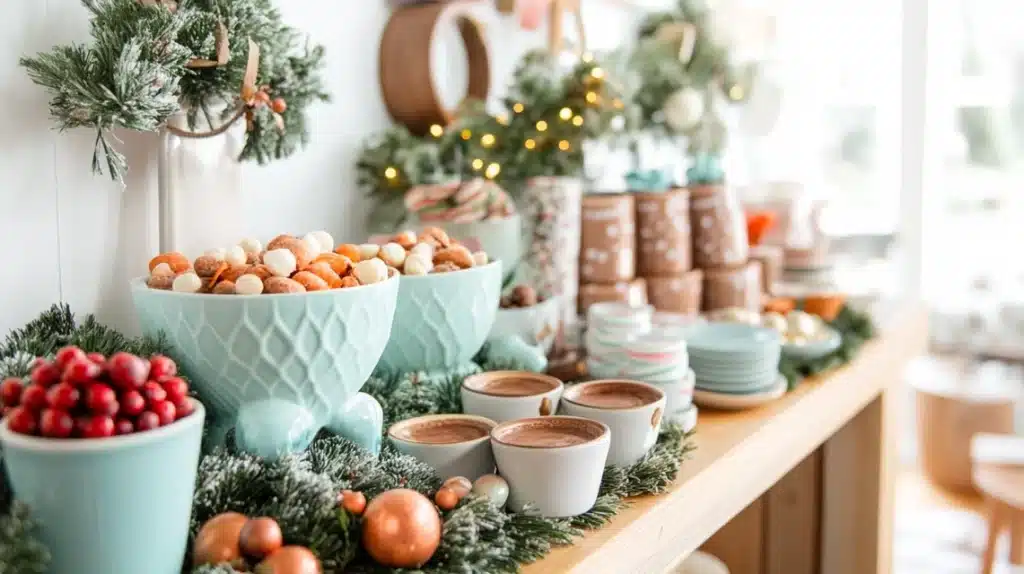
Pine garland frames my winter cocoa corner, bringing forest freshness to sweet celebrations.
Each ornament catches the light differently, while candy canes stand like striped soldiers guarding chocolate treasures.
I wove tiny white lights through the greenery, creating magical sparkles around steaming mugs and treat jars.
How evening light plays through glass containers transforms simple ingredients into festive displays.
Complete DIY Setup Guide:
- Create a stable greenery foundation preventing needle drop
- Install a proper lighting system hidden within a garland
- Design multi-level display maximizing vertical space
- Build a protective mat catching scattered decorations
- Develop a rotating seasonal accent system
- Create appropriate storage solutions for off-season items
- Install moisture protection, preventing condensation damage
- Design a backup power system ensuring consistent lighting
5. Rolling Cart Comfort
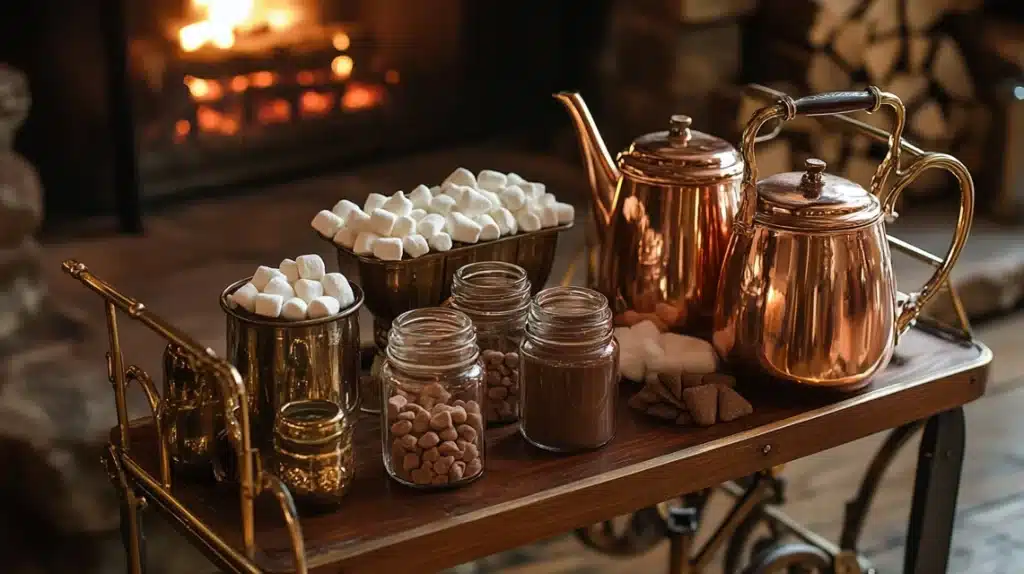
My vintage tea cart, discovered at a local estate sale, now brings mobile hot chocolate joy to every corner.
Each wheel squeaks its melody, while brass rails keep precious cargo safe during treats’ travels.
I preserved the original wood finish, letting decades of entertainment guide the placement of modern cocoa luxuries.
The way copper kettles catch firelight as we roll past creates magical moments of anticipation.
Complete DIY Setup Guide:
- Restore wheel mechanisms, ensuring smooth movement
- Create secured zones preventing shifting during transport
- Install non-slip surface-protecting ingredients
- Design multi-tier organization, maximizing space
- Build protective bumpers preventing wall damage
- Develop a brake system for stationary serving
- Create a proper weight distribution plan
- Install subtle lighting for evening service
6. Mug Wall Wonder
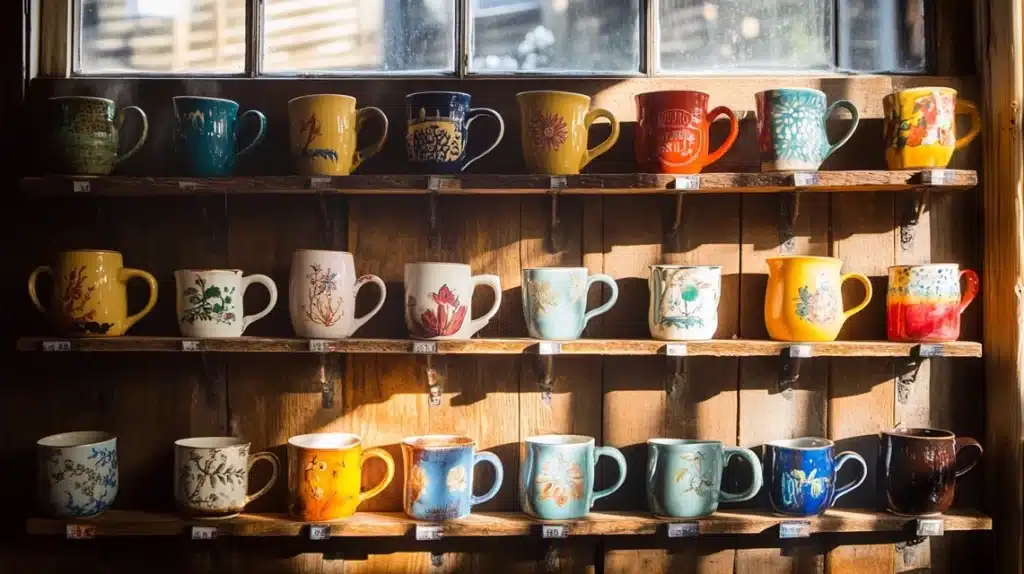
Empty kitchen wall space transformed into a gallery of waiting mugs, each telling its story.
Each hook holds special memories, from hand-thrown pottery to vintage finds, creating an ever-changing display of possibilities.
I arranged them in flowing patterns, letting different heights and colors create visual poetry above our cocoa station.
Morning light creates shadows that play through handle curves while steam rises past waiting vessels.
Complete DIY Setup Guide:
- Install proper wall anchoring supporting full mug weight
- Create systematic spacing, ensuring easy access
- Design a proper hook system preventing mug damage
- Build protective backing preventing wall wear
- Develop a rotation system maintaining fresh displays
- Creating proper cleaning schedule, maintaining presentation
- Install mood lighting enhancing evening ambiance
- Design backup support preventing accidents
7. Farmhouse Comfort Corner
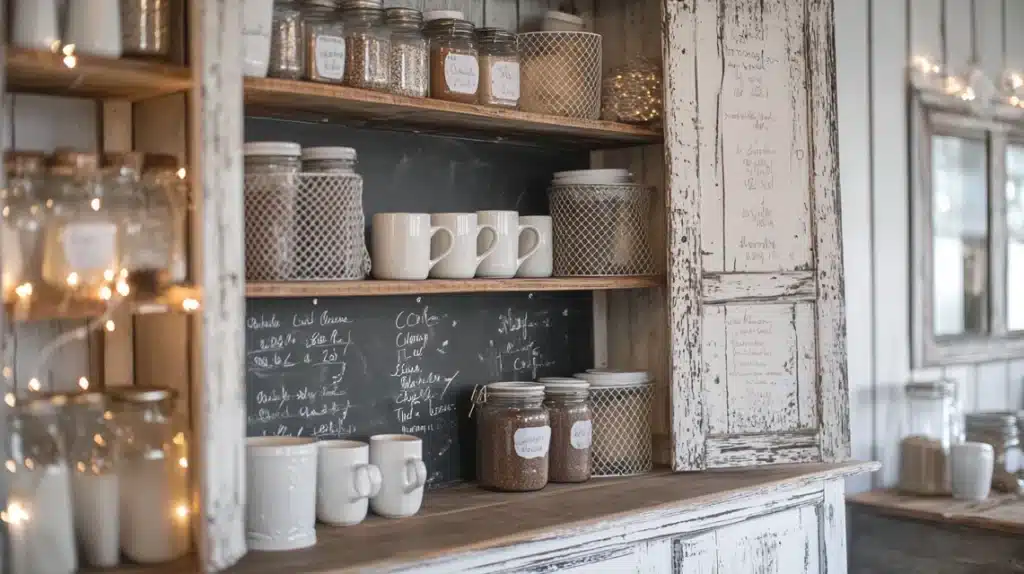
My grandmother’s cabinet, rescued from barn storage, now serves sweet comfort in farmhouse style.
Each drawer holds cocoa treasures, while chicken wire doors display favorite mugs like family portraits.
I maintained the original paint chips and wore patterns, letting time’s signature add character to our chocolate station.
Chalkboard panels share secret recipes passed through generations of winter gatherings.
Complete DIY Setup Guide:
- Restore wood elements while preserving authentic wear
- Create proper drawer organization, maximizing storage
- Install moisture barriers protecting aged wood
- Design a recipe display system that allows easy changes
- Build specialized container storage within drawers
- Develop ingredient rotation, maintaining freshness
- Create proper ventilation, preventing moisture buildup
- Install subtle lighting highlighting display areas
8. Gold and Glass Elegance
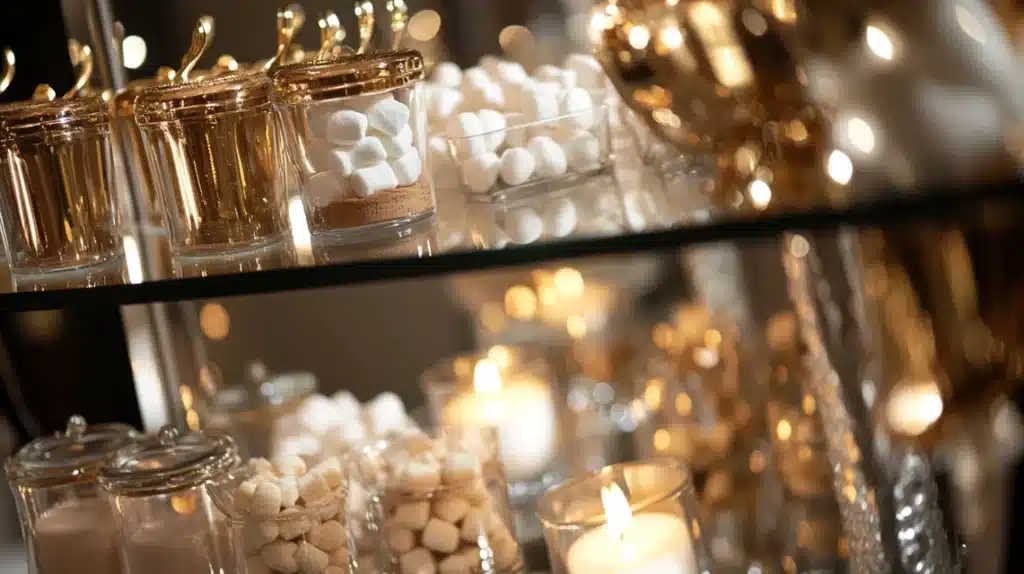
Mirror-backed shelving transforms simple ingredients into glamorous displays of possibility.
Each glass container sparkles differently, while gold accents catch light like captured sunshine.
I positioned everything to maximize light play, creating magical reflections that dance across evening gatherings.
How candlelight bounces between crystal sugar jars brings unexpected elegance to casual cocoa moments.
Complete DIY Setup Guide:
- Install proper mirror backing ensure safety
- Create a stable glass shelf system to prevent accidents
- Design proper spacing, maximizing light effects
- Build a protective base preventing scratches
- Develop cleaning schedule, maintaining sparkle
- Create proper labeling, maintaining elegance
- Install strategic lighting-enhancing reflections
- Design a backup support system preventing mishaps
9. Kid’s Cocoa Corner
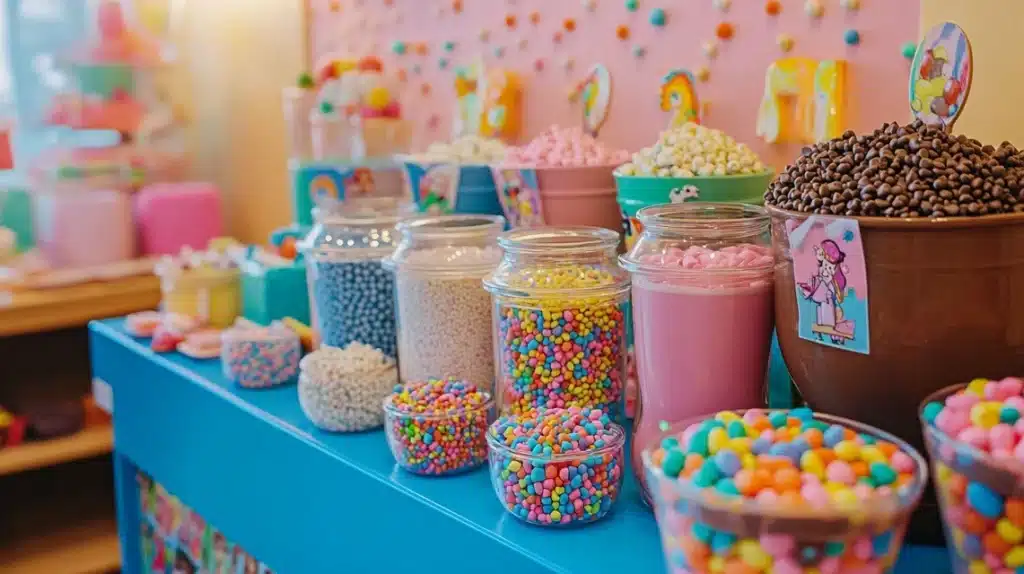
My playroom corner transformed into a magical hot chocolate adventure space safe for little hands.
Each unbreakable jar holds colorful treasures – rainbow marshmallows, chocolate sprinkles, and candy pieces waiting for discovery.
I created easy-pour stations at child height, letting young chocolatiers craft their perfect cups independently.
Picture-based labels help beginning readers navigate their sweet journey while keeping organization intact.
Complete DIY Setup Guide:
- Install shatterproof containers to prevent accidents
- Create a child-height serving station, ensuring safe access
- Design a picture-based labeling system for easy identification
- Build a spill-containment system protecting surfaces
- Develop easy-clean protocols for quick maintenance
- Create proper portion control, preventing overindulgence
- Install safety locks on hot water sources
- Design supervision zones to maintain safety
10. Decadent Flavor Buffet
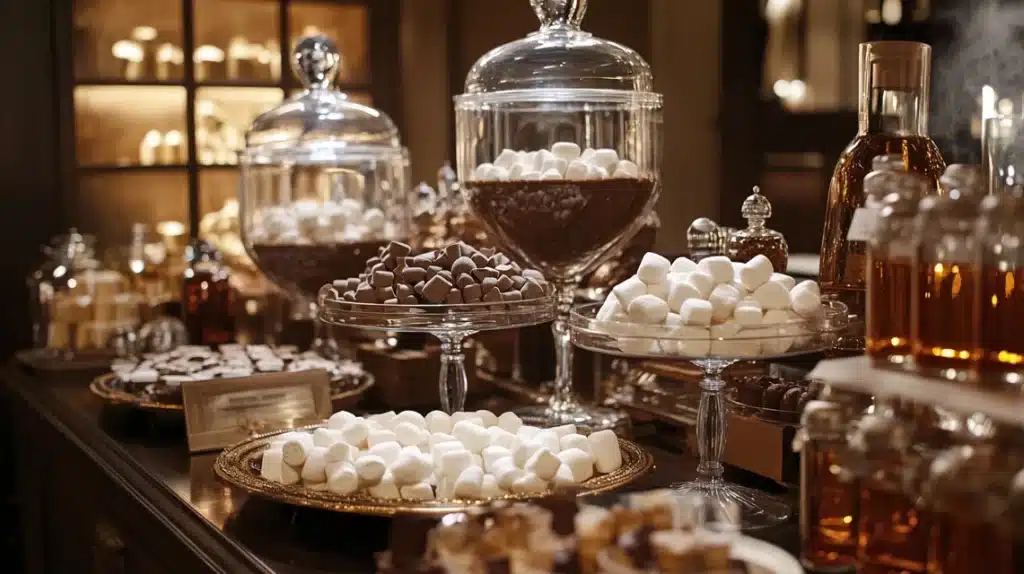
My dining room sideboard evolved into exploring chocolate possibilities through multiple flavor stations.
Each cocoa variety tells its story – from deep dark chocolate to creamy white, while flavored syrups wait in gleaming bottles.
I arranged everything in tasting order, letting flavor journeys flow naturally from mild to bold.
Glass cloches protect precious ingredients while creating museum-like displays of sweet potential.
Complete DIY Setup Guide:
- Create proper temperature zones for different chocolates
- Install a tiered display system showcasing a variety
- Design flavor progression encouraging exploration
- Build specialized storage, maintaining freshness
- Develop a tasting guide to educate guests
- Create proper labeling identifying options
- Install temperature monitoring to prevent spoilage
- Design backup supplies ensuring a variety
11. Outdoor Winter Wonder
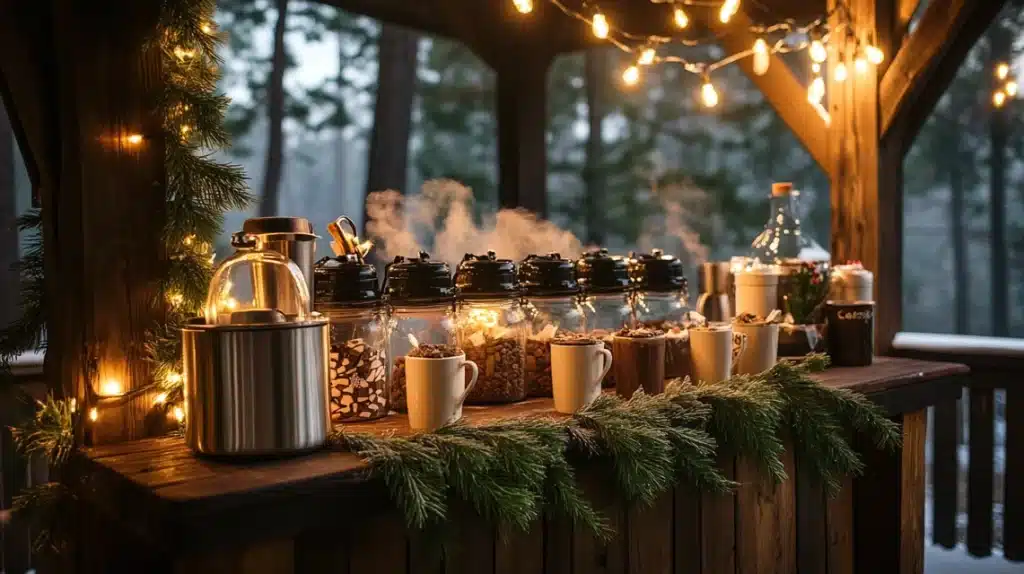
My covered porch corner welcomes winter celebrations with weatherproof cocoa charm.
Each thermos stands ready for refills, while mason jars protect precious toppings from evening moisture.
I created cozy serving stations between weathered railings, letting natural wood complement sweet offerings.
Twinkling overhead lights transform simple hot chocolate into magical moments under the stars.
Complete DIY Setup Guide:
- Install weather-resistant shelving withstanding elements
- Create proper drainage, preventing moisture collection
- Design wind protection securing lightweight items
- Build a temperature maintenance system for servings
- Develop weather monitoring prevent damage
- Create proper storage protecting supplies
- Install adequate lighting for evening service
- Design emergency coverage for sudden weather
12. Seasonal Symphony Station
My kitchen corner changes with nature’s rhythm, bringing seasonal magic to each cup of comfort.
Each month brings new flavors—peppermint springs, autumn spices, and summer berries all take their turn center stage.
I rotate decorations matching nature’s palette, letting seasonal beauty enhance every sweet sip.
The way morning light plays across changing displays keeps our cocoa corner fresh through every season.
Complete DIY Setup Guide:
- Create a seasonal rotation schedule maintaining freshness
- Install adjustable display system accommodating changes
- Design storage solution for off-season items
- Build proper inventory tracking prevent waste
- Develop flavor progression through seasons
- Create proper cleaning protocols between changes
- Install adaptable lighting-enhancing themes
- Design backup supplies preventing shortages
13. Cozy Coffee Table Command
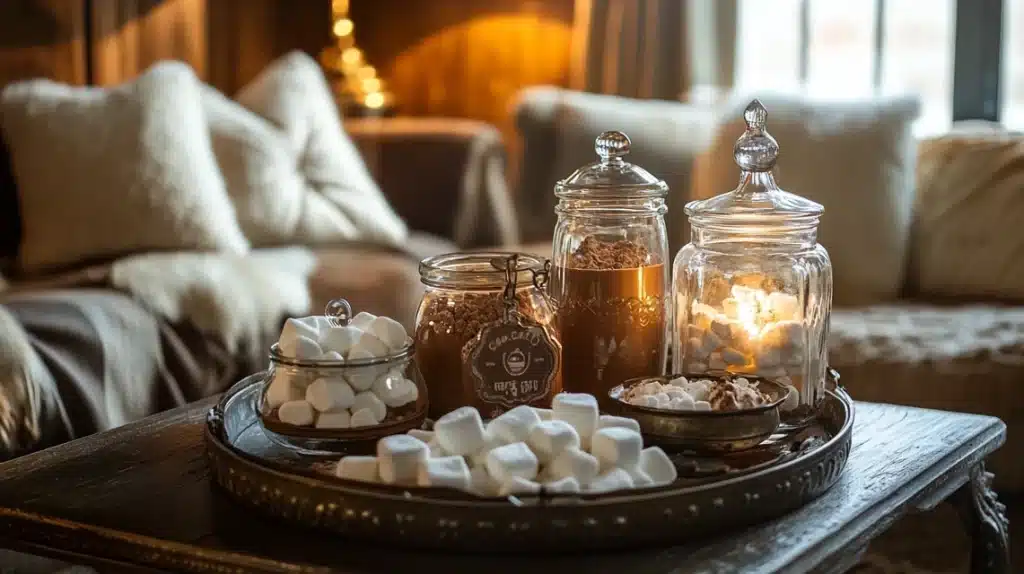
My living room’s heart transformed into an intimate hot chocolate haven perfect for evening gatherings.
Each level of my tiered trays tells a different story—dark cocoa is waiting in vintage jars while marshmallows float in glass cloches.
I arranged everything within arm’s reach of comfortable seating, letting the conversation flow as easily as chocolate.
Soft lamplight creates magical moments between steaming mugs and sweet treats waiting to be discovered.
Complete DIY Setup Guide:
- Design multi-level display maximizing limited space
- Create a protective surface preventing furniture damage
- Install hidden storage, maintaining a neat appearance
- Build a coaster system protecting wooden surfaces
- Develop an easy-refill plan to minimize disruption
- Create a proper cleaning station within reach
- Install subtle lighting enhancing ambiance
- Design backup supply storage nearby
14. Cookie and Cocoa Companion
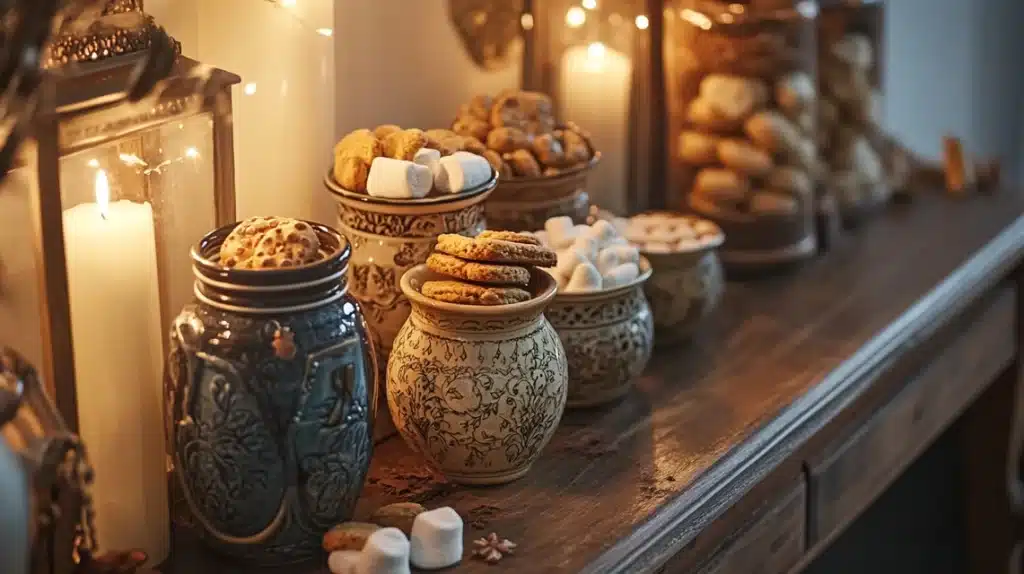
My grandmother’s cookie jar collection found a new purpose alongside our hot chocolate station.
Each ceramic vessel holds different sweet companions – from classic cookies to homemade marshmallows, creating perfect pairing possibilities.
I preserved original artistic details while arranging jars at varying heights, letting vintage charm enhance modern moments.
How evening light catches hand-painted details adds magic to simple, sweet offerings.
Complete DIY Setup Guide:
- Create a proper freshness system for baked goods
- Install a tiered display showcasing a variety
- Design rotation schedule maintaining freshness
- Build temperature control protecting treats
- Develop inventory tracking, preventing shortages
- Create proper storage between servings
- Install moisture control, maintaining crispness
- Design an easy-access system during service
15. Retro Sweet Dreams
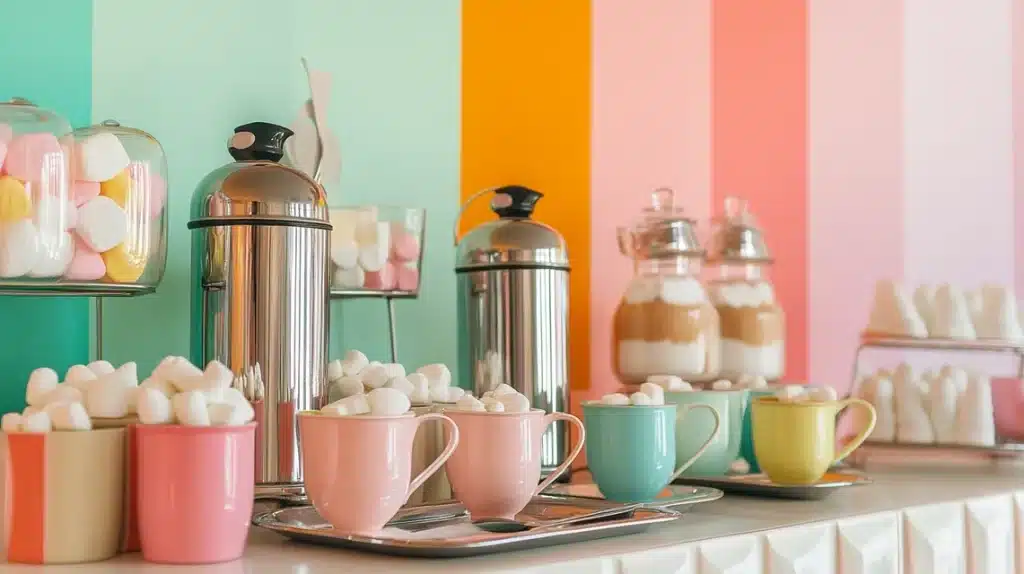
My collection of mid-century serving pieces creates a nostalgic hot chocolate experience.
Each vintage thermos and atomic-patterned tray brings back memories of simpler times, while modern conveniences hide discretely.
I positioned authentic period pieces prominently, letting their unique designs guide my color choices and arrangement.
Chrome details catch the light like diamonds between candy-colored containers of sweet possibilities.
Complete DIY Setup Guide:
- Restore vintage pieces, maintaining authentic charm
- Create proper support to prevent damage
- Install period-appropriate lighting-enhancing display
- Design cleaning protocols protecting finishes
- Develop a rotation system preserving pieces
- Create proper storage protecting classics
- Install hidden modern conveniences
- Design backup system ensuring function
Practical Tips for Perfect Hot Chocolate Stations
1. Creating Your Timeline
Let me share how proper planning transformed my station setup from chaotic to seamless.
One week before your event, begin gathering supplies and checking container conditions. Three days out, start any DIY decorations, allowing proper drying time.
The day before becomes crucial – clean all serving pieces, prepare dry ingredient mixes and create your layout plan.
Morning-of tasks focus on fresh elements and final touches, ensuring everything stays perfect for evening gatherings.
2. Budget-Conscious Magic
I’ve discovered endless possibilities in unlikely places through years of creating stations.
Thrift stores sell vintage serving pieces that bring instant charm for minimal investment. Dollar stores offer clear containers and basic supplies at perfect prices.
My favorite stations combine rescued items with strategic new purchases. That silver tray showing water spots is perfect for creating vintage charm at a fraction of the retail cost.
Local estate sales often reveal complete sets of serving pieces waiting for a new purpose.
3. Sustainable Station Success
My commitment to earth-friendly entertaining led to creative solutions that maintain style while reducing waste.
Real mugs create better experiences than disposable cups while saving money long-term. Bamboo serving spoons bring natural beauty lasting through countless gatherings.
Glass storage containers preserve ingredients perfectly while eliminating plastic waste. Even napkins have become an opportunity to choose washable fabric over paper.
Consider how each element impacts our environment while enhancing guest experience.
4. Cleanup Command Center
Experience taught me that planning cleanup proves as important as planning setup.
Creating designated areas for dirty dishes prevents pileup while maintaining station beauty. Hidden trash containers handle waste discretely, keeping spaces neat.
I position cleaning supplies nearby but out of sight, ensuring quick response to spills without disrupting station aesthetics.
Small signs guide guests, helping maintain organization throughout events.
Conclusion
We’ve explored how simple corners become magical memory-makers through fifteen unique stations.
Each design offers opportunities for personal touches, transforming ordinary moments into extraordinary gatherings.
Remember that perfect stations grow through time and use. Let your space evolve with each gathering, noting which elements bring the most joy to your guests.
Consider how different seasons might inspire changes, keeping your station fresh and inviting.
Most importantly, enjoy the process.
Watch how your hot chocolate station becomes a gathering point for stories, laughter, and connections.
After all, the sweetest moments often happen between sips of perfectly crafted cocoa shared with those we love.
Frequently Asked Questions
What Essentials Do I Need for a Hot Chocolate Station?
Begin with quality cocoa powder or chocolate options stored in airtight containers.
Include dairy and non-dairy milk choices in thermal carafes: stock marshmallows, whipped cream, and basic toppings in clear jars. My experience shows that proper mugs, spoons, and napkins matter as much as ingredients.
Remember temperature control—a good electric kettle or thermal carafe maintains perfect serving heat.
How Can I Make My Hot Chocolate Bar Unique and Appealing?
Create themed displays matching your home’s style or seasonal celebrations.
Layer heights using cake stands or vintage boxes creating visual interest. Add unexpected flavors like lavender or chili powder in small bottles.
My stations always include conversation starters – perhaps vintage cocoa advertisements or family recipe cards.
Consider unique serving vessels like copper moscow mule mugs or vintage teacups.
What Toppings and Mix-Ins Can I Offer to Guests?
Beyond classic marshmallows, consider crushed peppermint, cinnamon sticks, and flavored syrups.
Offer texture through toffee bits, chocolate chips, and cookie crumbs. Include unexpected joy with edible glitter or colored sugar.
My guests love discovering new combinations through seasonal offerings like pumpkin spice in fall or coconut in summer.
How Do I Set up a Hot Chocolate Bar on a Budget?
Start with thrifted serving pieces and mason jars, creating charm without cost.
Make homemade marshmallows and flavored syrups, saving money while adding a personal touch. Use natural decorations like pine cones or dried citrus.
My favorite stations often feature rescued pieces that are given new purpose through creativity rather than cash.
What Are Some Decoration Ideas for Different Themes or Holidays?
Match colors and accents to seasons – pine and berries for winter, flowers for spring. Include themed mugs or signs celebrating current holidays.
Layer lighting through candles or fairy lights creates ambiance.
My stations evolve through simple changes in ribbon colors or swapping themed cookie cutters as decorative elements.

