I agree that transforming basic bookshelves into custom-looking built-ins can be intimidating. Creating those stylish arched bookshelves you’ve seen everywhere seems like it would require professional carpentry skills and a big budget.
I promise you can achieve this high-end look yourself with just some basic tools and materials. This DIY approach will save you significant money while giving you that custom built-in appearance that advances any room.
In this direction, I’ll walk you through the exact steps I used to create arched built-in bookshelves using standard store-bought shelving units as the foundation.
You’ll see how straightforward this weekend project can be, even if you’re not an experienced woodworker.
Tools and Materials Required
| Tool | Purpose |
|---|---|
| Measuring Tape | For accurate measurements of space and materials |
| Pencil | Marking cuts and layout lines |
| Miter Saw | Making precise angled cuts for trim and lumber |
| Jigsaw | Cutting the arch shape out of plywood |
| Circular Saw | Straight cuts on plywood and lumber |
| Drill | Driving screws and making pilot holes |
| Drill Bits | Used with drill for different hole sizes |
| Clamps | Holding materials steady while cutting or gluing |
| Sander | Smoothing surfaces and edges before painting |
| Paintbrush or Roller | Applying paint or primer to shelves and trim |
| Saw Horses | Providing a stable surface for cutting or assembly |
| Material | Description |
|---|---|
| 3 Basic Bookshelves | Each 3 feet wide by 6 feet tall – base structure |
| Plywood Sheets | Used to create the arch and backing panels |
| 1×8 Lumber | For framing and building support |
| 2×4 Lumber | Used to build the base platform or secure frame |
| Trim Molding | Finishes edges and gives the bookshelf a built-in look |
| Screws | Fastening all structural elements |
| Paint (Deep Green) | Final finish to match the room decor |
| Wood Filler or Caulk | Seals seams and gaps for a smooth, finished appearance |
Easy Guide to Creating Arched Built-In Bookshelves
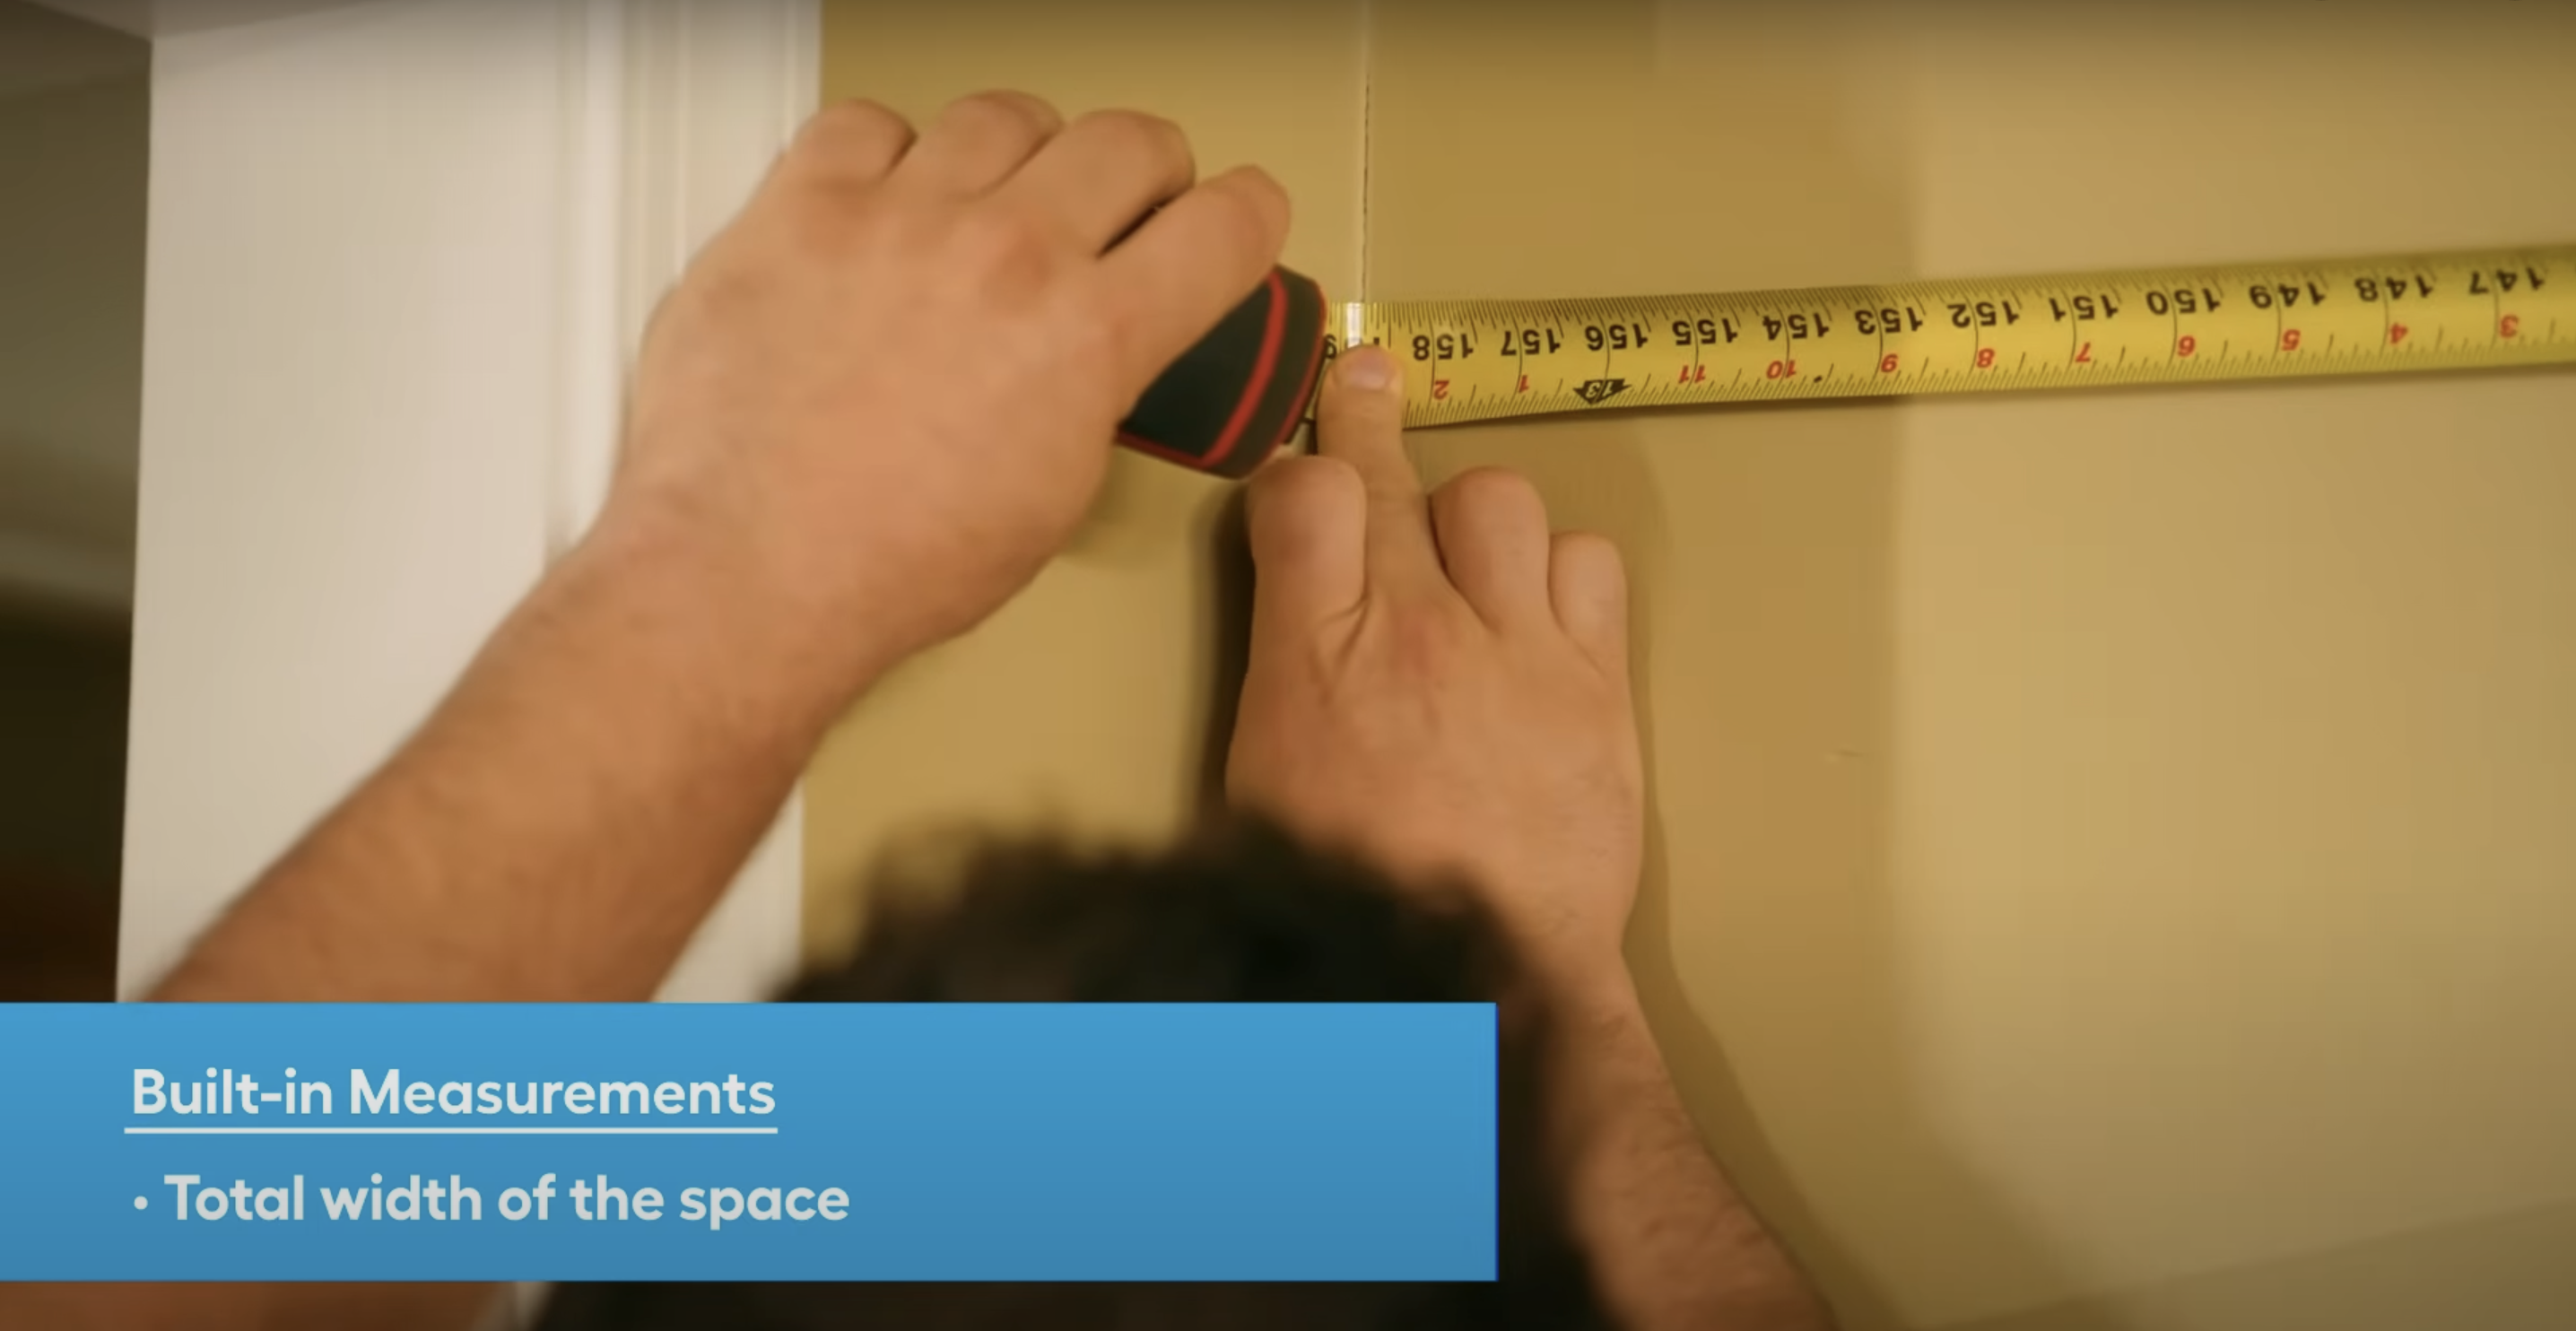
Step 1: Measure and Plan

Start by measuring the total width of the wall where you want to build the bookshelf. Then, find and mark the center of the wall.
Next, measure the height from the top of your bookshelves to the ceiling so you know how much space you’ll need for the arch. Measure the width of each bookshelf.
This guide uses shelves that are 34 inches wide. Also, measure how deep the bookshelves are from the wall. Once you have all your measurements, make a clear and detailed list of all the cuts you’ll need to make for your materials. This will help everything fit correctly when you start building.
Step 2: Position the Bookshelves
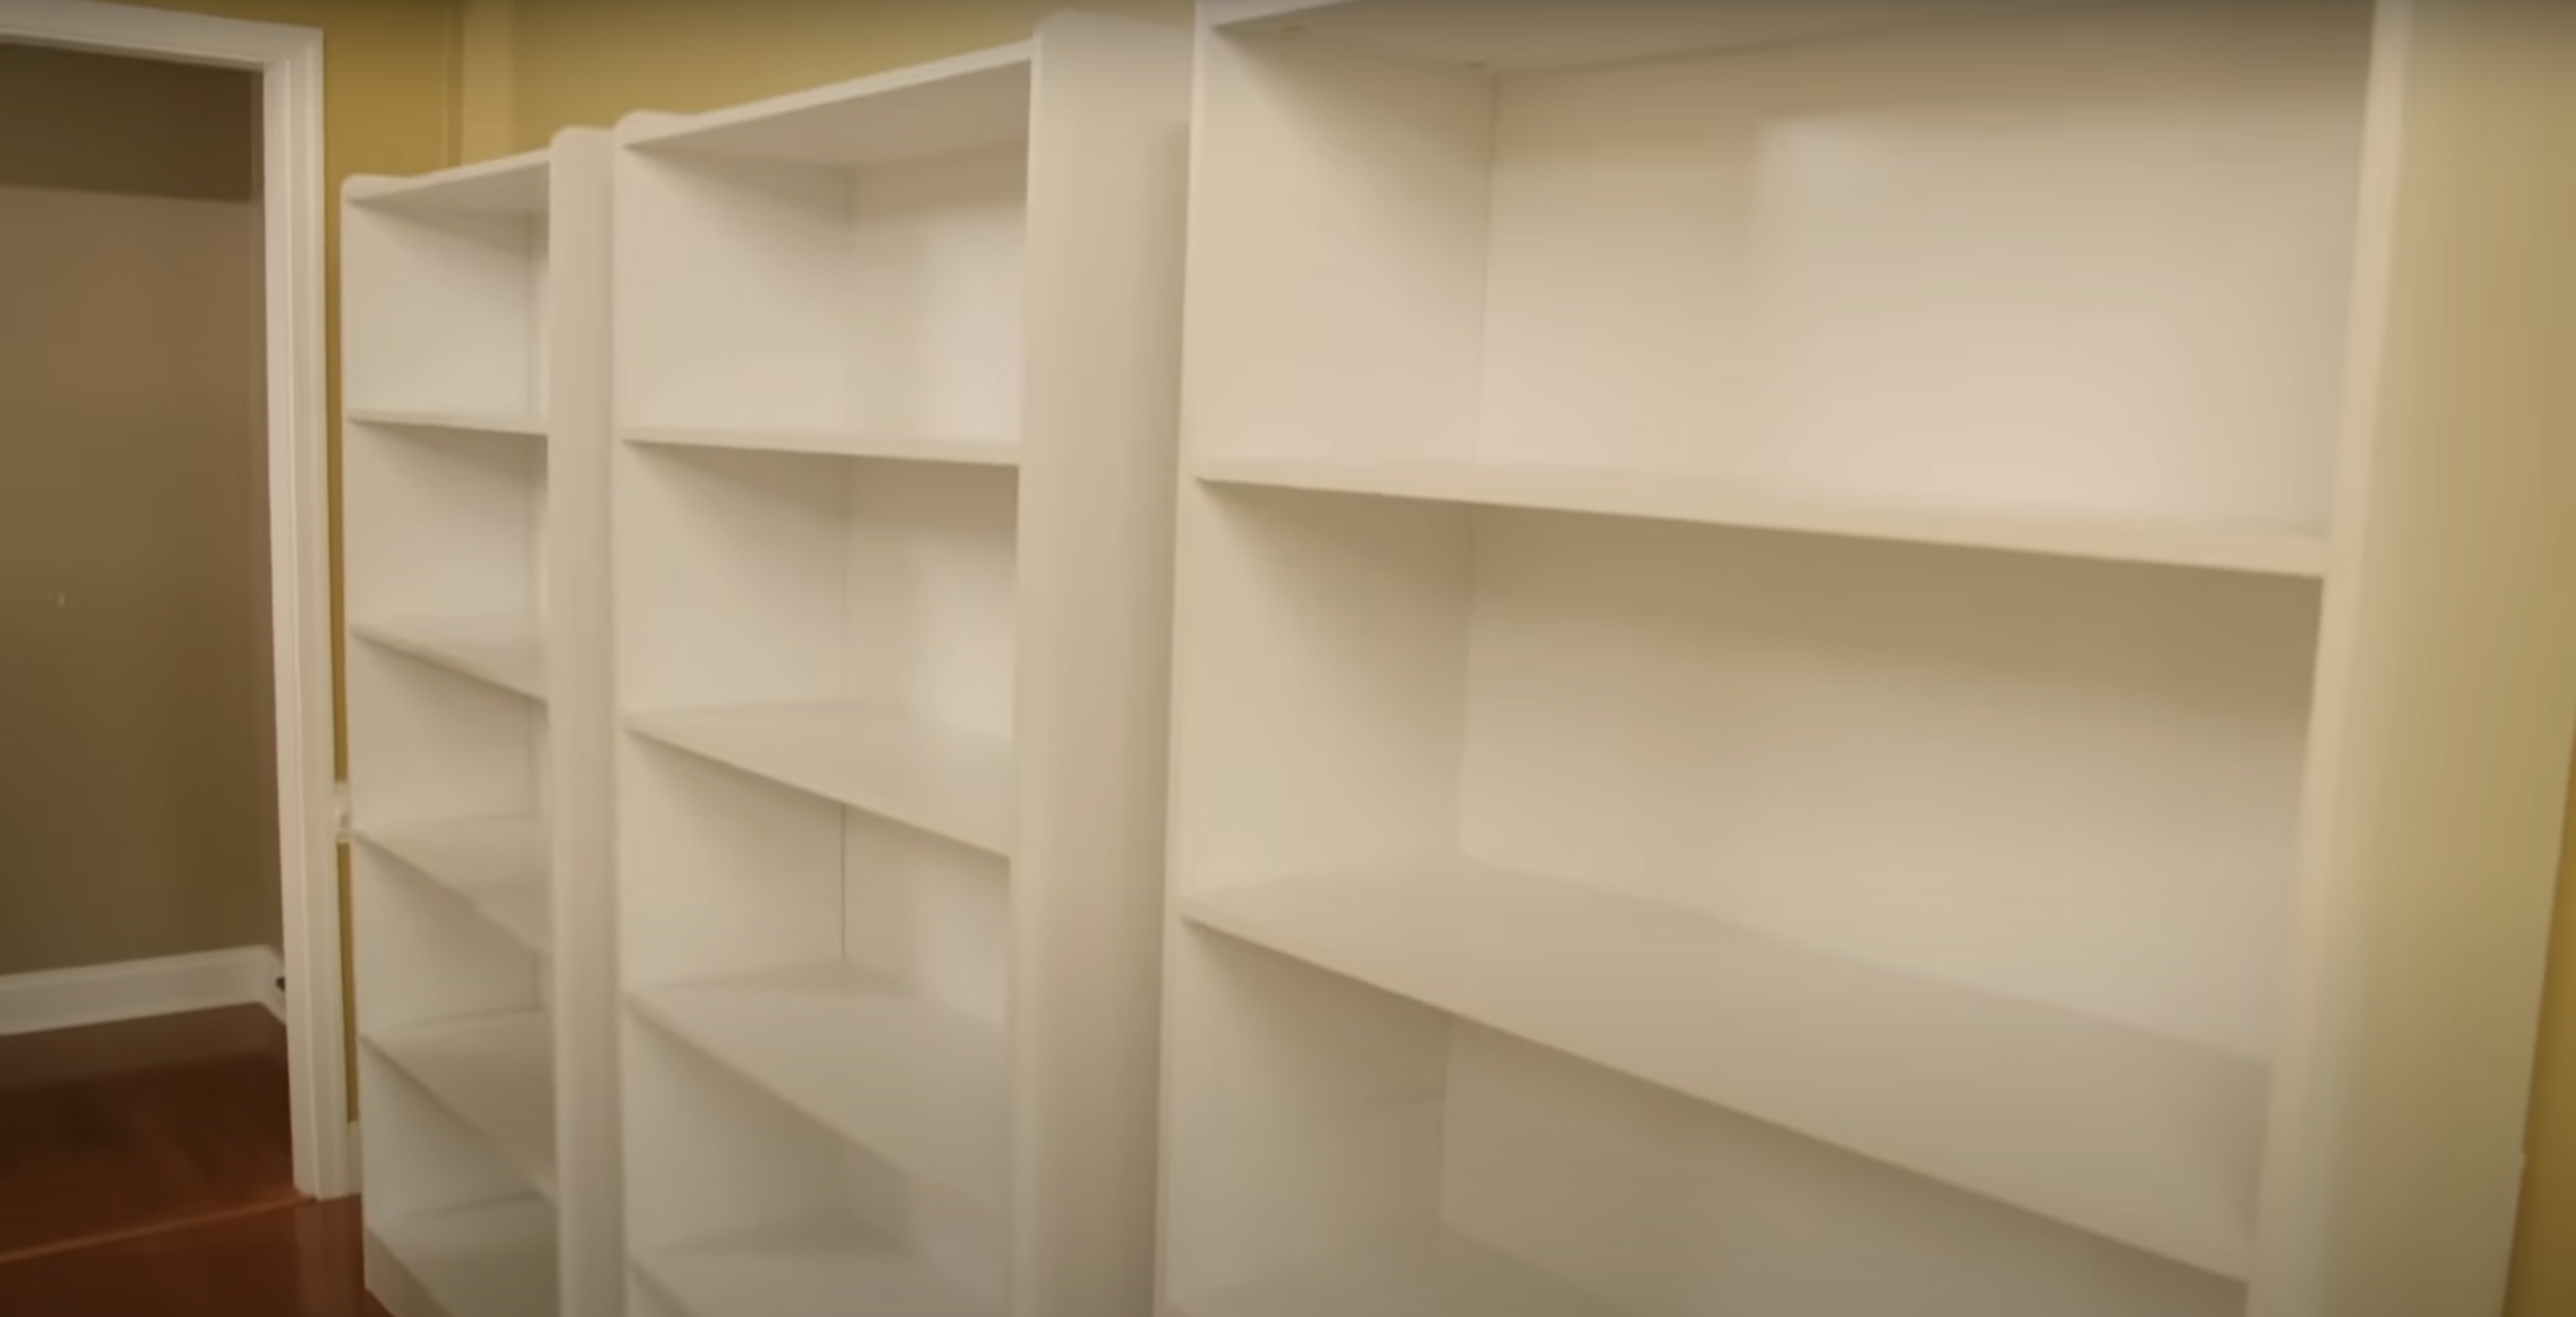
Start by placing all three bookshelves against the wall where you want your built-ins. Make sure the spaces between each bookshelf are exactly equal; this creates a balanced, professional look.
The middle bookshelf should line up precisely with the center of your wall. Use a measuring tape to find the wall’s center point, then align your middle bookshelf accordingly.
This symmetrical arrangement forms the foundation for your entire built-in unit and ensures the finished project looks professionally installed rather than cobbled together.
Step 3: Make the Arch Template
Creating perfect arches is easier than you might think. Take a piece of scrap wood and screw one end to your work surface so it can pivot like a compass arm. Measure half the width of your bookshelf (17 inches for a 34-inch shelf) and drill a small hole at that exact distance.
Insert a pencil through this hole, and you’ve made a simple but effective drawing tool. Now, swing the wood in an arc while keeping the pencil touching your plywood. This creates perfectly consistent arches for all your bookshelves without needing special tools or complex calculations.
Step 4: Cut the Arches
Start by positioning your plywood sheets securely on saw horses for stability. Using the template you created, carefully trace your arch shapes onto the plywood. This ensures all arches will be identical when finished.
Grab your jigsaw and cut slowly along the curved lines, staying just outside your pencil mark for precision. For the straight top edge where the arch meets the ceiling, switch to a circular saw for a cleaner cut.
Once all cuts are complete, sand the edges thoroughly to remove any splinters or rough spots. This step is crucial for professional results and safe handling.
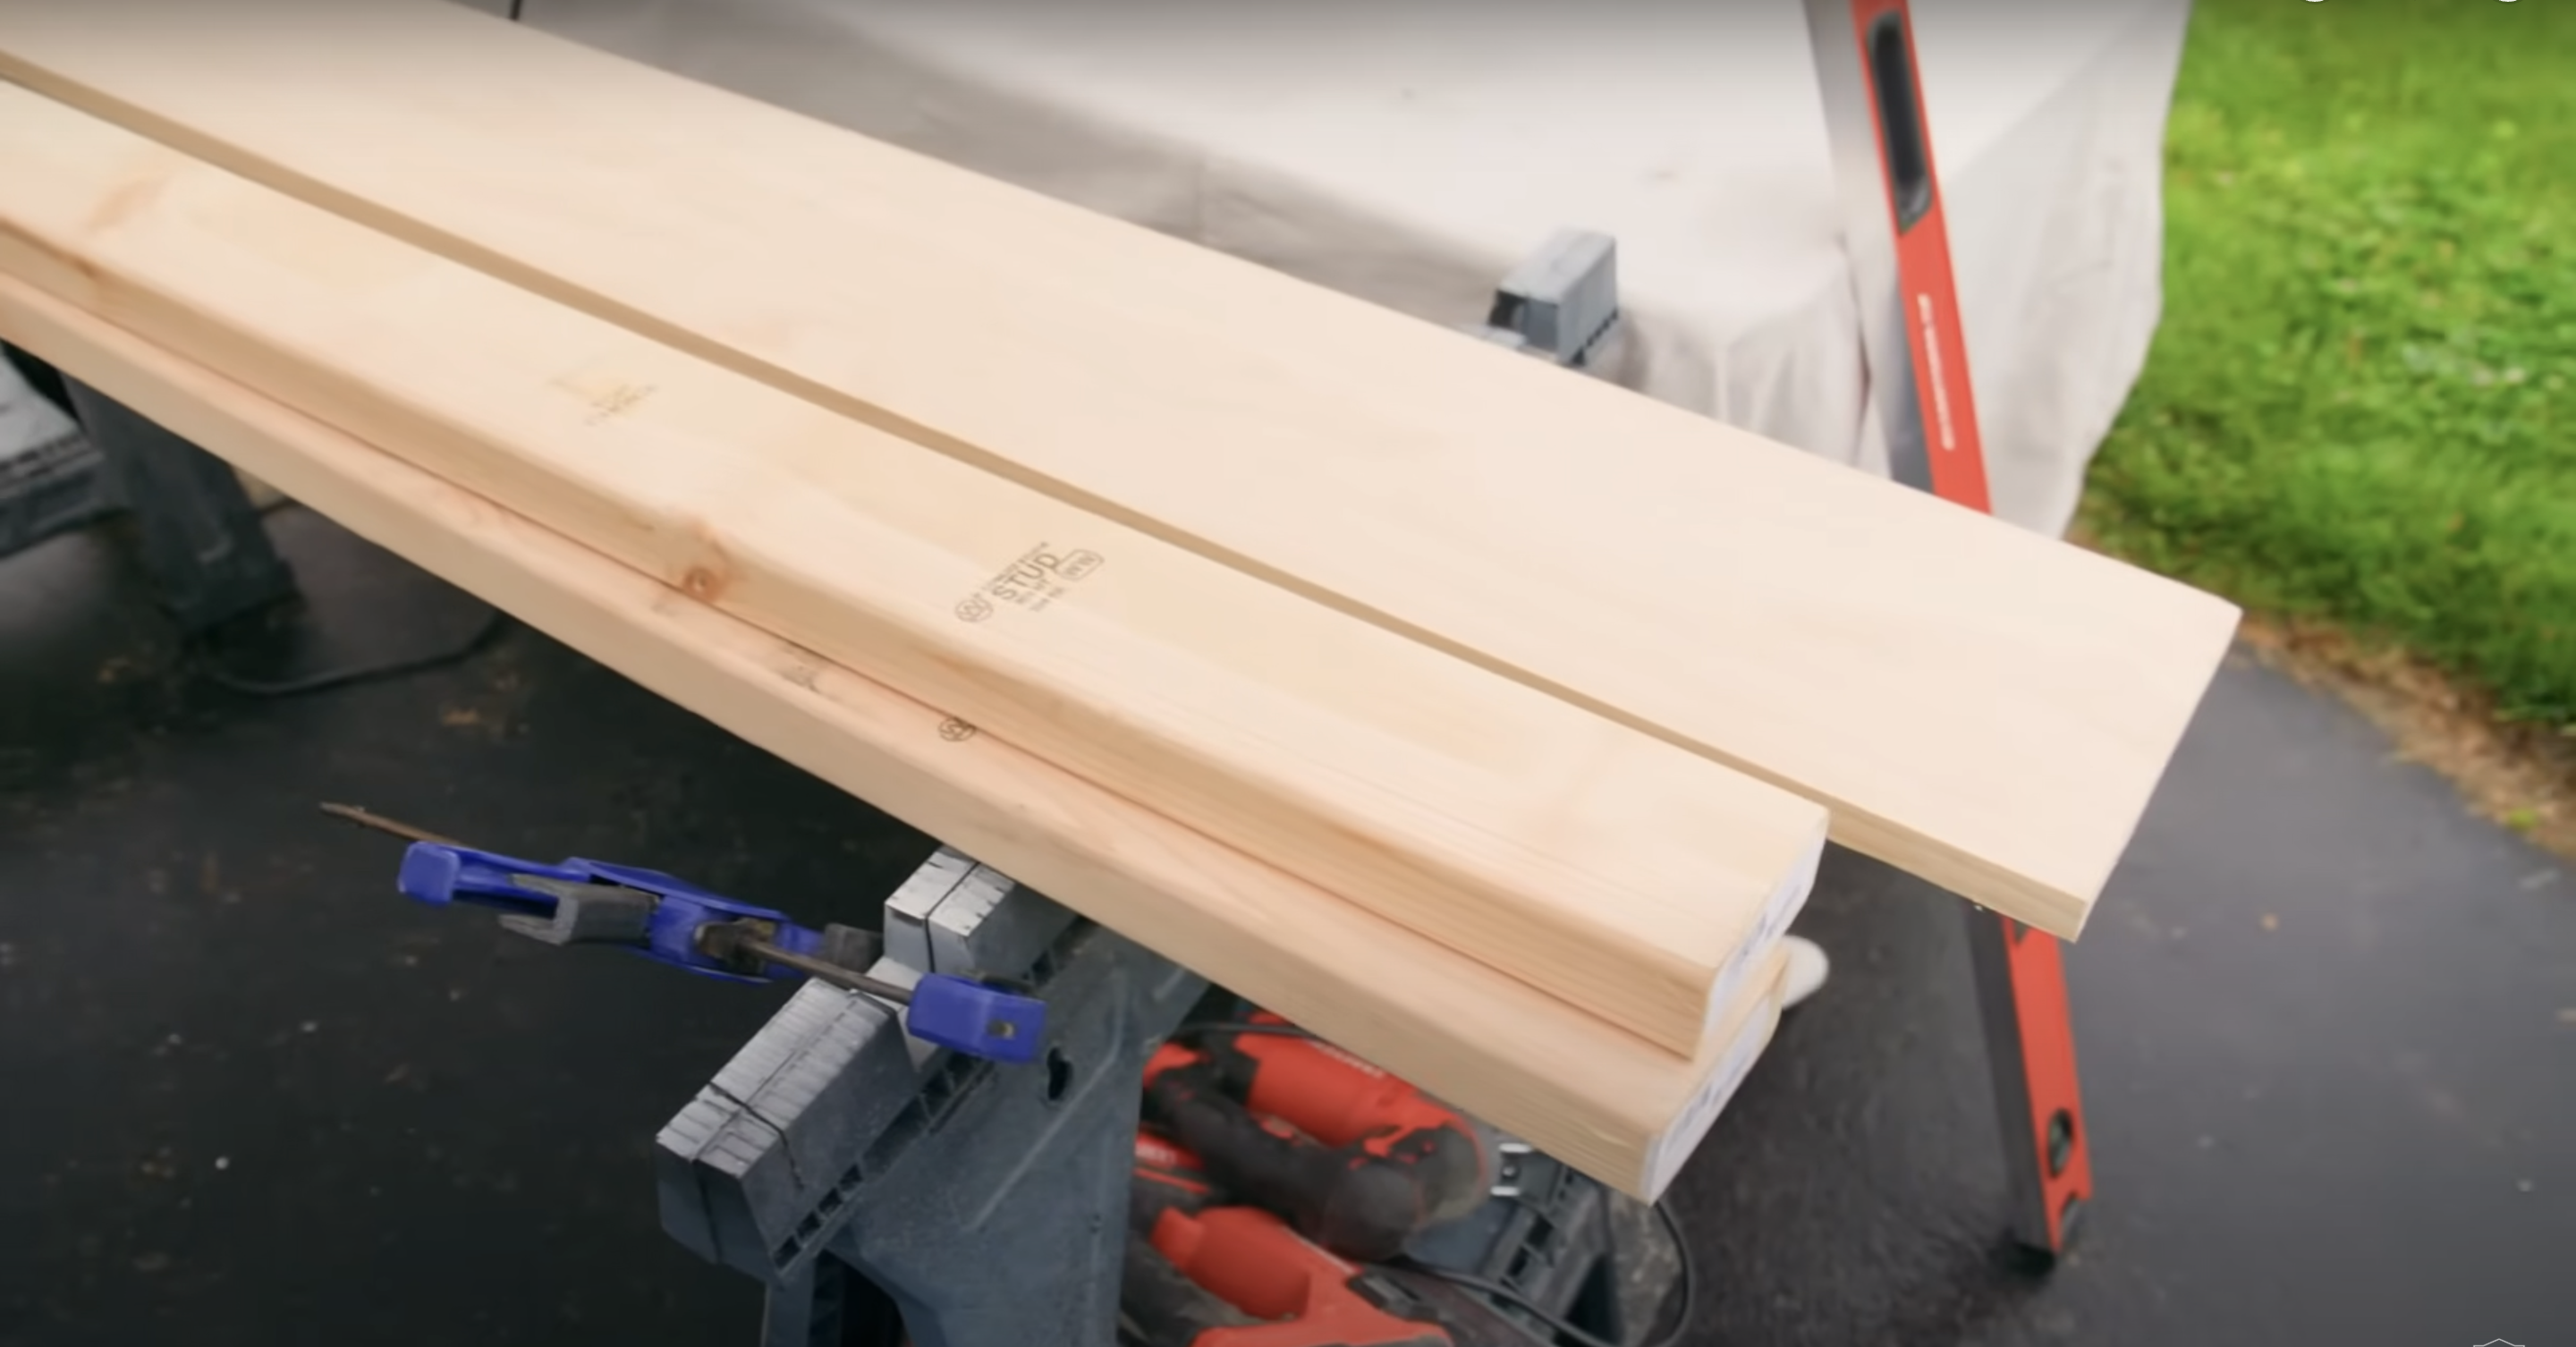
Step 5: Build the Support Frame
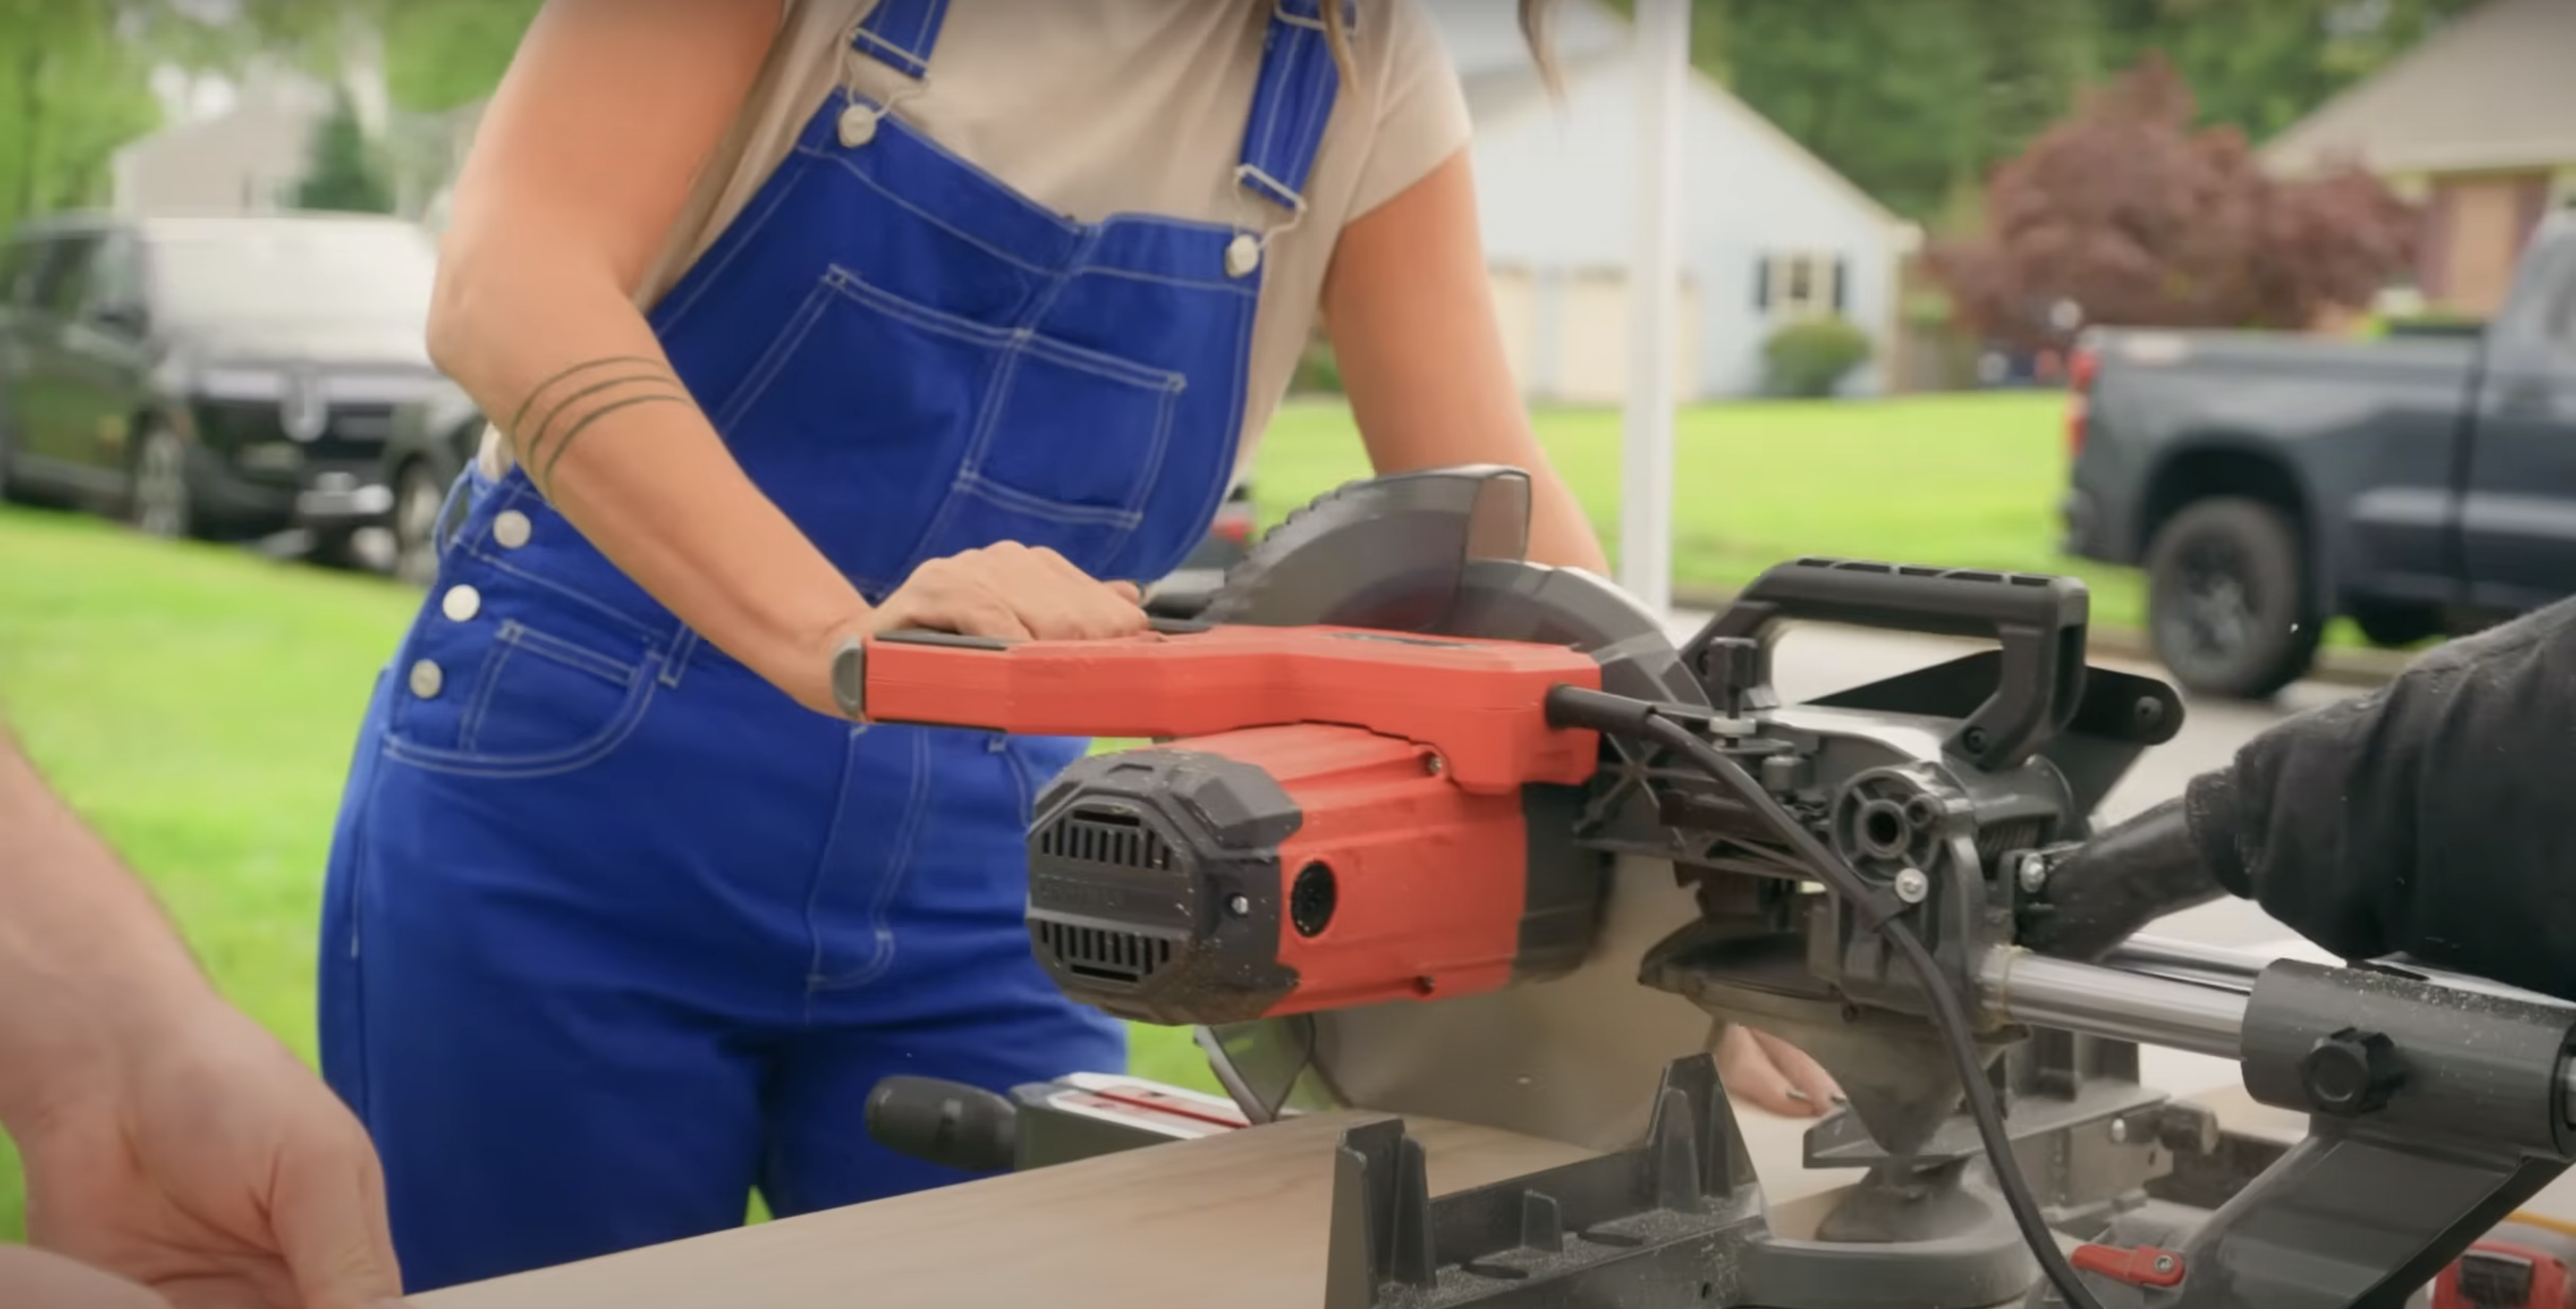
Now that your arches are ready, it’s time to build the supporting structure. Following your cut list, measure and cut all your 2x4s and 1x8s using the miter saw for straight, clean cuts.
Position 2x4s between the bookshelves to maintain consistent spacing and add stability to the overall unit. Next, attach additional 2x4s along the ceiling or soffit to create a perimeter frame.
This “skeleton” is critical for structural integrity, so be sure to locate wall studs using your stud finder. Always screw directly into these studs for maximum strength and to prevent the unit from pulling away from the wall when loaded with books.
Step 6: Install the Plywood Facing
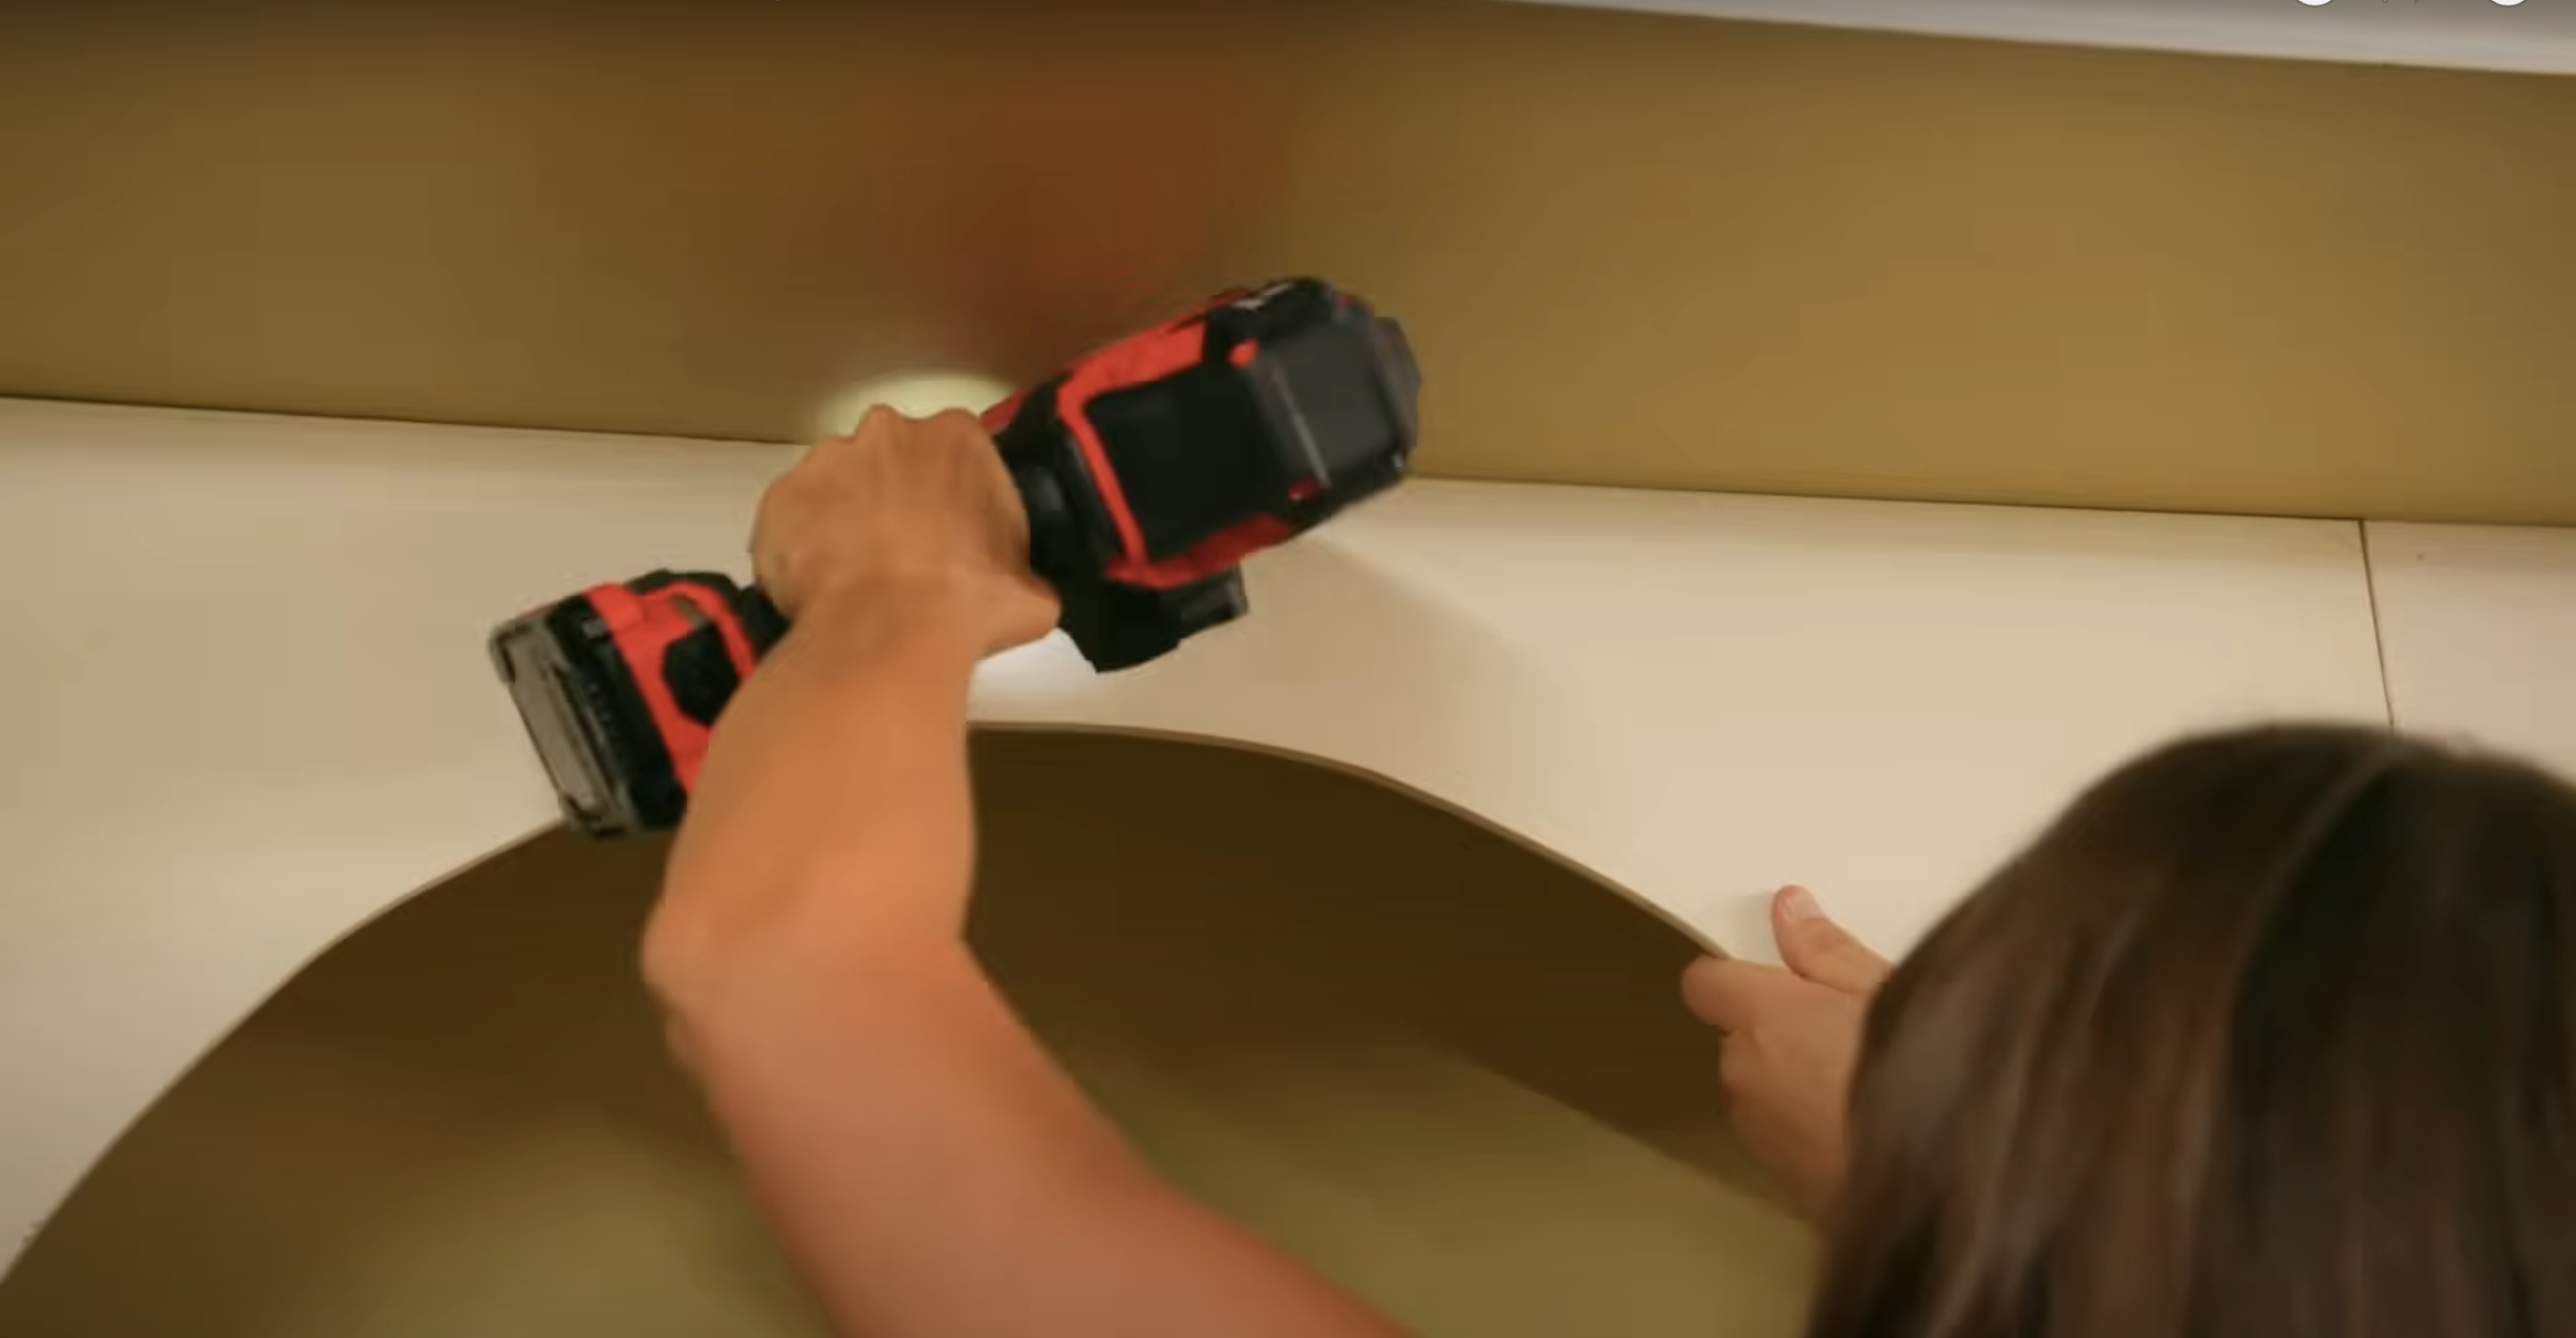
Before attaching your plywood arches to the frame, always pre-drill pilot holes first. This simple step prevents the wood from splitting when you drive in screws, especially near edges.
Position each plywood piece exactly where it needs to go, then secure it temporarily with clamps. This keeps everything perfectly aligned while you work. Start securing from the center and move outward, checking for level and alignment as you go.
Drive screws through the plywood into the 2×4 frame at regular intervals. Make sure all pieces fit snugly together with minimal gaps for a truly built-in appearance.
Step 7: Finish the Built-ins
The finishing touches transform your project from basic to professional. Start by attaching trim molding around all edges to cover seams and create a polished look. Use a nail gun or small finish nails for this step.
Next, apply caulk to all seams where different pieces meet. This fills tiny gaps and creates seamless transitions. Fill all screw holes with wood filler, let dry completely, then sand everything smooth.
Finally, apply paint to the entire unit. Use a primer first if needed, followed by 2-3 coats of your chosen color. Take your time with painting – this final step is what everyone will see.
Video Tutorial
For a visual go-through, check out the YouTube video by Lowe’s Home Improvement:
Build It Yourself and Save: Cost Comparison Table
Building your arched built-in bookshelf can cost as little as $400–$700 compared to $2,000–$5,000 for custom work. With just a weekend of effort, you save thousands and get a high-end look you built yourself.
| Item/Service | DIY Cost Range | Custom Built-In Cost |
|---|---|---|
| 3 Basic Bookshelves | $200–$300 | Included in total |
| Plywood (Arches/Facing) | $75–$100 | Included in total |
| 2x4s and 1x8s (Framing) | $50–$75 | Included in total |
| Trim Molding | $30–$50 | Included in total |
| Paint | $30–$60 | Included in total |
| Screws and Hardware | $15–$25 | Included in total |
| Wood Filler and Caulk | $10–$20 | Included in total |
| Total Estimated Cost | $400–$700 | $2,000–$5,000 |
| Time to Complete | 1 Weekend | Several Weeks (incl. wait) |
| Satisfaction Factor | High – DIY Project | Depends on results |
This clearly shows how much you can save and enjoy by building it yourself.
5 Mistakes to Avoid When Building DIY Bookshelves
- Skipping the measuring stage. Always measure twice and cut once to ensure proper alignment and spacing.
- Not securing to wall studs. Bookshelves must be anchored to wall studs for safety, especially when loaded with books.
- Rushing the finishing touches. Caulking seams and filling holes make the difference between looking DIY and professional.
- Using the wrong paint finish. Semi-gloss or satin works best for bookshelves as they’re easier to clean than flat paint.
- Failing to level the bookshelves. Uneven shelves will be immediately noticeable and make the entire unit look amateur.
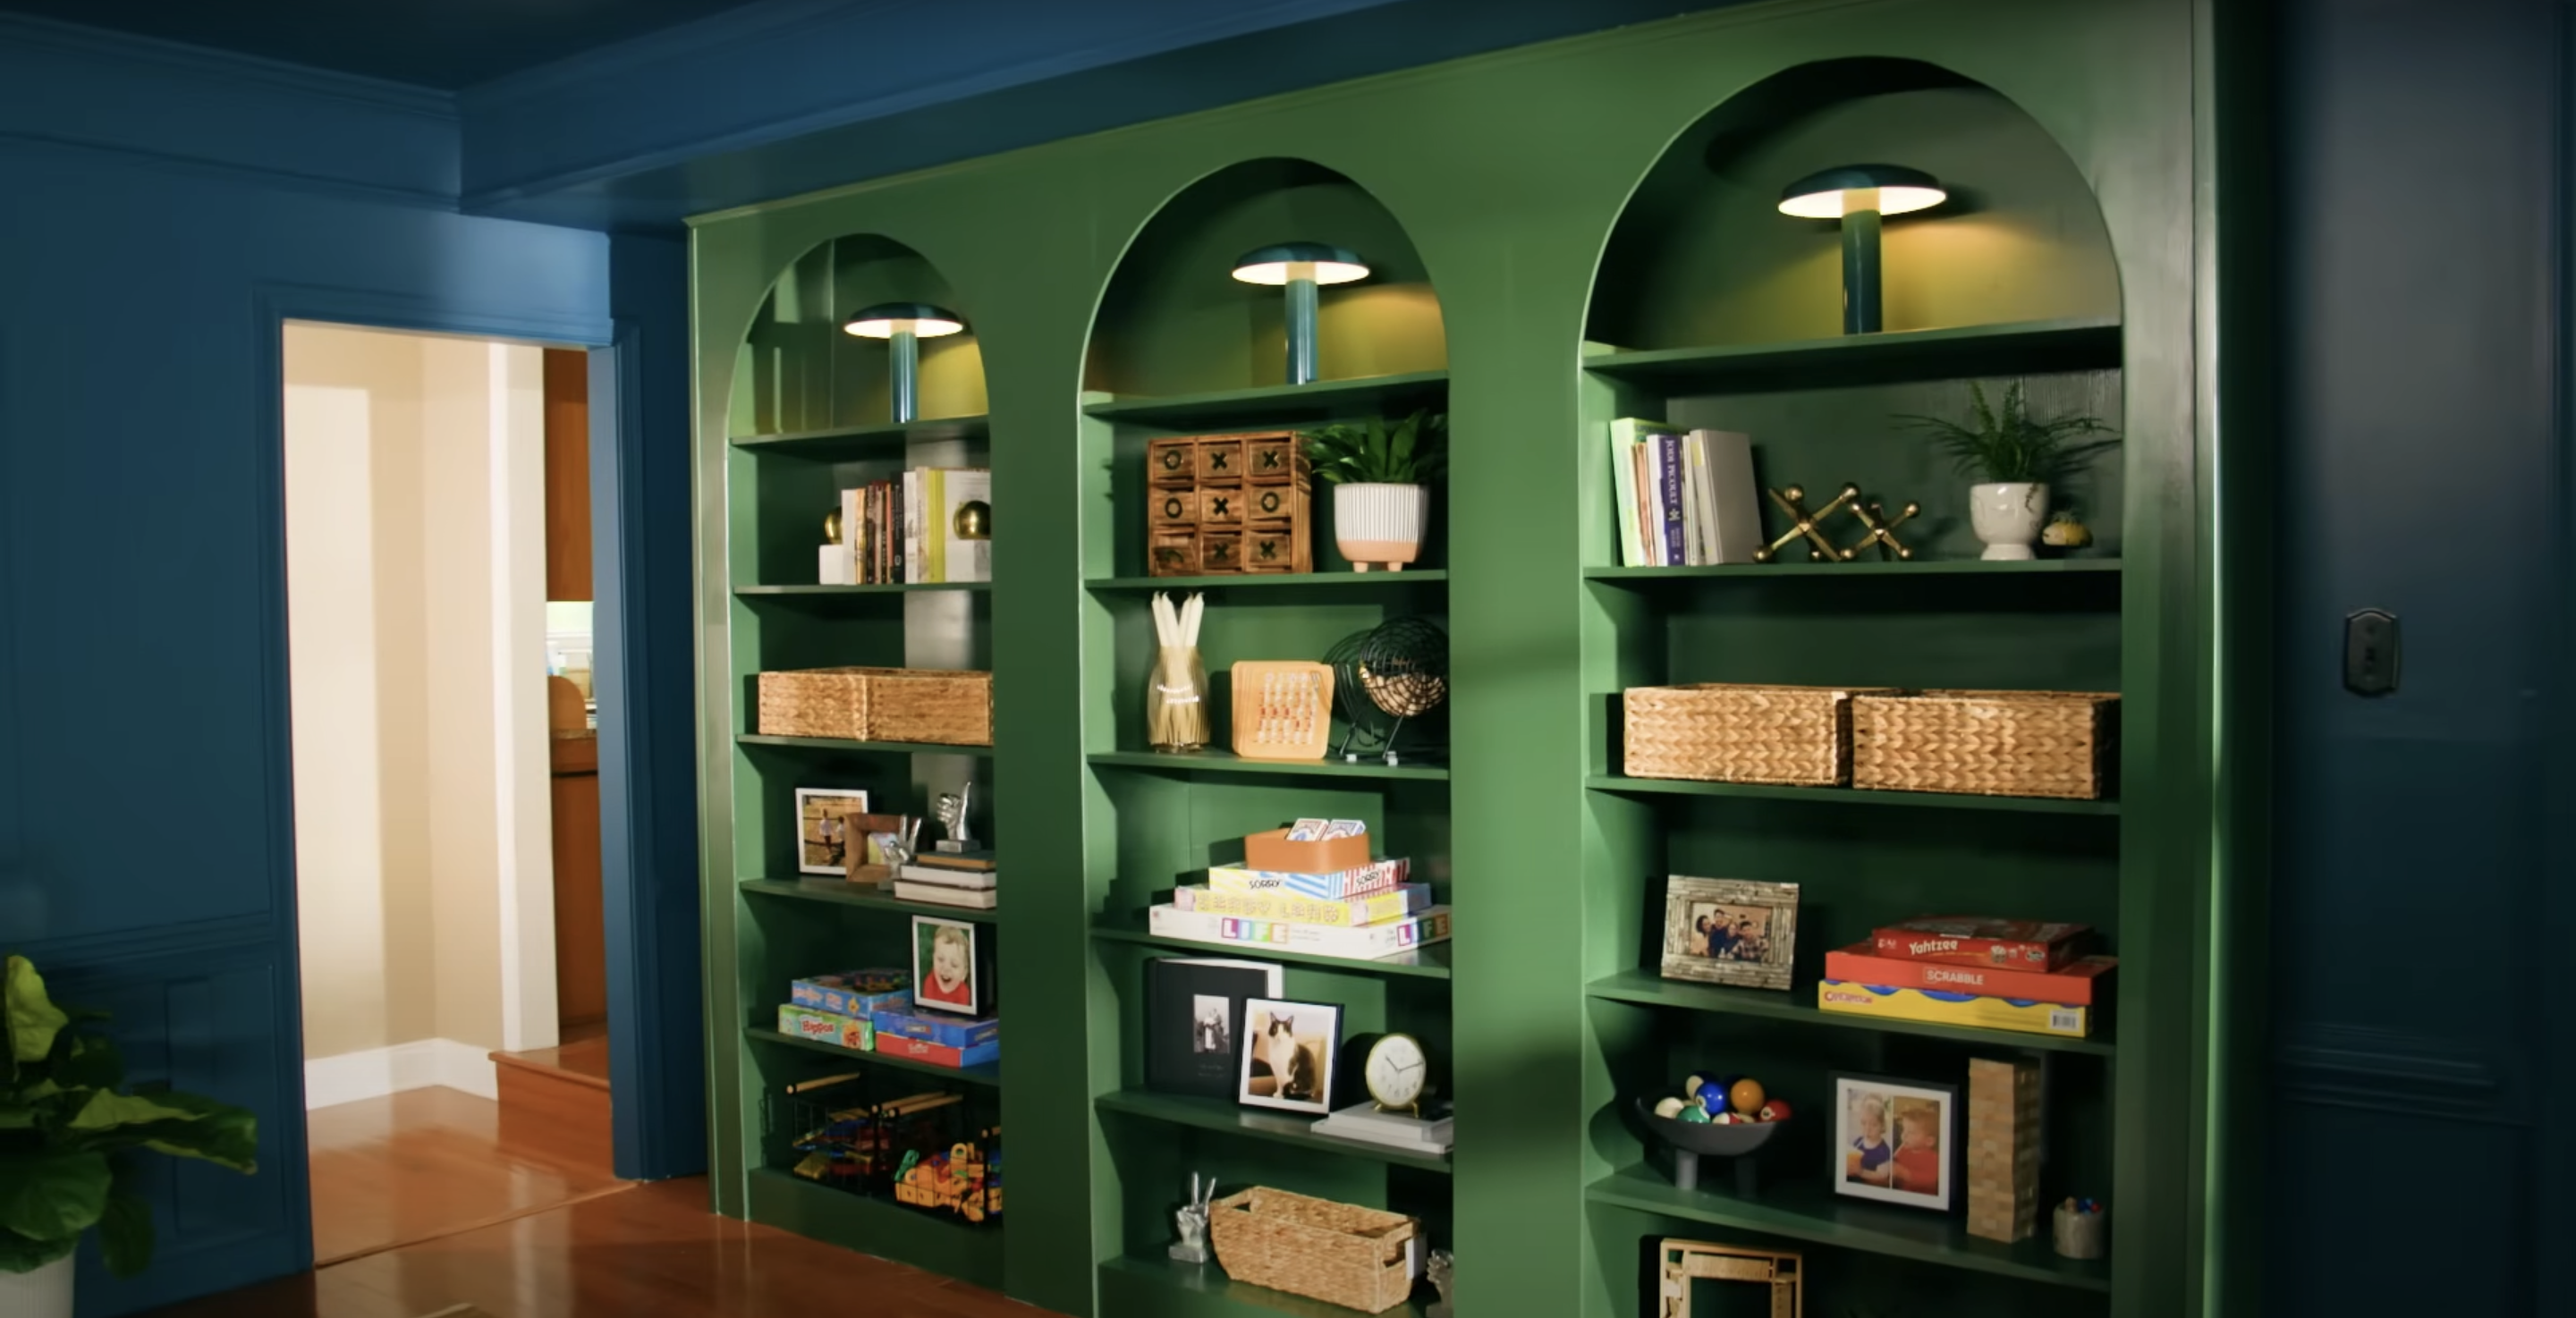
Wrapping It Up
This project turns simple bookshelves into something that looks custom-made without the hefty price tag. After completing these steps, you’ll have beautiful arched built-ins that will make friends ask who your carpenter was.
Remember to take your time with each step, especially the measurements and finishing touches. These details make all the difference in the final look. The beauty of this project is that it’s completely doable in a weekend, even for beginners.
For around $500-700, you’ve created built-ins that would cost thousands if professionally installed. Plus, you’ve gained valuable DIY skills along the way.
Frequently Asked Questions
1. What Kind of Wood Is Used for Built-In Shelves?
Solid woods like oak, maple, and pine work well for built-in shelves. Plywood is also popular for its stability and affordability. The choice depends on your budget and the look you want.
2. What Is the Spacing for Built-In Shelves?
Standard spacing for built-in shelves is 8-12 inches for books, 10-14 inches for display items, and 14-16 inches for electronics. Adjust it based on what you’ll store. Always consider future needs when planning.
3. What Is the Best Wood to Make DIY Shelves?
The best wood for DIY shelves depends on your budget and needs. Pine is affordable and easy to work with. Oak and maple are stronger but pricier. Plywood offers good strength and value for larger shelves.