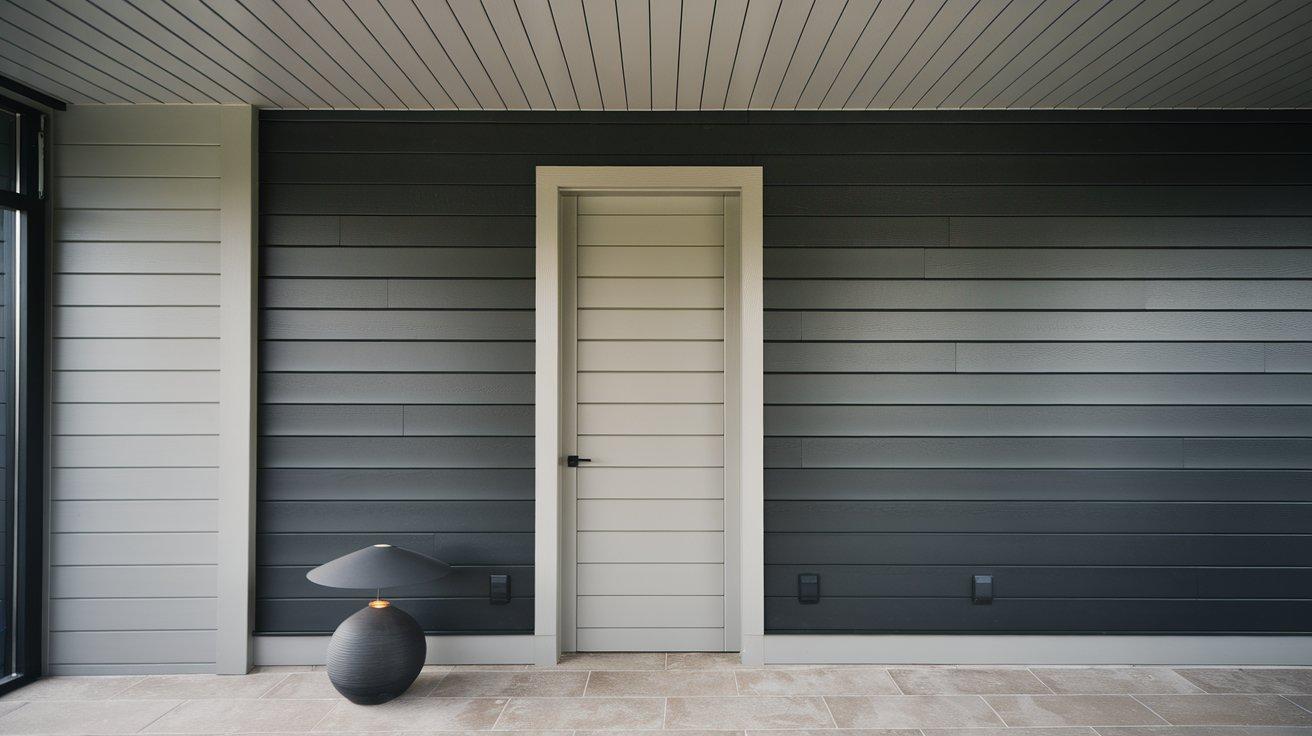
Converting a space with shiplap creates a timeless, textured look that can upgrade any room. But visible nail heads can detract from the clean lines and seamless appearance you’re aiming for.
Achieving a perfectly clean shiplap installation without visible nails might seem challenging, but with the right approach, it’s entirely possible.
This guide walks you through a proven method to install shiplap while keeping all those unsightly nail heads completely hidden from view.
By strategically placing nails only in the groove portions of the boards, you’ll create a flawless finish that looks professionally installed.
Ready to learn the secret to nail-free shiplap that will have everyone asking who you hired for the job? Follow these simple steps to achieve a modern, clean-lined shiplap accent wall that’s sure to impress.
Choosing the Right Shiplap for Your Space
Material: Wood vs. Engineered: Wood shiplap adds natural warmth and texture, but may warp in humid areas. Engineered shiplap is moisture-resistant, low-maintenance, and great for kitchens or bathrooms.
Finish: Painted or Natural: Painted shiplap offers a clean, modern look and is easier to maintain, while natural wood brings rustic charm but requires more upkeep.
Thickness: Standard thickness (1/4 to 1/2 inch) is ideal for most spaces. Thicker boards (3/4 inch+) create a bolder, more dramatic effect, perfect for accent walls.
Room Considerations: Natural or lightly stained wood adds warmth to living rooms and bedrooms, while painted shiplap suits modern looks. Engineered shiplap is best for kitchens and bathrooms due to its moisture resistance.
Budget & Durability: MDF and engineered shiplap are affordable and work well for large areas. Natural wood is durable but requires more care, especially in high-moisture rooms.
Shiplap Made Easy: A Step-by-Step Nail-Free Guide
| Category | Items |
|---|---|
| Tools | Brad nailer, Circular saw, Jigsaw, Miter saw (or handsaw), Level, Measuring tape, Clamps, Paint sprayer |
| Materials | Shiplap boards, Brad nails, Plastic wood filler, Trim pieces (PVC for corners recommended), Baseboard trim |
| Painting Supplies | Paint (satin finish), Painter’s tape, Plastic sheeting, Sandpaper, Caulk |
Step 1: Prepare Your First Board
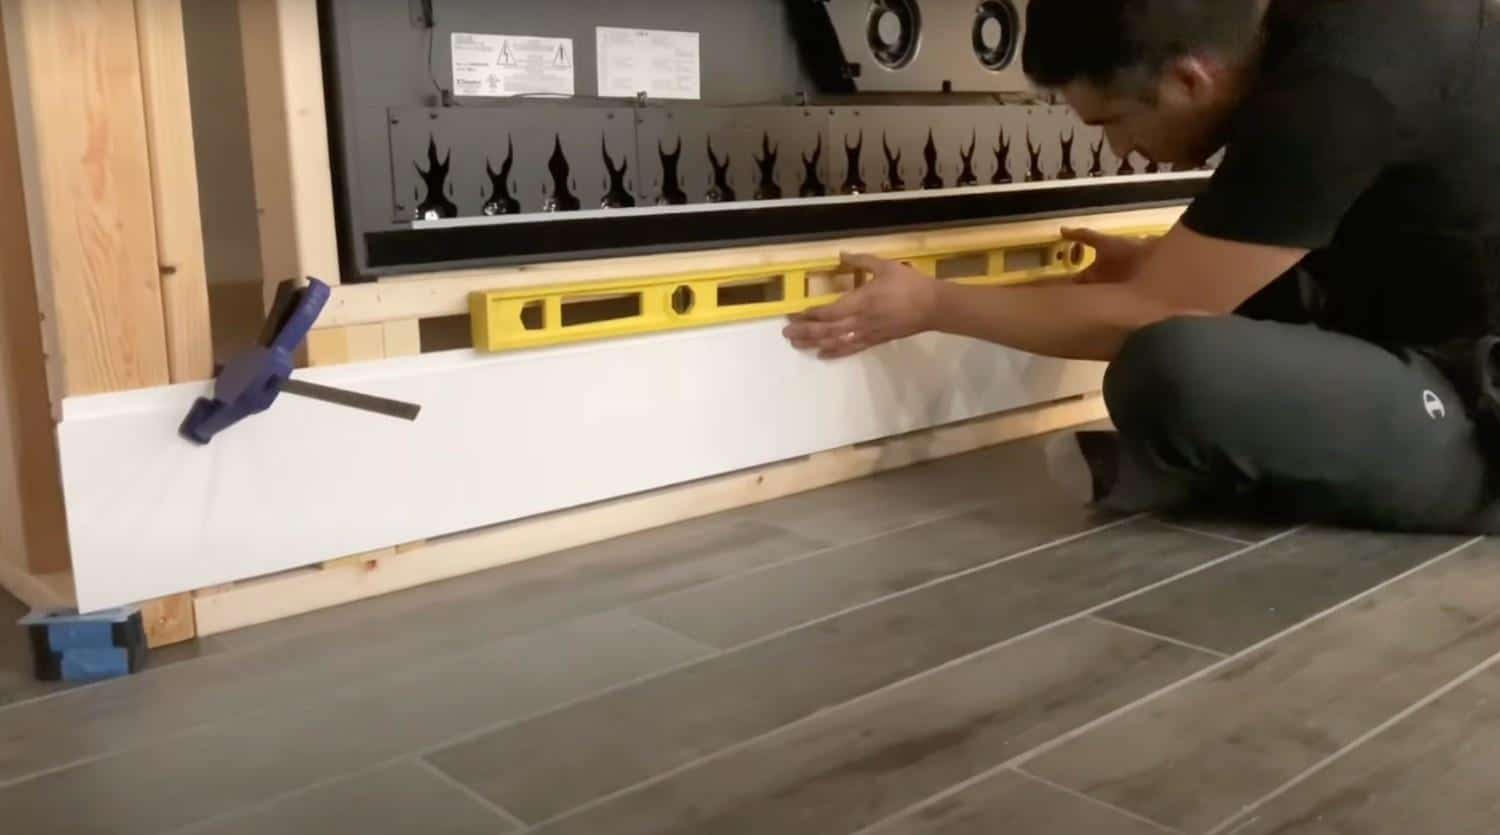
Cut your first shiplap board to the appropriate length for your wall. If your wall has corners, decide whether you want mitered corners or straight cuts with corner trim. While mitered corners provide a seamless look, consecutive cuts with trim pieces are much easier and less time-consuming.
Check the board with your level to ensure it’s perfectly straight. Position the board along the level line you drew. For corners, leave a small gap (about 1/4 inch) between the shiplap and the adjacent wall if you plan to add trim pieces later. The trim will cover this gap.
Step 2: Secure the First Board Using the Hidden Nail Technique
The secret to invisible nails is to place them only in the groove portion of the shiplap. Position your brad nailer in the top groove of the first board, angled slightly downward.
Place nails every 16 inches along the board, ensuring they go into studs when possible. You can use clamps to hold the board in place while you nail it.
After securing the top, check once more with your level to confirm the board is perfectly straight before proceeding. This technique ensures that when you place the next board, its tongue will completely cover the nail heads.
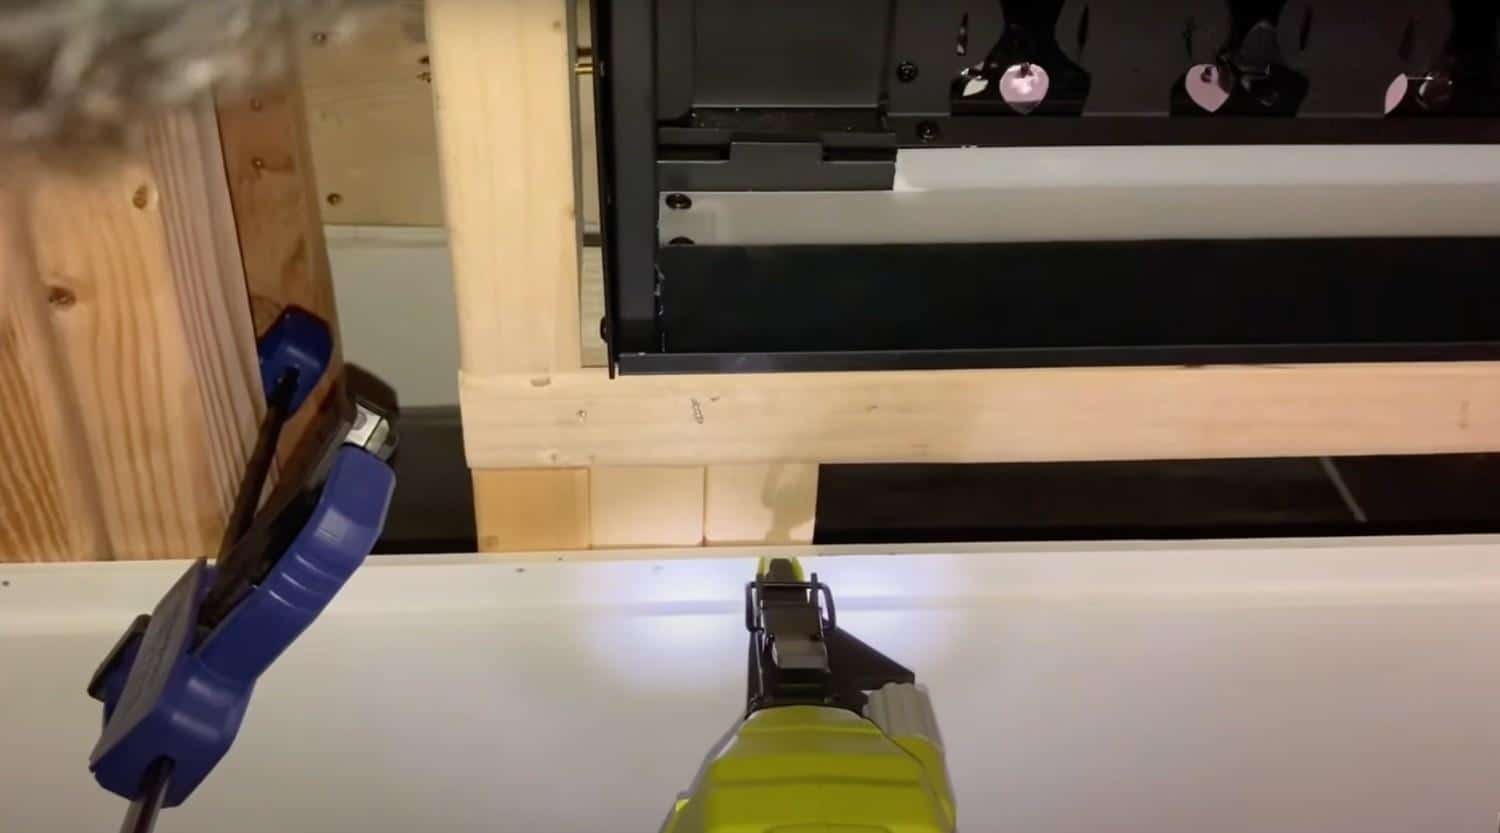
Step 3: Continue Adding Subsequent Boards
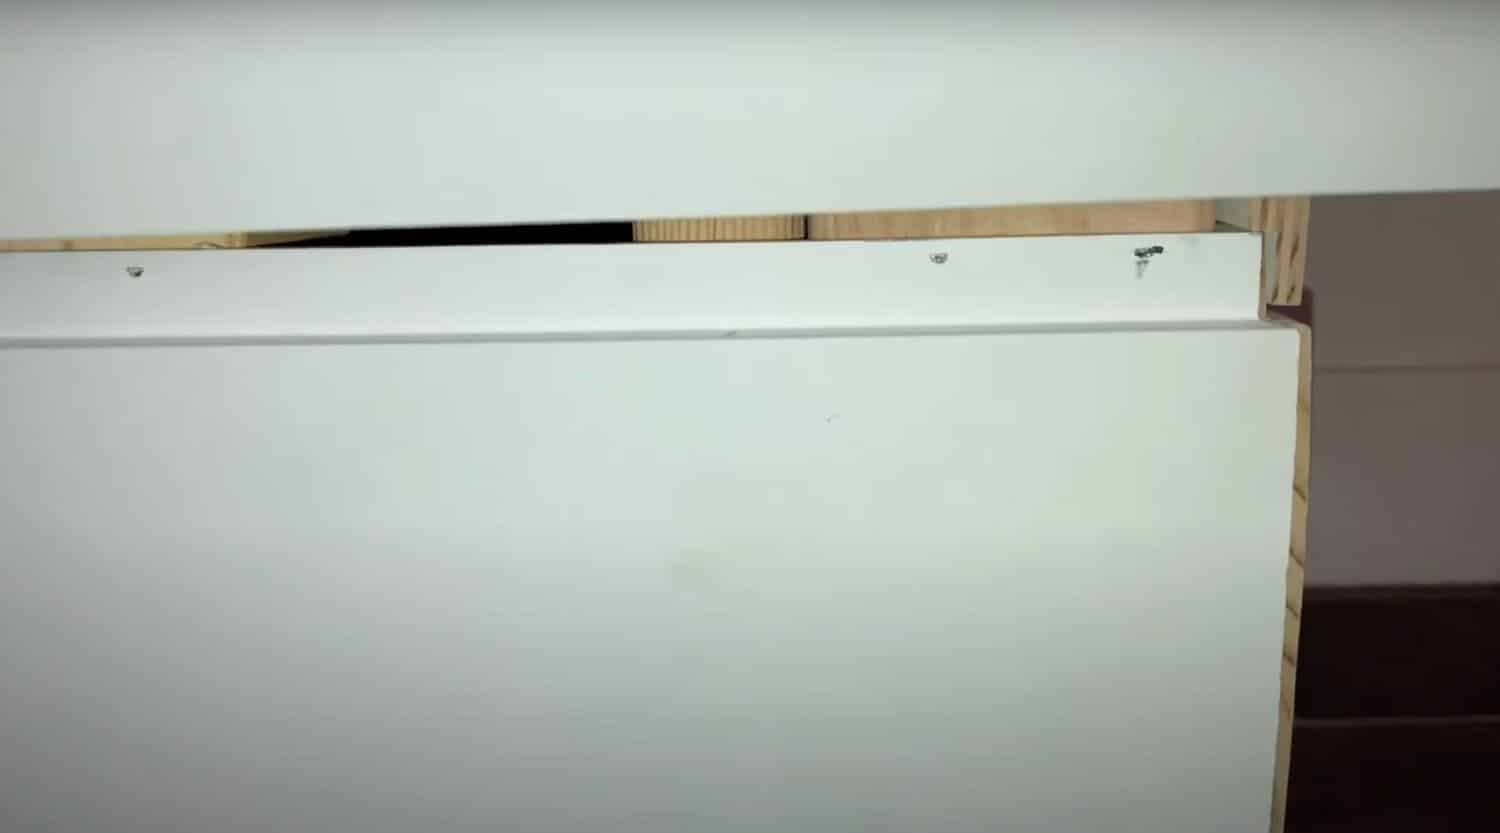
Place the second board on top of the first, ensuring the tongue fits snugly into the groove of the first board. The tongue should completely cover the nails you placed in the groove of the first board. Secure this board using the same technique, placing nails only in the top groove.
Continue this process with each subsequent board. Periodically check with your level to ensure the boards remain straight. If you notice any boards seem loose, you can add extra nails in areas that will be covered by trim pieces later. Cut the final top board to fit the remaining space.
Step 4: Working Around Obstacles and Outlets
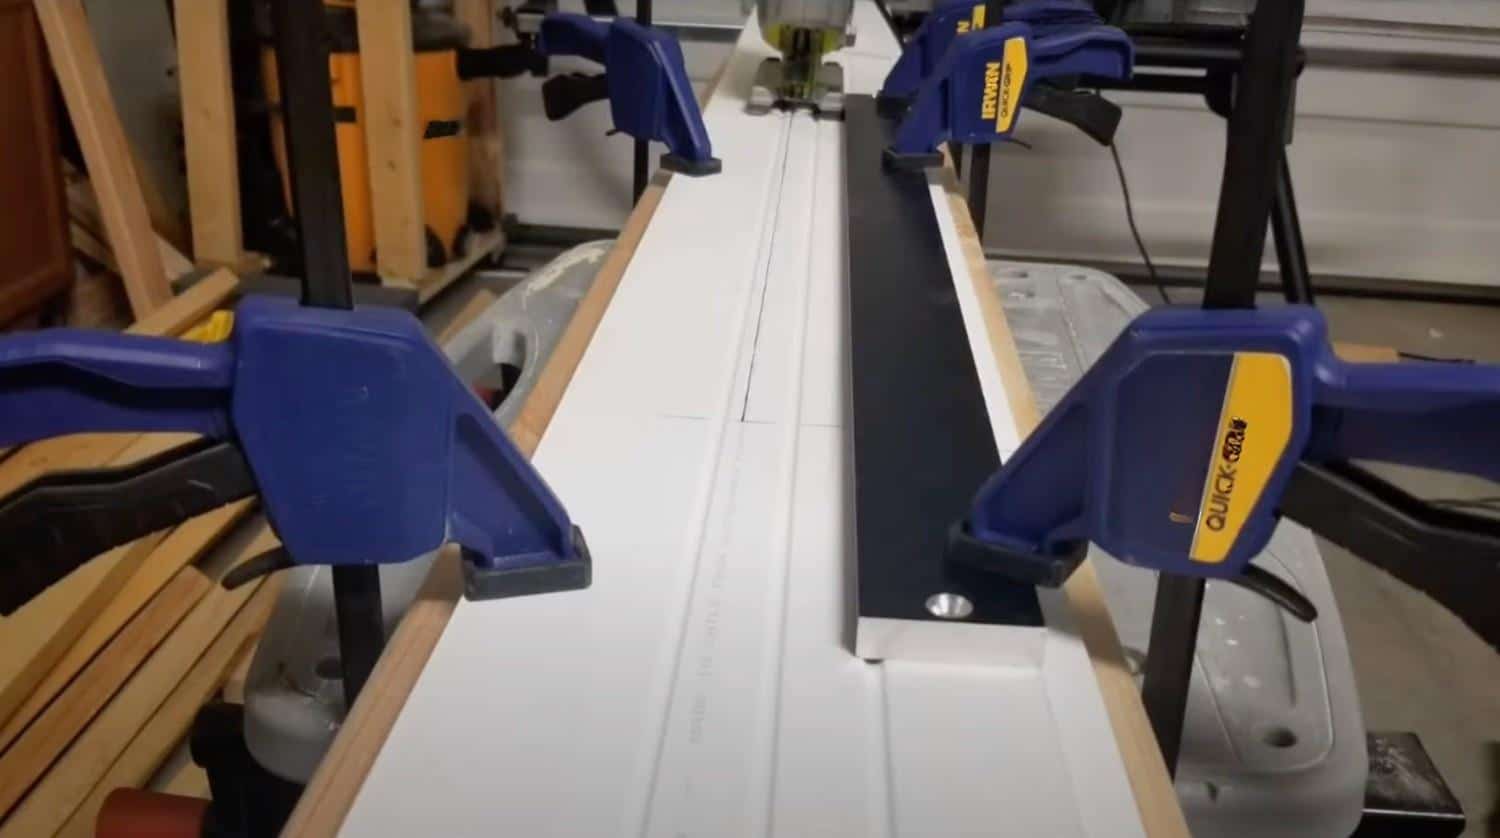
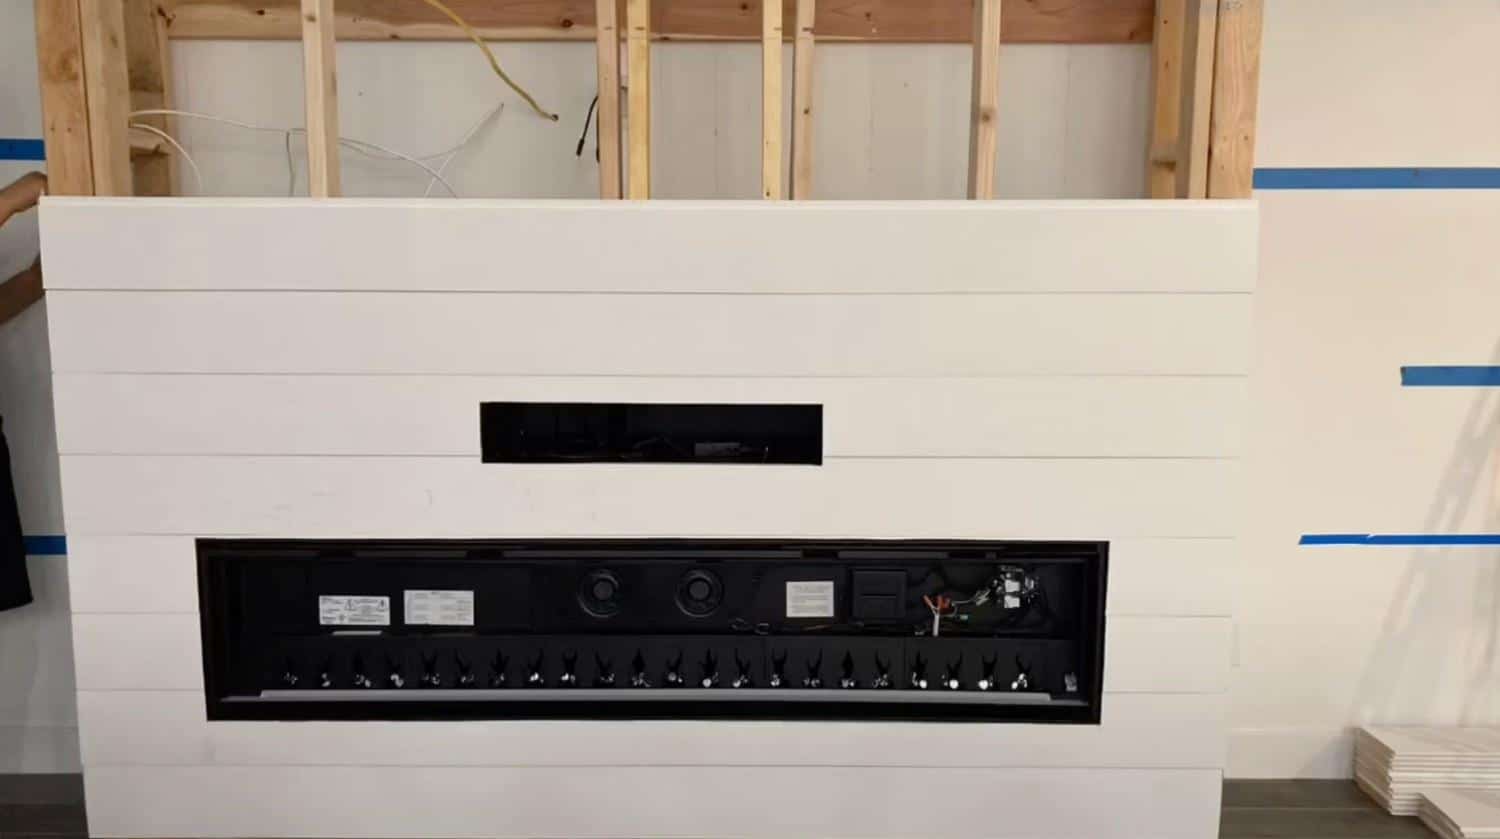
Measure and mark the positions of outlets and switches on the shiplap board. Use a drill to make starter holes at the corners of the outlet, then use a jigsaw to cut out the rectangle. Measure carefully and mark your cuts for the fireplace or other fixtures.
Use a jigsaw for these intricate cuts. Take your time with these cuts as they can be the most visible parts of your installation. If your cuts aren’t perfect, don’t worry too much—many of these areas can be hidden with outlet covers or trim pieces later on.
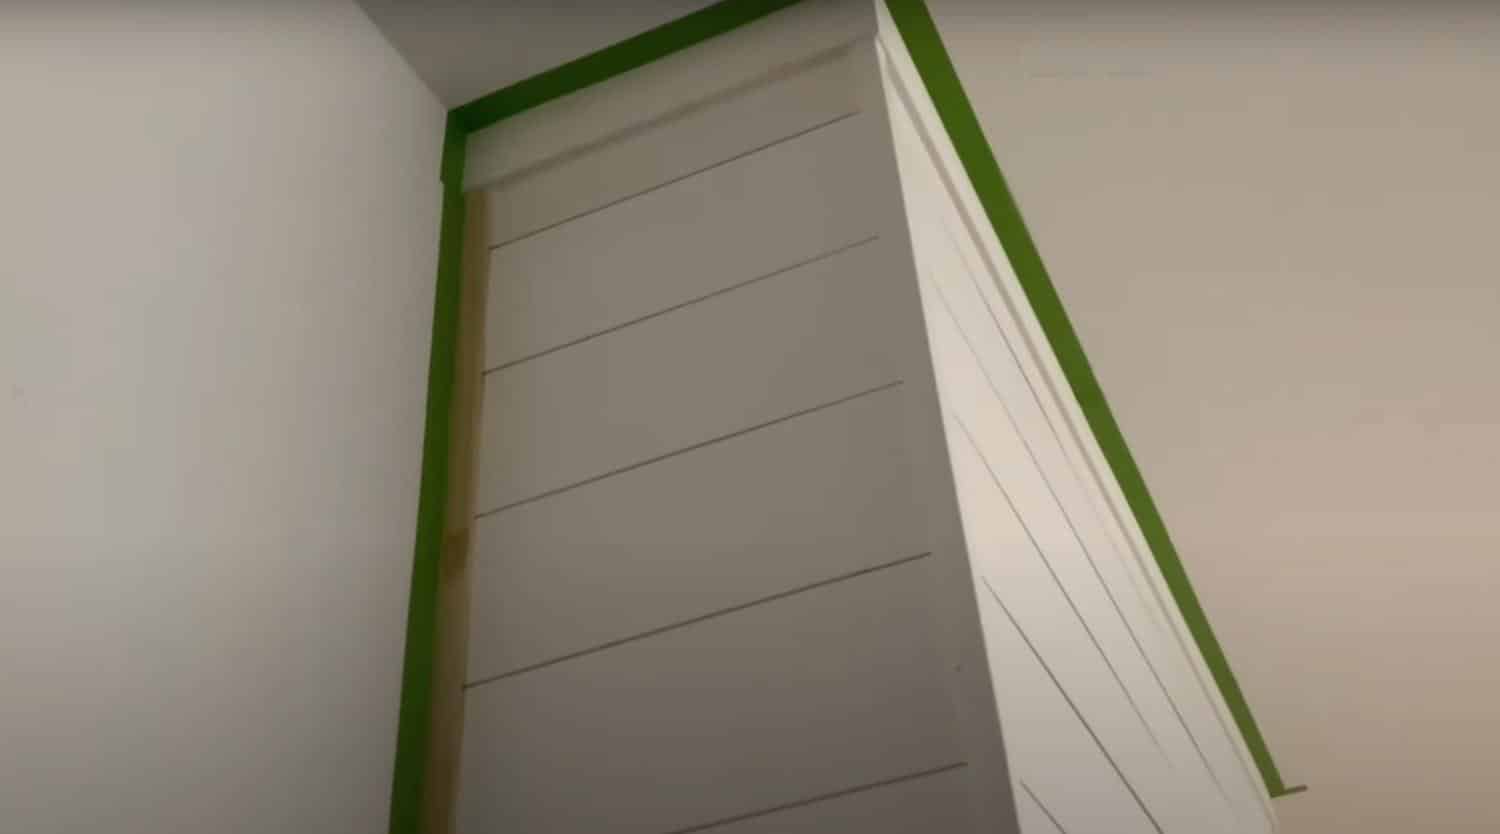
Step 5: Adding Trixm Pieces
Once all shiplap boards are installed, add trim pieces to create a finished look. For the top, you can use baseboard trim turned upside down to make a crown effect. For corners, PVC trim works exceptionally well as it paints nicely and doesn’t show wood grain.
Choose a thin trim piece for the edges where the shiplap meets other walls. Secure the trim with brad nails, placing them where they’ll be least visible or where they can be easily filled and painted. Use a level and measuring tape to ensure the trim pieces are straight and properly aligned.
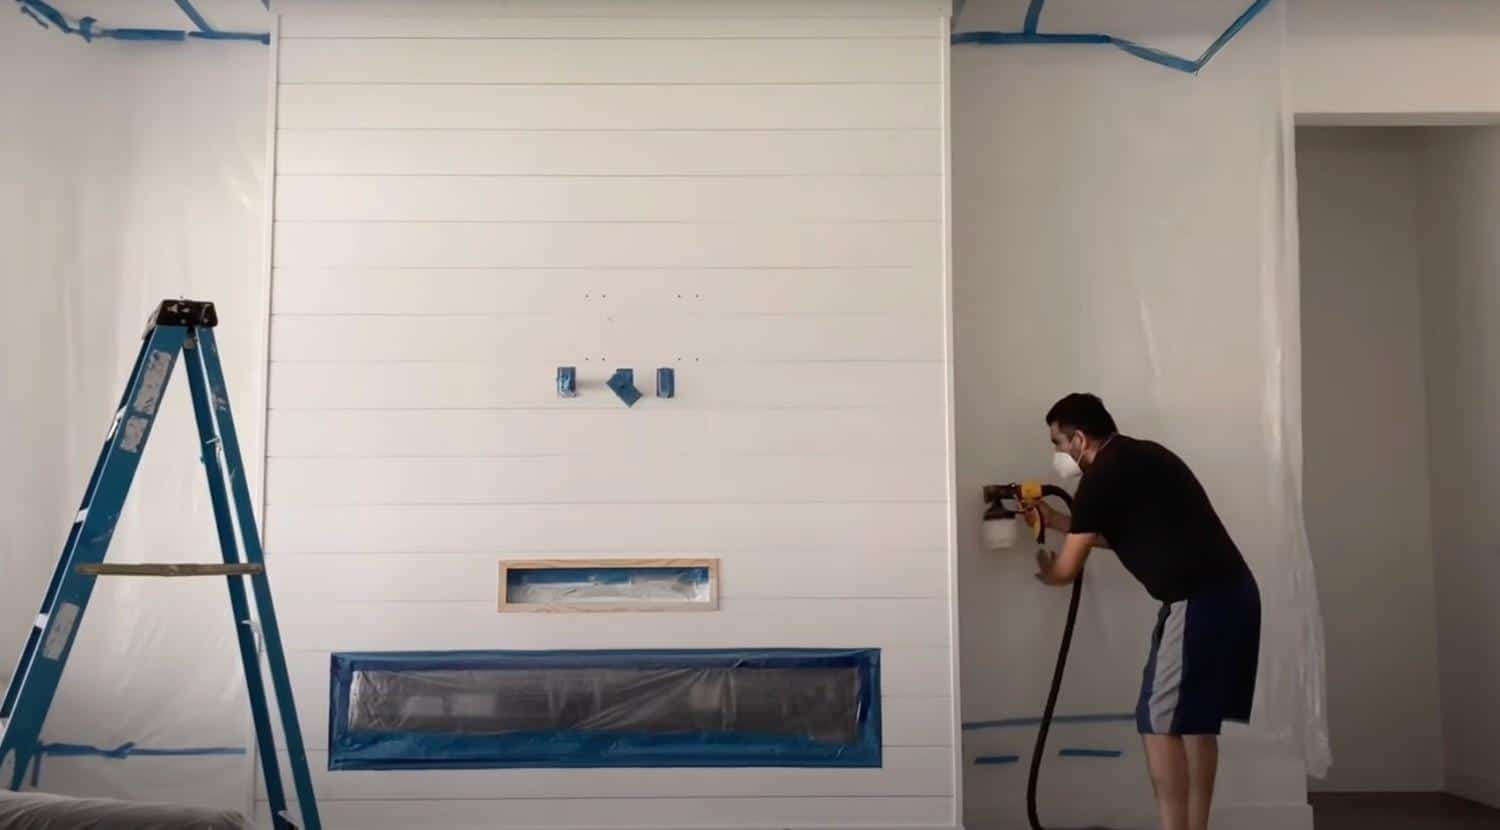
Step 6: Prepare for Painting
Before painting, fill any visible nail holes with wood filler and sand smooth once dry. Use painter’s tape to protect adjacent surfaces and cover nearby furniture and floors with plastic sheeting. Be thorough with your coverage—paint sprayers can create fine mist that travels farther than you might expect.
Remove outlet covers and switch plates. If gaps exist between trim pieces and the wall or between shiplap boards, fill these with caulk and allow them to dry completely before painting. Wipe down all surfaces to remove dust before painting.
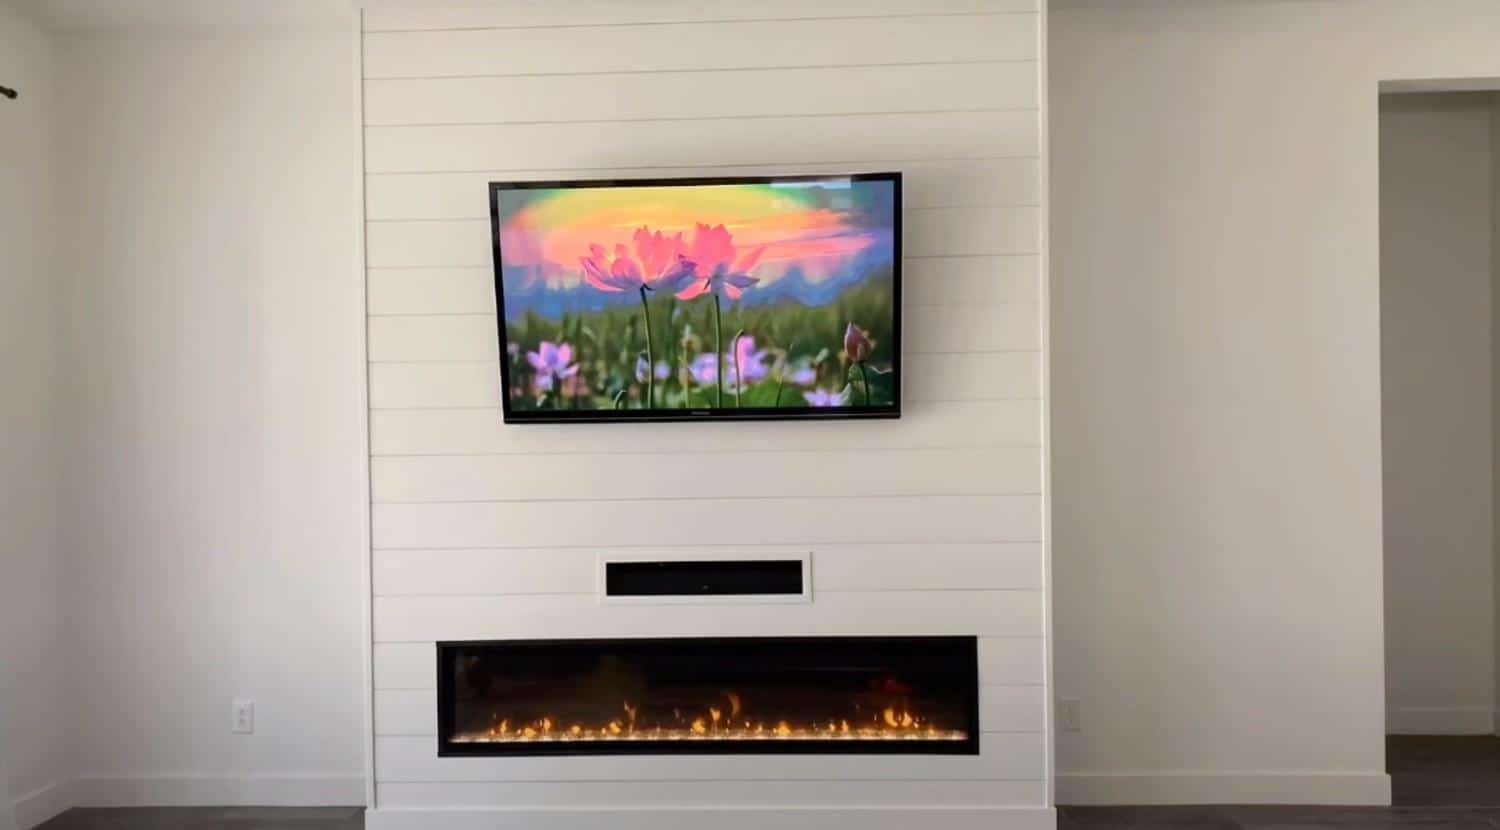
Step 7: Painting Your Shiplap
Using a paint sprayer provides the smoothest finish on shiplap, eliminating brush marks and getting into all the grooves. Apply paint in thin, even coats, moving the sprayer in consistent back-and-forth motions. Keep the sprayer at a consistent distance from the surface to ensure even coverage.
Allow the first coat to dry completely (about 1-2 hours) before applying a second coat. A satin finish gives a nice subtle sheen without highlighting imperfections. If you don’t have access to a sprayer, a small foam roller designed for smooth surfaces can work well too.
Step 8: Final Touches and Cleanup
After the paint has dried completely, carefully remove all painter’s tape and plastic sheeting. Reinstall outlet covers and switch plates. If you notice any spots that need touching up, use a small brush to apply paint to those areas.
For any wood trim pieces that show grain through the paint, apply plastic wood filler, sand smooth, and touch up with paint. If you notice any gaps between trim and walls, apply a thin bead of caulk and smooth with your finger for a seamless look. Stand back and admire your beautiful, nail-free shiplap installation!
Video Tutorial
Check out this YouTube video for a detailed step-by-step Tutorial by Lets TRY this.
For more tips on installing shiplap and creating gorgeous accent walls, check out this detailed blog on Vertical Shiplap Half Wall: Easy Installation Guide.
Alternative Shiplap Styles and Variations
While traditional horizontal shiplap is a popular choice, there are several creative variations to explore. These alternatives can add a unique flair to your space, depending on your aesthetic preferences and the ambiance you want to create. Here are a few other options to consider:
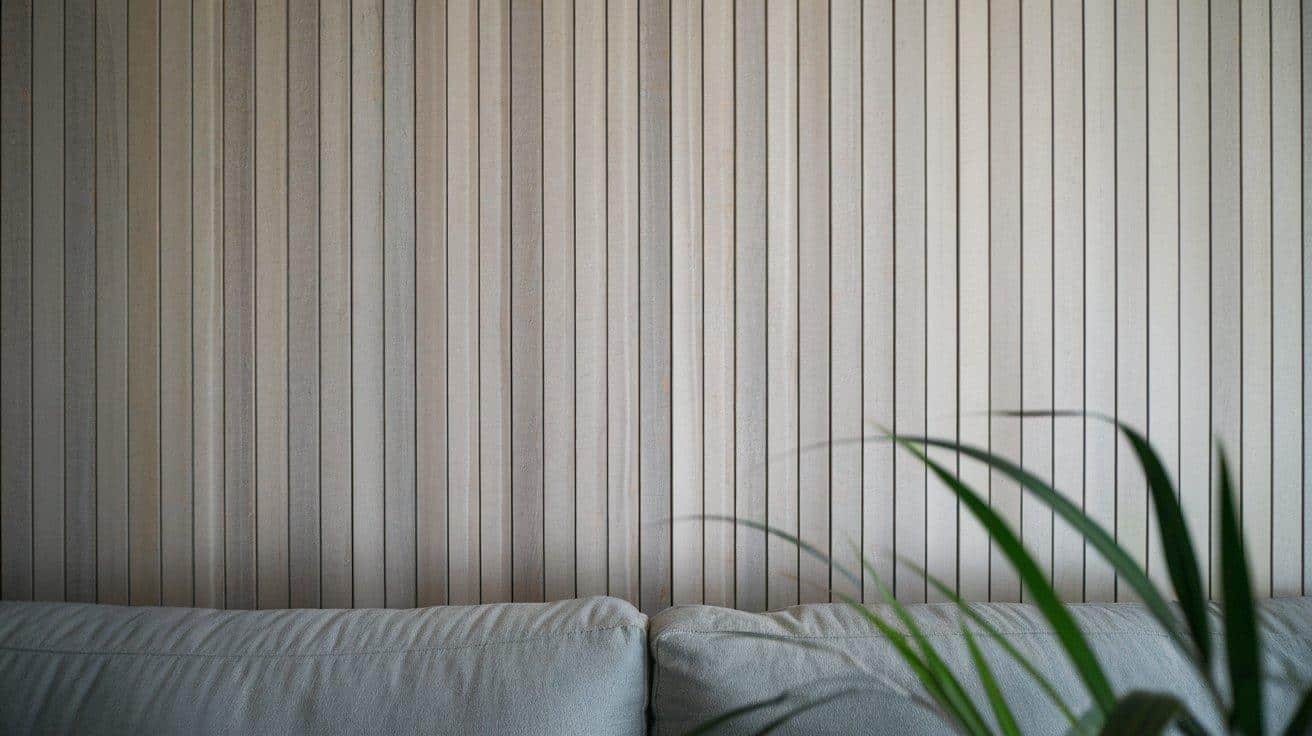
1. Vertical Shiplap
-
Look: Vertical shiplap creates the illusion of height and brings a modern, farmhouse-inspired touch to any room. The lines draw your eyes upward, making the space feel taller and more open.
-
Installation: Install the boards vertically from floor to ceiling, aligning them closely or with a small gap, depending on the look you want.
-
Best for: Small rooms or areas where you want to add height, such as bathrooms, narrow hallways, or loft spaces.
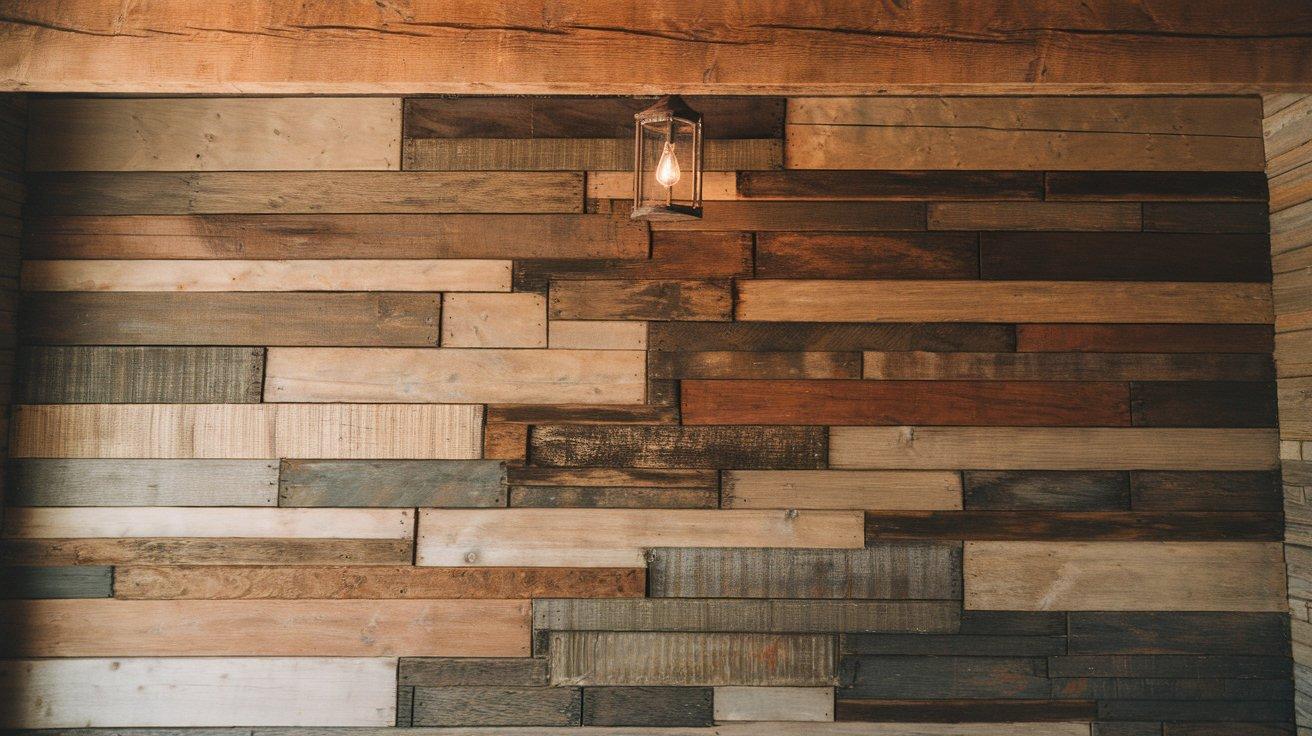
2. Mixed Width Shiplap
-
Look: Mixing different board widths adds depth and visual interest, creating a more textured, layered look. This style gives your walls a more eclectic, custom feel.
-
Installation: Use varying widths of shiplap boards, placing them in a random or arranged order to create a dynamic pattern.
-
Best for: Accent walls, rustic living rooms, or spaces where you want a bold, unique look with added texture.
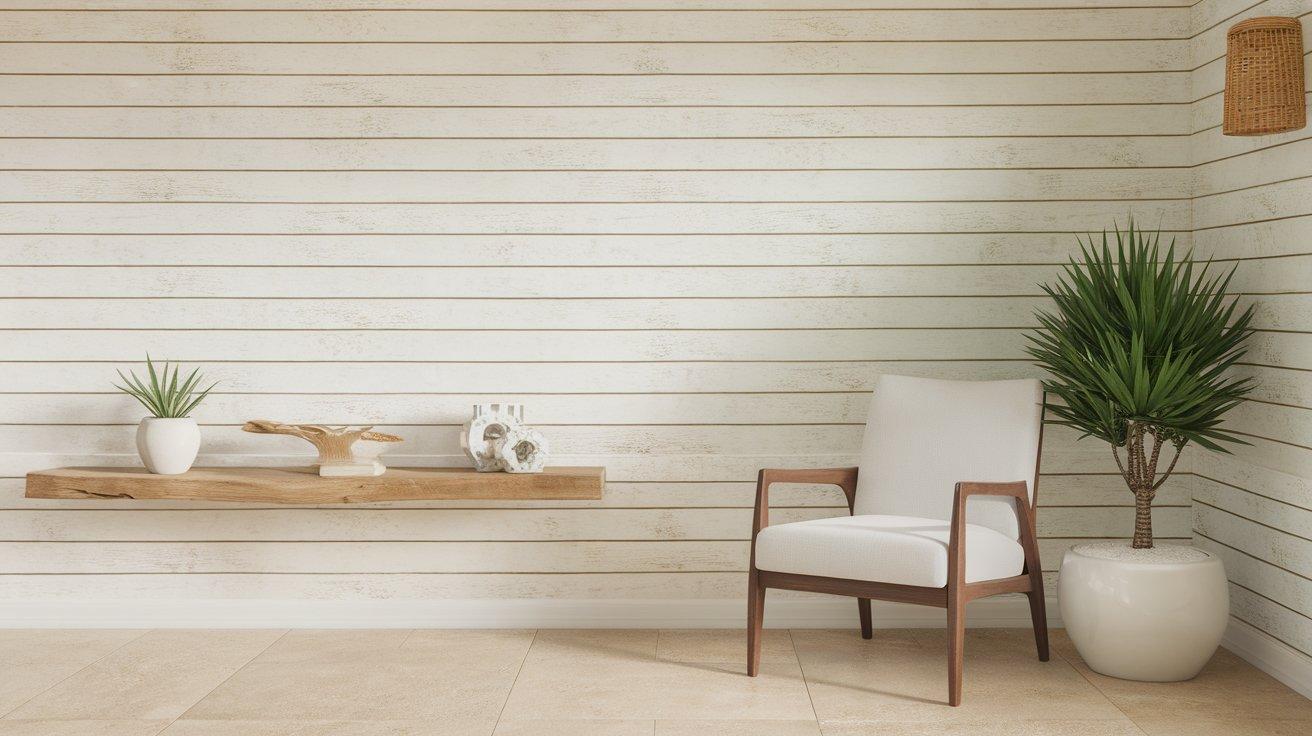
3. Whitewashed Shiplap
-
Look: Whitewashed shiplap lightens the wood, giving it a soft, airy feel that is ideal for bright, coastal-style rooms. The subtle finish enhances the wood grain while keeping the room fresh and open.
-
Installation: Apply a whitewash or light stain to the wood to create a washed-out effect. Depending on the desired effect, you can choose to go light or dark.
-
It is best for: Coastal-themed rooms, bathrooms, kitchens, or spaces where a fresh, light ambiance is desired.
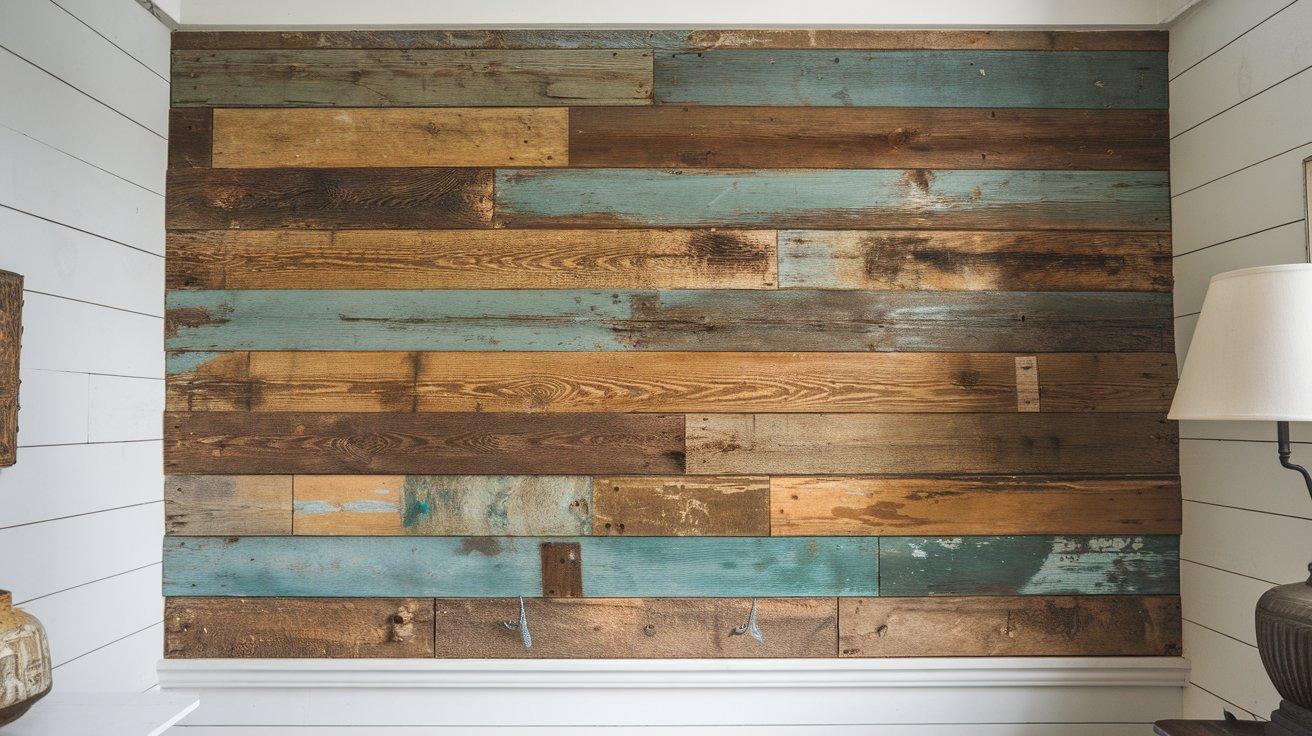
4. Reclaimed Wood Shiplap
-
Look: Reclaimed wood brings a rustic, weathered look to your walls, with natural imperfections that add character and history. The aged wood makes each piece unique, adding warmth and charm to any room.
-
Installation: Use salvaged wood, which may require some sanding or treatment, to create a vintage, reclaimed look. The wood might show knots, cracks, or color variations, which only enhance its character.
-
Best for: Industrial-style spaces, rustic kitchens, or rooms where you want to emphasize an eco-friendly, vintage aesthetic.
5. Contrasting Color Shiplap
-
Look: Contrasting colors on the shiplap create a bold, modern statement. Whether it’s dark boards against a light wall or a two-tone effect, this style draws attention and adds drama to a room.
-
Installation: Paint the boards in contrasting colors before installing them, or alternate the colors row by row. You can go for a monochrome look with different shades or use bold color combinations.
-
Best for: Modern interiors, accent walls, or rooms where you want to create a focal point with a touch of color.
Shiplap Maintenance and Care Tips
Gentle Dusting Techniques: Use a microfiber duster or vacuum to remove dust. Work top to bottom. Dampen a cloth for deeper cleaning. Clean once a month.
Dealing with Cobwebs and Corner Dust: Use a brush or paintbrush for corners. Attach a cloth to a long duster for high areas. Clean seasonally to avoid buildup.
Spot Cleaning Techniques: For marks, use a white eraser. For stubborn spots, make a paste of baking soda. Test solutions first. Touch up paint with a small brush.
Managing Humidity and Temperature: Keep humidity between 30% and 50%. Use humidifiers or dehumidifiers. Avoid direct steam or water exposure. Ventilate bathrooms and kitchens well.
When to Repaint and Refresh: Repaint every 5-7 years. Look for fading, cracks, or peeling. Sand, clean, and prime before repainting.
Common Mistakes to Avoid for a Flawless Shiplap Installation
| Mistake | Consequence | Prevention |
|---|---|---|
| Using visible nail heads | Ruins the clean aesthetic | Only nail in the groove portion of the shiplap |
| Skipping the level check | Crooked installation | Check the level frequently, especially for the first board |
| Using the wrong trim material | Wood grain showing through paint | Use PVC trim for corners and edges |
| Insufficient paint coverage | Uneven finish | Use primer and apply at least two coats of paint |
| Inadequate protection during spraying | Paint overspray on furniture | Use ample painter’s plastic beyond the immediate area |
| Rushing the cutting process | Poor fits around outlets | Measure twice, cut once, and take your time |
| Neglecting to caulk gaps | Unfinished appearance | Apply caulk to all gaps between trim and walls |
| Installing directly on uneven walls | Wavy appearance | Install furring strips to create a flat surface first |
Conclusion
Shiplap is more than just a design trend—it’s a versatile and timeless element that can completely change any room.
Whether you prefer the classic charm of traditional horizontal boards, the modern sleekness of vertical shiplap, or the bold appeal of contrasting colors, there’s a style to suit every home and every personality.
With the right installation techniques and a bit of creativity, shiplap can become the focal point of your space, adding texture, depth, and character.
From rustic reclaimed wood to fresh whitewashed finishes, each style offers its unique touch that will elevate your home’s ambiance.
So, which shiplap style will you choose to redefine your walls? The possibilities are endless, and the result will always be nothing short of stunning!
Frequently Asked Questions
Is It Better to Glue or Nail Shiplap?
It’s generally better to nail shiplap for a secure, long-lasting installation. While glue can be used in some cases, nails ensure the boards stay in place and provide better holding power, especially over time.
What Trend Is Replacing Shiplap?
Textured wall panels and wallpaper are emerging as alternatives to shiplap, offering a more modern and diverse range of designs. These options provide sleek, contemporary looks with less maintenance compared to traditional shiplap.
Do You Leave a Gap Between Shiplap?
Yes, leave a small gap (about 1/8 to 1/4 inch) between shiplap boards to allow for expansion. The gap is usually covered by grooves or trim for a seamless look.