Concrete Staining: Step-by-Step DIY Instructions
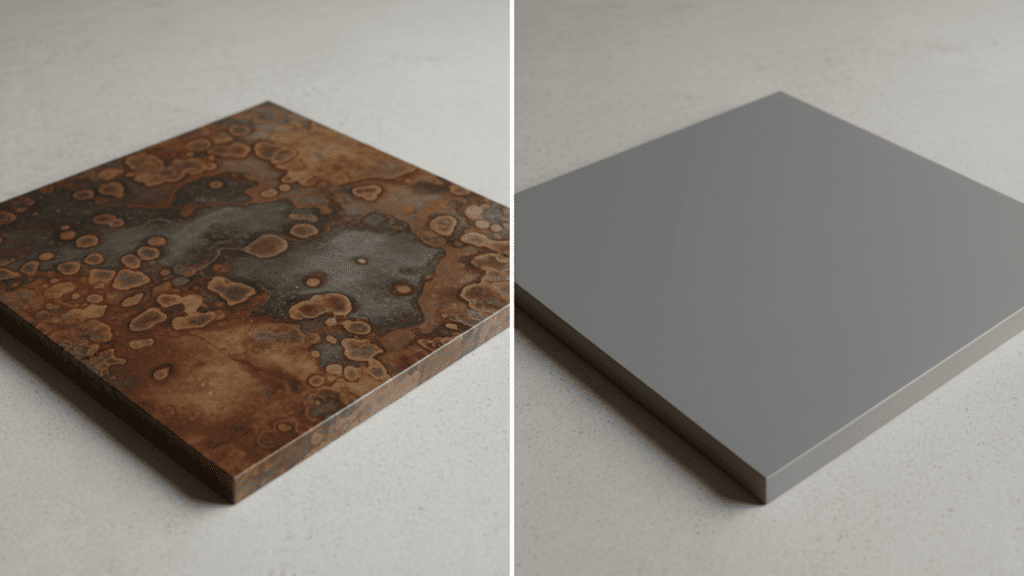
That dull gray concrete floor in your basement could look ten times better with just a weekend of work.
Concrete staining costs a fraction of what tile or hardwood runs, yet most homeowners think it requires professional help. Wrong.
This coloring technique soaks into the concrete and stays there for years without chipping or peeling, unlike paint.
You can change patios, driveways, and indoor floors using basic tools and a simple step-by-step process.
This guide walks you through everything: picking between acid-based and water-based stains, gathering the right supplies, applying color evenly, and maintaining that fresh look for decades.
What Is Concrete Staining and How Does It Work?
Concrete staining is a coloring method that changes the look of plain concrete floors, patios, and driveways.
Unlike paint that sits on top, stains soak into the concrete surface, creating a permanent color change. This makes stained concrete more durable and less likely to chip or peel over time.
You can use it on both indoor floors and outdoor surfaces, such as pool decks and walkways.
How It Works:
- How stains penetrate concrete instead of sitting on the surface: Stains react with the minerals in concrete or soak into the pores, bonding with the material rather than creating a surface layer.
- Difference between stain vs paint vs coating: Stains penetrate and bond with concrete, paints form a layer on top that can peel, and coatings add a protective film over the surface.
- Why staining works well for both indoor and outdoor concrete: Since stains become part of the concrete itself, they resist fading from UV rays and handle foot traffic better than surface treatments.
Types of Concrete Stains
Not all concrete stains work the same way. Picking the right type depends on your project, skill level, and the look you want.
| Stain Type | Acid-Based Concrete Stains | Water-Based Concrete Stains |
|---|---|---|
| How It Works | Chemical reaction creates deep, marbled color patterns | Soaks in like dye for consistent, predictable color |
| Application | Requires protective gear and neutralizing agents | Easy cleanup with soap and water |
| Best For | Professional projects, decorative finishes, earth tones | DIY projects, precise colors, and beginners |
| Ideal Surfaces | Interior floors, basements, upscale patios | Driveways, garage floors, living spaces |
When to Use Each Type:
Choose acid-based stains for interior floors to achieve an upscale, artistic finish. They work well in basements and on patios, where natural color variation looks good.
Pick water-based stains for driveways and garage floors if you are doing it yourself. They also suit living spaces where you need specific colors to match your decor.
Concrete Staining Safety and Eco Considerations
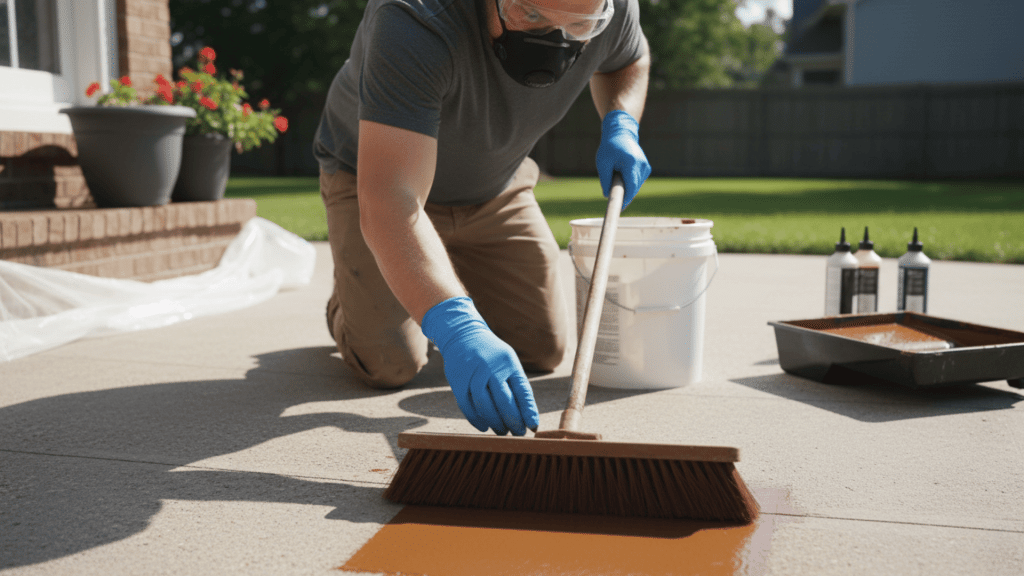
Always wear gloves, goggles, and long sleeves when handling concrete stains, especially acid-based products that can burn skin on contact.
For indoor projects, open windows and doors to improve airflow, as stain fumes can cause headaches and breathing problems in closed spaces.
Never pour leftover stain down drains or into storm sewers, as it harms water systems and violates environmental laws.
Instead, let small amounts dry out in the container with the lid off, then dispose of it as hazardous waste at your local collection center.
Check with your city or county for specific disposal guidelines because rules vary by location.
How to Stain Concrete: 5 Easy Steps
Staining concrete takes time and patience, but the results are worth it. Follow these five steps to get a professional finish on your own.
Tools, Materials, and DIY Kits You Will Need
| Item | Purpose | What to Know |
|---|---|---|
| Concrete Cleaner and Degreaser | Removes dirt, oil, and grime before staining | Must strip all residue for the stain to penetrate |
| Power Washer | Deep cleans the concrete surface | Use a 15-25 degree nozzle for the best results |
| Concrete Patch | Fixes cracks and holes | Apply and cure before staining |
| Concrete Stain | Adds color to the surface | 1 gallon covers 200-400 sq ft, depending on porosity |
| Rollers, Brushes, Sprayers | Apply the stain evenly | Sprayers work fastest for large areas |
| Sealer and Spray Bottle | Protects finished surface | Apply 2-3 coats after the stain dries |
| Safety Gear | Protects skin and eyes | Always wear gloves and goggles with acid stains |
| DIY Kits vs Separate Purchase | Complete package vs individual items | Kits save money for small projects; buy separately for custom colors |
Step 1: Clear and Deep Clean the Concrete
Start by removing all furniture, plants, and debris from the concrete surface using a leaf blower or broom.
Apply a concrete cleaner or degreaser according to the label instructions and let it sit for 10 to 15 minutes. Use a power washer with a 15- to 25-degree nozzle to rinse the surface evenly, keeping the wand moving to avoid etching the concrete.
Step 2: Let the Concrete Fully Dry and Repair Damage
Wait at least 24 to 48 hours for the concrete to dry completely before moving to the next step. Rushing this causes the stain to absorb unevenly, creating blotchy spots that ruin the finish.
Fill any cracks or small holes with concrete patch, smooth it out with a trowel, and let it cure for the time listed on the product label.
Step 3: Prepare the Area and Apply the Stain
Tape off edges, walls, and any areas you do not want stained using painter’s tape and plastic sheeting.
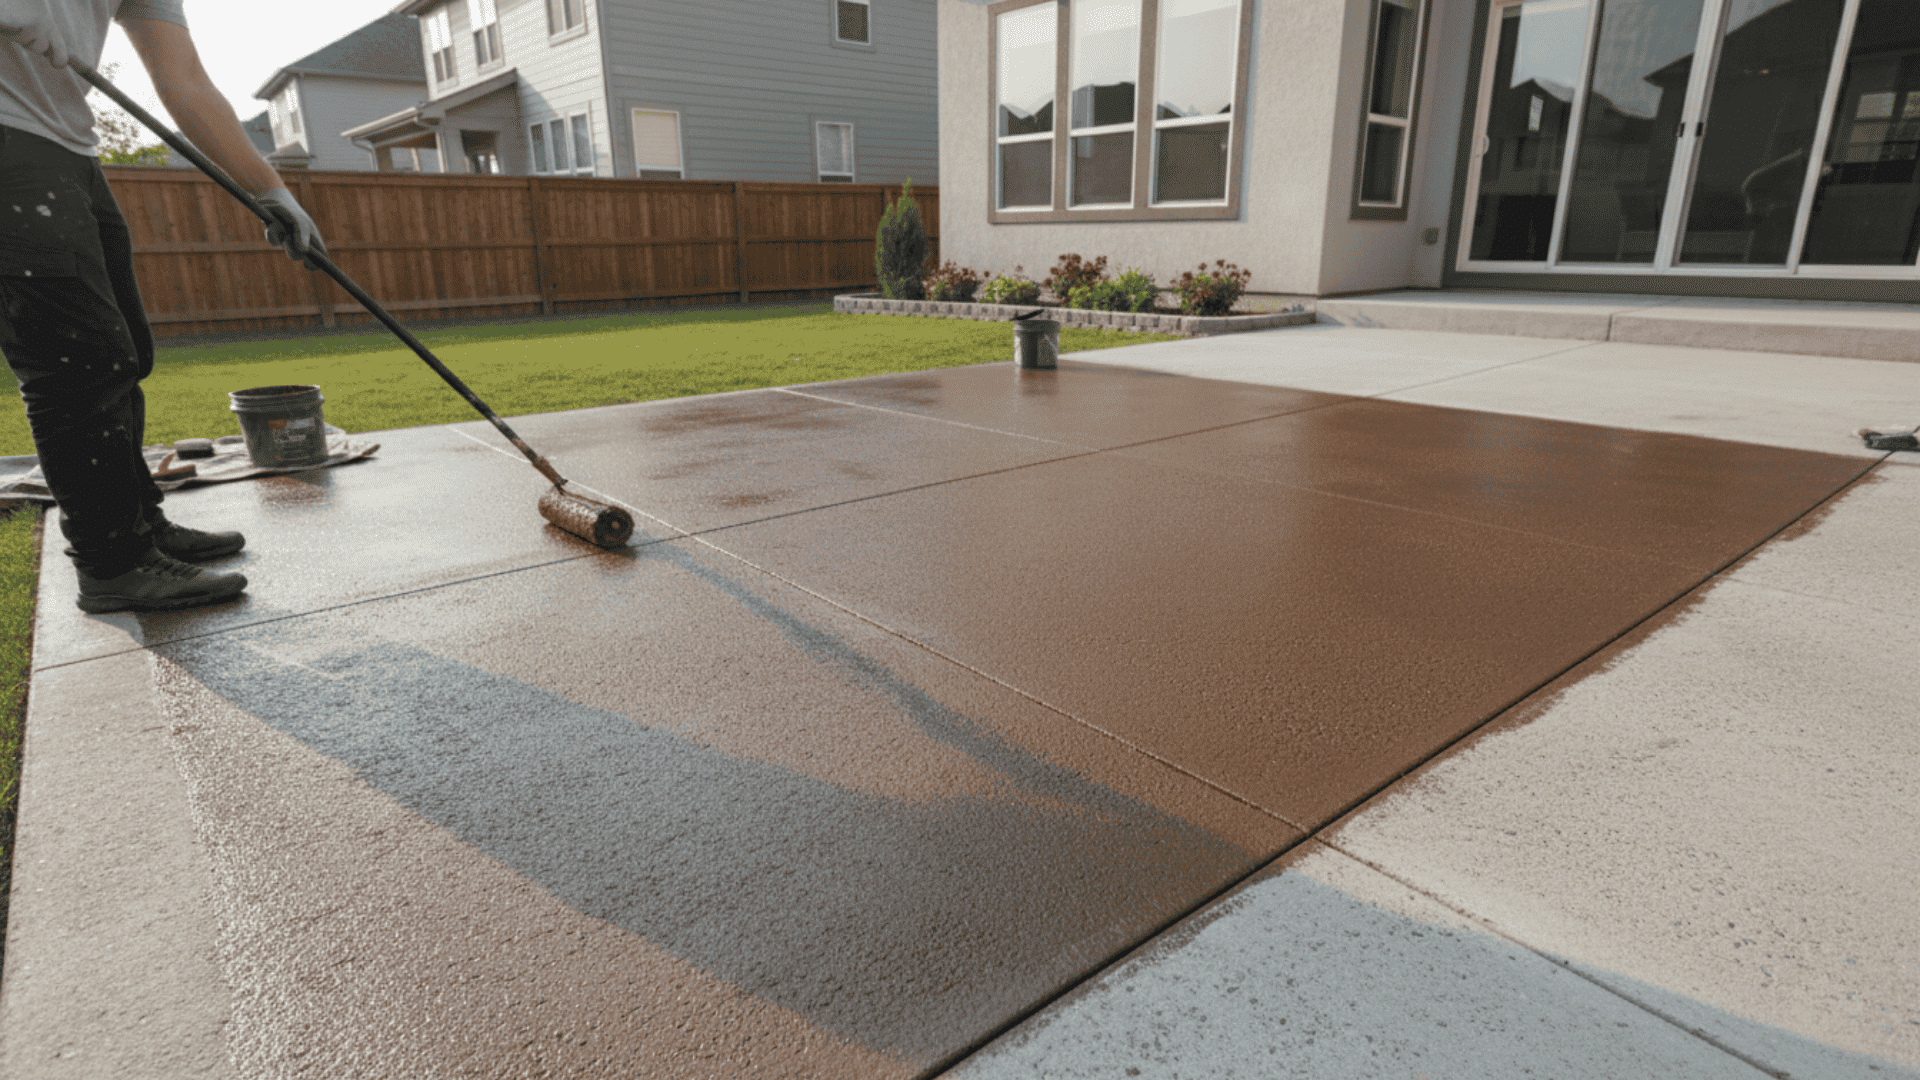
Choose your application tool based on the project size: use a sprayer for large areas like driveways, a roller for medium surfaces, or a brush for small spaces and edges.
Apply the stain in thin, even coats using long, overlapping strokes, and work from one end to the other without stopping to avoid lap marks.
Step 4: Dry Time and Touch-Ups
Let the first coat dry for 2 to 4 hours, then check the surface for any light or uneven spots. Apply a second coat only to areas that need more color, using the same technique as before.
Wait another 4 to 6 hours before deciding if a third coat is necessary for consistent coverage.
Step 5: Seal the Concrete for Protection
Once the stain is fully dry (usually 24 hours), apply a concrete sealer using a pump sprayer or roller to protect the color from fading and wear.
Work in sections and apply two to three thin coats, waiting 2 to 4 hours between each layer. Let the sealer cure for 24 to 72 hours before walking on it or placing furniture back.
Video Tutorial
Special thanks to Lowe’s Home Improvement for providing valuable insights in their video, which I referenced while creating this guide.
How Long Does Concrete Staining Last?
Concrete staining can last for years or even decades when done correctly. The lifespan depends on where the stained surface is located and how well you maintain it.
- Lifespan on patios vs driveways vs interior floors: Interior floors last 20+ years because they experience minimal wear; patios last 10 to 15 years with proper sealing; and driveways last 5 to 10 years due to heavy traffic and tire marks.
- Impact of traffic, weather, and sealing: High foot traffic and vehicle weight can fade stains faster; UV rays and rain wear down unsealed surfaces; and a quality sealer can extend life by 5 to 10 years.
- When resealing is needed: Reseal every 2 to 3 years for driveways, every 3 to 5 years for patios, and every 5 to 7 years for indoor floors to keep color vibrant and surface protected.
Maintenance Tips for Stained Concrete Surfaces

Proper care keeps stained concrete looking rich and helps extend the life of the finish, especially in high-traffic or outdoor areas.
1. Cleaning Methods that Preserve Color
Use a mild, pH-neutral cleaner in warm water, and a soft mop or brush, to remove dirt without dulling the stain. Regular gentle cleaning prevents buildup while protecting the sealed surface and color depth.
2. Products to Avoid
Avoid harsh chemicals, acidic cleaners, bleach, ammonia, and abrasive scrubbers, as they can wear down the sealer and fade the stain. These products shorten the lifespan of stained concrete and reduce its visual appeal.
3. Seasonal Care for Stained Concrete Patio Areas
Rinse outdoor surfaces regularly and reseal as needed to protect against sun exposure, moisture, and temperature changes. During colder months, avoid deicing salts, which can damage both the stain and the sealer over time.
Common Mistakes to Avoid When Concrete Staining
Even small errors can ruin your concrete staining project. Here are the most common problems and how to prevent them.
| Mistake | Why It Happens | How to Avoid It |
|---|---|---|
| Skipping Deep Cleaning | Thinking a quick rinse is enough | Use a degreaser and power wash to remove all dirt, oil, and residue |
| Applying Stain to Damp Concrete | Not waiting long enough after cleaning | Wait 24 to 48 hours for complete drying before staining |
| Overpowering with a Pressure Washer | Using too much pressure or the wrong nozzle | Keep the wand moving and use a 15 to 25 degree nozzle at a safe distance |
| Uneven Application Patterns | Stopping mid-section or overlapping inconsistently | Work in long, continuous strokes and maintain wet edges |
| Forgetting or Rushing the Sealer | Wanting to finish quickly | Apply sealer after stain fully dries and use 2 to 3 thin coats |
When Concrete Staining Is Not the Best Option
Concrete staining may not be the right choice if the surface is severely cracked, heavily patched, or uneven, since stains highlight flaws rather than hide them.
It also performs poorly on previously sealed concrete because the stain cannot penetrate the surface.
In these cases, alternatives like concrete paint, resurfacing overlays, or decorative coatings provide better coverage, more uniform results, and longer-lasting performance.
These options are especially helpful when aesthetics and surface consistency matter more than natural concrete variation.
Summing It Up
Concrete staining turns boring gray surfaces into something worth showing off.
You save money compared to replacing floors, and the color lasts for years when sealed properly. The process takes patience, but anyone can do it with the right prep work and tools.
Clean thoroughly, let everything dry, apply the stain evenly, and seal it well. Your patio, driveway, or basement floor will look completely different in just a few days.
Start with a small test area if you feel nervous about the full project.
Ready to give your concrete a fresh look? Grab your supplies this weekend and see the difference staining makes. Drop a comment below if you have questions.