Complete Guide to Fixing Cracks in Basement Walls
Water dripping down your basement walls again?
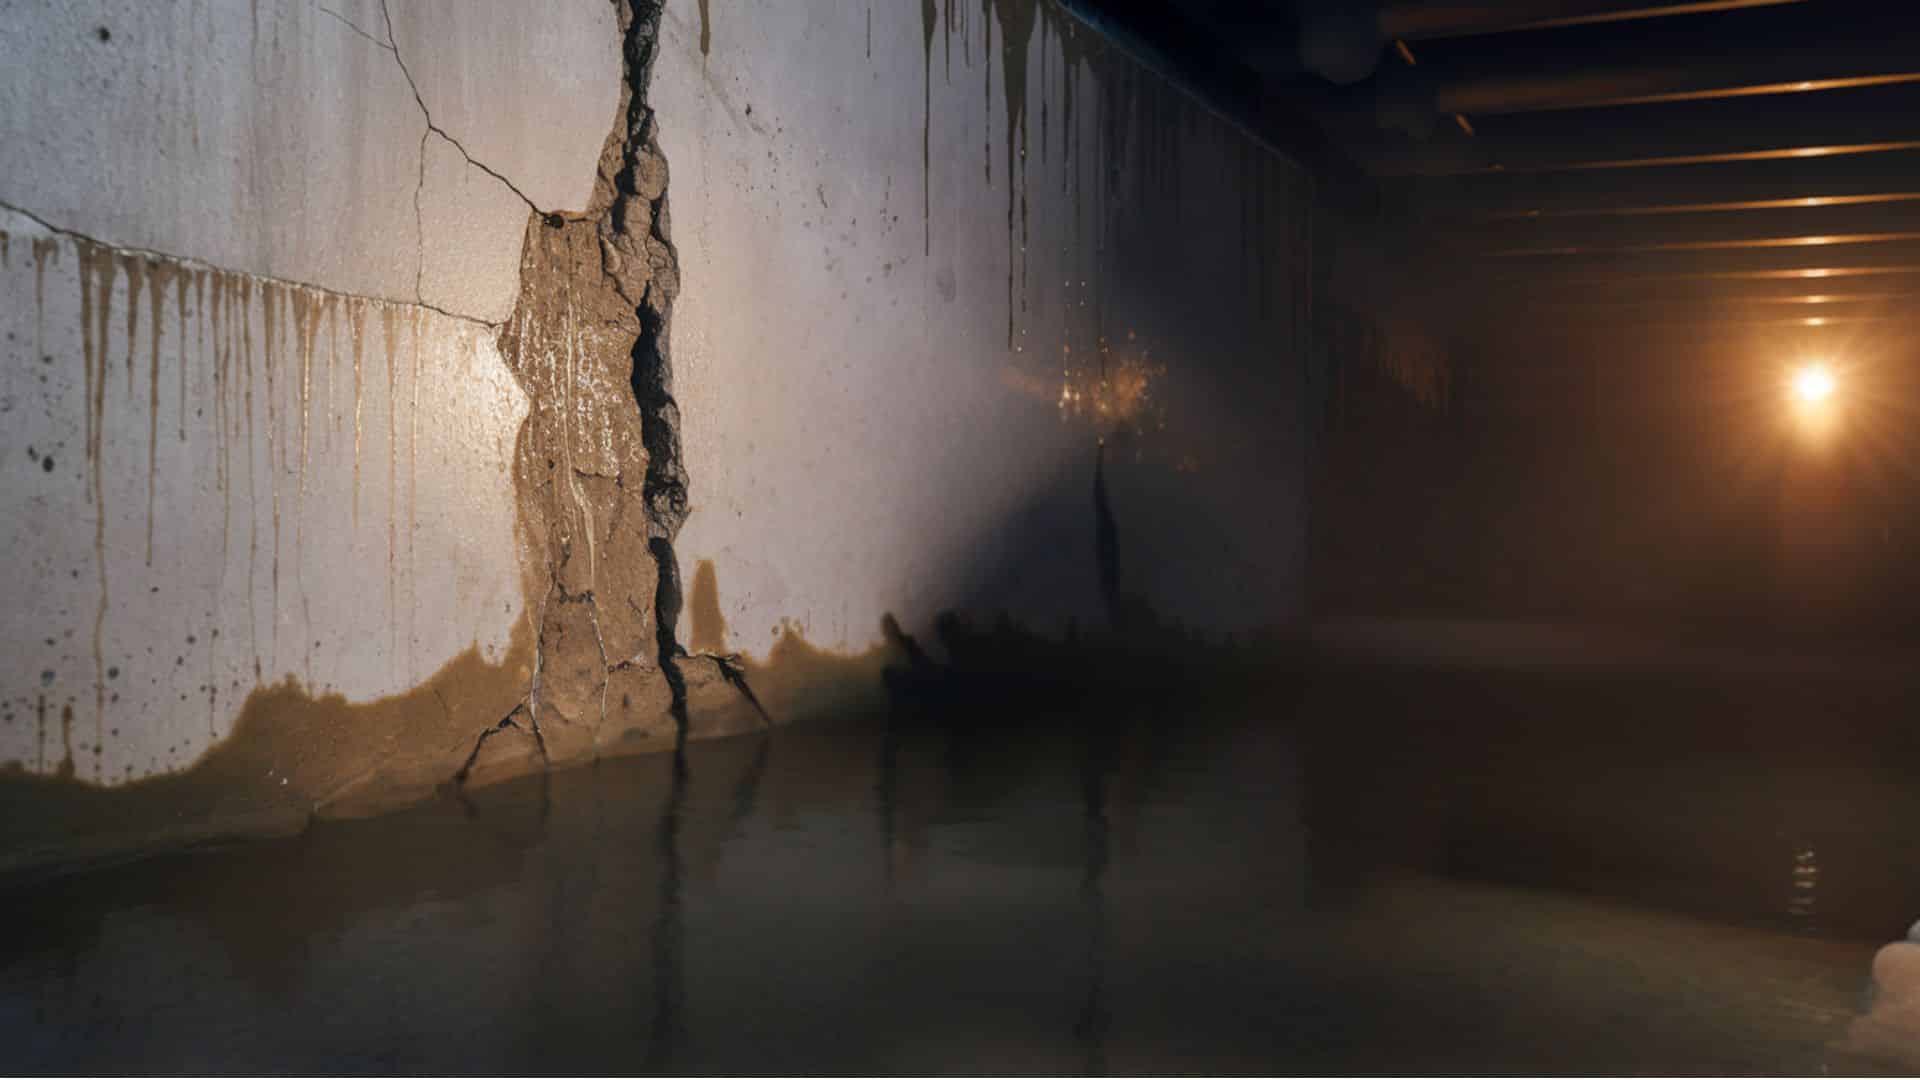
Those hairline cracks you noticed last month are now wide enough to slip a penny through. You’re not alone. Over 60% of homeowners deal with basement wall issues that seem to multiply overnight.
Most people try quick fixes like concrete patches or waterproof paint. These Band-Aid solutions fail within months, leaving you with bigger problems and water damage that costs thousands to repair.
The truth is, professional contractors use a specific injection method that seals cracks from inside to outside your foundation wall. This technique creates repairs stronger than the original concrete.
I’ll show you exactly how to perform this permanent repair yourself, including the tools, materials, and step-by-step process that stops water infiltration for good.
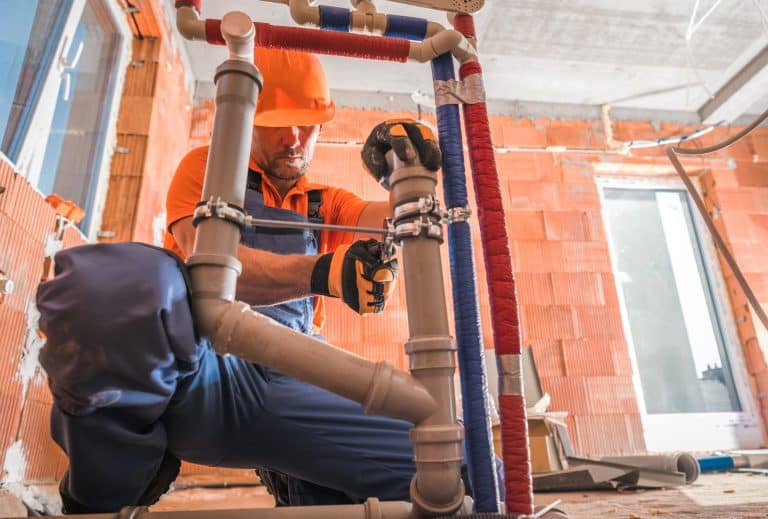
What Is Basement Wall Repair?
Basement wall repair refers to the process of fixing structural damage, water intrusion issues, or deterioration in basement walls. These repairs are essential for maintaining the structural integrity of your home’s foundation and preventing costly problems from escalating.
Common basement wall issues include cracks (both horizontal and vertical), bowing or bulging walls, water seepage, efflorescence (white mineral deposits), and foundation settling. These problems typically arise from hydrostatic pressure, soil expansion and contraction, poor drainage, or natural aging of materials.
Key Aspects of Basement Wall Repair
- Common Issues: Cracks in walls, bowing or bulging surfaces, water seepage, white mineral deposits (efflorescence), and foundation settling that compromise structural integrity.
- Repair Methods: Minor cracks can be sealed with hydraulic cement or epoxy injections, while serious structural damage may require wall anchors, carbon fiber reinforcement, or complete wall replacement.
- Waterproofing Solutions: Interior sealants, exterior excavation and waterproofing, or installation of comprehensive drainage systems to prevent water intrusion.
- Professional Assessment: Expert evaluation is crucial since basement wall problems often indicate serious foundation issues that require specialized knowledge and equipment.
- Prevention Benefits: Early intervention prevents water damage, mold growth, and structural failure while protecting your investment and ensuring a safe, dry basement environment.
Step-By-Step Basement Wall Repair Process
This complete guide demonstrates the proper method for permanently repairing foundation wall cracks using hydroactive gel injection and crystalline waterproofing technology, replacing ineffective patch-over methods with structural restoration.
Tools Needed:
| Tools | Purpose |
| Chiseling Tools | Remove deteriorated concrete and patches |
| Hammer Drill | Drill holes for grease fitting installation |
| Drill Bits | Create precise holes for grease fittings |
| Grease Gun | Inject hydroactive gel through fittings |
| Brushes | Apply super slurry and finishing materials |
| Trowels | Apply and smooth finishing cement |
| Protective Tape | Protect the surrounding areas during application |
| Safety Equipment | Personal protection during concrete work |
Materials Needed:
| Material | Purpose |
|---|---|
| Grease Fittings | Injection points for hydroactive gel |
| Hydroactive Gel | Seal crack from inside to outside wall |
| Super Slurry | Base waterproofing and concrete activation |
| Super Krete | Final structural layer and encapsulation |
| Crystalline Additives | change concrete porosity into barrier |
Step 1: Remove Existing Patches and Assess Damage
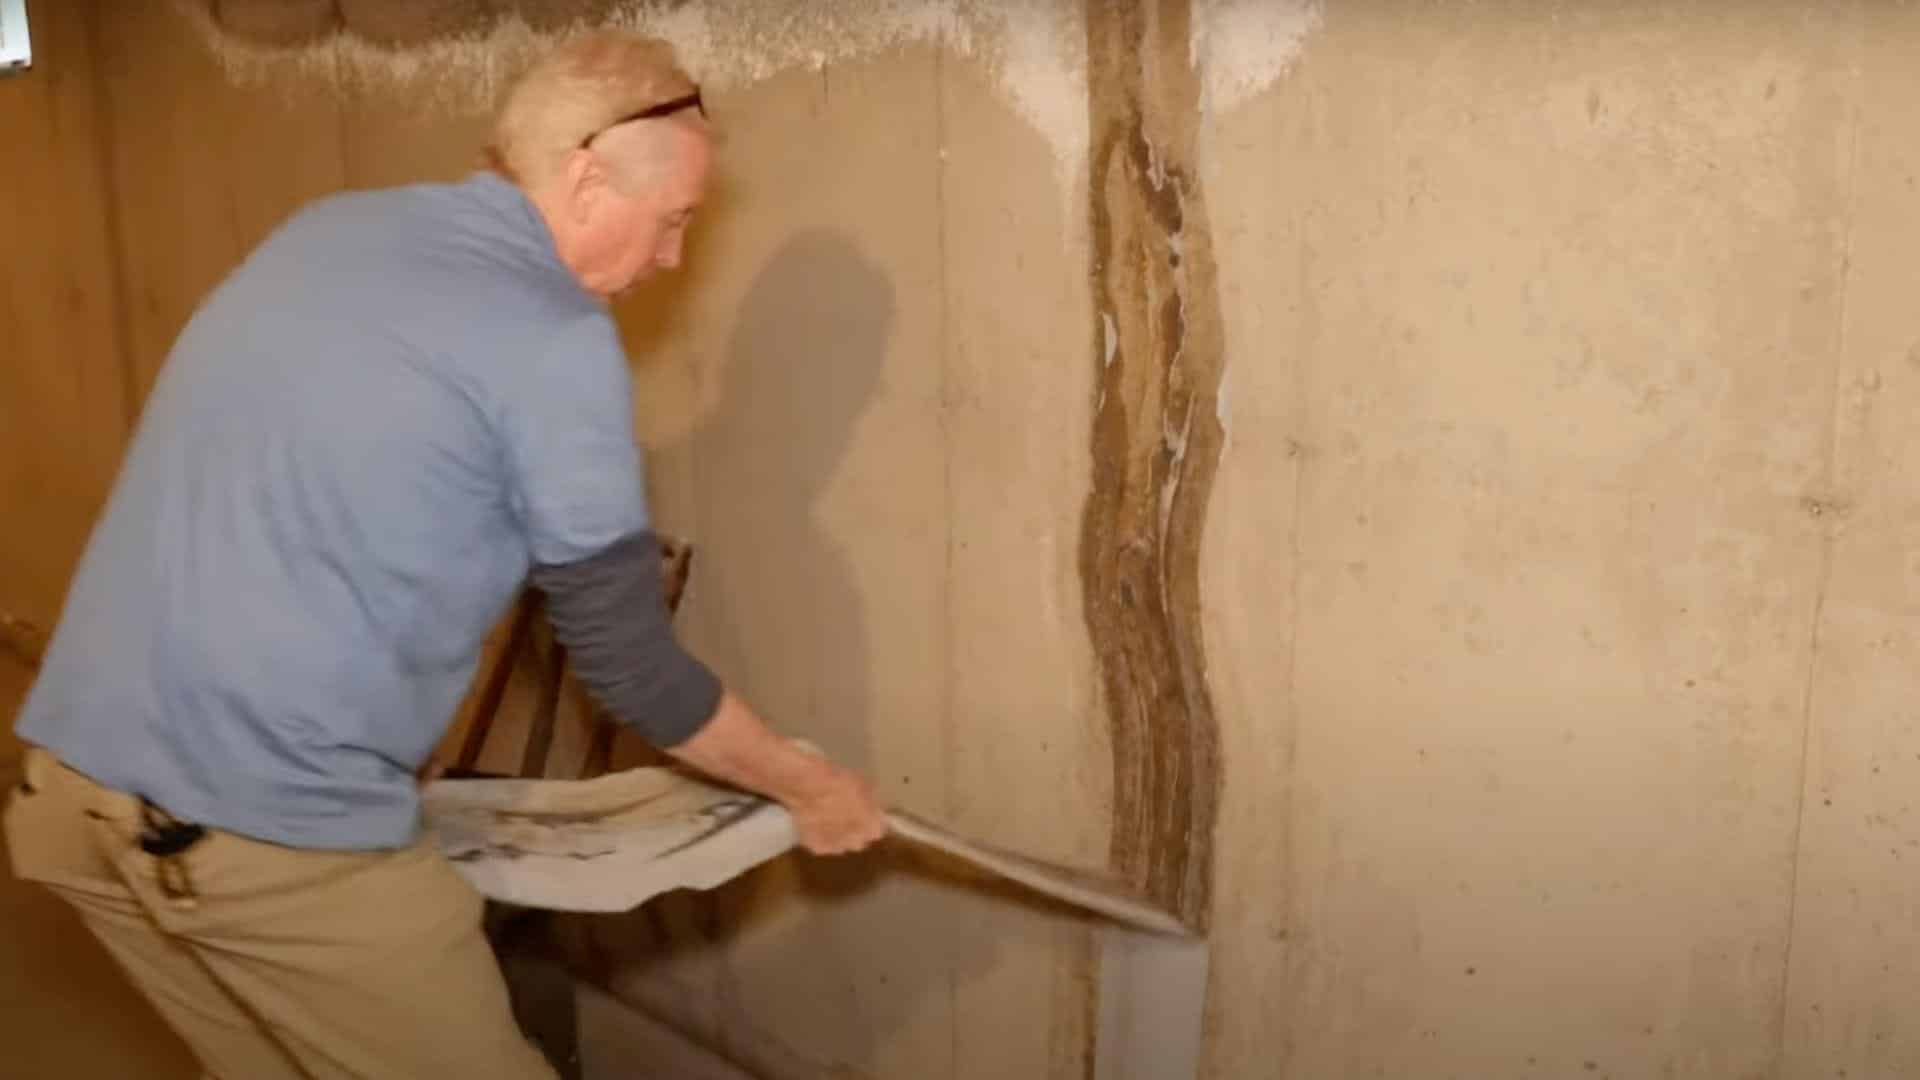
Carefully remove any previous patchwork, concrete coverings, or ineffective repairs from the cracked wall area. Assess the extent of damage and water intrusion patterns. Remove deteriorated concrete that has been weakened by prolonged moisture exposure from previous poor repair attempts.
Pro Tip: Use a flashlight to check if light passes through the crack – this shows if you need full-depth sealing.
Step 2: Chisel Out Deteriorated Concrete
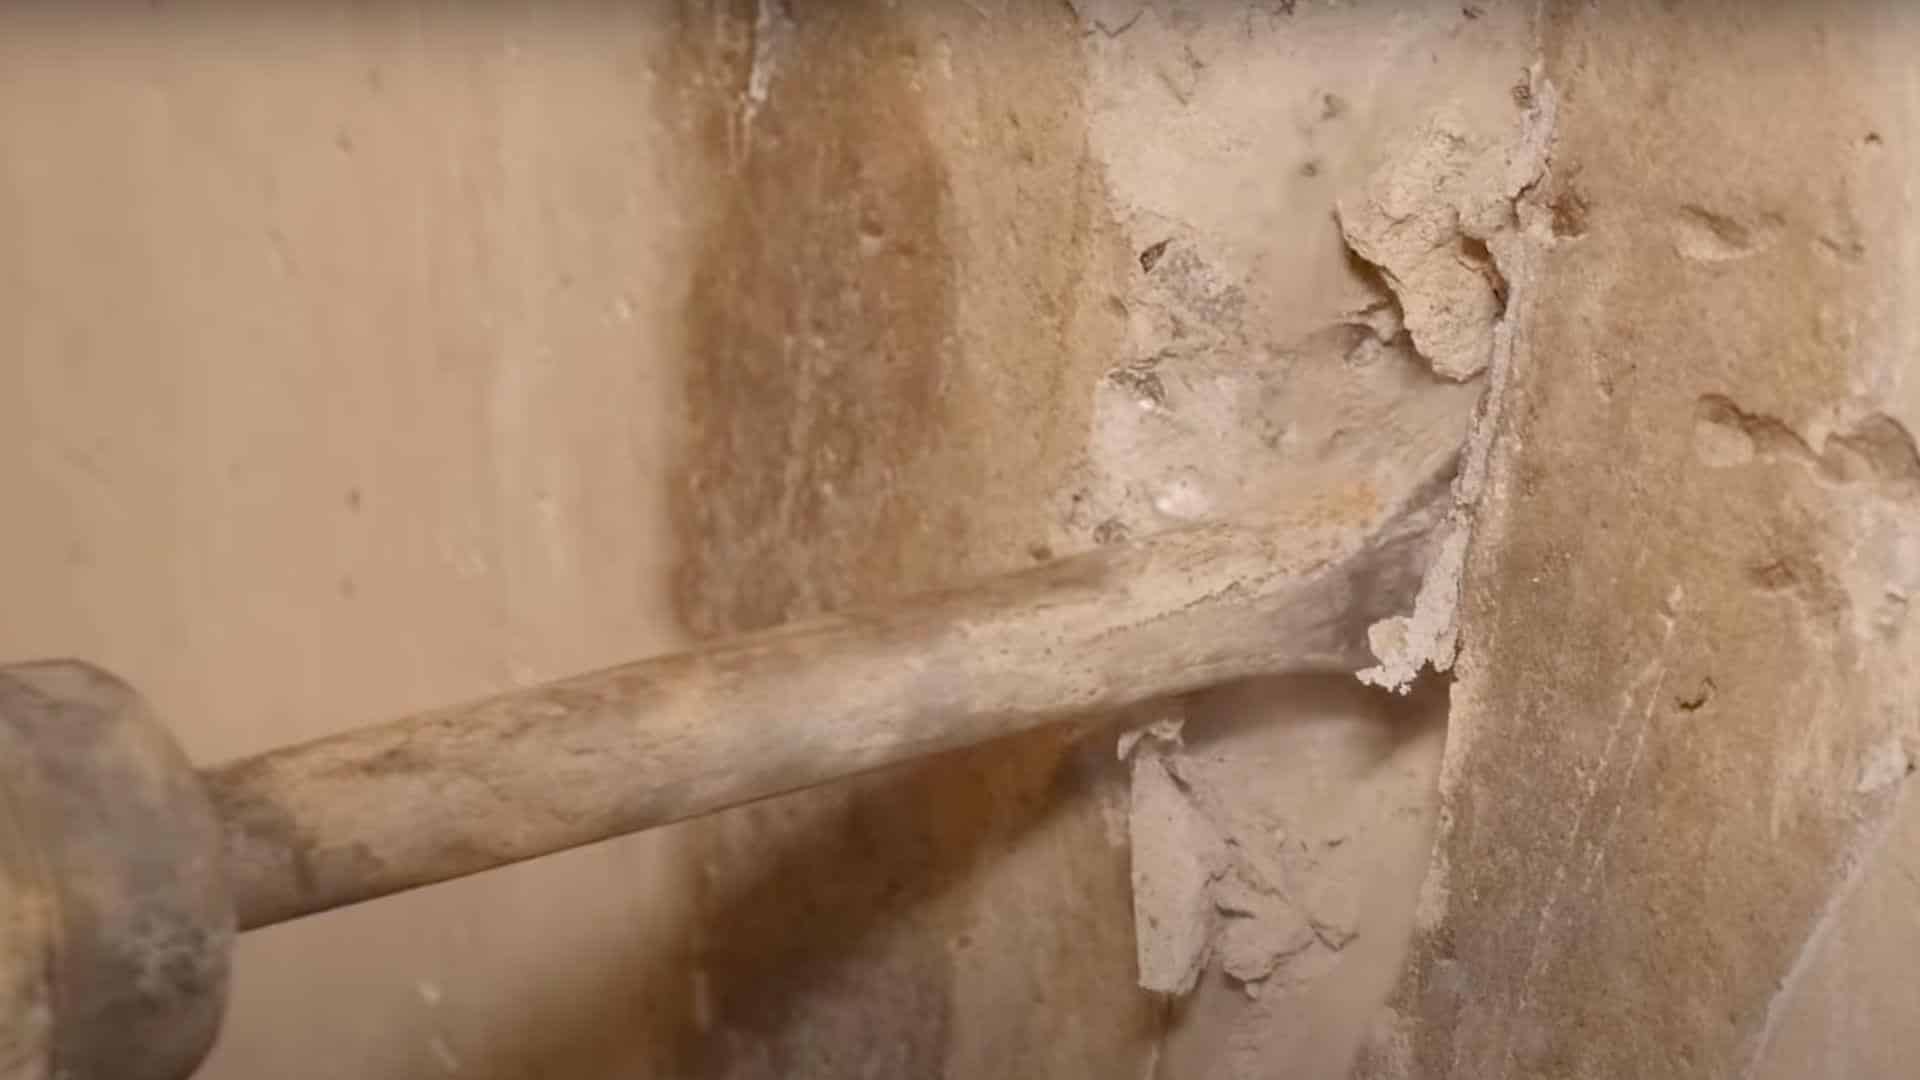
Use proper chiseling tools to remove all deteriorated concrete from around the crack area. Continue chiseling until you reach solid, sound concrete throughout the repair zone. This step may require removing more material than typical due to damage from previous unsuccessful repair attempts.
Pro Tip: Save concrete dust in a container to mix with finishing cement for perfect color matching.
Step 3: Drill Holes and Install Grease Fittings
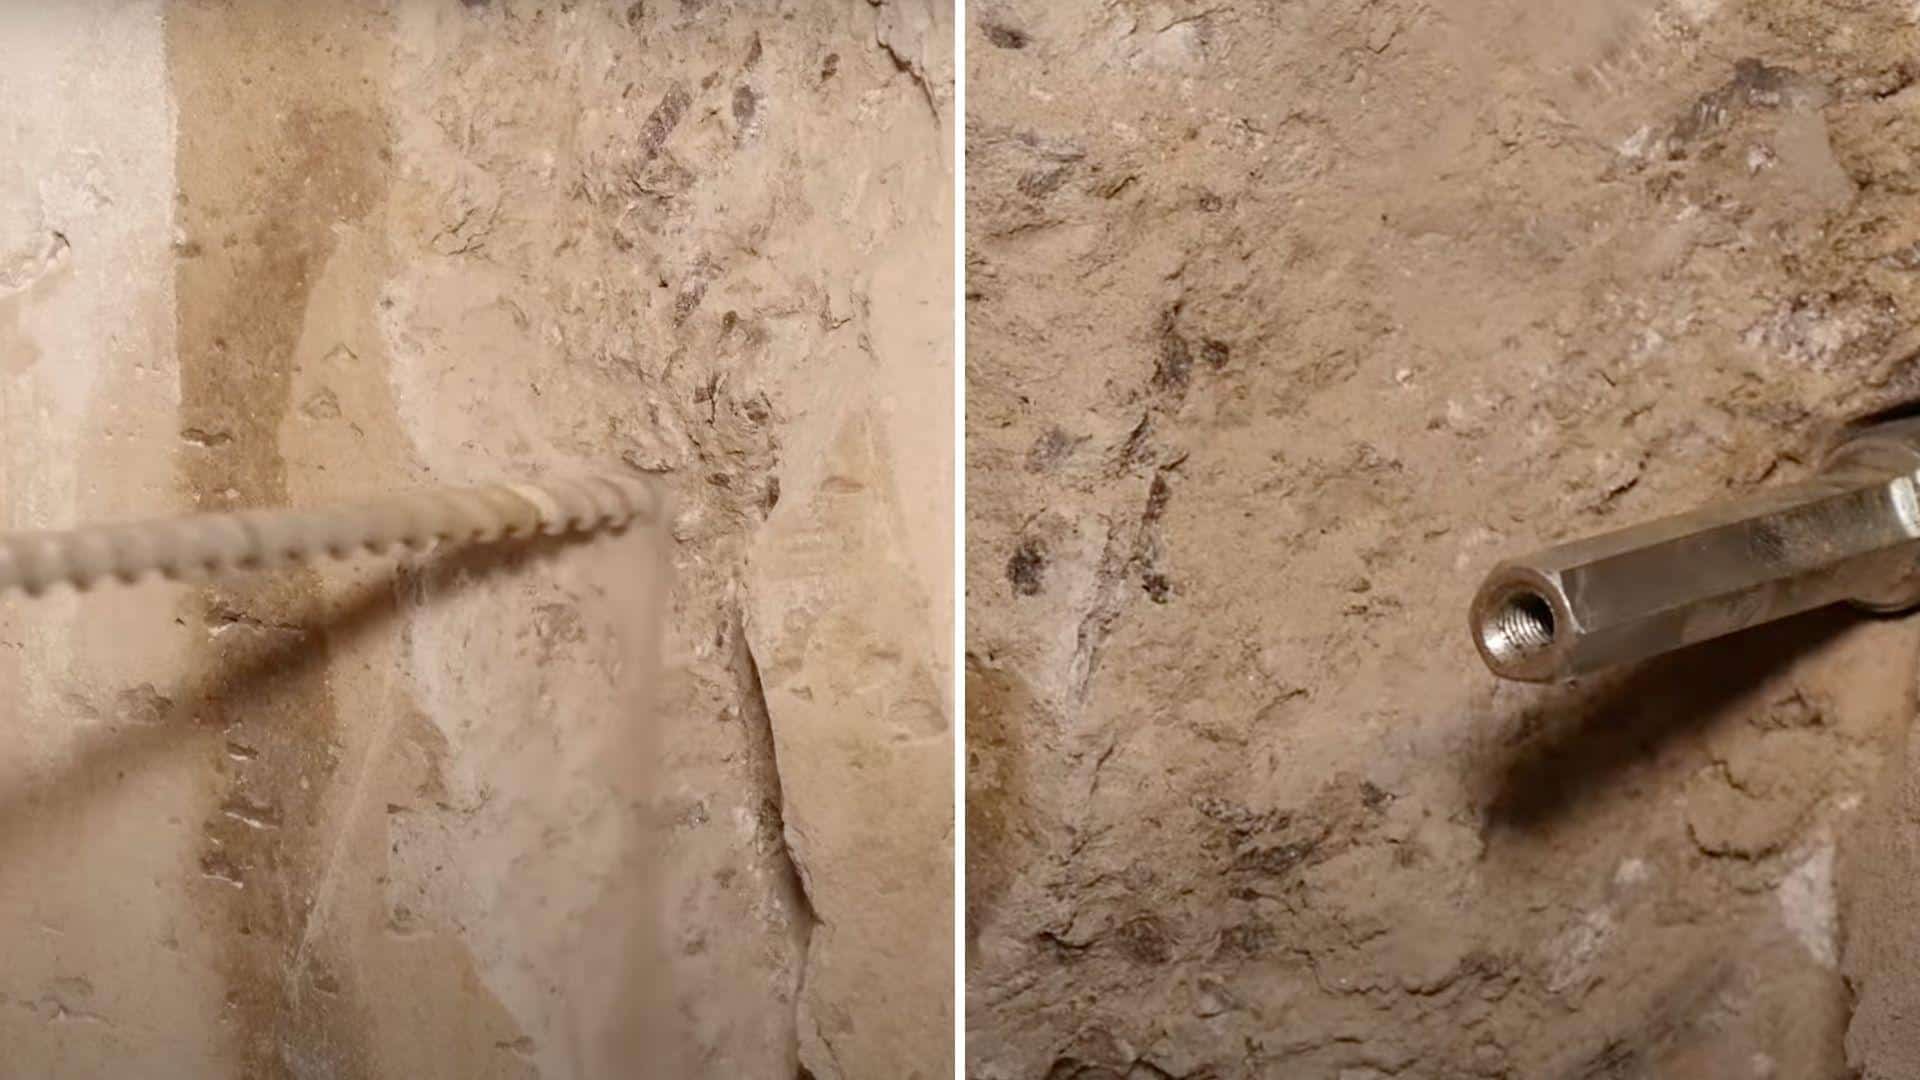
Drill precise holes along the crack at regular intervals and install grease fittings with gaskets. Tighten the fittings to expand the gaskets, creating a secure seal in each drilled hole. These fittings will serve as injection points for the hydroactive gel repair material.
Pro Tip: Number each fitting with permanent marker to track injection sequence and avoid missing any..
Step 4: Apply Super Slurry Base Coat
Brush super slurry containing crystalline ingredients onto the wall surface and directly into the crack. This slurry penetrates the porous concrete structure, filling microscopic voids and activating the concrete around the crack area. The crystalline components begin growing through the concrete matrix immediately.
Pro Tip: Apply only in 50-80°F temperatures – cold concrete won’t absorb properly, hot surfaces dry too fast.
Step 5: Inject Hydroactive Gel Through Fittings
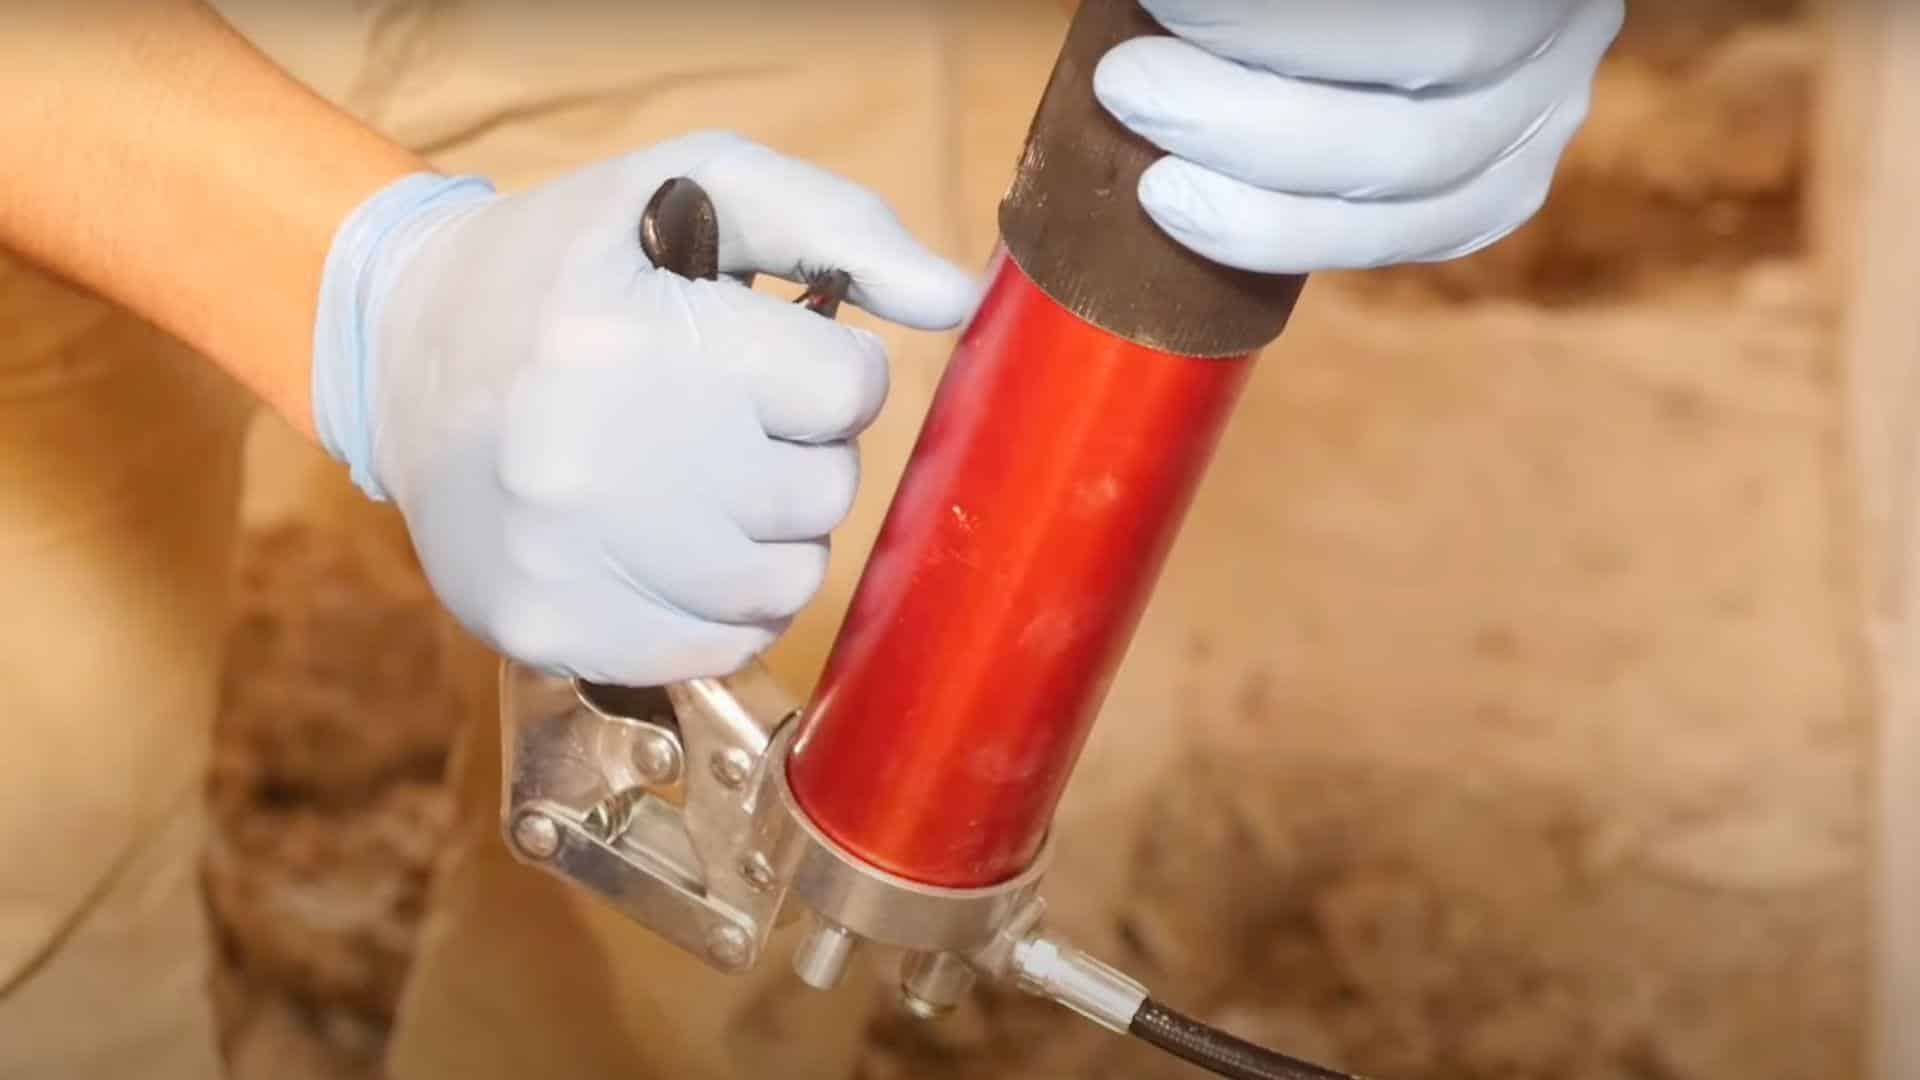
Using a grease gun, pump hydroactive gel through each grease fitting, starting from the bottom and working upward. The gel travels through the crack from inside to outside the wall, expanding as it cures. Continue injection until gel appears at the next fitting level.
Pro Tip: Keep wet rags ready to wipe gel leaks immediately – cured gel is nearly impossible to remove.
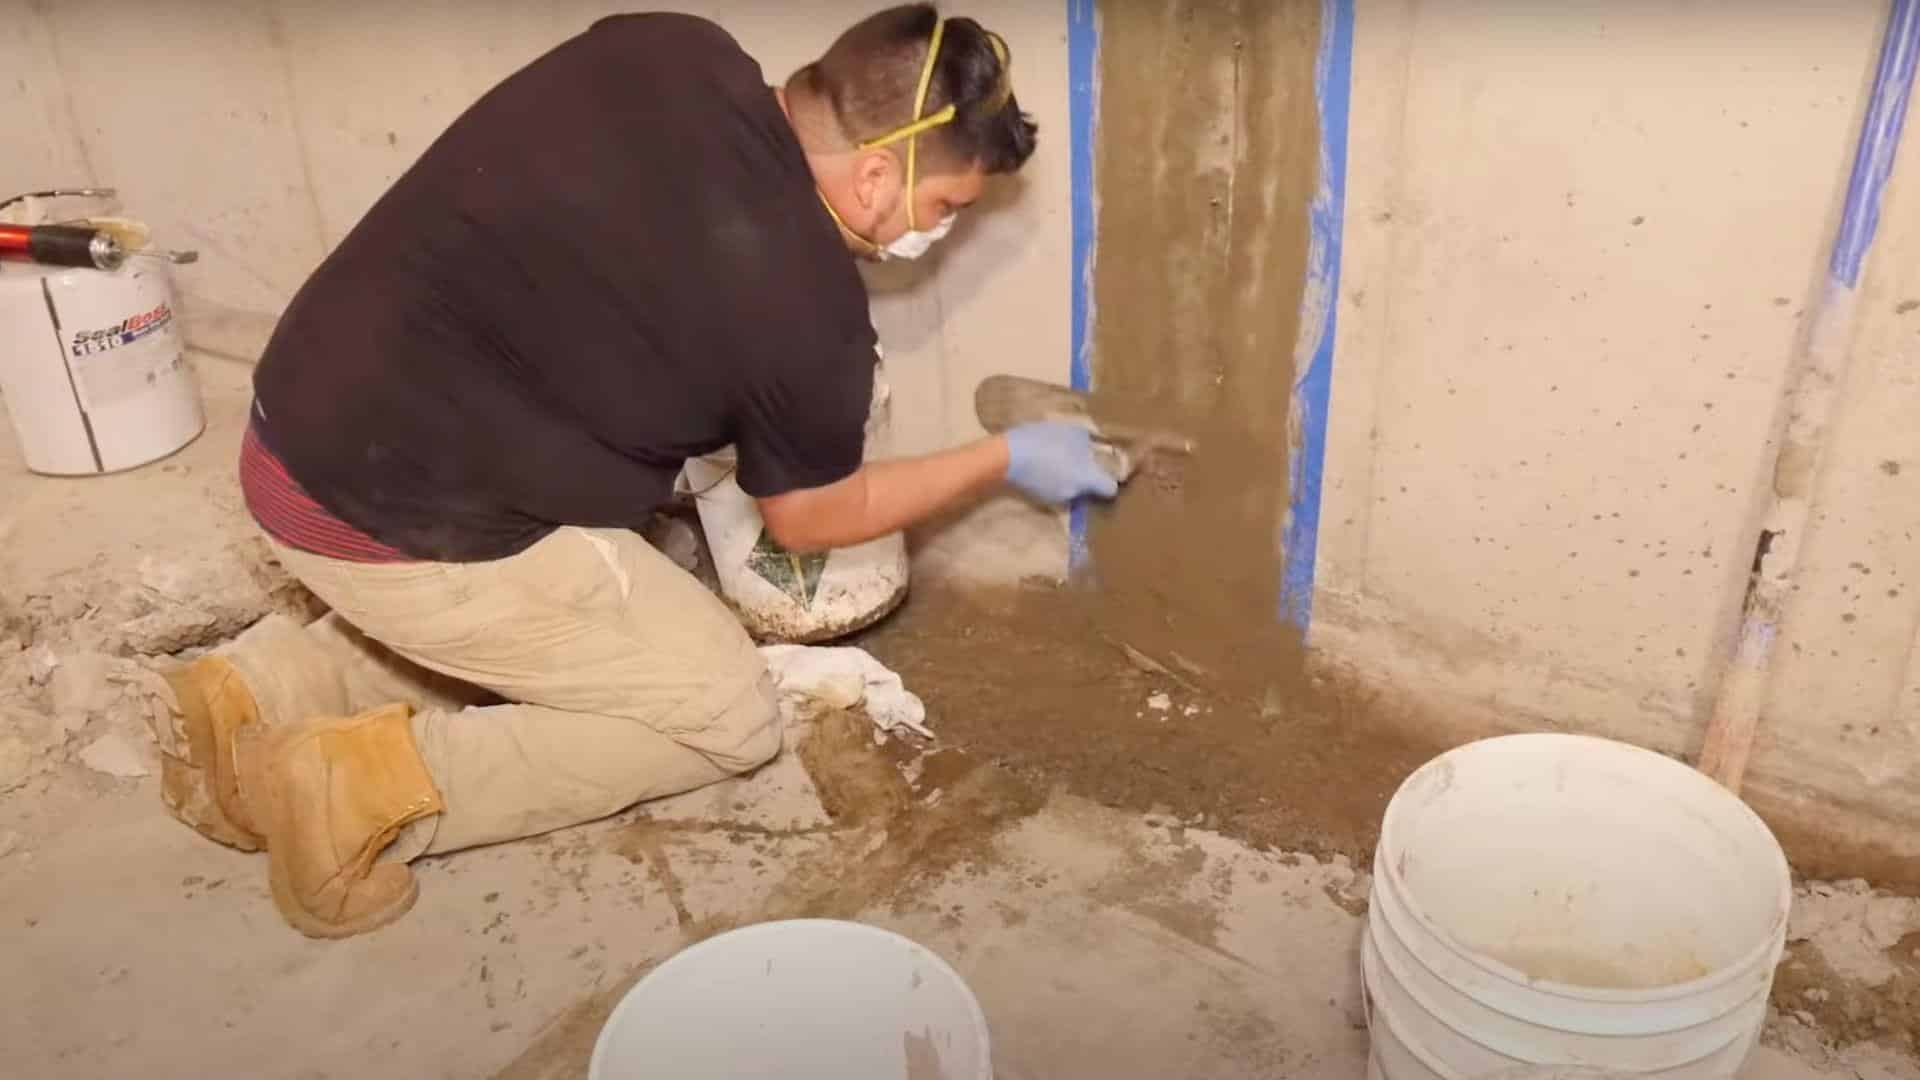
Step 6: Apply Super Krete Finishing Cement
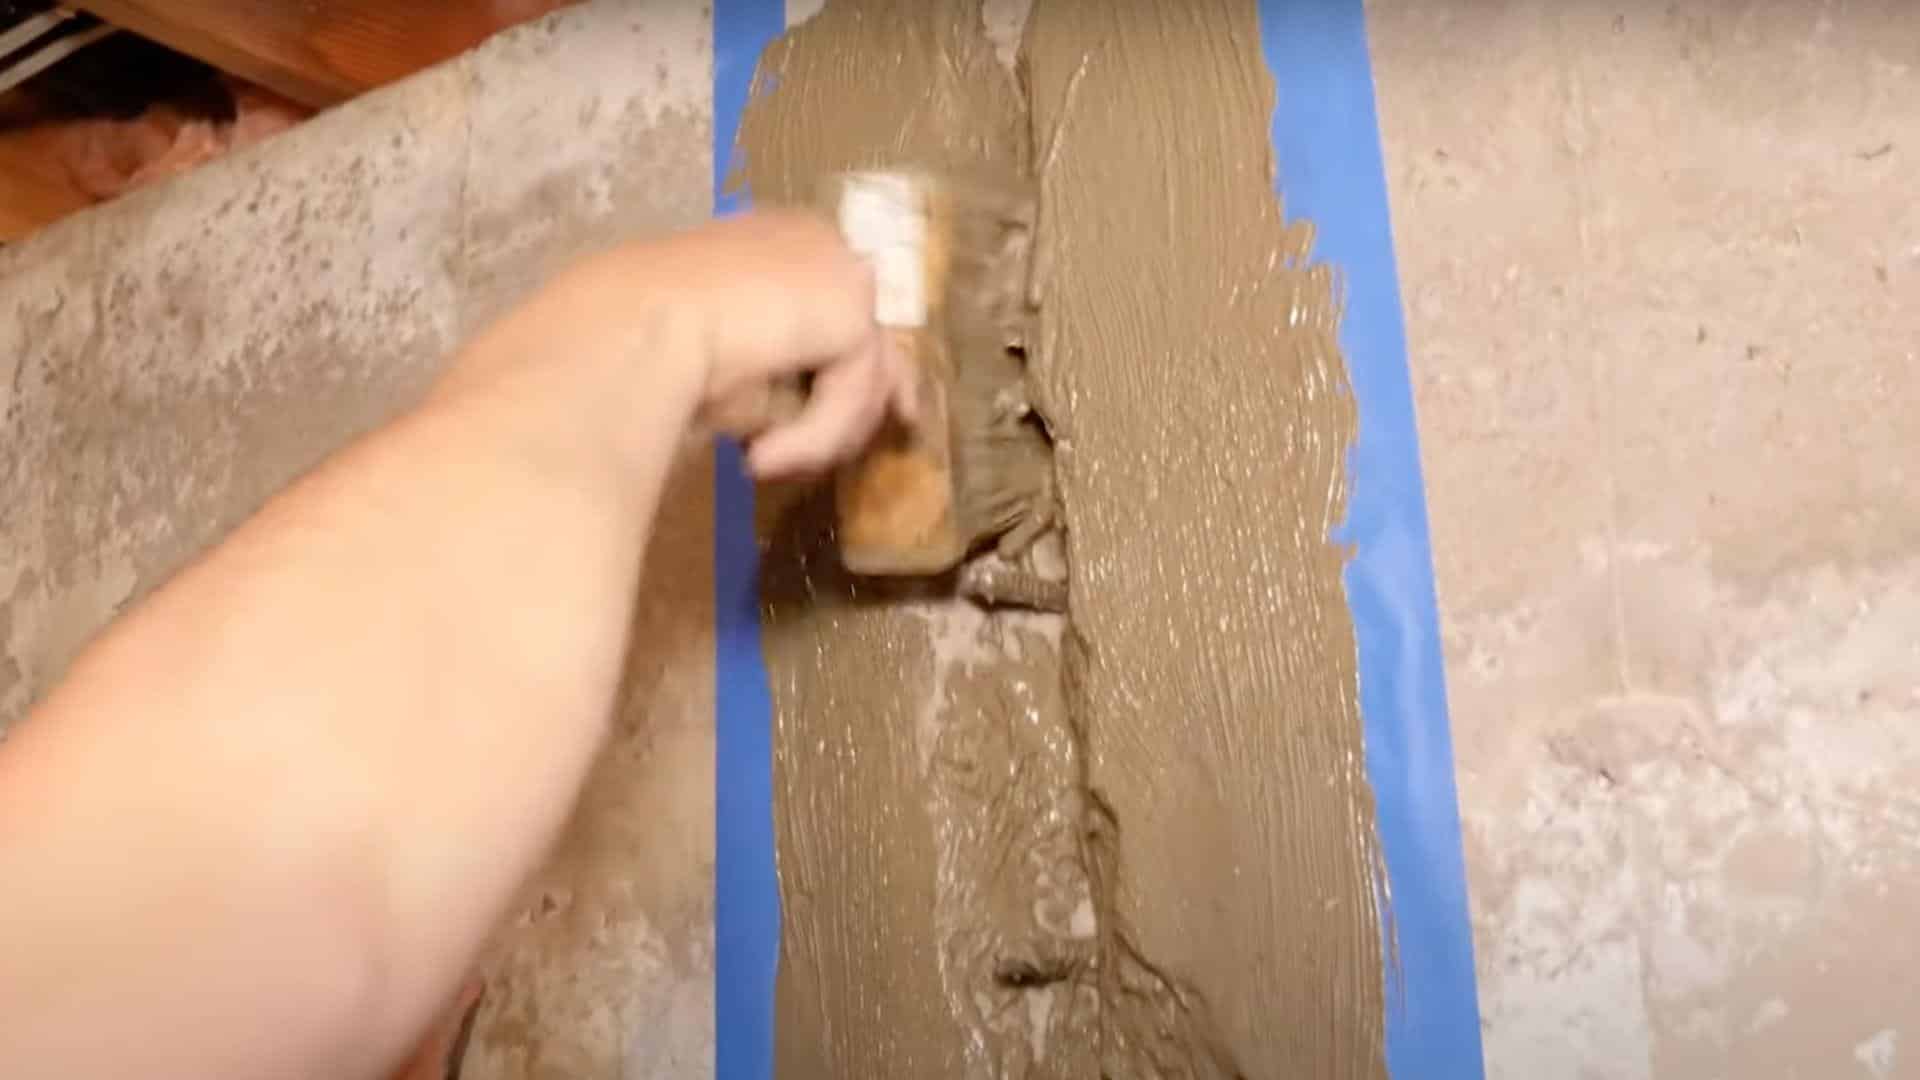
Apply Super Krete product as the finishing layer over the treated area. This material contains the same crystalline ingredients and grows around the hydroactive gel seal, creating a unified waterproof barrier. The finishing cement encapsulates the entire repair system for maximum effectiveness.
Pro Tip: Texture final surface with damp sponge to match existing wall and make repair invisible.
Step 7: Allow Crystalline Growth and Curing
Allow the crystalline ingredients in both products to fully penetrate and grow through the concrete structure. This process creates an extremely strong, structurally sound finish that completely eliminates water penetration. The repair system continues strengthening over time as crystallization progresses.
Pro Tip: Avoid heaters or fans for drying – rapid curing prevents proper crystalline formation and weakens repair.
Step 8: Final Finishing and Quality Check
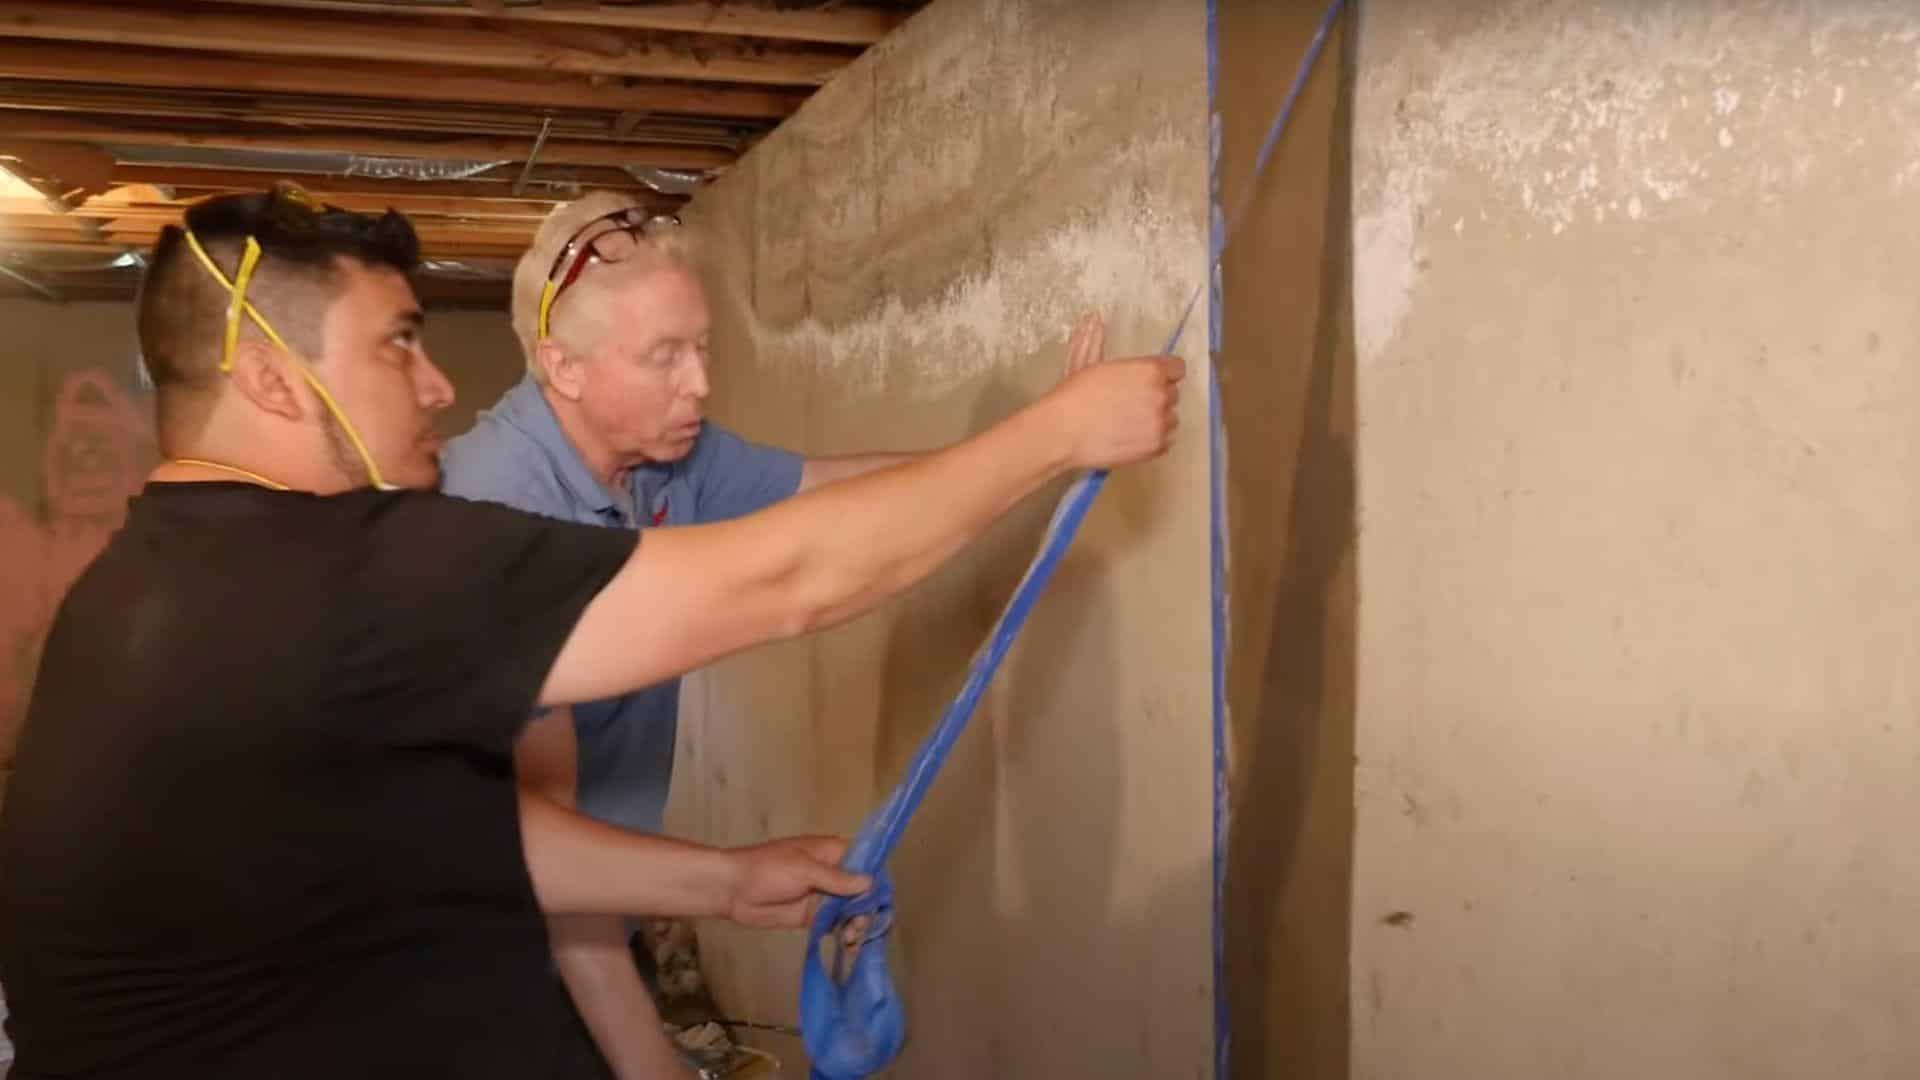
Remove any protective tape and perform final surface finishing for a clean appearance. Inspect the repair to ensure complete coverage and proper curing. The completed repair should be stronger than the surrounding uncracked wall sections, with future cracking likely to occur elsewhere rather than in the treated area.
Pro Tip: Test with garden hose against outside wall after 7 days – water penetration means incomplete sealing
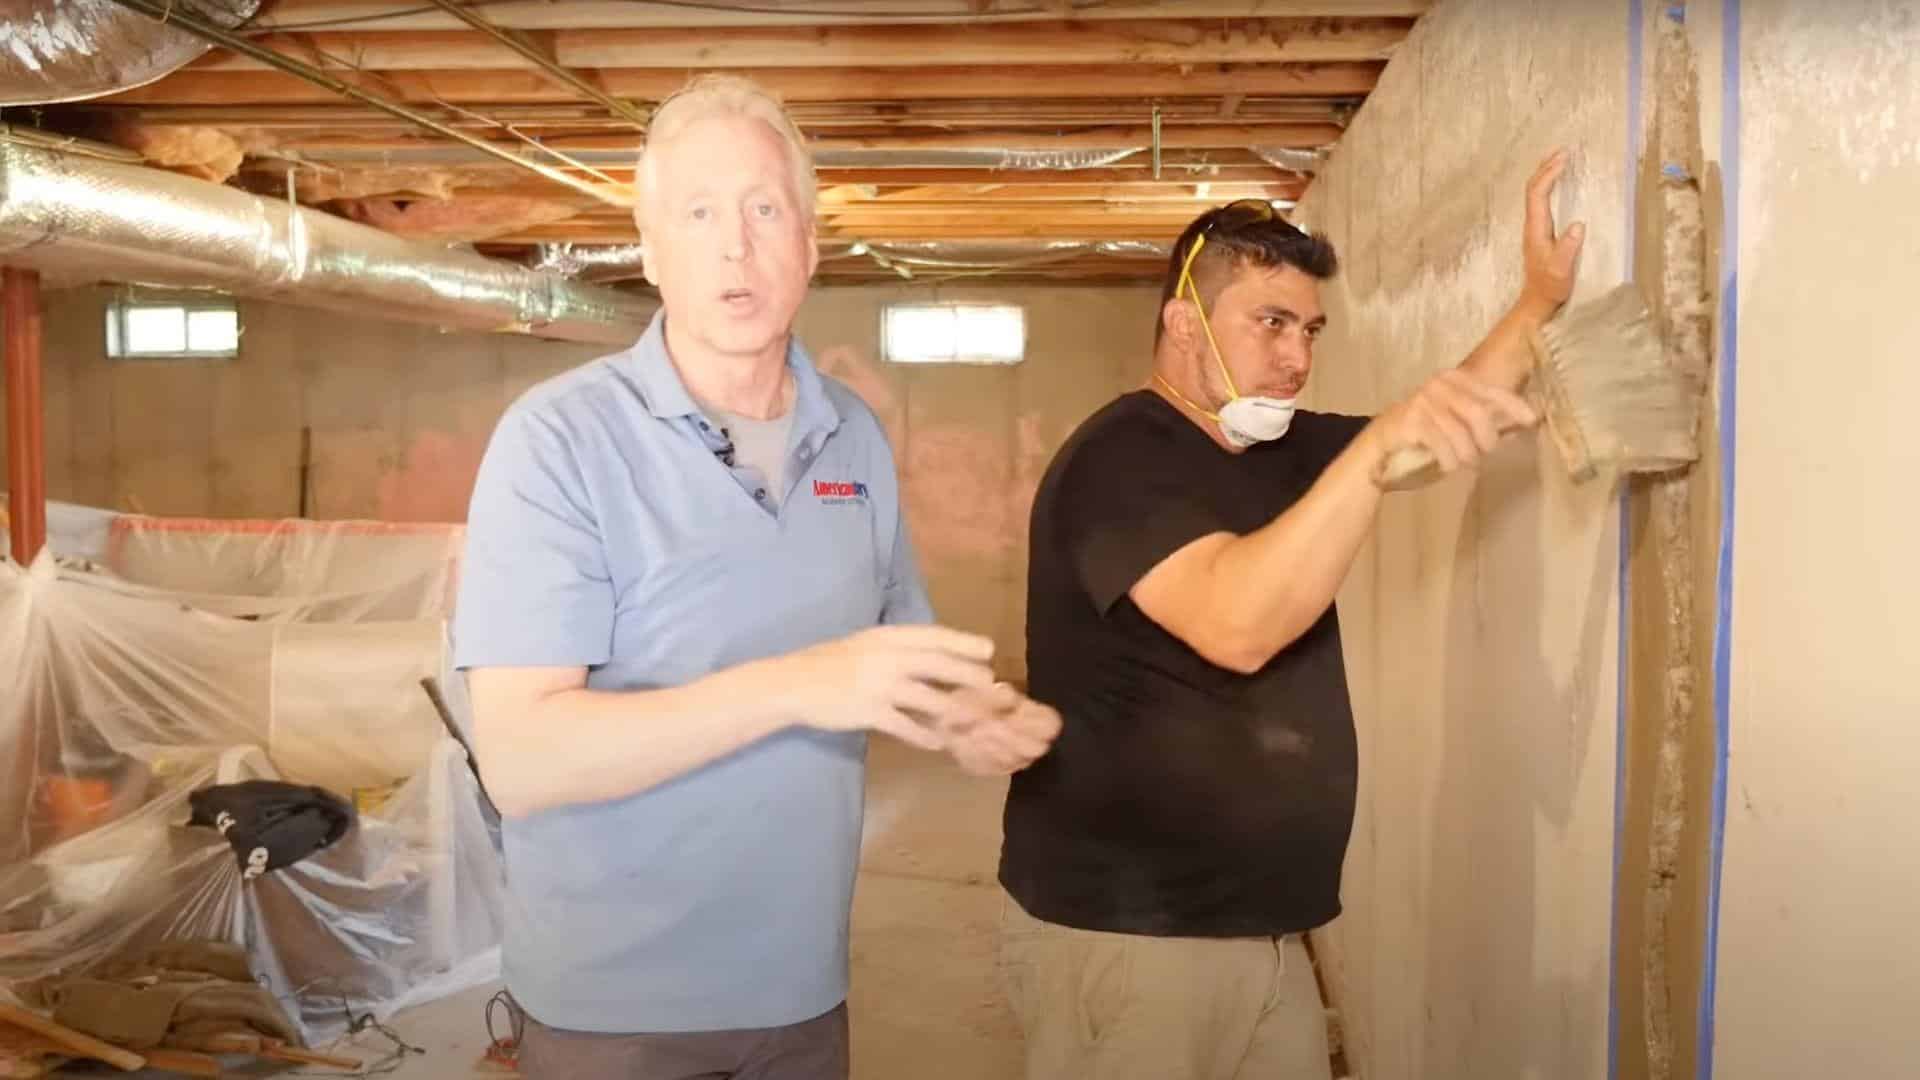
Video Tutorial
I’d like to give credit to American Dry Basement Systems for their informative video, which served as a reference for this guide.
Common DIY Mistakes to Avoid in Basement Repair
Avoiding these critical errors can save thousands in repair costs and prevent recurring water damage issues that compromise your home’s structural integrity.
| Mistake | Solution |
|---|---|
| Patch-Over Method | Remove patches, use injection repair |
| Cookie-Cutter Approach | Assess each crack individually |
| Incomplete Concrete Removal | Chisel to solid concrete only |
| Poor Drainage Setup | Ensure proper drainage outlets |
| No Injection Points | Install grease fittings for injection |
| Surface-Only Treatment | Use gel that seals full wall thickness |
| Wrong Products | Use crystalline-enhanced materials |
| Rushing Process | Allow full crystalline growth time |
| Ignoring Wall Thickness | Seal entire foundation wall depth |
| Poor Preparation | Clean and prep all surfaces first |
Maintenance Tips for Basement Wall Repair
- Regular Visual Inspections – Check walls monthly for new cracks, water stains, or efflorescence to catch problems early before they worsen.
- Monitor Humidity Levels – Keep basement humidity below 50% using dehumidifiers to prevent moisture buildup that can compromise repair materials.
- Clean Gutters and Downspouts – Maintain proper water drainage away from the foundation by cleaning gutters quarterly and extending downspouts appropriately.
- Check Exterior Grading – Ensure soil slopes away from foundation walls to prevent water pooling against repaired areas during heavy rains.
- Inspect Drainage Systems – Test sump pumps and drainage systems seasonally to ensure they function properly when needed most during storms.
- Seal Minor Issues Quickly – Address small cracks or moisture spots immediately before they develop into major structural problems requiring extensive repairs.
- Professional Annual Review – Schedule yearly inspections with foundation specialists to assess repair integrity and identify potential issues before they escalate.
Conclusion
Now you have the complete roadmap to transform those intimidating basement wall cracks into permanent, structural repairs that will outlast the rest of your foundation. I’ve walked you through the professional-grade injection method that contractors charge thousands for – and honestly, it’s not as complicated as most people think.
The key difference between a temporary patch and a lasting solution comes down to understanding that cracks need to be sealed through the entire wall thickness, not just covered up. When you use crystalline technology and hydroactive gel injection properly, you’re essentially creating a stronger section than what was there originally.
What’s your next step? Start with that monthly inspection routine I mentioned, and don’t wait if you spot new cracks forming. The sooner you tackle them using these methods, the easier and less expensive your repair will be.
Ready to take control of your basement’s future?