
Once upon a time, I fell head over heels for chalk paint. That matte finish, the vintage charm it brought to every piece! But trends change, and our homes evolve with our tastes.
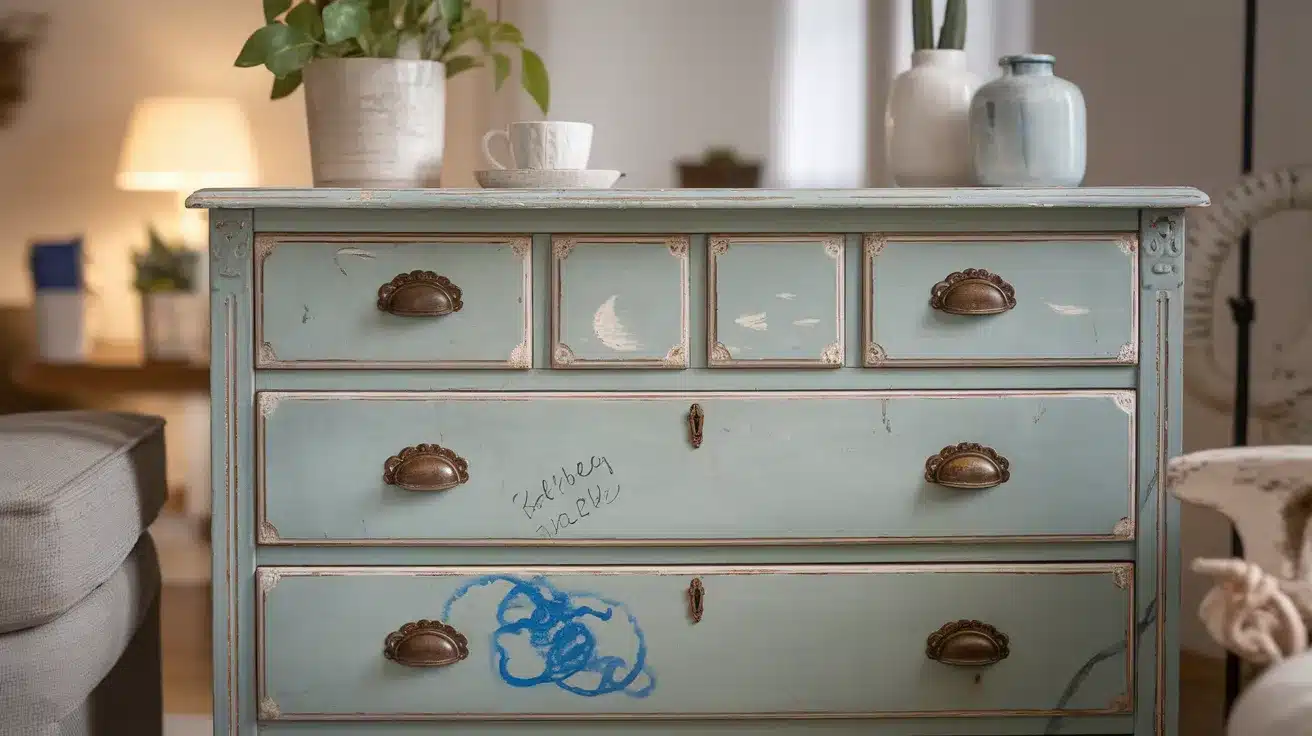
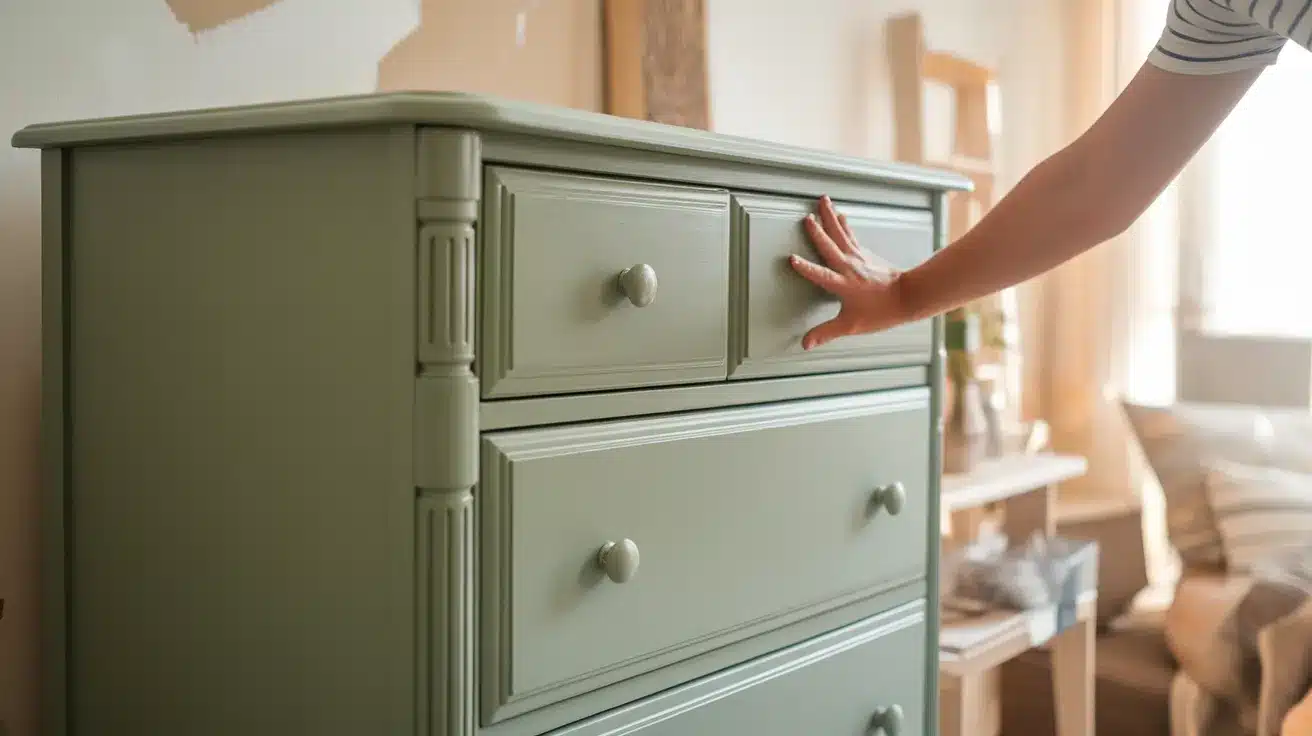
Maybe you’re looking at that seafoam green dresser and thinking it’s time for something new.
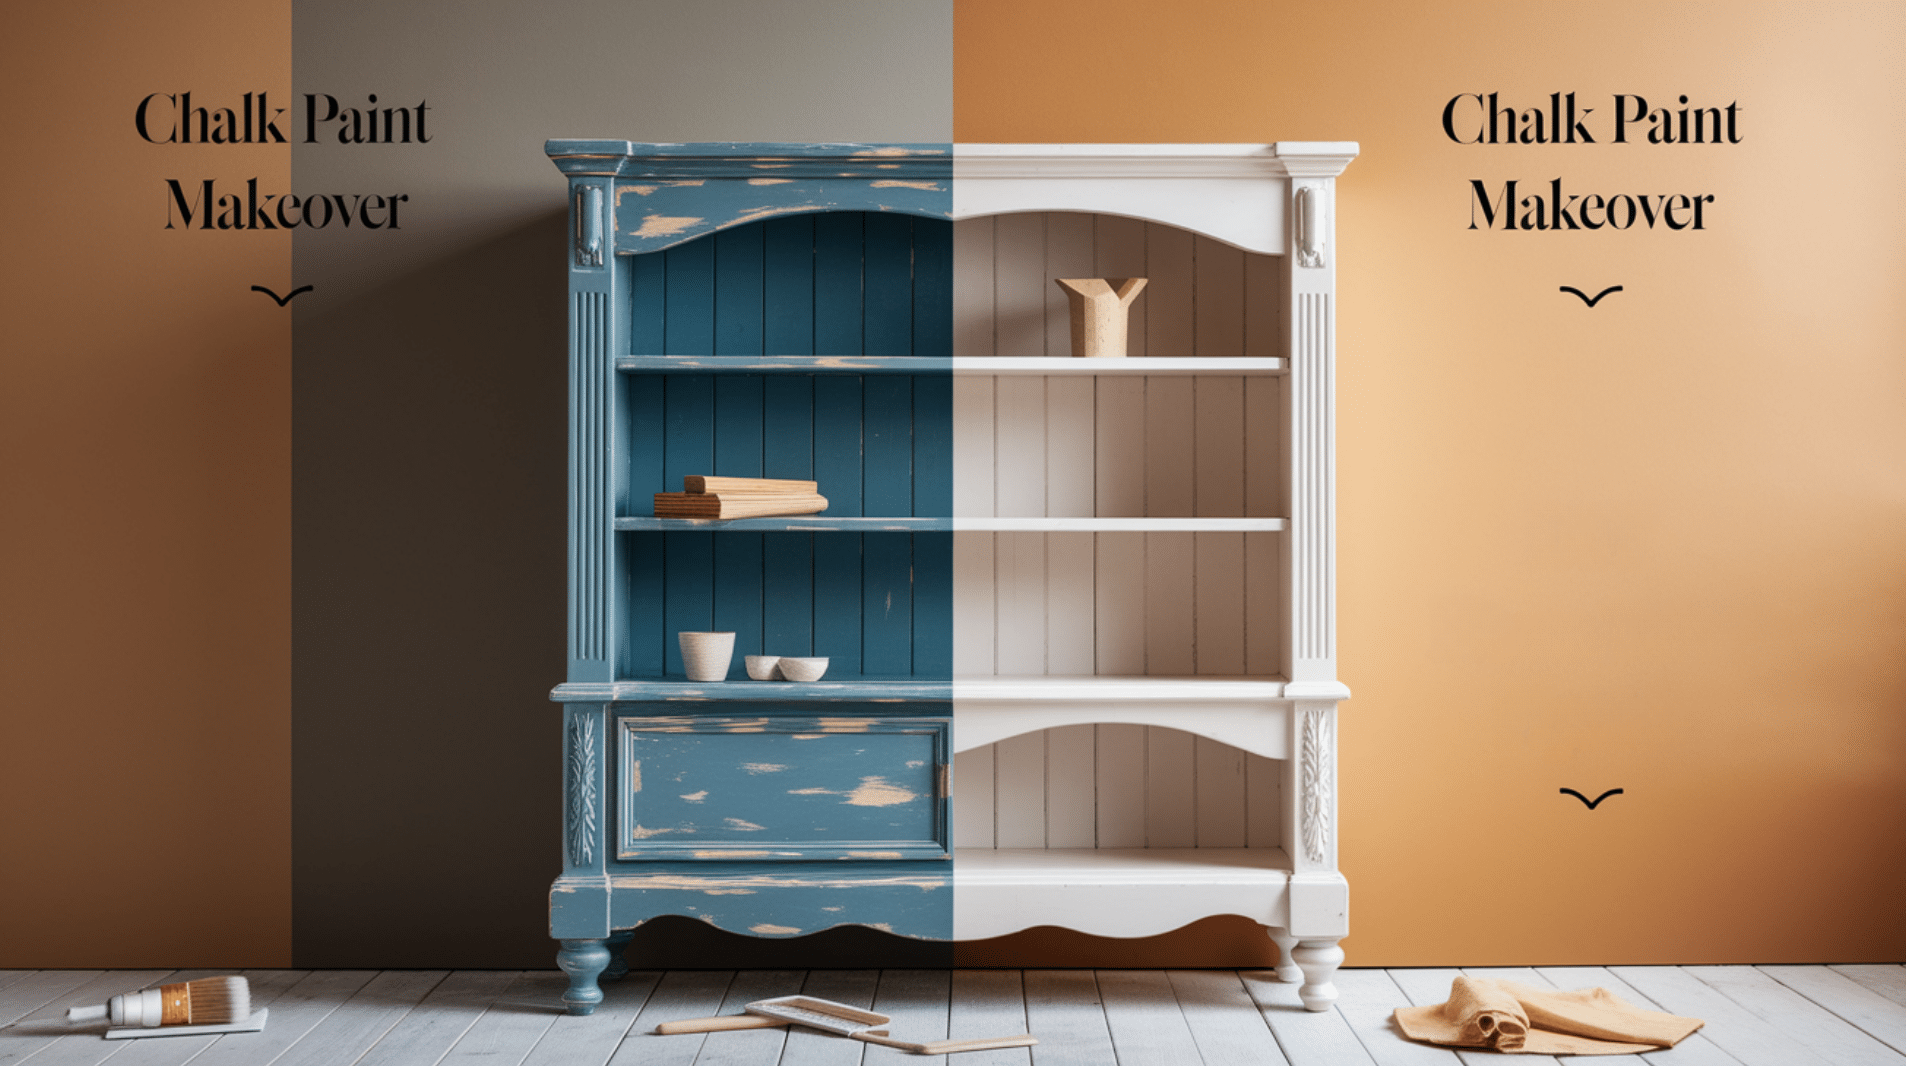
Whether you’re dealing with scratches, stains from daily life, or simply craving a fresh color palette, painting over chalk paint is completely doable. No need to toss that furniture or hire a professional!
I’ve been through this transition myself, and I’m here to tell you it’s easier than you might think. With the right supplies and a bit of patience, you’ll have that piece looking brand new in no time.
Understanding Chalk Paint: The Ex You’re Still Friends With
There’s a reason chalk paint became the darling of the DIY world. That luscious velvety finish gave even boring furniture instant character.
The forgiving application meant even beginners could create beautiful pieces without stressing over brush strokes. And let’s be honest – the minimal prep required was a game-changer for those of us who hate sanding.
But chalk paint has its quirks, especially when you’re ready for something different. That porous, ultra-matte surface that gave it such charm can be stubborn when you want to apply something new.
The chalky texture that looks so sleek can sometimes resist new finishes, leading to peeling or uneven coverage if you don’t prep properly.
Don’t worry, though – your furniture isn’t going to fall apart if you paint over chalk paint.
Despite what some DIY purists might suggest, giving your chalk-painted piece a new look isn’t some kind of restoration sin. It’s your furniture, your home, and completely your choice.
Should You Cover Up That Chalk Paint?
Saying goodbye to chalk paint is about welcoming style evolution while preserving your furniture’s life with a fresh, personalized modification.
If you’re nodding along to any of these scenarios, it’s definitely time for a paint refresh:
Your style has evolved dramatically since your chalk paint phase. That shabby chic dresser now looks completely out of place among your sleek, contemporary pieces. Style evolution happens to all of us!
Daily life has taken its toll on your furniture. Kids have tested their artistic skills on your coffee table, or that white chalk paint now shows every coffee drip and wine spill. Practical concerns are perfectly valid reasons for a refresh.
You’ve simply fallen out of love with the color or finish. Sometimes there’s no deeper reason – you’re just ready for something new. That’s the beauty of paint – it’s one of the easiest ways to convert a space without buying all new furniture.
When to Reconsider Your Paint Plans
Before you grab that paintbrush, pause if:
You’re dealing with a valuable antique that another layer of paint might devalue. Some pieces have historical or monetary value that DIY treatments could compromise. When in doubt, consult with a professional restorer first.
The chalk paint is severely cracked, bubbling, or peeling. These issues indicate deeper problems that may need to be addressed before applying new paint. Sometimes stripping back to the original surface is the better long-term solution.
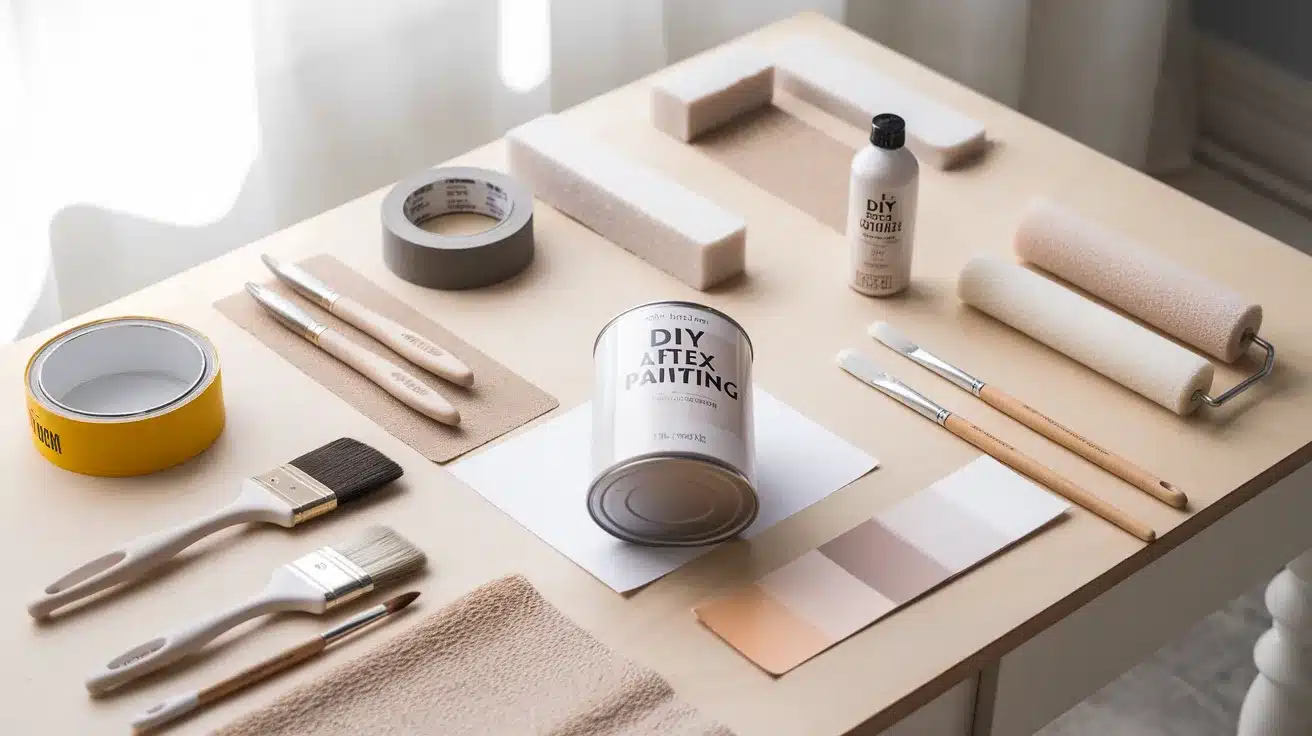
Tools and Materials: What You’ll Need
| Category | Items to Gather | Notes |
|---|---|---|
| For Cleaning | Gentle cleaner (e.g., warm water + dish soap) TSP substitute (for stubborn grime) |
Use gloves and follow safety guidelines when using strong cleaners. |
| For Surface Prep | Medium-grit sandpaper (150–180) Fine-grit sandpaper (220) Sanding block or mouse sander |
Scuff, don’t strip. Texture helps new paint grip. |
| For Protection | Quality painter’s tape | Prevents bleed-through and keeps edges clean. |
| For Perfect Adhesion | Primer suited for your surface (especially if previously waxed) | Primer improves adhesion and coverage – especially critical when changing colors. |
| For the Main Event | Paint (latex, acrylic, or oil-based depending on need) | Choose based on durability and finish: water-based = easy clean-up, acrylic = durable, oil = smooth. |
| For Application | Brushes (synthetic for water-based, natural for oil-based) Foam rollers Paint tray |
Include drop cloths and wear clothes you don’t mind getting messy. |
| For Finishing Touches | Sealer (polyurethane, polycrylic, or furniture wax) | Choose based on the finish and usage level of the piece. |
| Optional but Vital | Snacks | Keep your energy up – painting is hard work! |
The Conversion Process: Step-by-Step
Convert your chalk-painted furniture with methodical preparation, proper techniques, and patience—the formula for professional-quality results every time.
Step 1: Set the Stage
First things first – find a well-ventilated space with good lighting. Remove all hardware if possible (knobs, pulls, hinges) and store them somewhere safe. If hardware can’t be removed, cover it thoroughly with painter’s tape.
Take everything out of the drawers and remove any removable components. Lay down drop cloths to protect your floors – paint has an uncanny ability to find its way to unprotected surfaces!
Step 2: Clean Like You Mean It
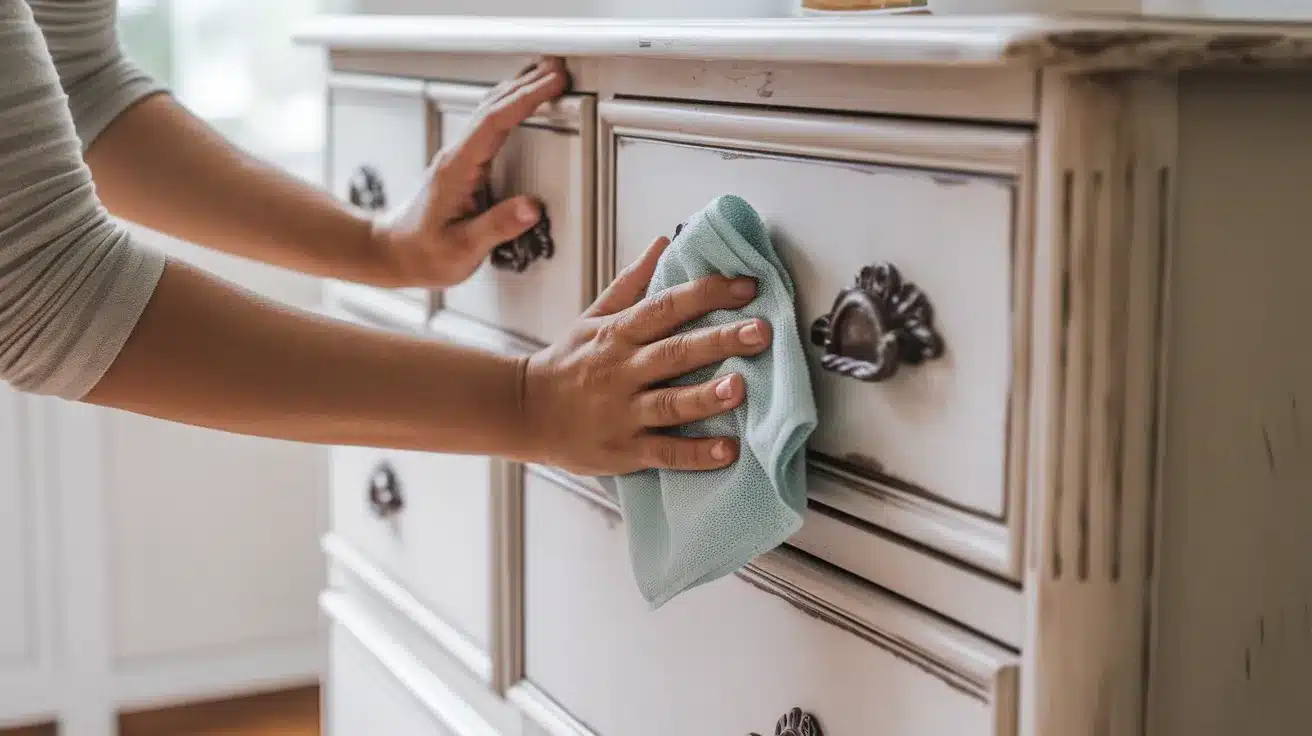
Even surfaces that look clean probably aren’t. Years of fingerprints, dust, and household residues create an invisible film that can prevent proper adhesion.
Wipe down the entire piece with your chosen cleaner, paying special attention to high-touch areas like drawer fronts and table edges. Use an old toothbrush to get into carved details or tight corners. Once cleaned, allow the piece to dry completely – moisture trapped under paint will cause problems later.
Step 3: Create Some Grip
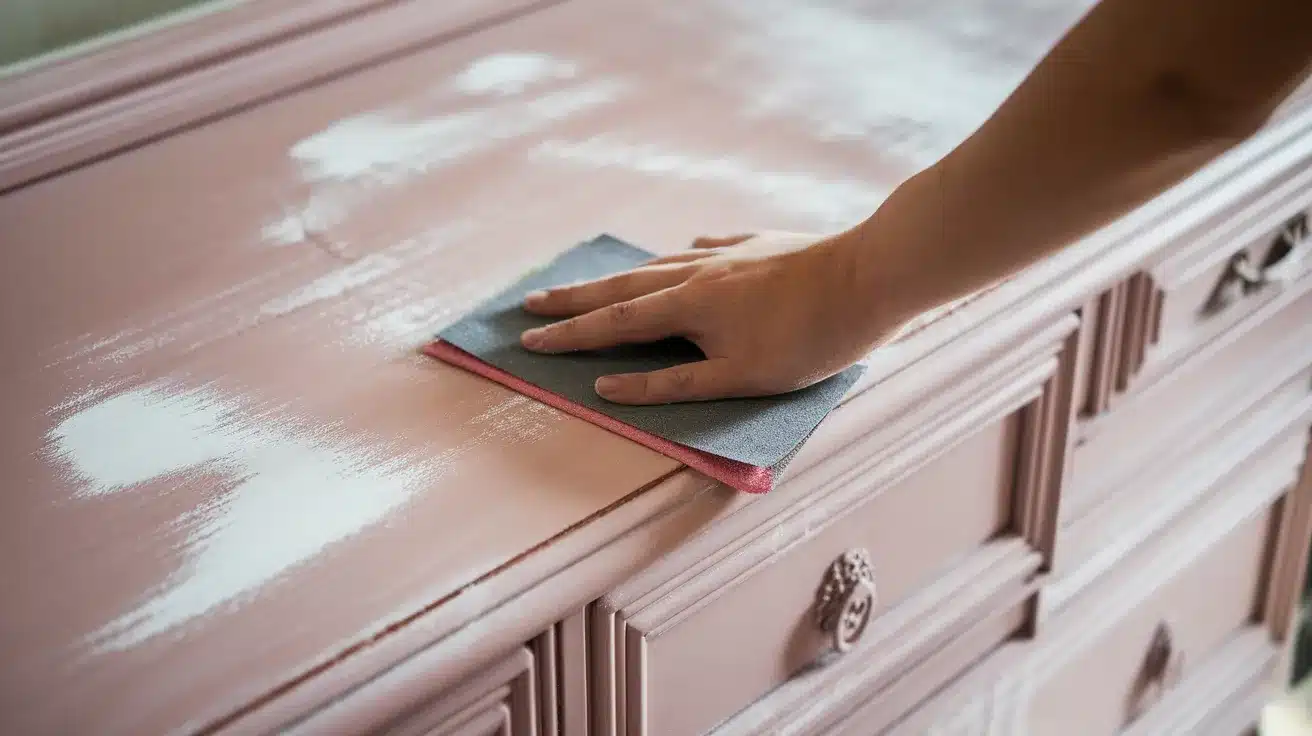
Here’s where you make friends with sandpaper. The goal isn’t to remove all the chalk paint, just to create enough texture for your new paint to grab onto. Focus especially on:
- Any particularly glossy areas
- Spots sealed with wax (which acts as a paint repellent)
- High-wear surfaces like tabletops
Sand gently in the direction of the wood grain when possible. Once you’ve finished, wipe away all dust with a damp cloth and allow to dry completely. This dust removal step is crucial – paint and dust are not friends!
Step 4: Prime for Success (Usually Worth It)
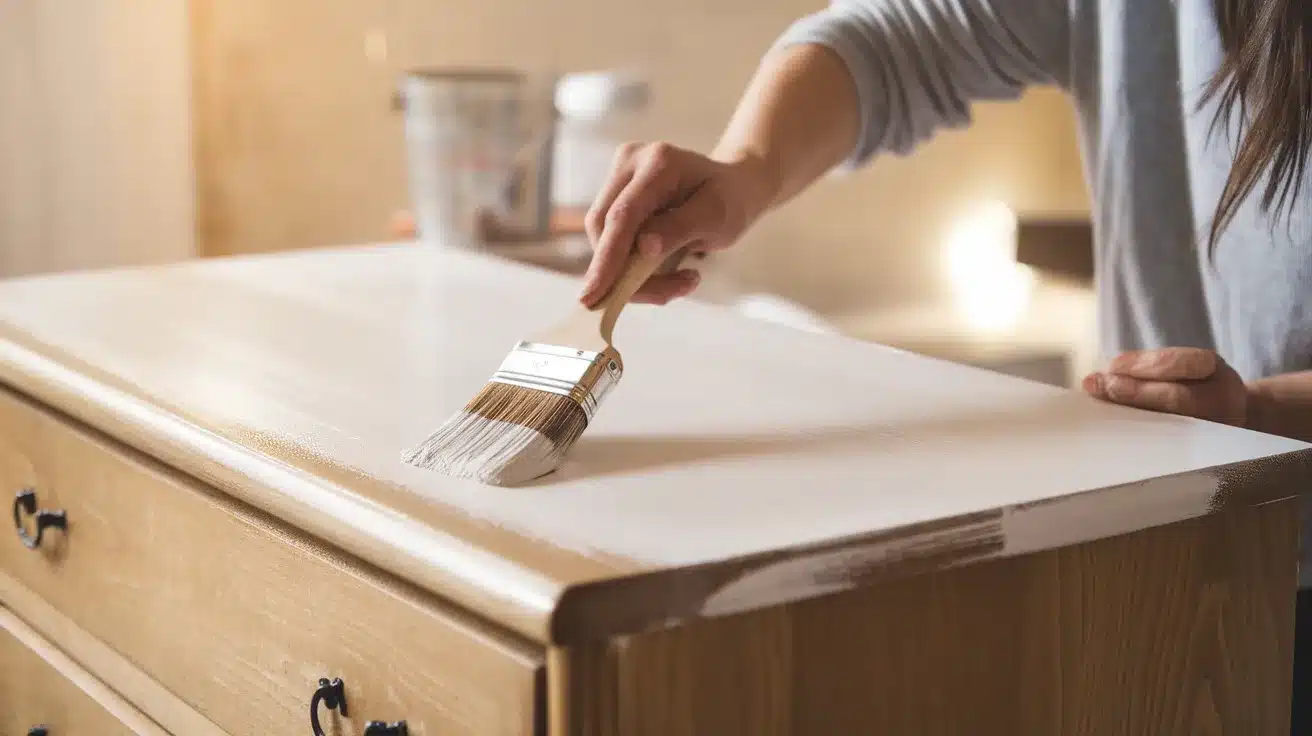
While chalk paint’s claim to fame was “no primer needed,” the reverse isn’t always true. A thin coat of primer creates the perfect canvas for your new paint, especially if:
- You’re making a dramatic color change
- Your chalk paint was sealed with wax
- You want the smoothest possible finish
- You’re using a paint type very different from chalk paint
Apply primer evenly with a brush or roller, following the grain of the wood. Allow it to dry completely according to the manufacturer’s instructions – rushing this step will compromise your final finish.
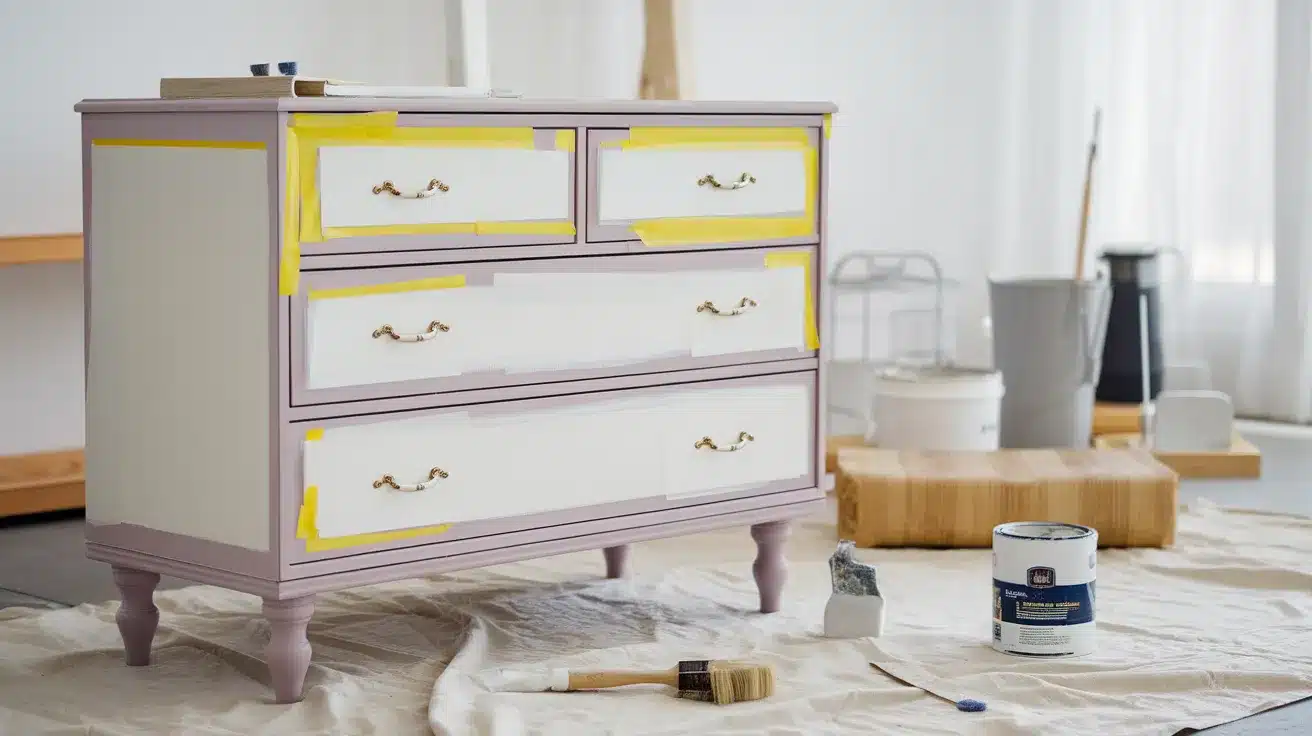
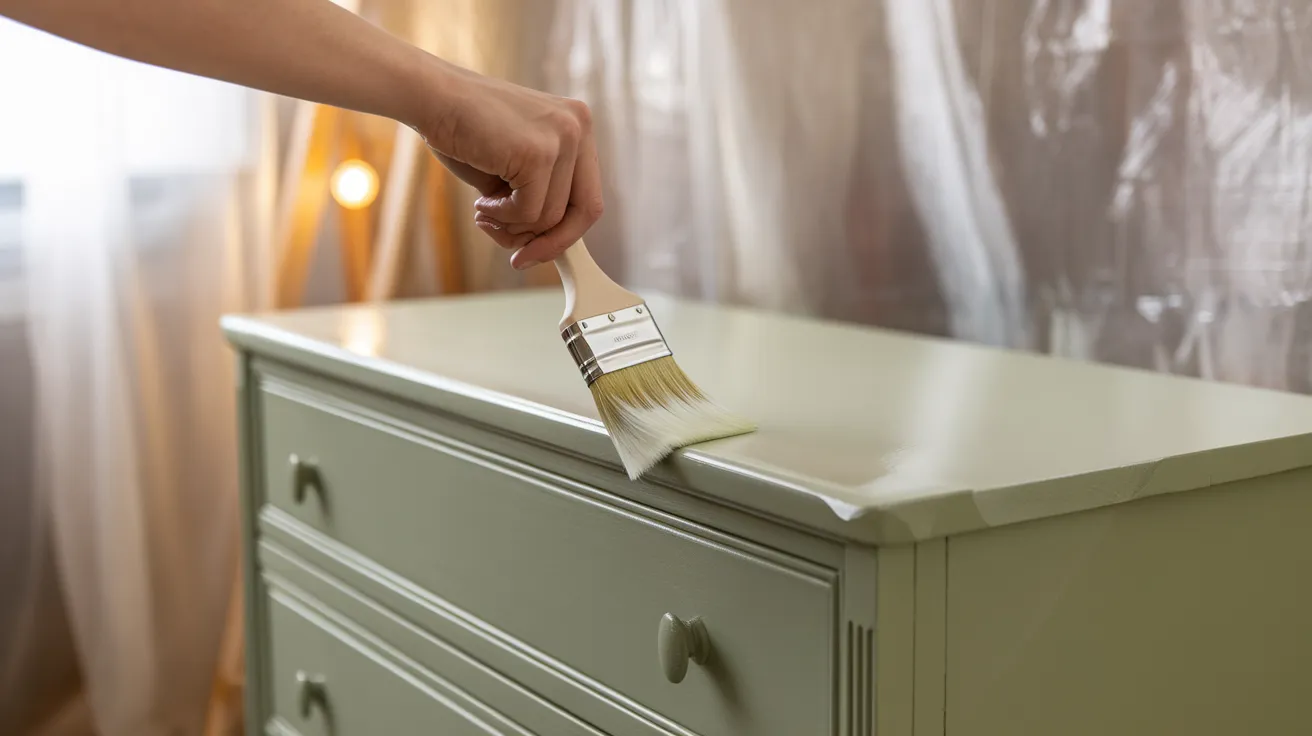
Step 5: Paint with Patience
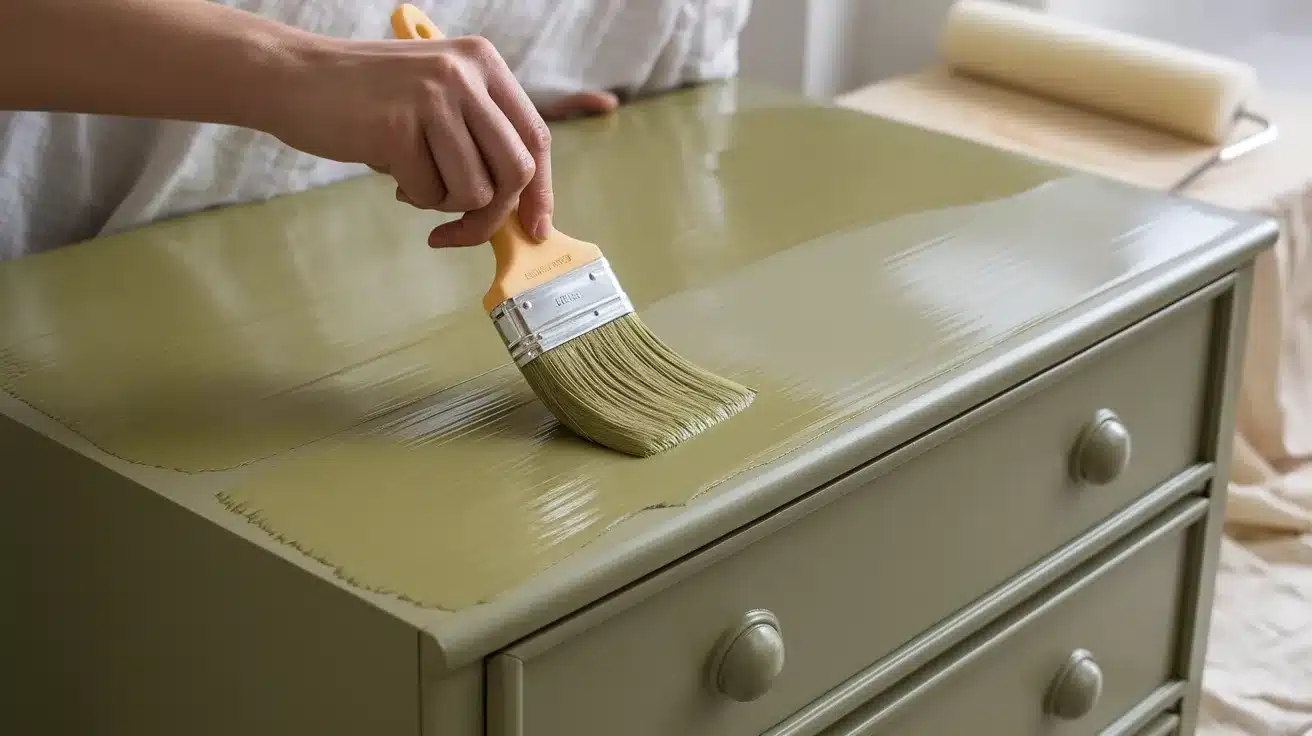
Now for the fun part – adding color! The key to professional-looking results is multiple thin coats rather than one thick one. Work methodically:
- Start with edges and details using a brush
- For larger flat areas, use a roller for smoother coverage
- Maintain a “wet edge” by not letting areas dry before blending into the next section
- Follow the wood grain when possible for the most natural look
Between coats, allow the recommended drying time listed on your paint can. This isn’t just a suggestion – it’s the scientific time needed for proper curing. Use this waiting time to hydrate, stretch, or catch up on your favorite show.
Most pieces need 2-3 coats for perfect coverage, especially if making a dramatic color change. The final coat should be applied with particular care for the smoothest finish.
Step 6: Seal the Deal (For High-Use Pieces)
For items that will see daily use – dining tables, kitchen cabinets, coffee tables – consider adding a protective topcoat. Options include:
- Polyurethane for maximum durability (though it may yellow slightly over time)
- Polycrylic for a clear, non-yellowing finish
- Furniture wax for a softer, hand-rubbed look
Apply according to the product instructions, typically using a clean brush or lint-free cloth. Always test your sealer on an inconspicuous area first to ensure compatibility with your paint.
Step 7: The Patience Game
The hardest part? Waiting for everything to fully cure before putting your piece back into service. Even though paint may feel dry to the touch within hours, full curing can take days or even weeks, especially for oil-based products.
During this time, avoid placing objects on the surface, and be gentle when reattaching hardware. Your patience will be rewarded with a finish that stands the test of time.
Common Pitfalls to Avoid
Even experienced DIYers can run into trouble. Here are the most common mistakes when painting over chalk paint:
- Skipping the sanding step. That light scuffing is critical for adhesion, especially if your chalk paint was sealed with wax. Without it, your new paint may peel off in sheets.
- Applying paint too thickly. It’s tempting to try for one-coat coverage, but thick paint leads to drips, uneven texture, and extended drying times. Thin coats always win.
- Rushing between steps. Each phase needs proper drying time – from cleaning to sanding, dust removal, to primer to paint. Shortcuts lead to long-term problems.
- Using the wrong tools. Cheap brushes shed bristles and leave streaks. Invest in quality applicators appropriate for your paint type.
- Painting in poor conditions. Extreme temperatures or humidity can prevent proper curing. Aim for moderate room temperature and humidity for best results.
Conclusion
Transitioning from chalk paint to something new doesn’t have to be intimidating. With proper preparation and patience, your furniture can enjoy a beautiful second life that fits your current aesthetic.
Remember the key steps: clean thoroughly, create grip with light sanding, prime for adhesion, apply thin coats of quality paint, and allow proper drying time between each phase. For high-traffic pieces, don’t forget that protective topcoat.
What matters most is creating something that brings you joy when you see it. That shabby chic dresser served you well during its chalk paint era – now it’s ready for its next chapter. The beauty of DIY furniture is that it evolves with us, reflecting our changing tastes and styles throughout the years.