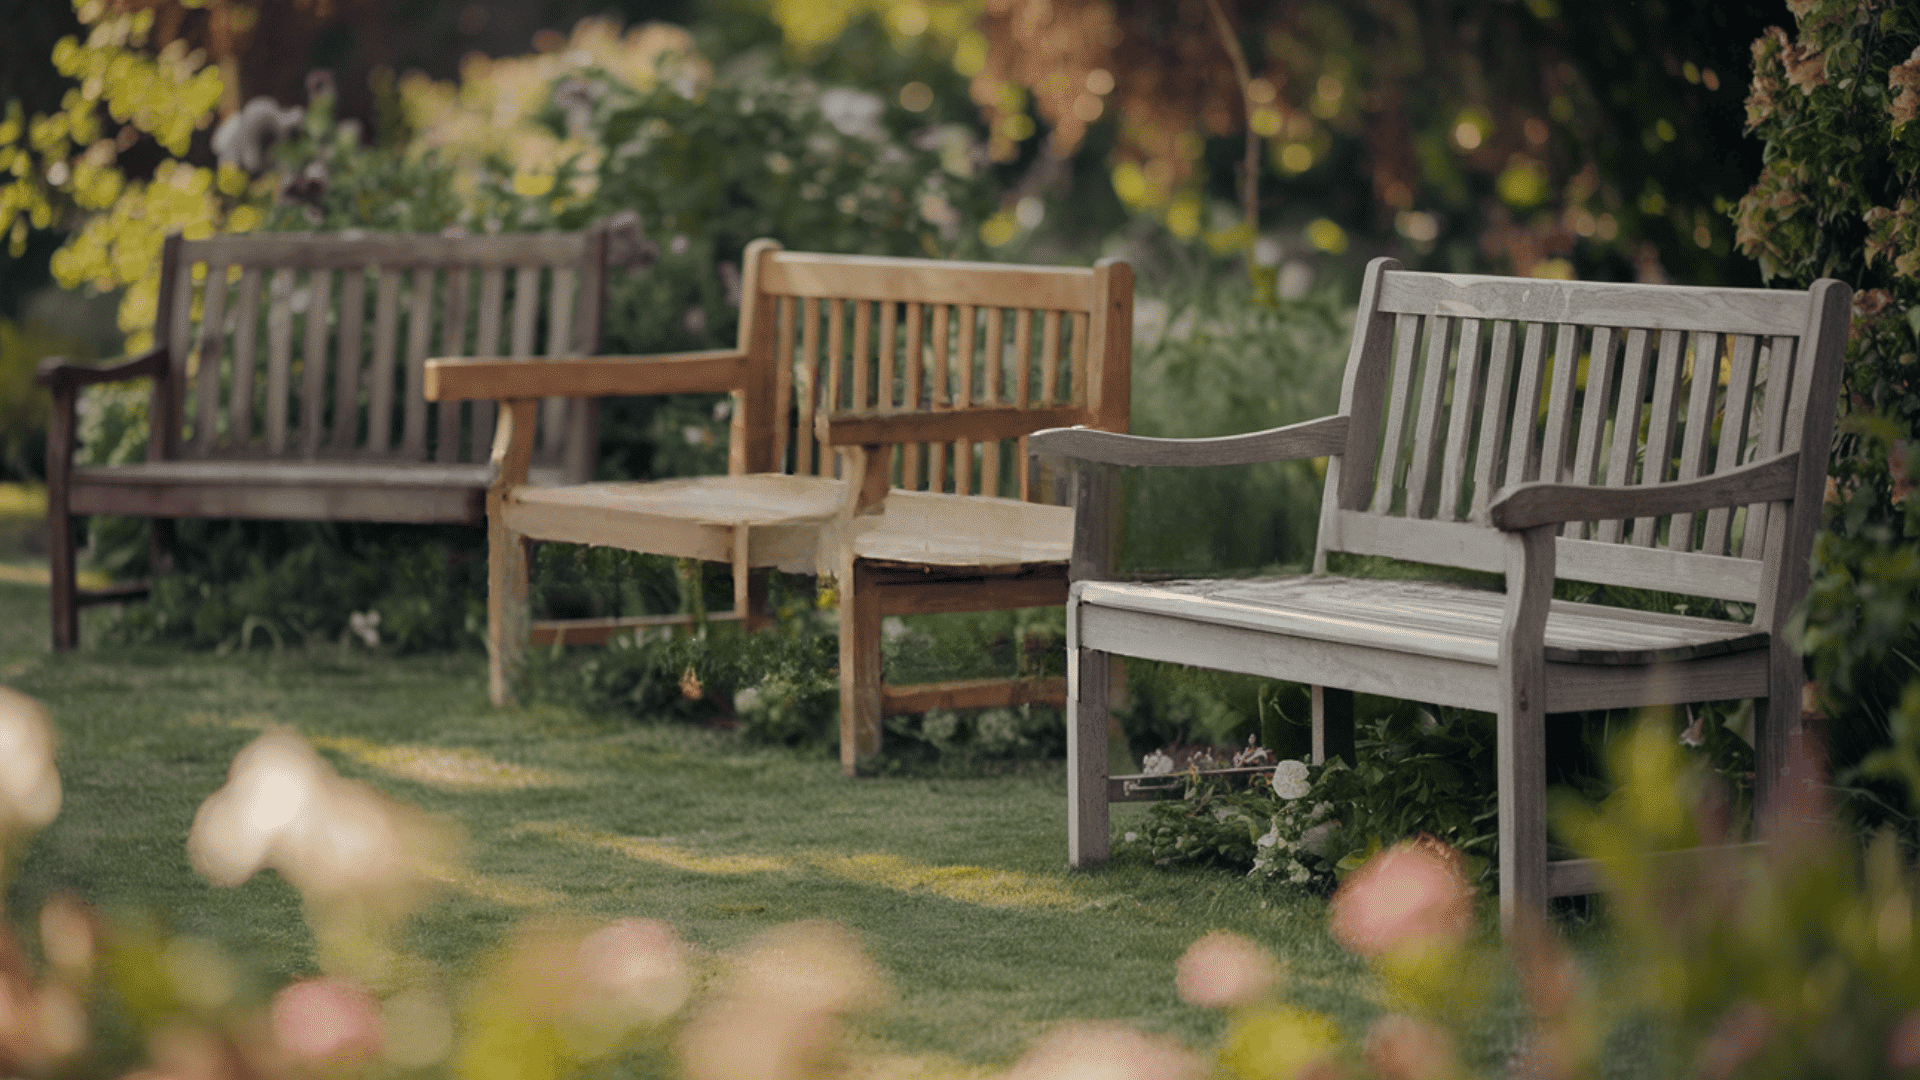
Want to add seating to your outdoors without spending a fortune?
Most outdoor benches cost hundreds of dollars and aren’t built to last. Store-bought options often come with complicated assembly instructions and parts that don’t fit right.
Plus, the materials used in cheaper benches tend to break down after just a few seasons outdoors.
Here’s some good news: You can build a better bench for under $50. This DIY outdoor bench project uses simple materials, basic tools, and clear steps anyone can follow.
The result? A strong, comfortable bench that will last for years in your garden.
Tools and Materials Needed to Make an Outdoor Bench at Home
Essential Materials list
|
Item |
Specifications |
|
2×4 Lumber |
8 feet long |
|
2×6 Lumber |
8 feet long |
|
Wood Screws |
2.5 inches |
|
Wood Stain |
Water-resistant |
|
Sandpaper |
80-grit |
Tools Required
|
Tool |
Notes |
|
Power Saw |
For cutting lumber |
|
Power Sander |
Or sanding block |
|
Drill |
With drill bits |
|
Pocket Hole Jig |
For joints |
|
Measuring Tape |
For precise cuts |
|
Pencil |
For marking |
|
Pipe Clamp |
Helps with assembly |
|
Saw Horses |
Work surface |
|
Paint Brush |
For staining |
Steps to Build DIY Outdoor Bench
Step 1: Cutting the Wood
Start by cutting your lumber pieces to the right sizes.
You’ll need two 52-inch pieces for the seat frame, three 16.5-inch pieces for support, and five 51-inch for the seat boards.
Cut two 24-inch pieces for the front legs and two 32-inch pieces for the back legs.
Make two 22.5-inch cuts for armrests and seven 19-inch pieces for the backrest.
Finally, cut two 6.5-inch pieces for the seat frame. Keep all your cut pieces organized and labeled.
Step 2: Sanding Process
Take your 80-grit sandpaper and smooth all wood pieces.
This step removes splinters and any printed marks on the lumber.
The armrests need extra attention since they’ll have direct hand contact.
Focus on the front edges of the armrests, making them round and smooth for comfort.
Make sure to sand every surface, even the places that won’t show in the final piece.
Step 3: Staining Application
Apply a water-resistant stain to protect your bench from outdoor conditions.
Use a brush to add two complete coats. Cover every surface of each piece, including the end grain.
This step prevents moisture from getting into the wood.
Let each coat dry fully before moving forward. The stain adds both protection and a nice color to your bench.
Step 4: Building the Seat Frame
Start assembly with the seat frame.
Take your two 52-inch boards and three 16.5-inch boards.
Make pocket holes on both ends of the shorter boards.
Connect these pieces to form a rectangle.
A pipe clamp can help hold everything in place while you work. Add the 6.5-inch pieces for extra support.
Make sure all joints are tight and secure.
Step 5: Installing Seat Boards
Place the five 51-inch boards across the frame with half-inch gaps between them.
Pre-drill your holes and countersink them for a clean look.
Keep all screw lines straight for a professional finish.
Use a scrap piece of wood as a spacer to maintain even gaps. Attach each board firmly to the frame.
Step 6: Adding Legs and Armrests
Attach the 24-inch front legs to the 22.5-inch armrests.
Make sure the smooth, rounded edge of the armrest faces forward. Leave a 1.5-inch overhang on the armrest.
Set the legs 13 inches below the seat frame.
Check that everything is square before securing. Install the 32-inch back legs, keeping them 13 inches below the seat and 6.5 inches above the armrest.
Step 7: Creating the Backrest
Take your seven 19-inch pieces and add pocket holes to one side only.
Mark spaces on your 2×6 board, starting with 3.5 inches for legs, then 2-7/16 inches between each backrest piece.
Attach the pieces to the 2×6, leaving the outside spots open for the legs.
Make sure all spacing is even and pieces are straight.
Step 8: Final Assembly
Add pocket holes to the top of the back legs.
Place the backrest section on top, lining up the edges with the legs. Clamp everything in place and secure it.
Install two screws through each backrest piece into the seat frame.
For finishing touches, stain any exposed wood from drilling to prevent moisture damage.
Your outdoor bench is now complete and ready for outdoor use.
The entire project uses basic tools and materials, making it perfect for a weekend project.
The finished bench offers comfortable seating with good back support and armrests for relaxation.
Check out this video for a detailed video on How to Build an outdoor Bench under 50$ by Outdoor Beards:
Helpful Tips for Building Your Outdoor Bench
1. Planning Tips
Before hammering away, sketch your bench design on paper. This helps you see what you’re aiming for. Buy more wood than you think you need – trust me, cutting mistakes happen!
Look for straight lumber without warps. Pick a stain that can withstand rain and sun while matching your yard. Set aside a full weekend for this project.
2. Cutting and Assembly Tips
Always check your measurements twice before cutting. Keep a small piece of wood as a spacer between seat boards. Drill pilot holes first to stop wood splitting.
Make your screws line up neatly. Check that legs sit square, and keep leg height at 13 inches for all corners.
3. Finishing Tips
Sand all pieces before you put them together – you’ll thank yourself later. Pay close attention to armrests since that’s where hands rest. Stain every part, even the bits no one sees.
Let each coat dry fully. Don’t forget to stain those pocket holes to keep all wood safe. Make sure all screws are tight before sitting.
4. Maintenance Tips
Cover your bench when not in use. Give it a fresh coat of stain each year.
Check and tighten screws now and then. Clean it often to keep dirt away. Bring it inside during bad weather if you can.
Conclusion
Building your own outdoor bench brings satisfaction beyond saving money.
This simple weekend project shows that woodworking doesn’t require years of expertise.
Each step – from cutting the lumber to adding the final touches of stain – builds your DIY skills and confidence.
You’ve now learned how to create a comfortable, sturdy bench that fits your outdoor space. The basic tools and materials make this project accessible to any skill level.
Remember to take your time with measurements and sanding for the best results.
Ready to start building? Print out the materials list and measurements, gather your supplies, and set aside a weekend.


