Tired of dropping hundreds on outdoor furniture that falls apart after one season?
I’ve cracked the code with this ridiculously simple deck bench design! Imagine altering a handful of 2x4s and deck boards into a sturdy, eye-catching bench with a backrest that your neighbors will swear came from a high-end store.
The secret? My modular frame system utilizes identical parts and common angles that snap together effortlessly, ensuring a seamless assembly process. I’ve designed it so one 2×4 creates an entire frame section, talk about budget-friendly!
Whether you need a sprawling 6-footer for family gatherings or a cozy chair for your morning coffee spot, this versatile project scales to fit your space perfectly.
Ready to build something awesome this weekend that won’t empty your wallet?
Step-by-Step Guide to Make a Deck Bench with Backrest
Tools Needed:
| Tool | Description |
|---|---|
| Saw | Likely a miter saw for cutting the 2x4s with the necessary 105-degree bevels |
| Drill/Driver | Implied tool used for driving screws to assemble the frames |
| Measuring Tools | Implied tools used for ensuring accurate cuts (27.5 inches for the backrest) |
Materials Needed:
| Material | Description |
|---|---|
| 2×4 Lumber | Used for creating the frame sections (legs, seat support, and back support) |
| Deck Boards (1-inch thick, “five quarter”) | Used for the seating surface and backrest |
| Screws | Used for fastening components together (implied) |
Step 1: Gather Materials and Plan
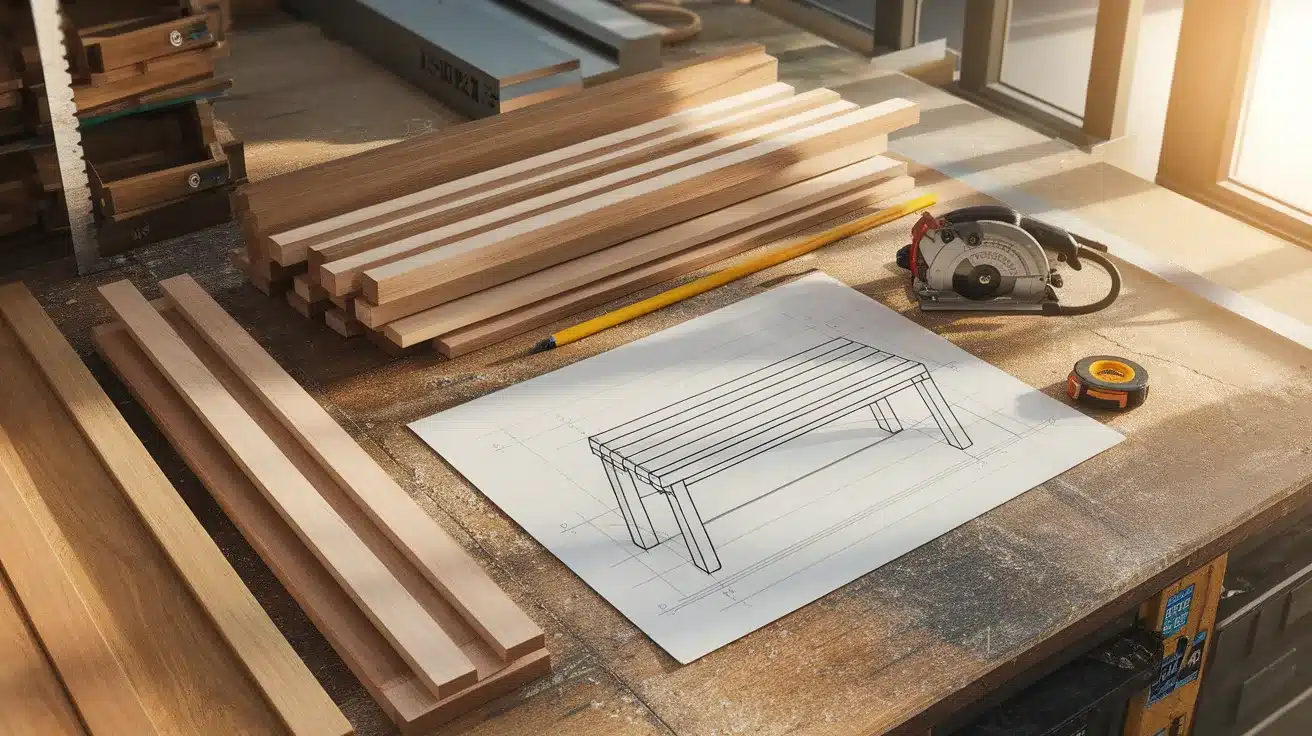
Start by gathering your materials: 2×4 lumber for the frames and 1-inch-thick deck boards for the seating surface. This modular design allows one 2×4 to create a complete frame section.
For a standard 6-foot bench, you’ll need three frame sections (requiring three 2x4s), while a 4-foot bench needs just two. The beauty of this design lies in its scalability; you can even build a single chair using two 2x4s and one deck board. Sketch your dimensions before cutting to ensure efficient material use.
Common Mistake: Purchasing materials without planning the exact dimensions, leading to waste.
Pro Tip: Draw your bench on paper with measurements to calculate precise material needs.
Step 2: Cut Frame Pieces

Begin by cutting your 2x4s into three main sections for each frame: the bottom piece, the front angled piece, and the seat support section. Ensure all pieces are the same length initially.
The demonstration used a backrest height of 27.35 inches, which creates a comfortable, lower-profile seat while maximizing material usage.
When cutting multiple frames, organize your pieces by section to keep track of what you’ve completed. This preparation stage lays the foundation for a smooth assembly process later.
Common Mistake: Inconsistent measurements between frame sections, creating a wobbly final product.
Pro Tip: Create a cutting template or set up stop blocks on your saw for perfect consistency across all frames.
Step 3: Add Bevels to Frame Pieces
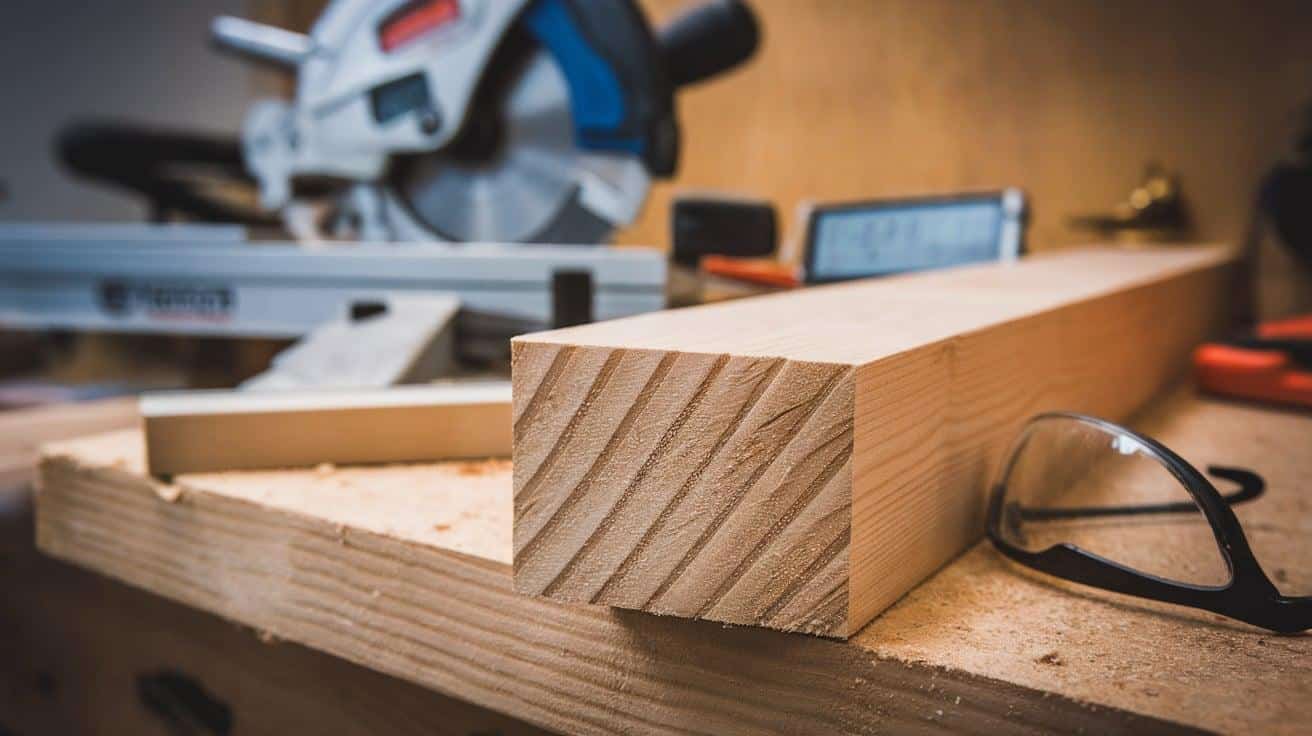
After cutting your frame pieces to length, add 105-degree bevels to the ends. These specific angles are crucial as they create the correct tilt for comfortable seating while ensuring structural integrity.
Take your time with these cuts since they determine how well your frame pieces fit together. The bevels should be angled inward toward the ends of each piece.
This is where precision matters most; even small angle variations can affect how your bench sits and feels.
Common Mistake: Cutting bevels at incorrect angles, making frame assembly nearly impossible.
Pro Tip: Make one test frame first to verify angles before cutting all your pieces.
Step 4: Cut Support Pieces
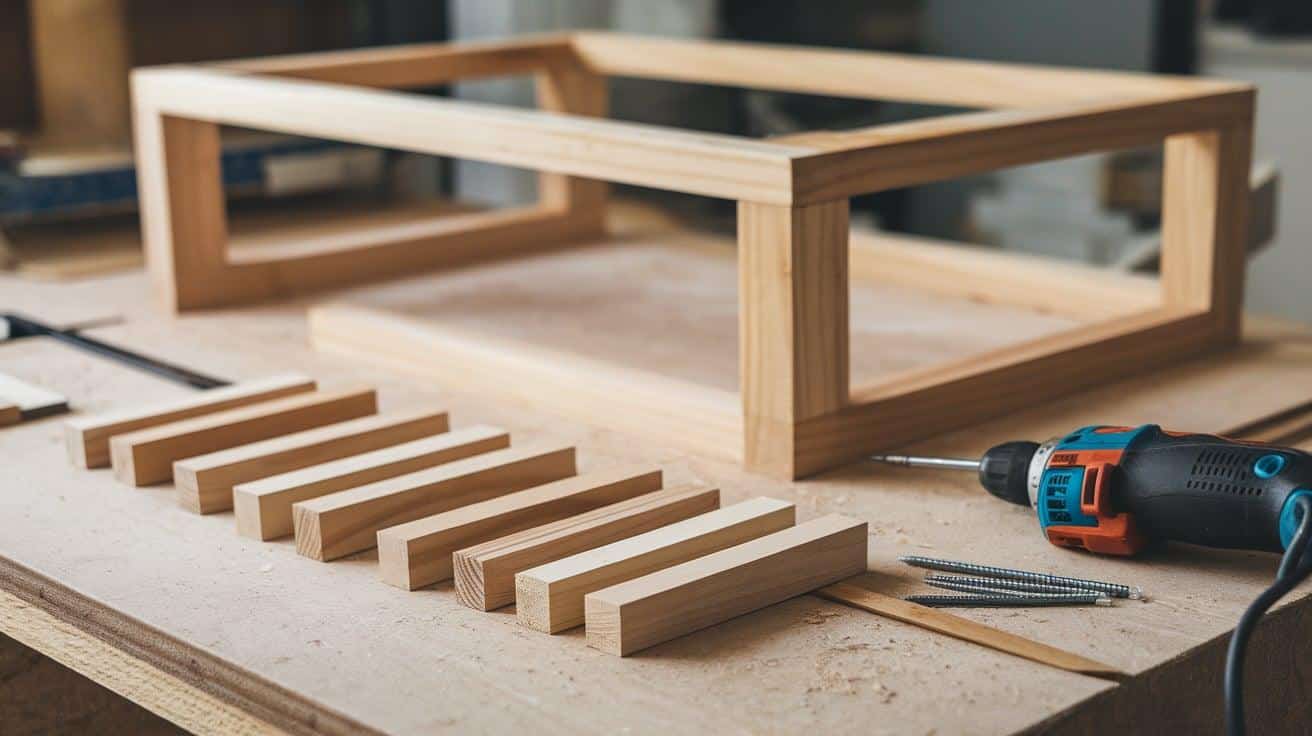
Create support pieces to strengthen the interior structure under the seat. Position the front leg pieces about an inch inward from the edge for improved stability and weight distribution.
These support pieces may seem minor, but they’re essential for preventing wobble and ensuring your bench lasts for years.
The design efficiently utilizes materials, allowing you to create these support pieces from the same 2x4s used for your frame sections.
Common Mistake: Skipping or improperly positioning support pieces, resulting in a bench that feels unstable.
Pro Tip: Use scraps from your main cuts for these supports to minimize waste and maintain consistent wood grain.
Step 5: Assemble Frame Sections
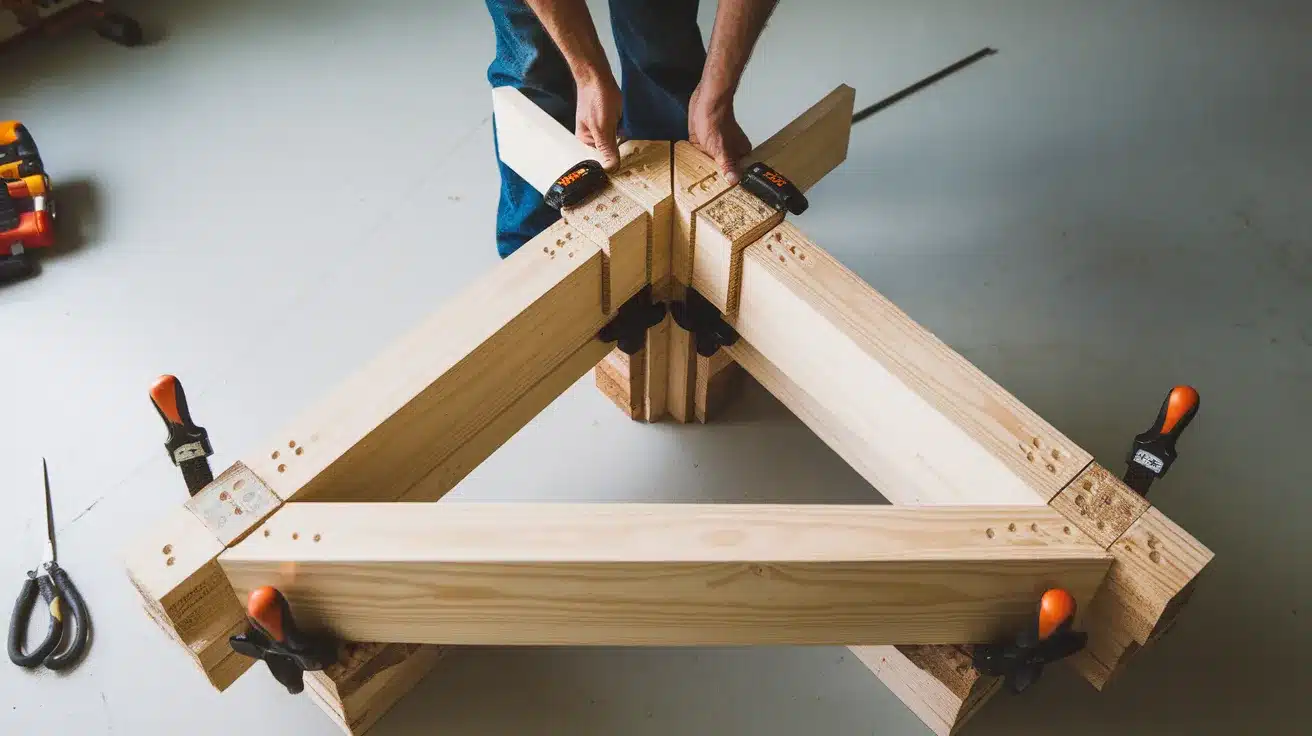
Connect all your beveled pieces to form complete frame sections, making sure everything aligns properly before securing with screws.
Each frame should have a sturdy triangular shape, with 105-degree angles that create the proper seating posture.
Test the stability of each frame on a flat surface before proceeding. Once you’ve verified one frame works perfectly, repeat the process for the remaining frames, using your first as a template.
Common Mistake: Rushing assembly without checking alignment, resulting in twisted or uneven frames.
Pro Tip: Pre-drill screw holes to prevent splitting the wood and ensure stronger connections between pieces.
Step 6: Attach Deck Boards
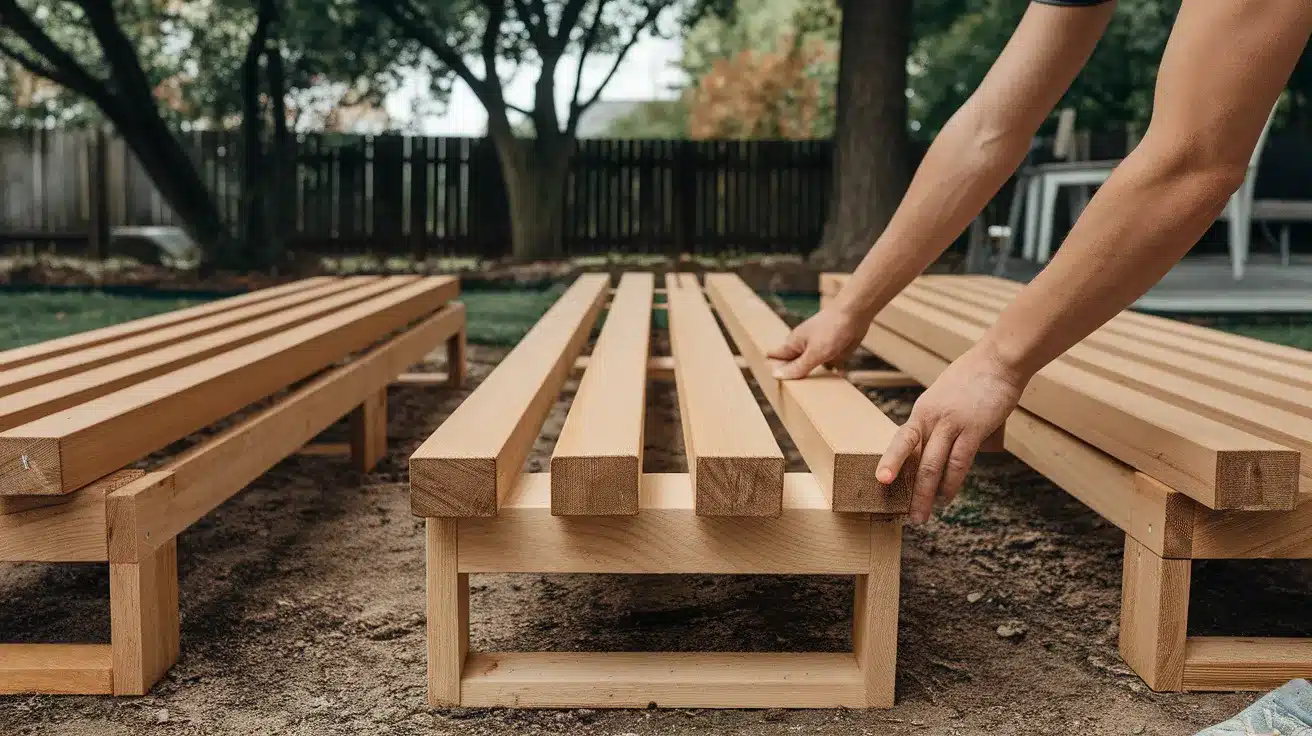
Take your assembled frames outside and position them evenly spaced for your desired bench length. For a 6-foot bench with three frames, use 10-foot deck boards across the top for seating and along the back for the backrest.
This creates a comfortable seating surface while providing excellent support.
The 1-inch-thick deck boards are ideal as they’re designed to withstand outdoor conditions and provide adequate comfort without excessive weight.
Common Mistake: Attaching boards without proper spacing, which causes water pooling and accelerated deterioration.
Pro Tip: Use a short section of deck board as a spacer between boards for perfect, consistent gaps every time.
Step 7: Final Adjustments and Finishing
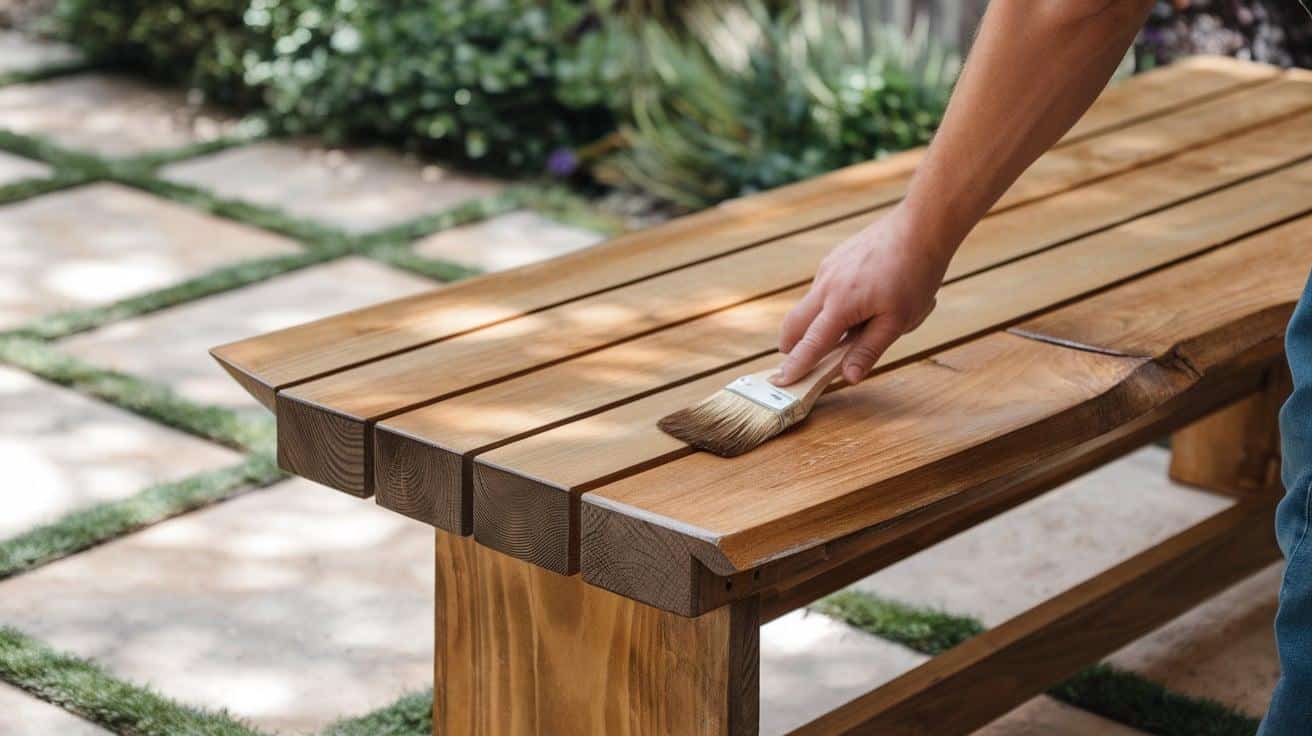
With all components assembled, check that your bench sits level and make any necessary adjustments. Test the bench by sitting on it to ensure it’s comfortable and has no wobble.
Consider adding a finish to protect your wood; an outdoor-rated stain or sealer will dramatically extend the life of your bench.
This simple yet effective design allows for customization based on your needs and space, whether for a patio, garden, or deck area.
Common Mistake: Skipping the finishing step significantly reduces the bench’s lifespan outdoors.
Pro Tip: Sand all edges before finishing to prevent splinters and create a more professional-looking final product.
Customization Ideas: Make That Bench Uniquely Yours!
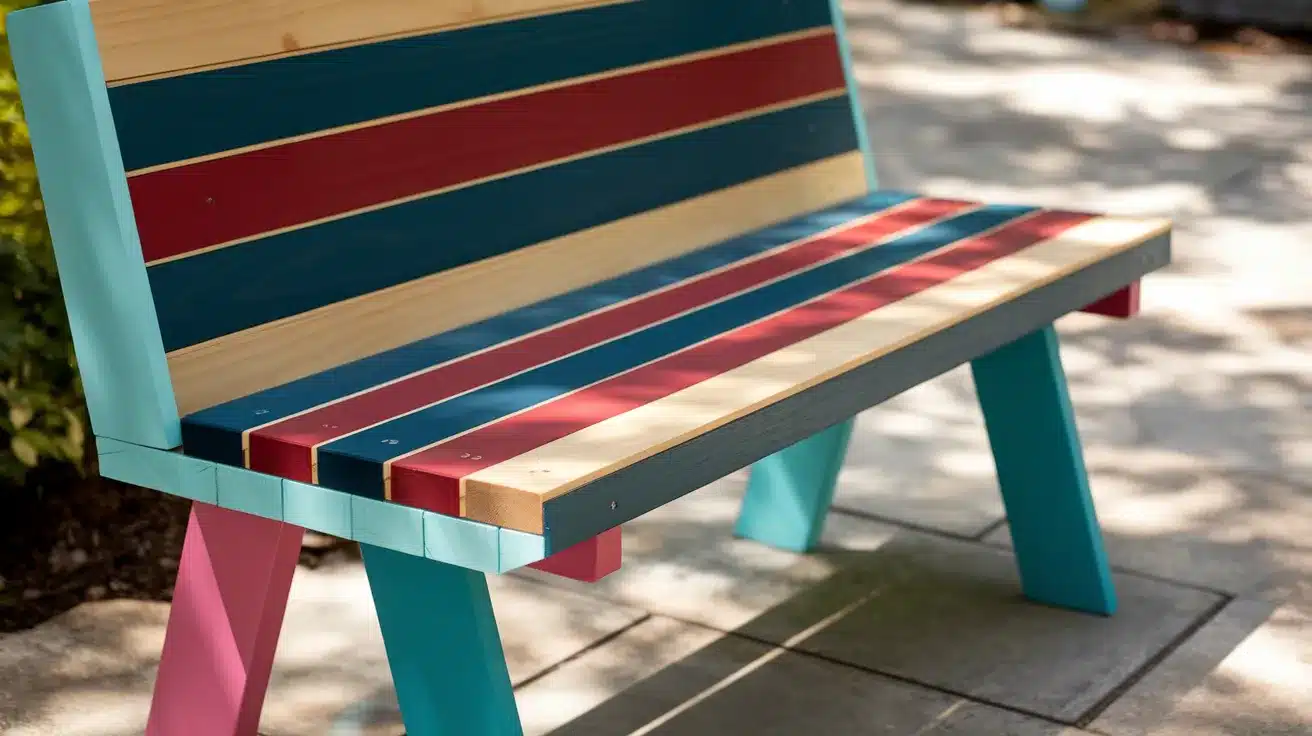
1. Color Accents That Pop- Dip just the bottom 4 inches of each leg in bright teal for an eye-catching “dipped” effect. Try alternating colored deck boards for a striped seating surface that stands out. Paint only the inside edges of the frame for a subtle color reveal that surprises guests.
2. Lighting That Sets the Mood- Mount battery-powered LED strips under the seat lip for a floating glow effect. Drill 1-inch holes in the backrest and insert solar-powered garden lights for a starry pattern. Add motion-sensor strips that illuminate when someone approaches a practical and impressive addition.
3. Personalization That Tells Your Story- Burn your family name into the center backrest board using a $20 wood-burning kit. Create a template and spray-paint your favorite quote along the front edge. Embed bottle caps, poker chips, or beach glass in epoxy on the armrests for conversation starters.
4. Bonus Pointer – Turn the space between frame sections into subtle storage by adding small baskets that slide underneath, perfect for gardening tools or outdoor reading materials.
Want even more creative styles? Explore Deck Seating Reinvented: 17 Bench Ideas That Work to see options from wraparound benches to built‑in planters.
Maintenance & Care: Keep Your Bench Fantastic
Got five minutes and a garden hose?
That’s all it takes to keep your handcrafted bench looking showroom-fresh! After summer barbecues or bird-bombing missions from above, a quick spray-down with mild soap and water works wonders. Skip the pressure washer, though it’ll strip away your hard work faster than my neighbor Dave strips paint (don’t ask).
Here’s my secret weapon: mark your calendar for “Bench Day” once a year. Grab a cold drink, smooth out any rough spots that have developed, and apply a fresh coat of finish.
I use this annual ritual to inspect for any screws playing hide-and-seek or boards trying to make a break for it. Fifteen minutes of maintenance saves hours of rebuilding later!
Once your bench is built, don’t forget the comfort—Sit in Style: Craft Your Own DIY Bench Cushion walks you through making the perfect outdoor cushion.
Conclusion
There you have it, a simple yet sturdy deck bench that proves great outdoor furniture doesn’t require complicated plans or expensive materials.
With just a few 2x4s, deck boards, and basic tools, you’ve created a versatile seating solution that can adapt to any space.
What makes this project special is that the modular frame design allows you to scale up or down based on your needs.
Remember, the beauty of DIY furniture isn’t just saving money, it’s about creating something perfectly suited to your space. Next weekend, why not grab those tools and build your custom bench?
Whether it’s for your deck, garden, or patio, you’ll enjoy both the building process and the years of comfortable outdoor seating that follow.
Frequently Asked Questions
1. How Deep Should a Bench with A Back Be?
For a comfortable deck bench with backrest, aim for a seat depth of 16-20 inches.
2. How Thick Should Wood be for a Bench Seat?
For a bench seat, use wood that’s at least 1 inch thick. Deck boards (five-quarter or 1-inch thick) provide good strength without excessive weight.
3. What Angle Should the Bench Be for the Back?
For a comfortable bench back, use a 105-degree angle between the seat and backrest.