Struggling to achieve a smooth, lasting finish on stained wood?
Uneven layers, trapped dust, or sticky residue often turn a simple project into a headache. Whether refinishing furniture or crafting a new piece, applying polyurethane doesn’t need to feel overwhelming.
This guide simplifies the process: learn to prep surfaces for optimal adhesion (sanding tips included), choose between water-based polyurethane for clarity or oil-based for warmth, and apply thin, even coats using proper brush techniques.
Prioritize safety by laying used rags flat to dry, preventing combustion risks. With these steps, you’ll create a durable, glossy finish that resists scratches and moisture while enhancing your project’s natural beauty. Redesign stained wood into a polished, professional result—no expertise required.
Why Use Polyurethane Over Stained Wood?
Stained wood might look beautiful, but it’s fragile. Without protection, spills seep into the grain, sunlight fades colors, and scratches leave permanent marks. Polyurethane acts like invisible armor, keeping your project safe while letting the wood’s natural beauty shine.
It locks in the stain’s color, preventing fading or yellowing over time. Spills? Wipe them away without worrying about stains. Scratches? The poly layer takes the hit, not your wood. Humidity and temperature changes can warp untreated wood, but polyurethane stabilizes it, reducing cracks and splits.
Polyurethane adds durability to high-traffic spots like tables or floors. It’s the difference between a piece that lasts years and one that wears out in months. Plus, you get to choose the finish—matte for subtlety, glossy for shine, or satin for balance.
Steps to Apply Polyurethane to Stained Wood
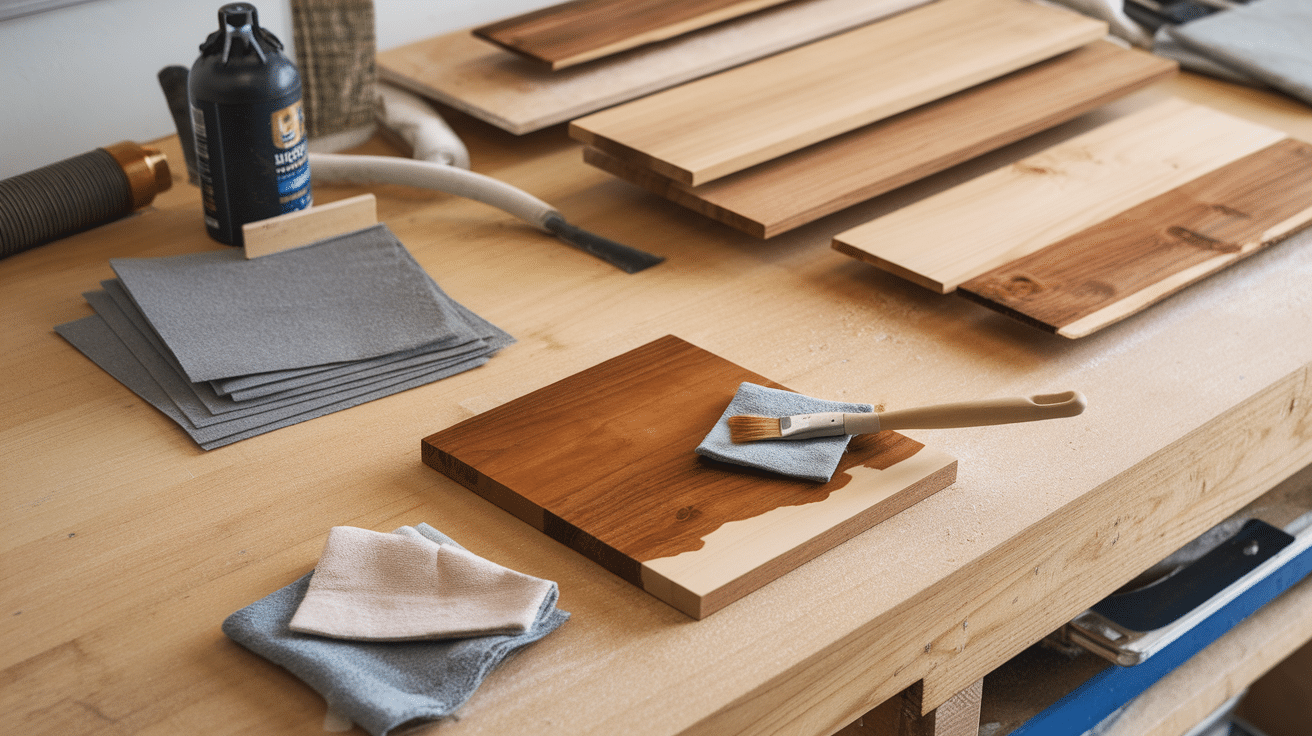
First, gather these essential tools and materials required to apply polyurethane to stained wood:
Materials Required:
| Items | Purpose |
|---|---|
| Oil-based wood stain | Add color to the wood. |
| Disposable gloves | Protect hands from stains and chemicals. |
| Mineral spirits (for oil-based poly) or water (for water-based poly) | Clean brushes and tools. |
| Water-based or oil-based polyurethane | Protect stained wood and add durability. |
| Stir stick (plastic or wood) | Mix polyurethane without creating bubbles. |
| steel wool | Buff the final coat for a silky feel (optional). |
| Drop cloths or plastic sheeting | Protect the workspace from spills and drips. |
Tools Required:
| Items | Purpose |
|---|---|
| Sandpaper (120 to 220 grit) | Smooth the wood surface before staining and finishing. |
| Tack cloth or compressed air | Remove sanding dust for a clean surface. |
| Sanding block or orbital sander | Ensure even sanding and reduce fatigue. |
| Lint-free cloths or foam brushes | Apply stain evenly. |
| Fireproof container or open-air space | Safely dry used stain rags to prevent combustion. |
| Synthetic brushes (water-based) or natural bristle brushes (oil-based) | Ensure smooth application without streaks. |
| 220-grit sandpaper | Smooth imperfections between coats. |
Before you start, make sure of these few points :
-
Work in a dust-free, well-ventilated area.
-
For water-based polyurethane, lightly sand after the first coat to address raised grain.
-
Store brushes in water (water-based) or mineral spirits (oil-based) between coats to keep them usable.
Step 1: Prepare the Wood & Apply Stain
Sand thoroughly: Start with coarse grit (e.g., 120) and progress to 220-grit sandpaper, following the wood grain. Remove all dust with a tack cloth or compressed air.
Stain application: Use an oil-based stain for even absorption. Apply with a cloth or brush, working with the grain. Let it penetrate for 10–15 minutes, then wipe off excess. Allow 24 hours to dry.
Test first: Check stain color on scrap wood to avoid surprises.
Step 2: Choose Polyurethane & Prioritize Safety
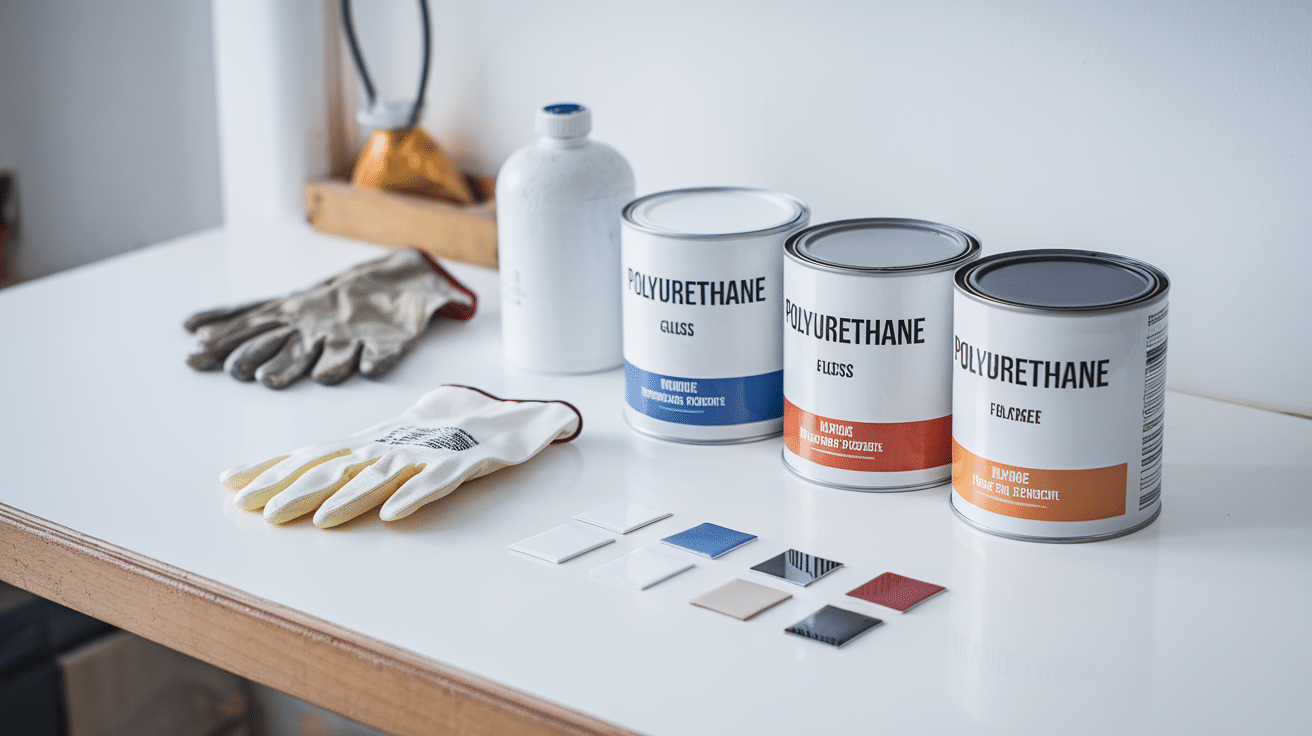
Type selection:
- Water-based: Clear finish, quick drying, easy water cleanup (may raise wood grain).
- Oil-based: Warm amber tint, durable, requires mineral spirits for cleanup.
Sheen options: Select satin, semi-gloss, or gloss based on desired shine.
Safety: Lay oil-stained rags flat outdoors to dry before disposal to prevent combustion.
Step 3: Apply the First Coat of Polyurethane
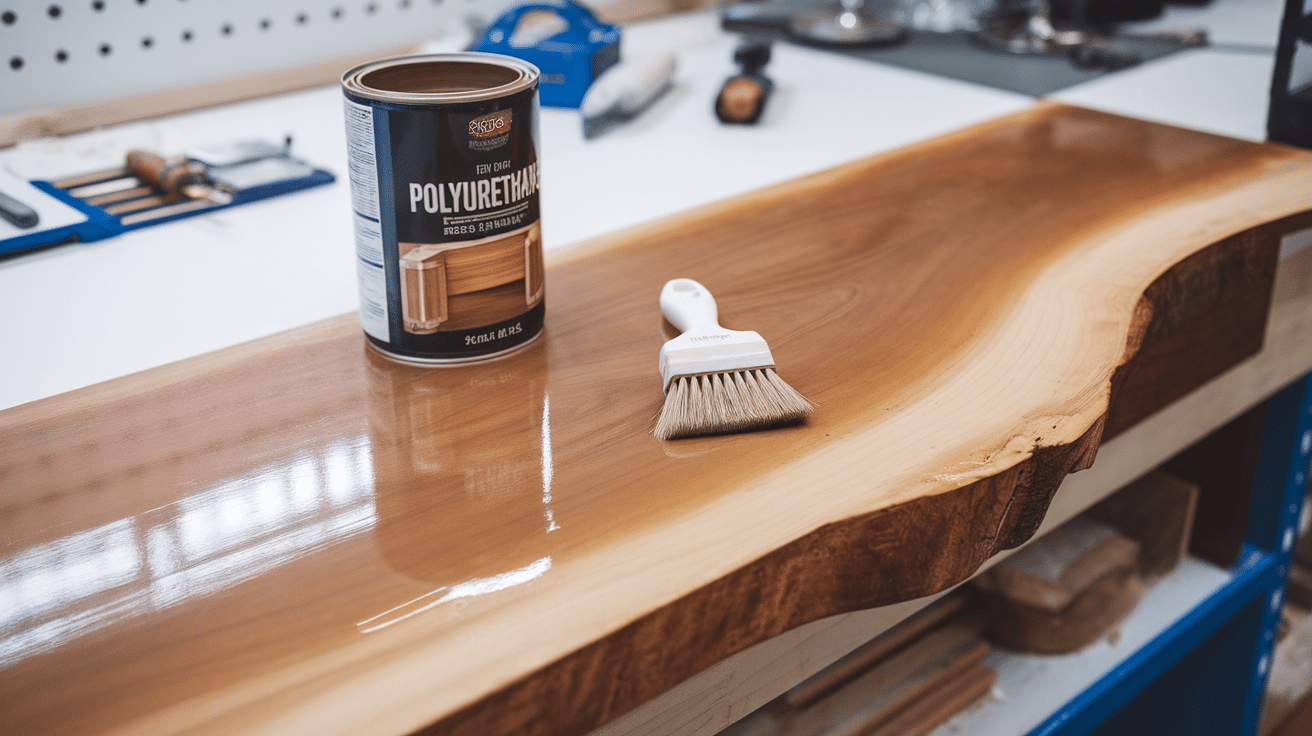
Prep the finish: Stir (do not shake) polyurethane gently to avoid bubbles.
Brush technique: Use a synthetic brush for water-based or a natural bristle for oil-based. Apply thin, even coats in the direction of the grain.
Avoid drips: Check edges and corners for pooling. Smooth out the excess immediately.
Dry time: Let dry 2–4 hours (follow product instructions).
Step 4: Sand Between Coats & Build Layers
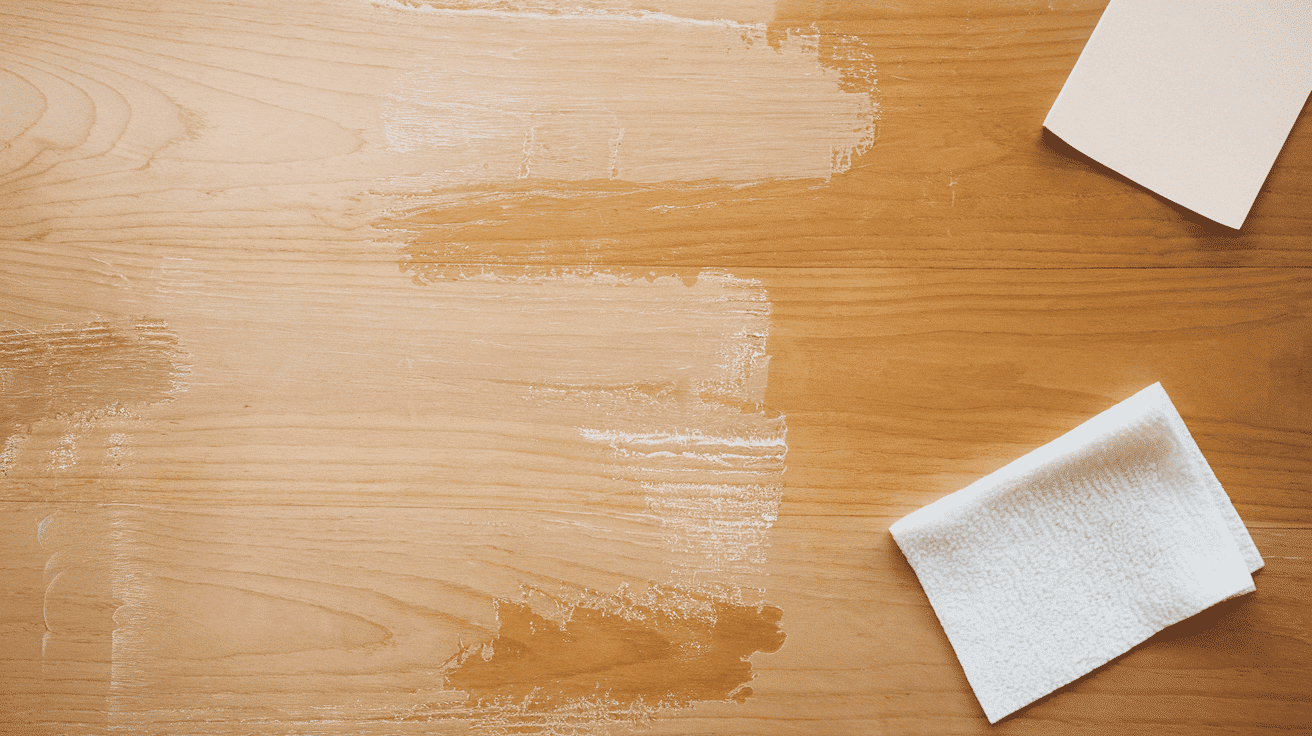
Light sanding: After each coat dries, use 220-grit sandpaper to lightly smooth imperfections. Sand only in the grain direction.
Clean surface: Wipe away dust with a tack cloth before reapplying.
Repeat: Apply 2–3 thin coats for durability. More coats enhance protection and sheen.
Step 5: Final Inspection & Long-Term Care
Check finish: After the final coat dries (24–48 hours), inspect for smoothness. Buff gently with steel wool if needed.
Benefits: Polyurethane seals wood against humidity, prevents warping, and resists wear.
Maintenance tips: Clean with a damp cloth; avoid harsh chemicals. Store brushes in water (water-based) or mineral spirits (oil-based) between coats.
I’d like to give credit to Stone & Timber Shop Class for their informative video, which served as a reference for this guide.
Tips to Maintain Your Polyurethane Finish
-
Clean Gently: Wipe surfaces with a soft, damp cloth and mild soap. Avoid abrasive cleaners or scrubbing pads, which can scratch the finish.
-
Protect from Scratches: Use coasters, placemats, or felt pads under heavy decor to prevent gouges. Lift objects instead of dragging them across the surface.
-
Limit Sun Exposure: Prolonged UV rays can fade or yellow the finish. Position furniture away from direct sunlight, or use curtains/blinds to diffuse harsh light.
-
Reapply as Needed: High-use areas (e.g., tabletops) may require a fresh coat every 2–3 years. Lightly sand and apply polyurethane to restore protection.
-
Avoid Moisture Traps: Wipe spills immediately to prevent watermarks. For kitchen or bathroom pieces, ensure proper ventilation to reduce humidity buildup.
-
Inspect Regularly: Check for wear, cracks, or peeling. Address minor issues early with spot repairs to avoid extensive refinishing later.
Common Troubleshooting Polyurethane Issues
1. Bubbles in the Finish
Cause: Shaking the can or over-brushing.
Fix: Stir polyurethane gently; apply thin coats with a high-quality brush. Sand lightly and recoat if bubbles form.
2. Brush Marks or Streaks
Cause: Using a low-quality brush or applying too thickly.
Fix: Opt for synthetic brushes (water-based) or natural bristles (oil-based). Maintain a wet edge by brushing in one direction.
3. Dust Nibs
Cause: Dust settling on wet finish.
Fix: Work in a clean area, use a tack cloth before coating, and sand imperfections between layers.
4. Uneven Drying
Cause: Humidity or temperature extremes.
Fix: Apply polyurethane in a climate-controlled space (65–75°F). Follow product drying-time guidelines.
5. Tacky or Sticky Surface
Cause: Insufficient drying time or high humidity.
Fix: Allow extra drying time between coats; use a dehumidifier if needed.
6. Discoloration Over Time
Cause: UV exposure (oil-based poly yellows; water-based stays clear).
Fix: Use UV-resistant polyurethane for sun-exposed pieces.
Conclusion
Applying polyurethane to stained wood is a straightforward process when you follow key steps. Start by preparing the surface with proper sanding and dust removal, ensuring the stain adheres evenly.
Choose between water-based polyurethane for clarity or oil-based for warmth, and apply thin layers with a quality brush to avoid streaks. Lightly sand between coats for a smooth finish, and always handle used rags safely to prevent hazards.
This method not only improves your project’s appearance but also shields it from daily wear and moisture. Whether you’re working on furniture or decor, these practices ensure lasting results without complexity.
Ready to try it? Experiment on scrap wood first to refine your technique. For more insights, browse our related guides on wood finishing. Share your finished projects in the comments—we’re excited to see what you create!
Frequently Asked Questions
How Long Should Wood Stain Dry Before Applying Polyurethane?
Allow 24–48 hours, depending on stain type (oil-based dries slower) and humidity. Verify dryness by touching an inconspicuous area—no tackiness or residue. Always follow manufacturer recommendations.
How Do You Get the Smoothest Polyurethane Finish?
Sand lightly with 220–320-grit between coats; wipe dust with a tack cloth. Apply thin, even layers. For a glass-like finish, use wipe-on polyurethane or polish the final coat with steel wool.
What Is the Best Method for Applying Polyurethane?
Use a high-quality brush (natural bristle for oil-based, synthetic for water-based) or foam pad. Maintain a wet edge, follow the grain, and apply thin coats. Stir gently to avoid bubbles.
What Is the Weakness of Polyurethane?
Susceptible to visible brush marks, bubbles if overworked, and yellowing (oil-based). Less durable than epoxy in high-traffic areas. Water-based poly may raise the wood grain initially.