Want to print your photos on fabric? You don’t need special paper or fancy equipment. This simple method lets you create custom fabric prints at home. Many people think fabric printing requires expensive tools or professional help. That’s not true.
You can make beautiful fabric prints using items you likely have in your house. This method works well for t-shirts, tote bags, pillowcases, and other fabric items. It’s perfect for making personal gifts or adding unique touches to your home decor.
In this guide, we’ll provide step-by-step instructions for transferring pictures onto fabric without paper. You’ll also learn about the supplies you need, the best fabrics, and tips for getting clear, long-lasting results.
Let’s start making your fabric printing ideas come true.
Understanding Image Transfer Basics
Moving pictures to fabric might seem hard, but it’s simpler. The process uses basic items and creates lasting results on many types of cloth.
Why Opt Out of Using Transfer Paper?
Cost savings make paper-free transfers smart. Transfer paper can cost $15-20 per pack, while basic household items work just as well. You’ll save money and get similar results.
Common items like wax paper or freezer paper work perfectly for transfers. You probably have these in your kitchen right now. These materials stick well to fabric and help create clear images.
How Does Image Transfer to Fabric Work?
The transfer process relies on simple science. When you apply heat and pressure to certain materials, they bond with fabric fibers. This creates a lasting bond that keeps your image in place.
The process works by moving ink from one surface to another. Heat opens fabric fibers, letting the ink settle deep into the material. As it cools, the image becomes part of the fabric.
Choosing Your Image and Fabric Wisely
Black-and-white photos often work better than color ones. Simple designs with clear lines show up best on fabric. Avoid images with tiny details—they might not transfer clearly.
Cotton works best for image transfers. Its natural fibers hold ink well and can handle heat. Light-colored fabrics show images more clearly than dark ones. Make sure your fabric is clean and free of wrinkles before starting.
Step-by-Step Guide: Adding an Image to a T-Shirt Without Transfer Paper
Materials Needed
You’ll need these items to start your project:
- One plain white cotton T-shirt
- A wooden board for support
- Your chosen photo (printed in mirror image using a laser printer)
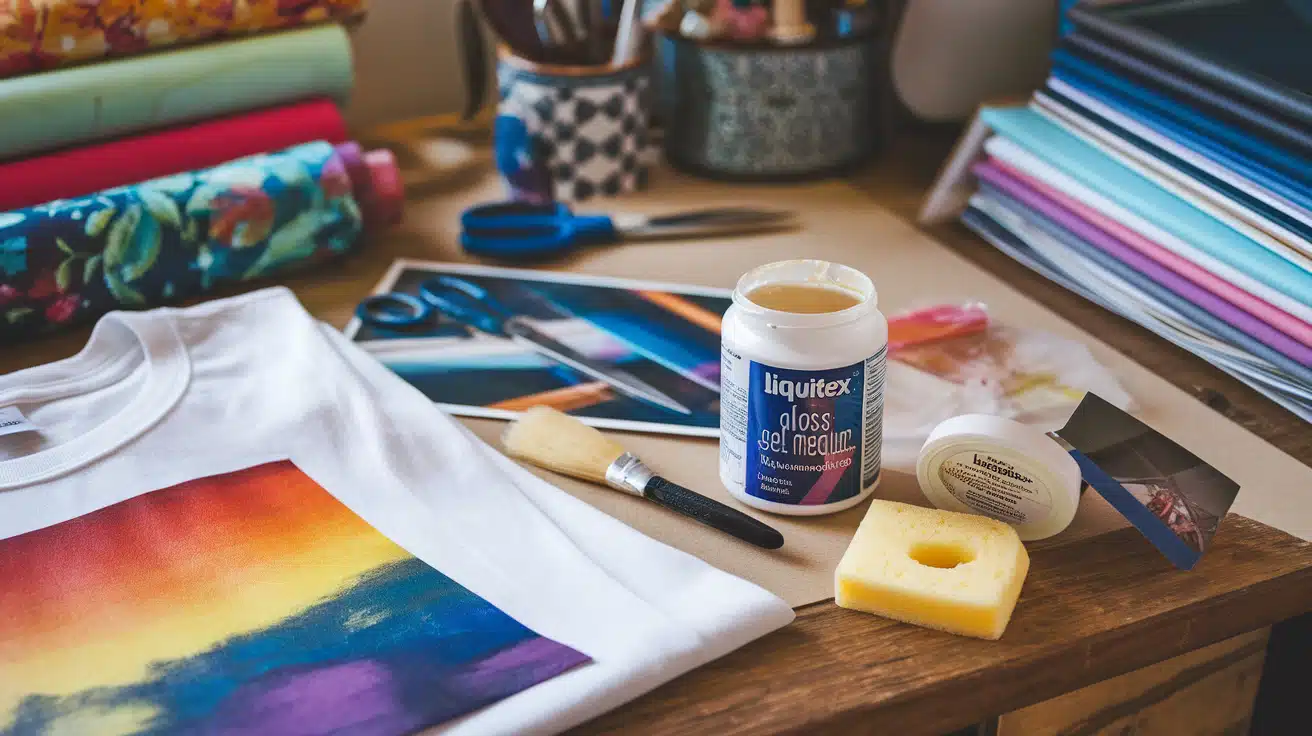
- Liquitex gloss gel medium
- A clean sponge brush
- Fabric scissors
- Two clothes – one wet, one dry
Step 1: Preparation Steps
First, slide the wooden board inside your T-shirt. This creates a firm surface for working. Put scrap paper under your work area to keep things clean and tidy.
Step 2: Applying the Gloss Gel
Take your sponge brush and spread the Liquitex gloss gel medium on your printed photo. Make steady strokes in one direction. Add enough gel to coat the entire image surface evenly.
Step 3: Transferring the Image
Put your photo face down on the T-shirt, with the gel side touching the fabric. Press gently across the paper to remove air pockets. Let everything sit still for 5-6 hours.
Step 4: Removing the Paper
After drying, wet your cloth and press it on the paper. The paper will start to soften. Roll the paper off with your fingers. Work slowly to keep the image intact.
Step 6: Finishing Touches
Use your wet cloth to clean off tiny paper bits. Dry the area with your clean cloth. Add one more thin coat of gloss gel to protect your image. Wait a few more hours until completely dry.
Step 7: Decorating Options
Make your project special by adding the following:
- Iron-on letters
- Fabric patches
- Quotes written with fabric pens
- Decorative trims
Step 8: Final Assembly
Check that all parts are firmly attached. Make sure the edges lie flat against the fabric. Let your creation dry fully before wearing or washing.
Video Tutorial
Watch the full YouTube video tutorial:
Troubleshooting Common Issues
1. Resolving Incomplete Transfers
Your image transfer might show gaps or missing parts. This usually means the gel medium wasn’t applied evenly. You can fix this by adding more gel to the weak spots. Remember to press firmly when smoothing out your image.
A flat, stable surface helps prevent transfer gaps. The fabric must stay completely still until the process ends.
2. Preventing Image Smudging or Blurring
Good results start with proper printing. Always use a laser printer for crisp images. Keep your work surface clean, and your hands dry throughout the process.
When you apply the gel, use steady, even strokes in one direction. Once you place your image on the fabric, avoid shifting or moving it.
3. Avoiding Fabric Damage
Start with a test patch on a small area of your fabric. This helps you learn the right amount of pressure and gel to use. Too much gel can soak and stain your fabric. When removing the paper backing, work slowly and gently. Each layer needs time to dry properly before you continue.
Creative Project Ideas to Try
Transforming Home Décor
Your home can display special moments through fabric art. Create throw pillows with treasured photos. Design placemats showing favorite vacation spots. Turn blank wall space into a gallery with fabric photo prints. Make your dining table special with custom-printed runners.
Making Personalized Clothing
Plain clothing becomes special with personal touches. Tote bags come alive with pictures of beloved pets. Children’s artwork makes perfect decorations for kitchen aprons. Jackets gain meaning with transferred photos. Family events feel more special with matching custom shirts.
Crafting Gifts and Keepsakes
Handmade gifts carry extra meaning when they include personal photos. Memory quilts tell family stories through pictures. Baby blankets become treasures with printed birth information. Wedding presents feel more personal with pictures of the happy couple.
Family reunion mementos last longer as fabric art.
Conclusion
Moving pictures onto fabric opens up new ways to save and share memories. This simple method puts the power of fabric printing in your hands. You can create lasting images on almost any cloth surface with basic household items and patience.
The steps we shared help you print photos without special paper or tools. This method works well because it relies on basic items you might already own. Remember to take your time with each step, especially when applying gel and removing paper.
Your fabric prints can turn everyday items into meaningful keepsakes. From t-shirts to wall art, each piece tells a story. The skills you learned here will help you make special gifts and items that last. The possibilities for creating unique fabric prints are yours to explore.


