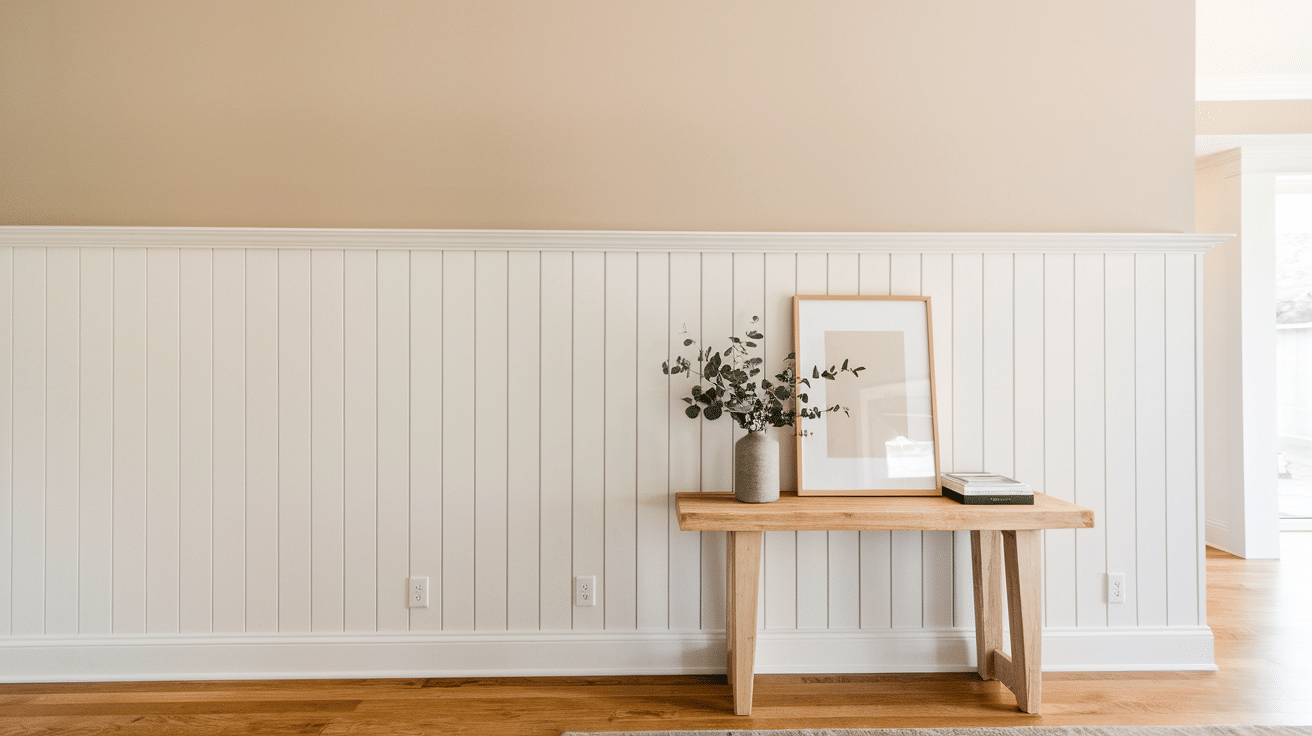
Vertical Shiplap Half Wall: Easy Installation Guide
Looking to add character to your home without a complete room makeover?
I get it – blank walls can make a space feel flat and lifeless, and traditional painting isn’t enough sometimes.
I’m here to show you how to install a vertical shiplap half wall to transform your room into something special. This project is perfect for beginners and can be completed in a weekend, even if you’re new to DIY projects.
In this guide, I’ll walk you through each step of creating a beautiful vertical shiplap half wall, from choosing the right materials to adding those finishing touches that make it look professionally done.
I’ve broken everything down into simple, manageable steps that anyone can follow.
What is Vertical Shiplap?
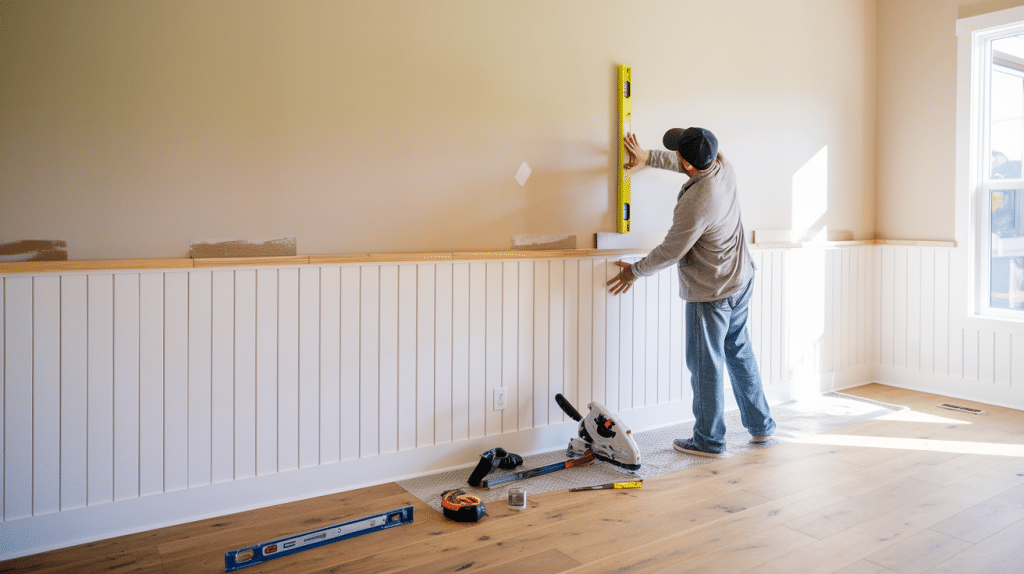
Vertical shiplap is a type of wall treatment that uses overlapping boards installed vertically rather than horizontally.
The boards have special grooved edges that create subtle shadows between each piece, adding depth and visual interest to your walls.
While traditional shiplap runs horizontally, the vertical installation offers a modern twist that can make your room appear taller.
Why Use Vertical Shiplap Half Walls?
When it comes to making a statement in your home, vertical shiplap half walls pack quite a punch without screaming for attention.
Unlike full-wall treatments, these partial walls add just the right amount of personality to your space.
The beauty of vertical installation lies in its clever visual trick – those upward-running lines naturally draw your eyes up, making your ceiling feel higher than it actually is.
Perfect for cozier rooms that need a lift!
I love how these walls stand up to daily life. In busy areas like hallways or dining rooms, they shrug off scuffs and bumps while looking good doing it.
Plus, when you’re working with a budget, vertical shiplap gives you a high-end style without the matching price tag.
My favorite part?
They create this natural stopping point if you’re playing with two different wall colors or patterns above.
Think of it as drawing a beautiful line in your design that ties everything together.
Tools And Materials Required
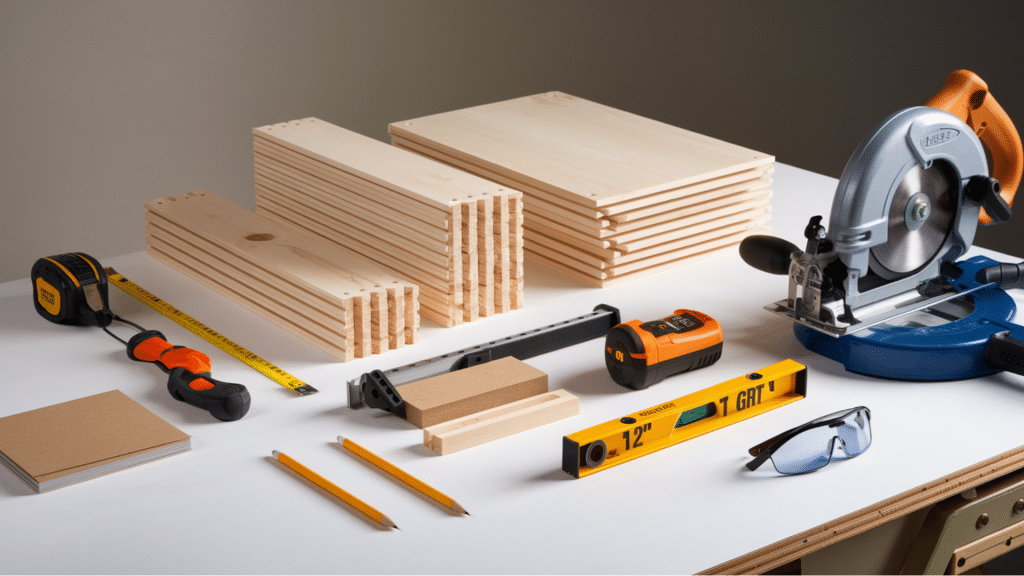
Tools Required
| Item | Notes |
|---|---|
| 1×6 boards (PVC or primed pine) | Main structural material |
| 1×4 trim board | Used for the top ledge |
| 1×2 trim board | For finishing touches |
| Construction adhesive | Ensures a strong bond |
| Wood filler or spackling compound | For filling gaps and holes |
| Paintable caulk | Seals gaps before painting |
| Paint primer | Prepares surface for paint |
| Paint (chosen color) | Final finish |
| Wall outlet spacers (if needed) | Adjusts outlet depth if necessary |
Optional Tools:
- Table saw or circular saw
- Jigsaw (for cutting around outlets)
- Pry bar (if removing baseboards)
Essential Materials Required
| Item | Notes |
|---|---|
| 1×6 boards (PVC or primed pine) | Main structural material |
| 1×4 trim board | Used for the top ledge |
| 1×2 trim board | For finishing touches |
| Construction adhesive | Ensures a strong bond |
| Wood filler or spackling compound | For filling gaps and holes |
| Paintable caulk | Seals gaps before painting |
| Paint primer | Prepares surface for paint |
| Paint (chosen color) | Final finish |
| Wall outlet spacers (if needed) | Adjusts outlet depth if necessary |
Steps to Install Vertical Shiplap Half Wall
Step 1: Preparation
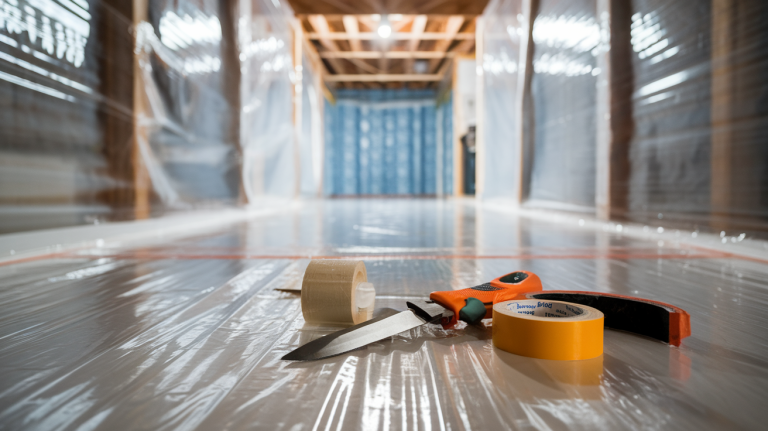
- Remove baseboards if necessary
- Mark wall studs
- Measure and plan board layout
- Clean walls thoroughly
Step 2: Planning and Layout
Start by determining your desired height. Most half-walls range from 36″ to 48″ high, but consider these factors:
- Room proportion
- Existing fixtures
- Switch and outlet locations
Step 3: Installation Process
- Install the horizontal 1×4 trim at your chosen height
- Begin with corner boards, ensuring they’re level
- Work your way across the wall using spacers between boards
- Cut around outlets and obstacles as needed
- Install top trim pieces for a finished look
Step 4: Finishing Touches
- Fill nail holes with wood filler
- Caulk seams and gaps
- Sand-filled areas smooth
- Prime bare wood if needed
- Paint entire installation
Would you prefer a video guide? Check this video by LRN2DIY.
How to Keep Your Vertical Shiplap Looking Fresh?
Cleaning A quick wipe with a barely damp cloth is all you need for regular maintenance. Skip harsh cleaners that might damage your paint finish – plain water works best for everyday dust and marks.
1. Touch-ups: Keep a small container of your paint handy. Little nicks and scrapes happen, but quick spot treatments keep your wall looking fresh.
Match your original paint color and finish for seamless fixes.
2. Inspection: Take a close look at your shiplap once a year. Focus on the caulked areas where boards meet corners or transitions.
Fill any gaps that have developed to prevent moisture issues.
3. Maintenance: Listen for any loose boards – they’ll often make subtle sounds before becoming visible problems. A few fresh brad nails or a dab of construction adhesive can secure wobbling boards before they become an issue.
4. Pro Tip: Take a few photos when your shiplap is newly installed.
These make great reference points for spotting gradual changes that need attention.
Common Mistakes to Avoid
We all learn from our oops moments, right? Here are some I’ve collected so you don’t have to!
Mind the Outlets: Those sneaky wall outlets can throw a wrench in your plans.
Map them out before you start, and grab outlet extenders – they’re total lifesavers for keeping everything flush.
Edge Work: Remember those board edges! Paint them before installation, especially if they’ll be visible in corners or around doors.
Nothing gives away a rushed job like unpainted edges peeking through.
Give Them Space. Don’t squeeze your boards too tight together. They need a little breathing room – use spacers to keep consistent gaps.
Wood can expand, and contract and tight boards might buckle or warp over time.
Quick Tip: Keep a notepad handy during installation to jot down any “wish I had known” moments.
They’ll come in handy for your next project!
The Bottom Line
A vertical shiplap half wall does more than add style to your space – it creates a lasting impact that transforms an ordinary room into something truly yours.
After completing this project, you’ll gain both a beautiful accent wall and the confidence to tackle more home improvements.
Remember, your first board sets the tone for the entire project. Take your time getting it right, and the rest will follow naturally.
If you run into any challenges along the way, step back and revisit the steps – there’s no race to the finish line.
Ready to show off your handiwork? Share your before and after photos with me on Instagram! And if you found this guide helpful, check out my other wall treatment tutorials for more inspiration.
Happy building!
Frequently Asked Questions
What Looks Better, Horizontal or Vertical Shiplap?
Both styles work well – horizontal gives a classic, cozy feel while vertical makes rooms feel taller. Choose vertical for modern spaces and horizontal for traditional looks.
What Are the Disadvantages of Shiplap?
Shiplap can trap dust in its grooves, requires regular cleaning, and may warp in humid areas.
It’s also more expensive than basic wall treatments.
Is It Cheaper to Drywall or Shiplap?
Drywall is typically cheaper than shiplap.
Basic drywall costs about $2 per square foot installed, while shiplap runs $7-12 per square foot.
Is Shiplap Ok for Bathroom Walls?
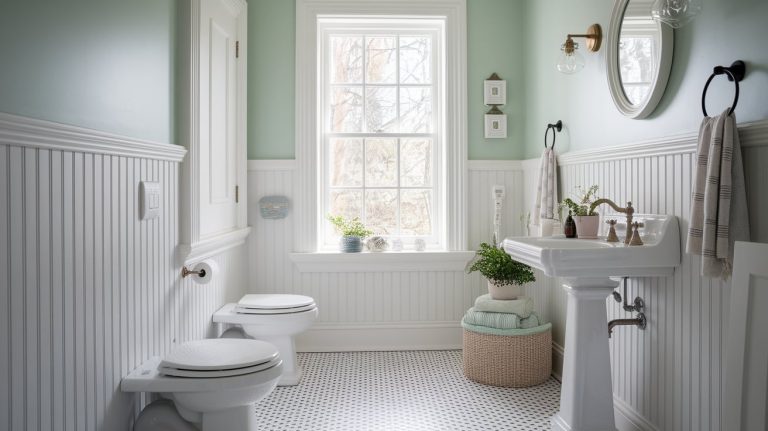
Yes, but use moisture-resistant materials like PVC shiplap or treated wood, and ensure proper sealing to protect against humidity.
Does Vertical Shiplap Make the Room Look Bigger?
Yes, vertical shiplap draws eyes upward, creating an illusion of higher ceilings and making rooms feel more spacious.

