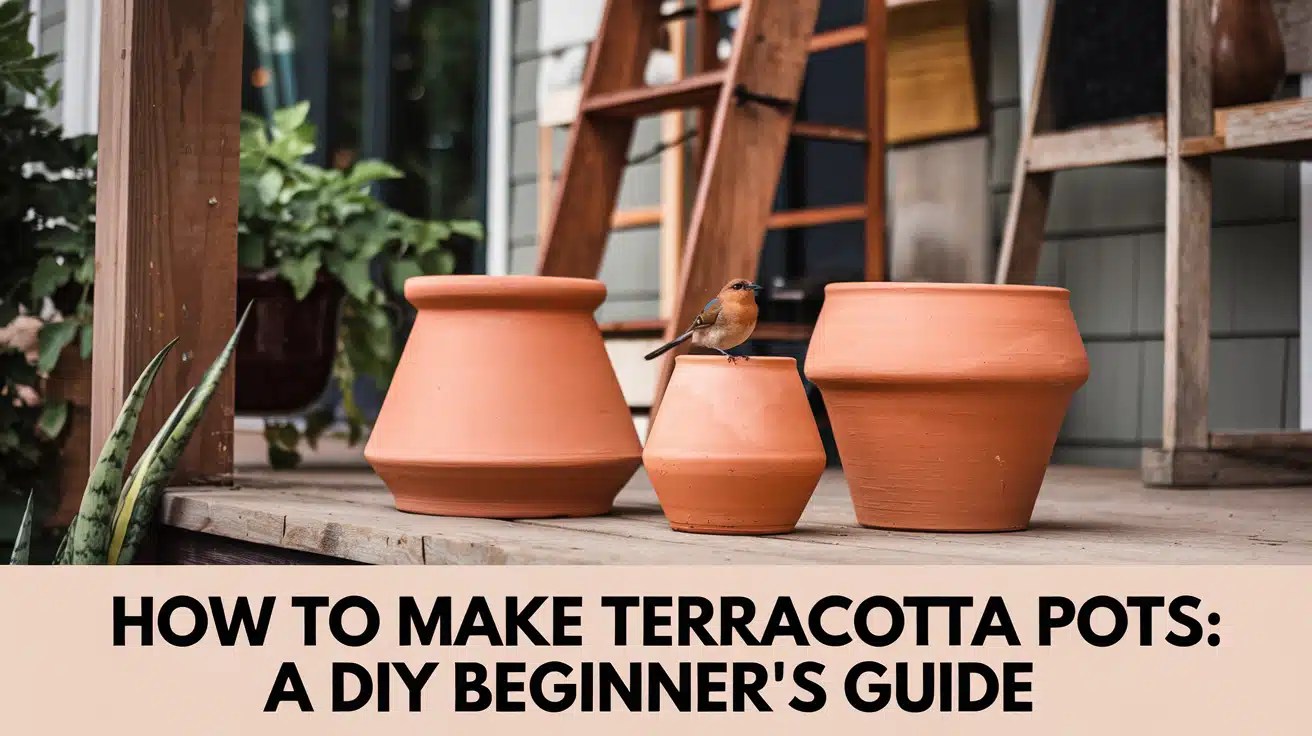
How to Make Terracotta Pots: A DIY Beginner’s Guide
In this post, I’m going to show you how to make your own terracotta pots at home, even if you’ve never touched clay before.
I’ve spent the last five years teaching pottery classes, and I’ve helped over 200 beginners create their first terracotta pots. My simple method has worked for everyone – from kids to grandparents.
Ready to get your hands dirty? Let’s start making something beautiful!
Why Make Your Own Terracotta Pots?
Let me tell you what makes creating your own terracotta pots so special.
First off, it’s a chance to add a personal touch to your garden. I love seeing my handmade pots lined up on my patio, each one unique in its own way.
Making your own pots saves money too.
I’ve found that buying quality terracotta pots can be costly, especially when you need several for your plants. With some basic materials and practice, you can make multiple pots for the price of one store-bought piece.
It’s also wonderfully calming. I find myself losing track of time while shaping clay.
There’s something satisfying about forming something useful with your own hands. Plus, you can size and shape your pots exactly how you want them.
The best part? You don’t need fancy tools or years of experience. I started with just basic supplies and a willing spirit. Every pot I made taught me something new, and now I’m excited to share these lessons with you.
How to Create Your Own Terracotta Pots at Home
Step 1: Tools You Need for Making Terracotta Pots
Create a solid foundation by preparing all necessary tools and materials. Here’s what you’ll need:
| Tools | Materials |
|---|---|
| Pottery wheel | Terracotta or earthenware clay |
| Needle tool | Water container |
| Wooden rib tool | Sponge |
| Wire clay cutter | Apron |
Step 2: Prepare the Clay
Before working on the wheel, prepare your clay to ensure it’s easy to mold and free of air pockets.
- Start with a lump of clay (roughly 2 pounds).
- Use the wedging technique: knead the clay with your hands, pressing it against a smooth surface.
- This process removes air bubbles and aligns the clay particles for better flexibility.
- Once the clay feels uniform, roll it into a compact ball.
Step 3: Center the Clay on the Wheel
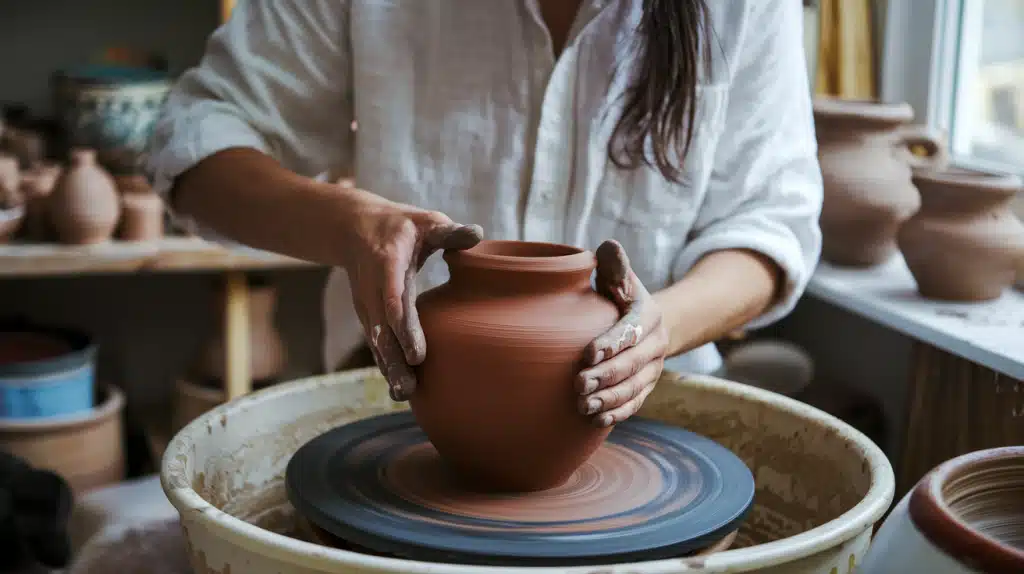
Place the clay firmly in the center of your pottery wheel. Wet your hands and begin spinning the wheel slowly. Use your hands to mold the clay into a cone shape, then press it down gently to create a centered mound.
Step 4: Create the Base
Forming the base of your pot is the first structural step.
- Wet your hands and press your thumb or fingers into the center of the spinning mound.
- Push down until you’re about 1 inch from the bottom (don’t go all the way through).
- Gradually widen the hole by pulling outward with your fingers.
- Smooth the base with a sponge to maintain an even thickness.
Ensure the base is flat and level to give your pot stability.
Step 5: Shape the Walls
This is where your pot begins to take form. Shaping the walls requires patience and a steady hand.
- Place your hands on either side of the pot with light pressure.
- Slowly pull upwards from the base, lifting the walls evenly.
- Adjust the wheel speed as necessary to maintain control.
- Use a sponge to keep the surface moist and smooth as you work.
- Repeat the process until you achieve the desired height and thickness.
Step 6: Refine and Add Details
Once the basic shape is done, refine the pot’s surface and add any finishing touches.
- Use the wooden rib tool to smooth and shape the walls.
- Create decorative elements, like ridges or patterns, by gently pressing the tool into the surface.
- If the pot is for outdoor use, carefully pierce a drainage hole in the base using a needle tool.
Take your time during this step to make your pot truly unique.
Step 7: Cut and Dry the Pot
Cut the pot off the wheel with a wire clay cutter. Place it on a flat surface to dry until it’s leather-hard. If you’re making outdoor pots, ensure you add a drainage hole at the bottom before drying. Once fully dried, it’s ready for firing.
For a more detailed tutorial on how to make terracotta pots at home, check out the below video:
What Is the Best Way to Cure Terracotta Pots?
Let me share my tried-and-true method for curing terracotta pots. It’s simpler than you might think, and doing it right will help your pots last longer.
- First, soak your new pots in water for 24 hours. I fill my bathtub with clean water and submerge the pots completely.
This step helps the clay absorb moisture properly.
- After soaking, let your pots dry in a shaded spot for 2-3 days. I place mine on a wooden rack to allow air flow all around.
The key is to keep them out of direct sunlight during this time.
Here’s a tip I learned through trial and error: speed up the process by placing a small fan nearby. This helps with even drying and stops mold from forming.
- Once they’re dry, brush the pots gently with a soft cloth to remove any loose bits. Your pots are now ready for planting!
A quick note on timing: if you live in a humid area, you might need an extra day or two for drying. I’ve found it’s better to wait a little longer than to rush this step.
Tips for Painting Terracotta Pots After Making Them
Let me share my favorite tips for adding color to your handmade pots. I’ve learned these tricks through plenty of trial and error, and they really make a difference.
1. Start Clean: Before painting, brush off any dust from your pots. I like to wipe them with a damp cloth and let them dry for an hour. This helps the paint stick better.
2. Seal First:
Here’s a secret I wish I knew when I started: seal your pots before painting. I use a clear sealant and let it dry overnight.
3. Pick Your Paint: I use acrylic paint made for outdoor use. It lasts longer and stands up to weather better than regular craft paint. Two thin coats work better than one thick layer.
My Top Painting Tips:
- Paint in a well-lit area
- Use small brushes for details
- Let each coat dry fully
- Add a clear top coat for extra protection
Remember to paint the inside rim too – it looks much better when you peek into the pot. I like to finish with a weather-proof sealer to keep everything looking fresh.
Unique Uses for Handmade Terracotta Pots
Here are my favorite creative ways to use the terracotta pots you’ve made:
Indoor Lamp Shades
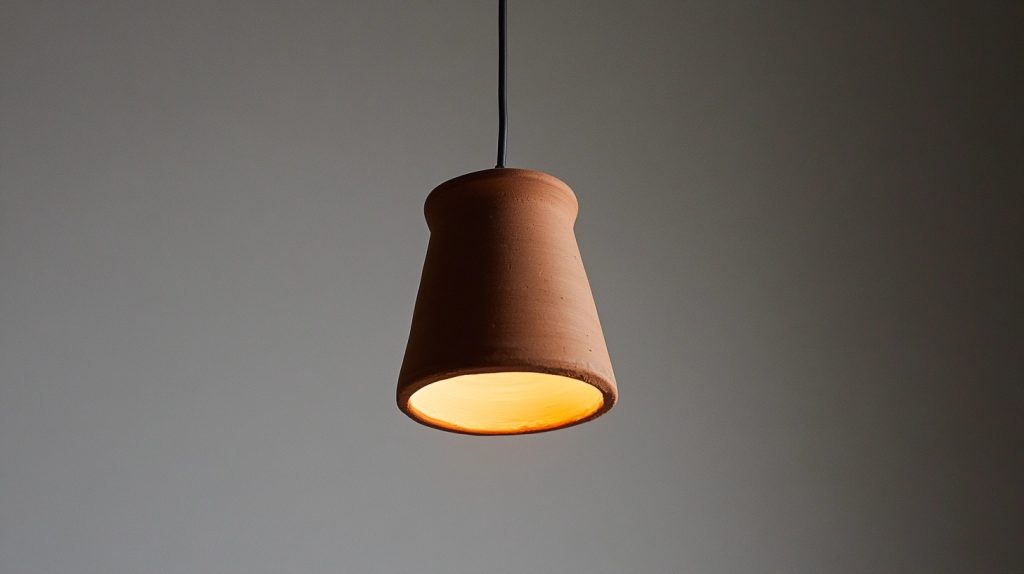
- Turn pots upside down to create hanging lamp shades
- Drill a hole in the bottom for the light cord
- Paint inside with light colors to reflect more light
I’ve found that smaller pots (4-6 inches) work best for this. Sand the edges smooth and use low-heat LED bulbs. The warm glow through terracotta creates such a cozy feeling in any room.
Wall-Mounted Storage
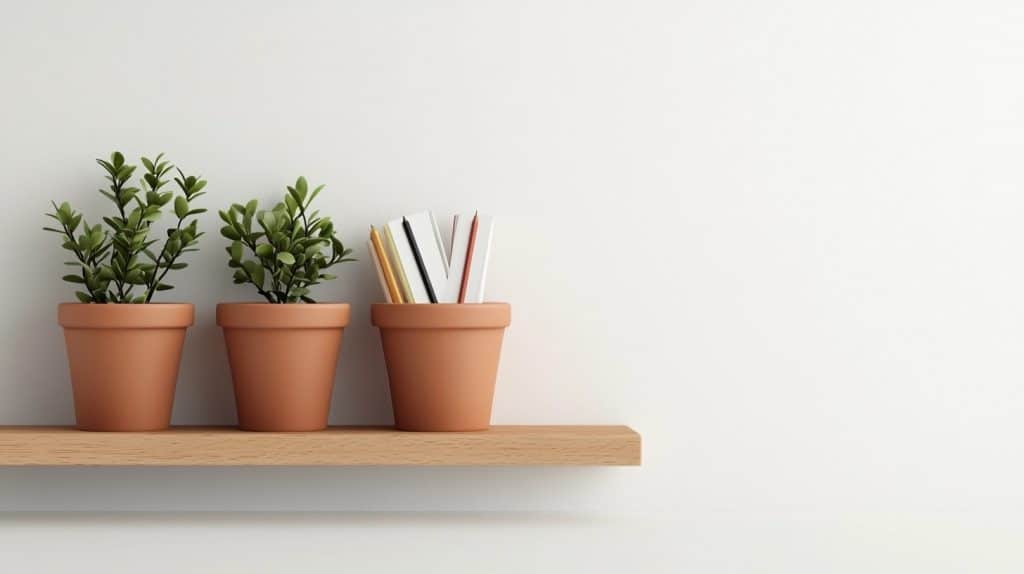
- Mount pots sideways on wooden boards
- Perfect for office supplies or bathroom items
- Add cork bottoms to prevent items from sliding
My home office has these mounted pots holding pens, paper clips, and sticky notes. They save desk space and look much nicer than plastic organizers.
Kitchen Herb Labels
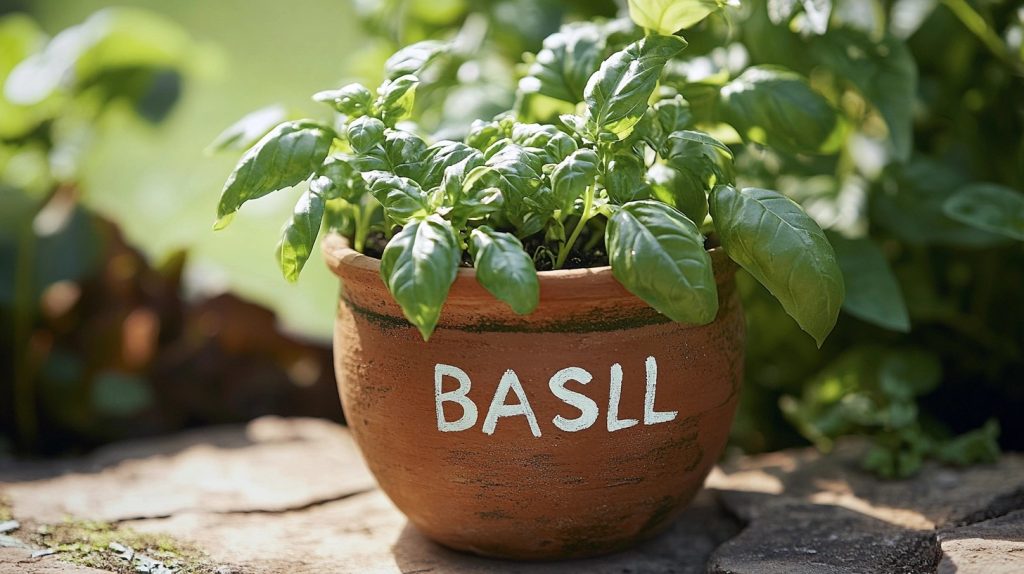
Paint the rim of tiny pots and write herb names on them.
Stick them in your garden or window boxes as markers. I use outdoor paint markers for this – they last through rain and sun. These little pots make finding the right herb so much easier when cooking.
Natural Air Fresheners
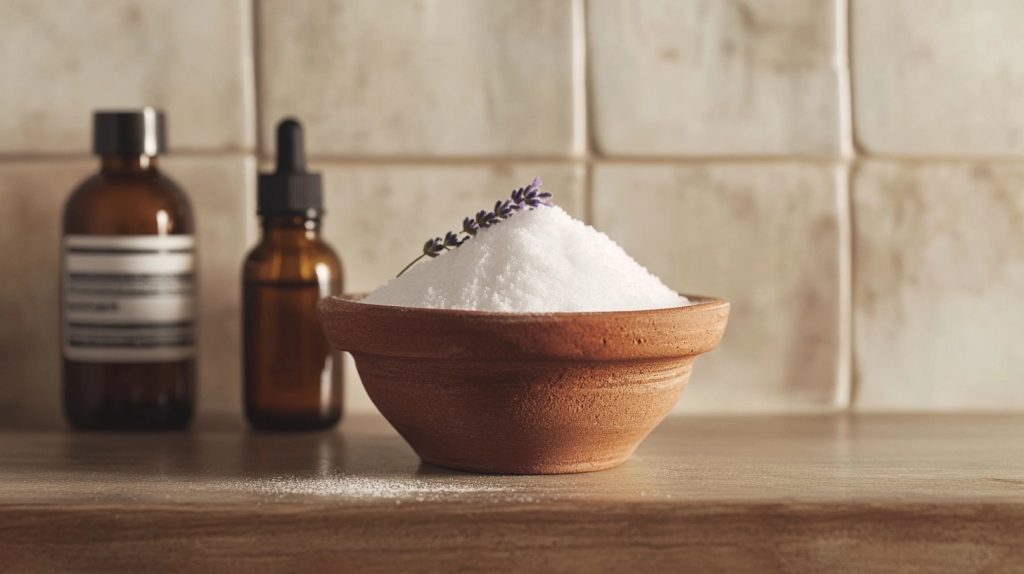
This method works better than store-bought fresheners. The terracotta slowly releases the scent, and you can control the strength by adding more oils when needed.
- Fill with baking soda and essential oils
- Place in small spaces like closets or bathrooms
- Change the mixture monthly
Candle Holders
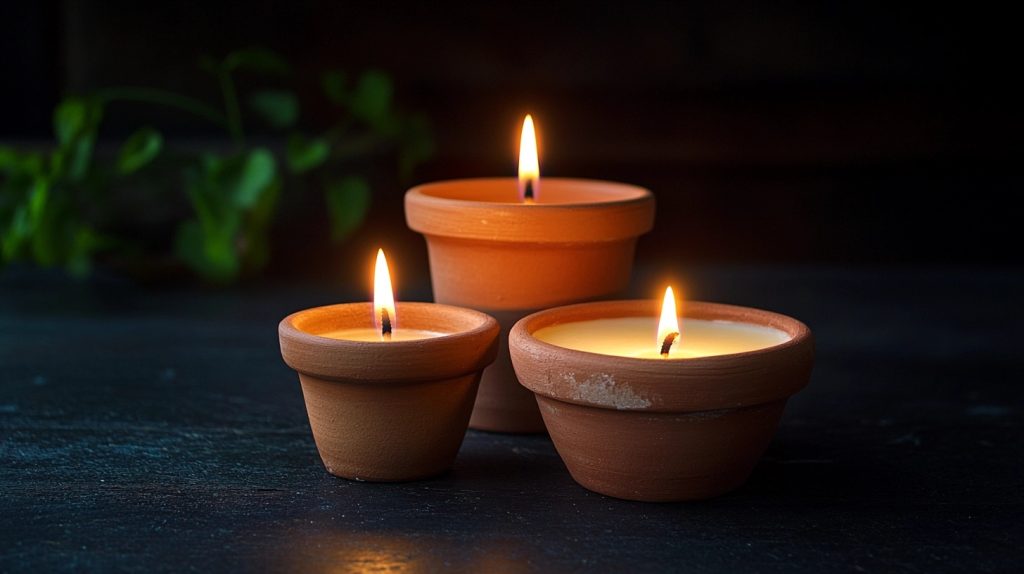
Make different-sized pots into a candle display. I place tea lights in the smallest ones and pillar candles in larger pots.
Group them together on a table or shelf. The clay gives off a warm glow and protects surfaces from wax drips.
Summing Up
Making your own terracotta pots opens up so many possibilities.
From basic planters to creative home items, each piece you create tells its own story. I started this hobby with just a lump of clay and simple tools, and now my home has a personal touch that store-bought items can’t match.
Remember, your first pot doesn’t need to be perfect. What matters is getting started and learning as you go.
The techniques I’ve shared come from years of making (and sometimes breaking) my own pots.
Ready to start creating? Grab your clay and pick one project from this guide. I’d love to hear how your first terracotta pot turns out – drop a comment below or send me a photo of your creation!

