Are you tired of high heating bills? I was, too, until I built my own outdoor wood stove.
You might think building an outdoor wood stove sounds tricky. I get it – I had the same worries. Many people spend thousands on ready-made stoves when they can make one at home.
But here’s something you should know: making your own wood stove can be simpler than you think. My home-built stove has kept my space warm for years, using materials that probably cost less than your monthly heating bill.
In this guide, I’ll show you step-by-step designs for building your own outdoor wood stove.
You’ll learn which materials work best, how to put them together safely, and tricks I’ve learned from my own building experience.
Why Choose an Outdoor Wooden Stove?
I remember when I first built my outdoor wood stove – my heating costs went down so much that first winter.
But cutting bills isn’t the only good thing about having a wood stove.
Let me tell you what makes these stoves so special.
- First off, wood stoves keep you independent when energy prices go up. While others worry about their gas bills, you’ll be out back, feeding your stove with wood you collected yourself. And if you like making things, you can build one using materials you have on hand.
- They’re great for outdoor meals, too. Food tastes different when it’s cooked over a wood fire, and soon, your yard becomes the place where friends gather. Sometimes, my neighbors walk over just to sit by the stove and chat.
- Using a wood stove is also good for the environment. When you use fallen wood from your land, you’re cleaning up while getting free fuel. It makes good sense, doesn’t it?
Essential Materials and Tools Required
Let’s talk about what you’ll need to build your own outdoor wood stove.
I’ll help you gather everything before you start, so you won’t need to stop halfway through the project.
Your Main Materials
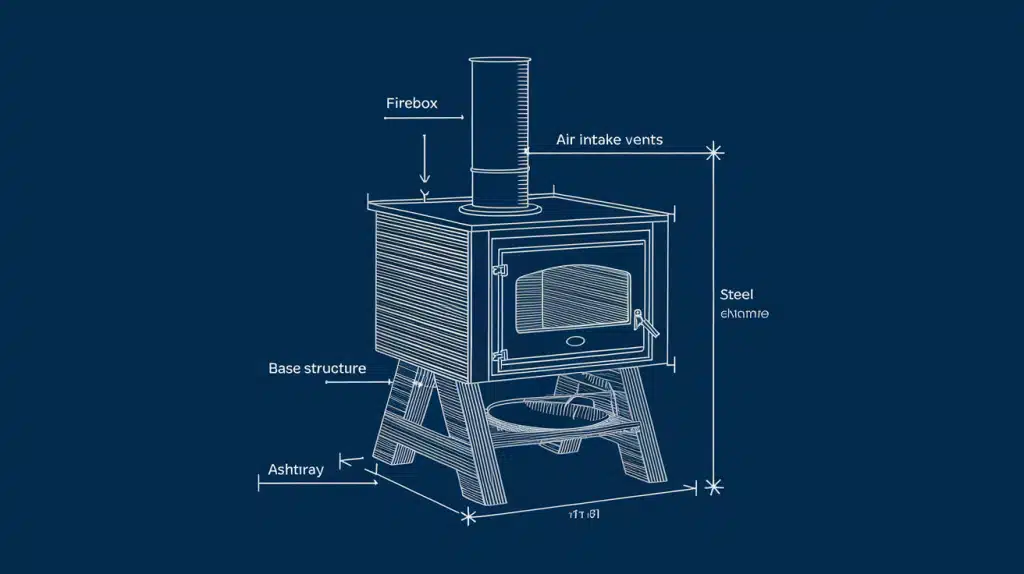
- A metal barrel (a clean 55-gallon drum works great)
- Firebricks to line the bottom and sides
- Heat-safe paint that can handle high temperatures
- Some strong metal for the door and air vents
- Pipe for your chimney
For Tools, You’ll Want
- A welder (you can rent one if needed)
- Good metal cutters
- Basic hand tools like wrenches and screwdrivers
- A drill with metal bits
Don’t Forget Safety Gear – This is Really Important
- Thick work gloves
- Safety goggles
- A proper breathing mask
- Long sleeves and sturdy boots
You can find most of these things at your local hardware store. Check out scrap yards for the barrel and metal parts – they often have good deals.
I found my barrel at a local food packaging plant, and they were happy to sell it cheaply.
A Quick Tip: make friends with your local metal shop. Sometimes, they’ll even cut pieces to size for you, which helps if you don’t have big tools at home.
Step-By-Step Guide to Building an Outdoor Stove
Let’s build your stove together. I’ll walk you through each step in detail so you can follow along easily. Try to keep up!
Step 1: Planning and Setup
- Clear your work area
- Set out all your tools
- Put on your safety gear
- Double-check your measurements
Step 2: Preparing the Barrel
- Clean the barrel thoroughly
- Mark your cutting lines
- Cut the door opening
- Make vent holes
Step 3: Building the Base
- Lay out your firebricks
- Create a level surface
- Add support brackets
- Check stability
Step 4: Adding the Door
- Cut door hinges
- Weld them in place
- Attach the door
- Test the swing
Step 5: Making the Chimney
- Cut chimney hole
- Attach chimney pipe
- Seal all connections
- Check for gaps
Step 6: Final Touches
- Add air vents
- Paint the outside
- Let it dry completely
- Test the airflow
Quick Tips
- Keep the door slightly smaller than the opening
- Make your air vents adjustable
- Test the seal around your chimney with smoke
- Light small fires first to season your stove
Safety Tips for Using Wooden Outdoor Stoves
Let’s talk about keeping you and your family safe with your wood stove. Here’s what I’ve learned from years of using one.
Where to Place Your Stove
- 10 feet from walls or fences
- On level, solid ground
- Away from kids’ play areas
- Follow local fire codes
Quick Daily Checks
- Empty old ashes
- Look for cracks
- Make sure smoke goes up, not out
- Keep area clean
Keep These Nearby
- Fire extinguisher
- Sand bucket
- Water source
- Metal ash can
Wood Storage Quick Tips
- Keep it dry
- Stack off ground
- Check for pests
Remember: Your stove needs as much attention as a campfire. When in doubt, be extra careful. “Better to spot a problem before it becomes one.”
Homemade Outdoor Stove Designs I Always Recommend
Here are some practical outdoor stove designs for you to try out. Each one uses basic materials that you can find in your local hardware stores.
1. The Classic Barrel
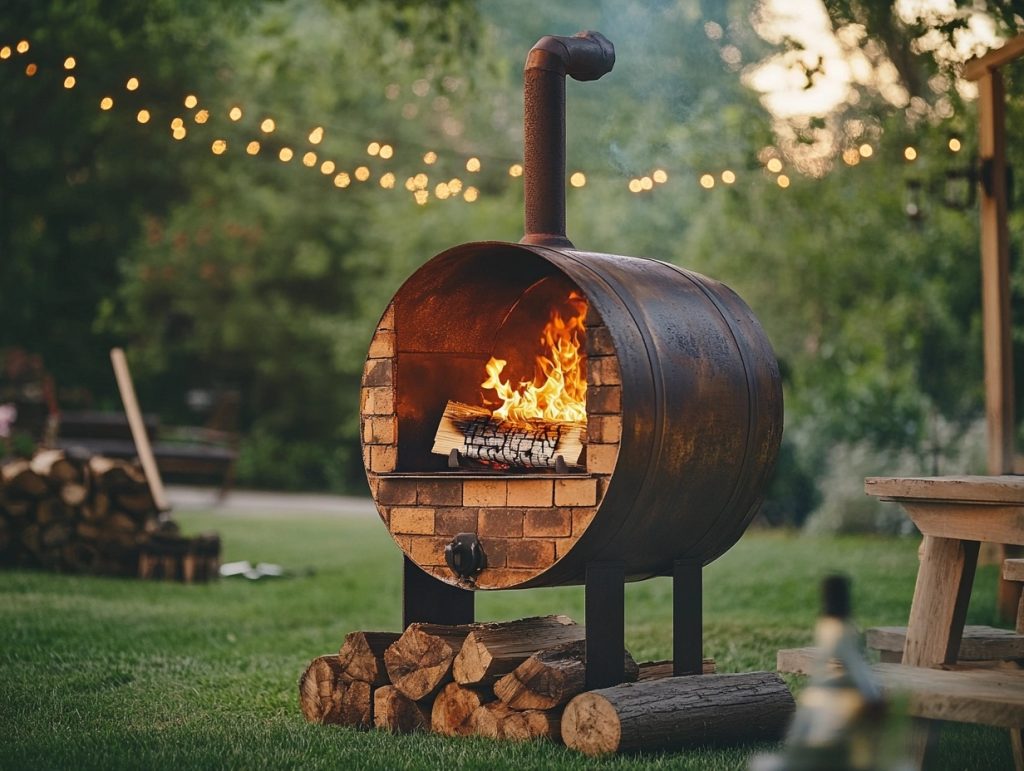
A simple, reliable design using a 55-gallon drum. It is perfect for beginners and works great in any backyard.
It might be the cheapest option for you; a DIY build with basic materials would cost around $100-200.
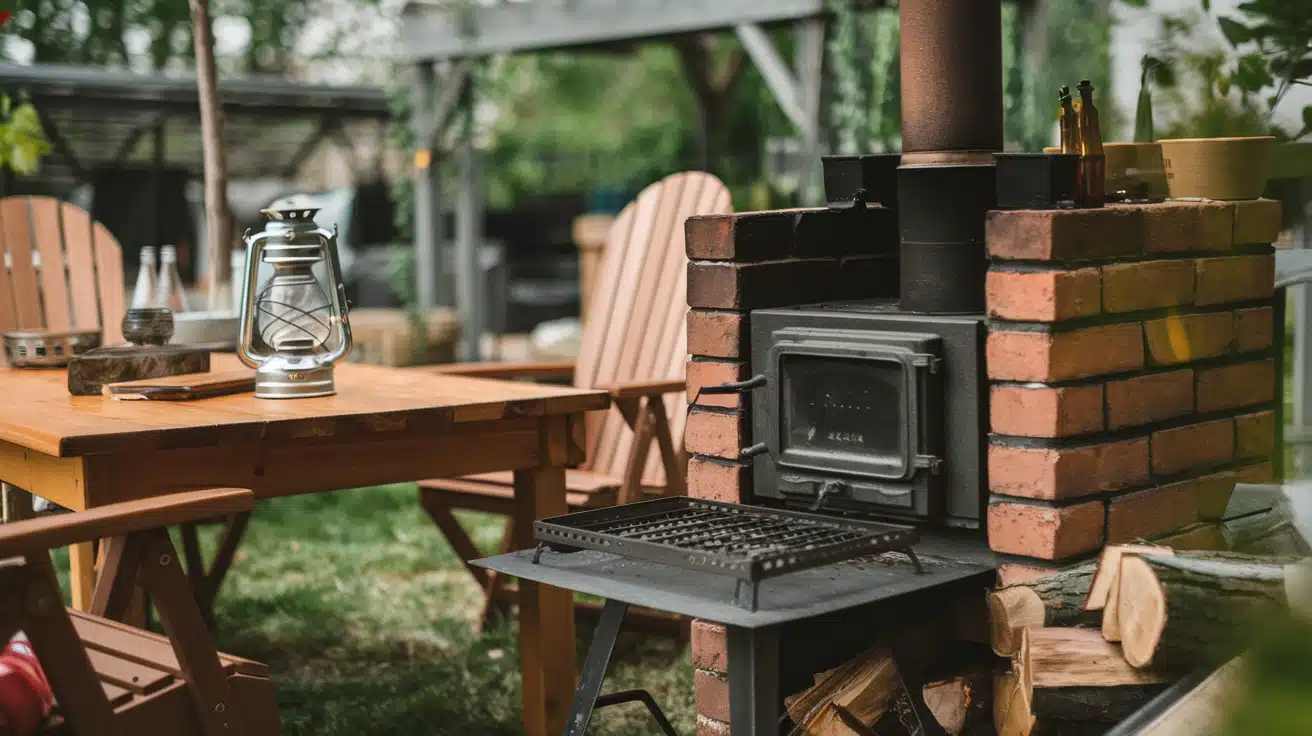
2. Brick Box Beauty
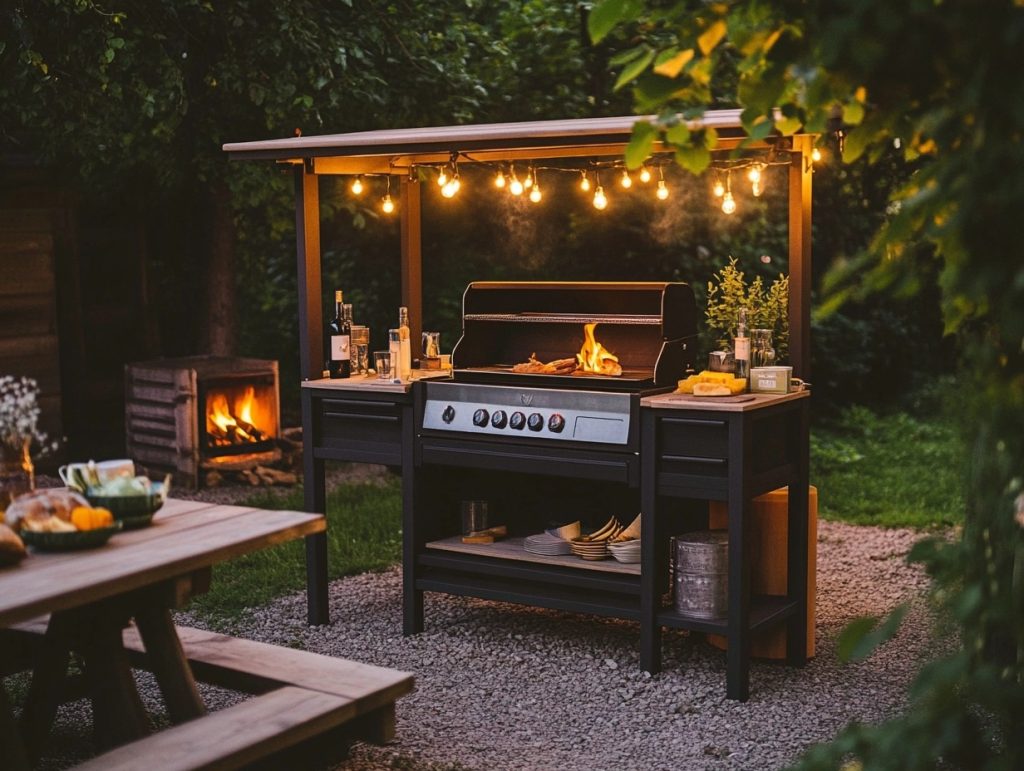
Built with regular bricks and mortar. It will look good in your garden, and this stove holds heat longer than metal stoves.
The same build with a cooking grate and chimney would cost around $200-350.
3. Camp Master Mini
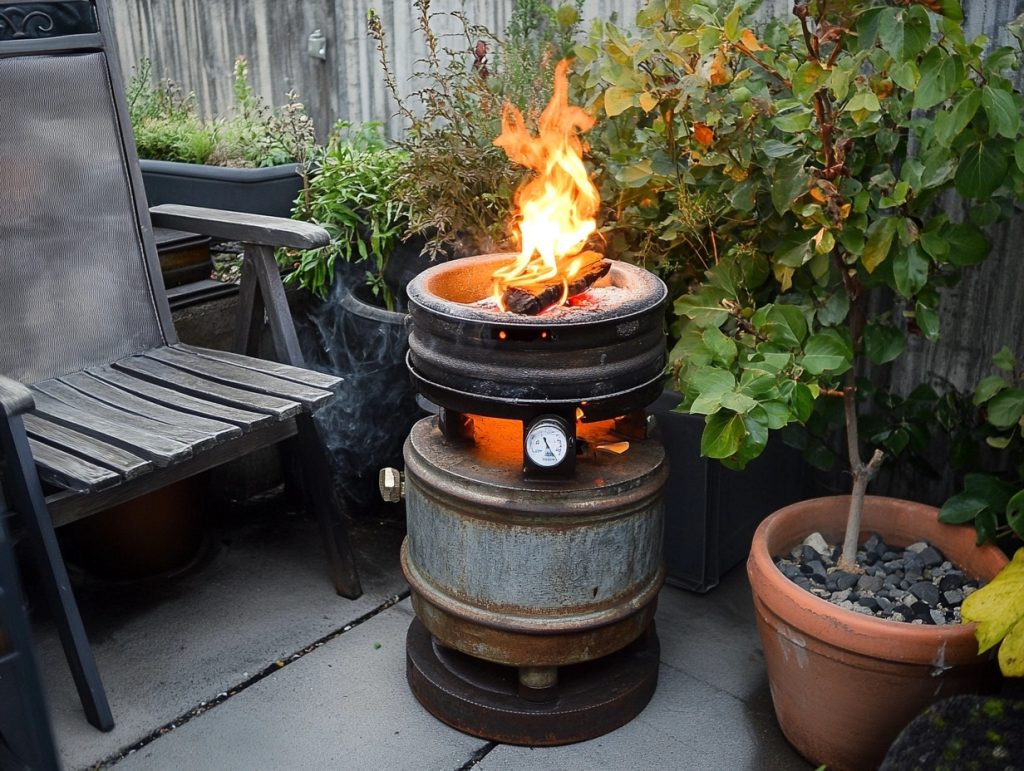
Small, made from old propane tanks. It is ideal for camping trips or small patios where space matters.
You can repurpose old stuff, so next time, don’t throw out that scrap waste. You can easily build this for under $200.
4. Double-Deck Cooker

Two-level design with cooking surface on top. Great for those who want to grill while heating the space.
If you want to go all fancy, this will cost you about $100-250, give or take, with insulation, new grates, and finishing touches.
5. Stone Circle
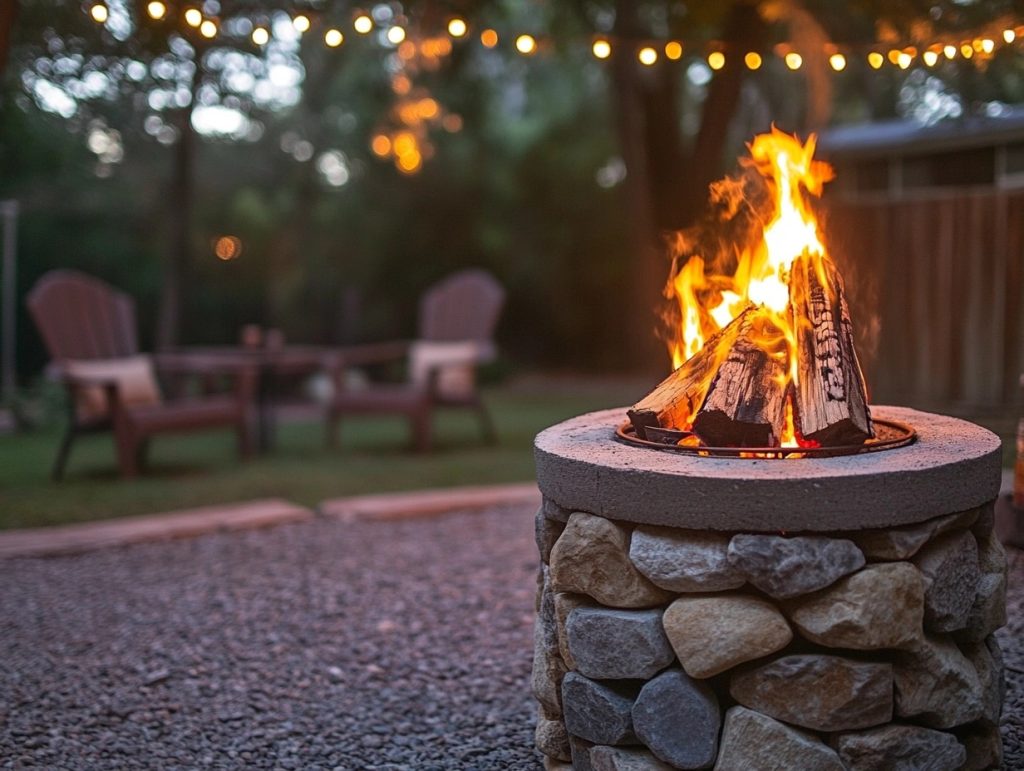
Made with natural stones and heat-proof cement. It blends with your landscape and provides excellent heat retention.
Using free and salvaged stones with mortar and a fire ring, this stove can be built for under $200.
6. Square Steel
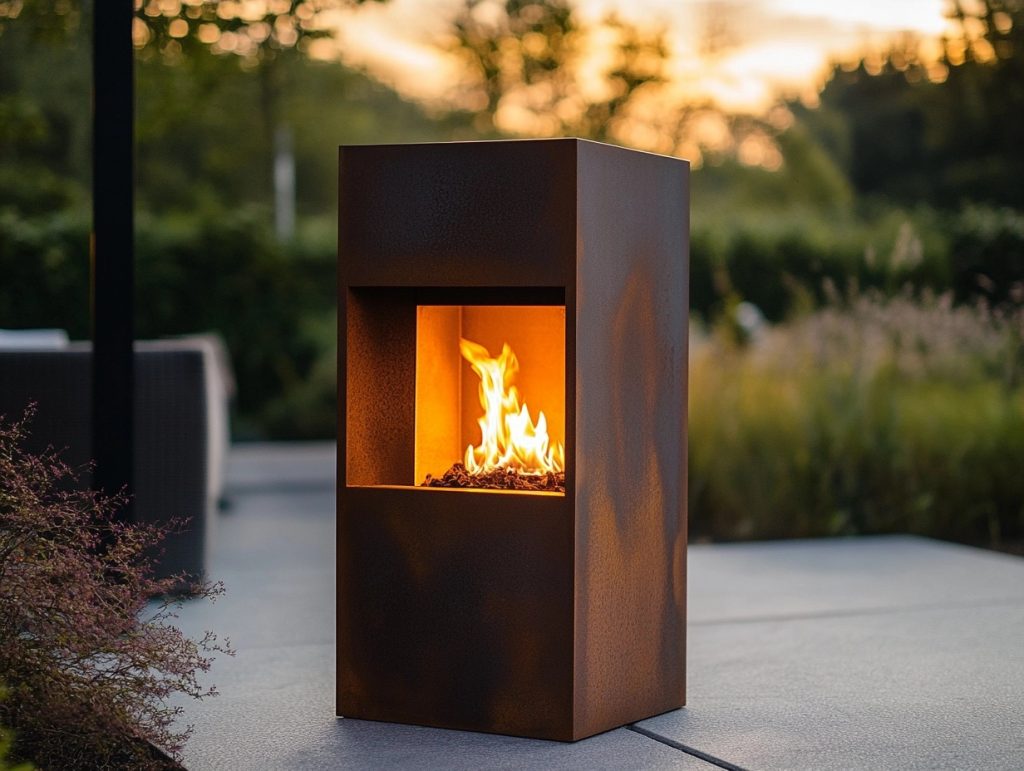
Built from steel plates with clean lines. Modern look that fits well in any outdoor setting.
You can save a lot by repurposing old steel from scrap yards and borrowing tools.
This type of stove can be built for $150-200.
7. The Pizza Pro
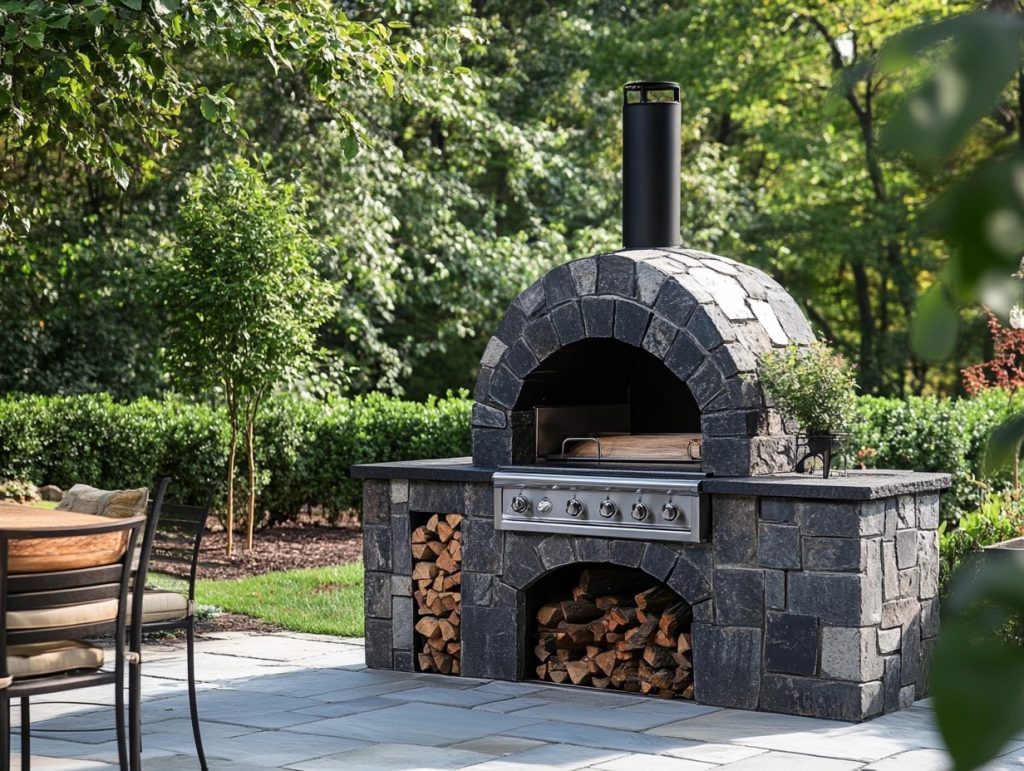
Includes a special chamber for baking. Perfect for outdoor cooking enthusiasts who love fresh-baked treats.
These kinds of stoves are on the costlier side.
A pizza stove built using basic materials and no insulation costs around $150-300.
8. Tiny Rocket
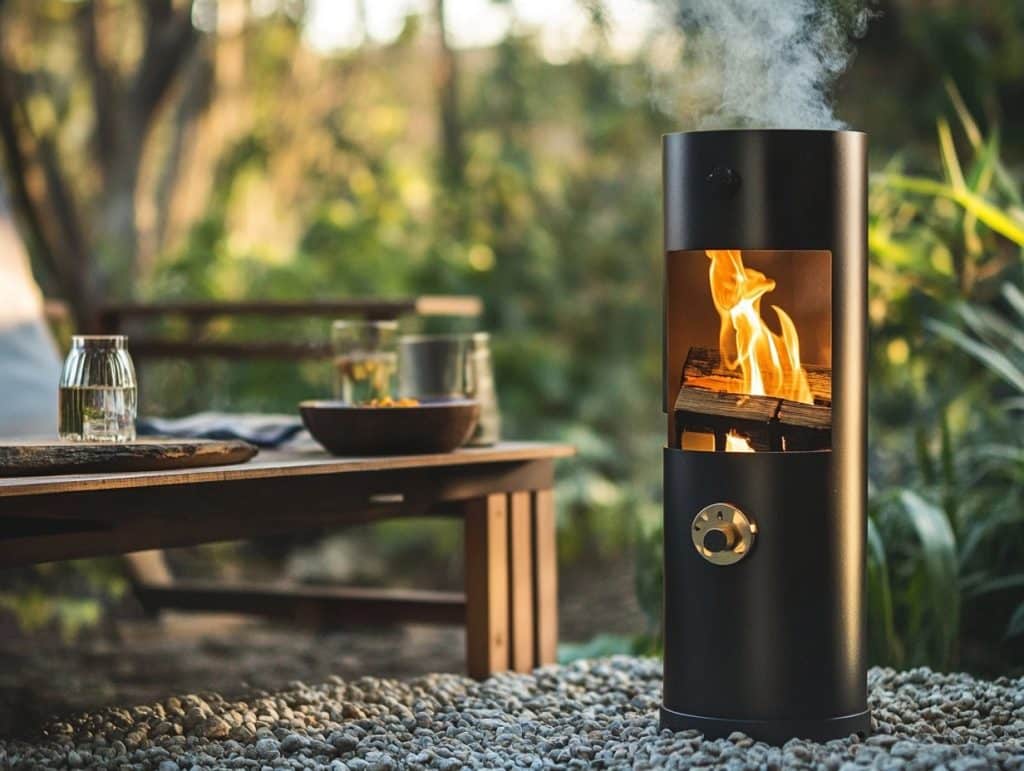
Vertical design that burns hot and clean. It uses less wood and takes up minimal space in your yard. You can easily build this tiny rocket for under $150 using repurposed material and optional insulation.
Start with the barrel stove – it’s how I learned.
Once you get the hang of it, you can try fancier designs. Each stove teaches you something new.
Conclusion
Building a homemade outdoor wood stove isn’t just about saving money – it’s about creating something useful with your own hands.
With the designs and steps I’ve shared, you can make a reliable heating solution that fits your specific needs.
Remember, what matters most is following the safety guidelines and choosing the right materials.
A well-built outdoor wood stove can serve you for many years while keeping your heating costs low.
Ready to start your wood stove project? I’d love to see your results! Share your building progress in the comments below.
If you have questions about any of the designs, feel free to ask – I’m here to help.

