Old metal pieces add warmth and story to any space. From garden tools to home decor, aged metal creates a distinct charm that new items can’t match.
Metal aging techniques offer many options for blending new pieces with antiques or creating unique decor.
This guide shows you three tested methods to age metal at home. You’ll learn about paint techniques for controlled results, chemical treatments for quick changes, and natural vinegar solutions for gentle aging.
Each method suits different projects and skill levels. Before we start, let’s be clear: safety comes first.
Metal aging involves chemicals and tools that need careful handling. We’ll cover all safety steps to help you work confidently and create beautiful aged pieces.
Essential Materials and Safety
Required Tools
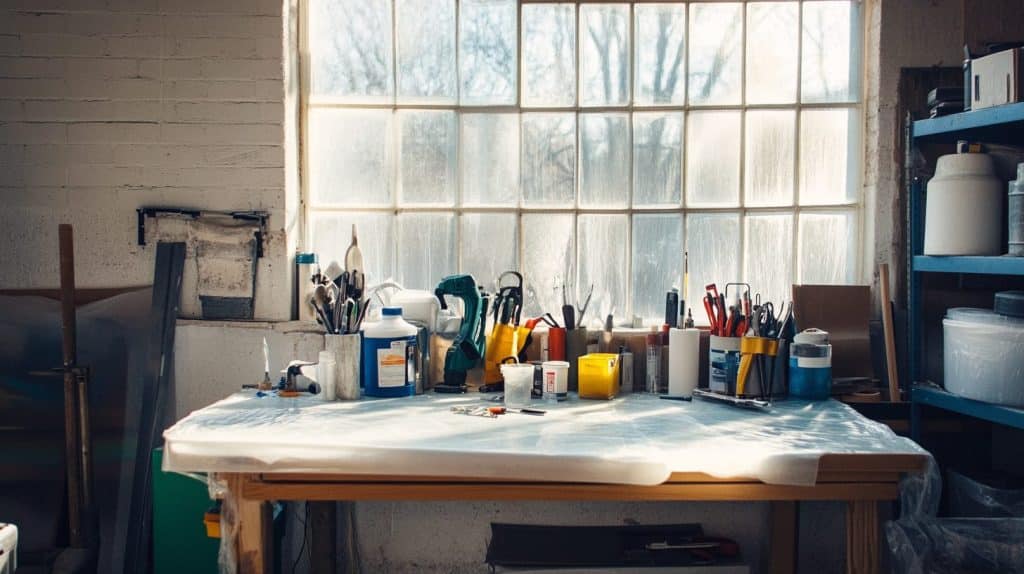
You’ll need several basic items to start aging metal at home. A sanding block with 80-grit sandpaper forms the foundation of your tool kit. Safety equipment includes thick rubber gloves, protective eyewear, and a high-quality respirator mask.
Your workspace should include a sturdy table and plastic sheeting to protect surfaces. Additional supplies include clean rags, paper towels, and containers for mixing solutions. Keep a water source nearby for quick cleanup and safety.
Safety Guidelines
Working in a well-ventilated area is crucial when aging metal. Set up your workspace outdoors or in a garage with open doors and windows.
Use fans to direct fumes away from your working area. When aging metal, it is crucial to work in a workspace.
Always wear long sleeves, closed-toe shoes, and pants while working with aging solutions. Store chemicals in their original containers with clear labels. Keep all materials out of reach of children and pets.
Paint-Based Metal Aging: Creating Layered Old-World Effects
Materials Needed
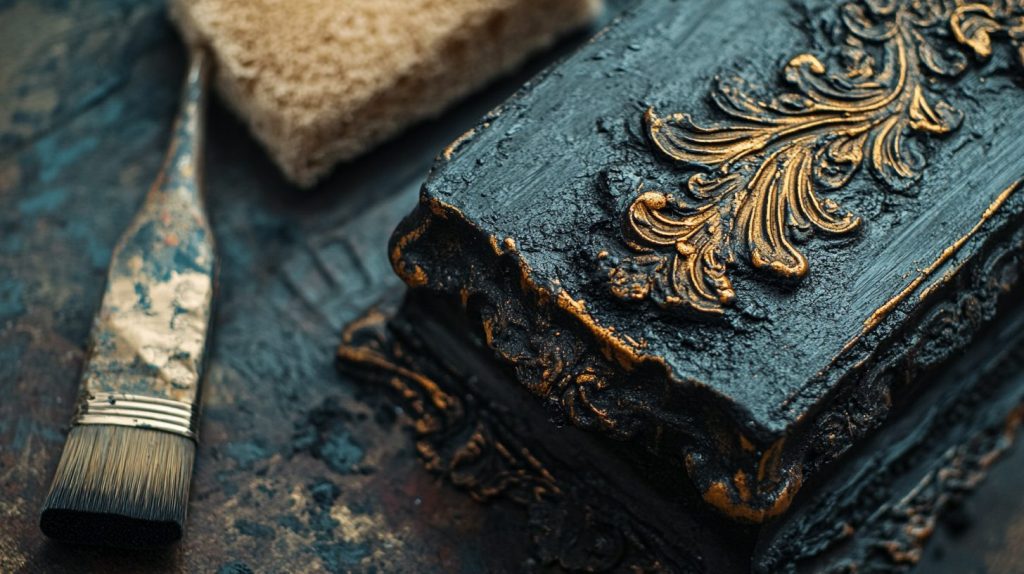
Gather matte black acrylic paint and metallic accent colors for the paint method. You’ll also want several paintbrushes, a sponge, and clean rags for texturing.
This method offers the most control over the final appearance.
Step-by-Step Process
1. PREPARATION
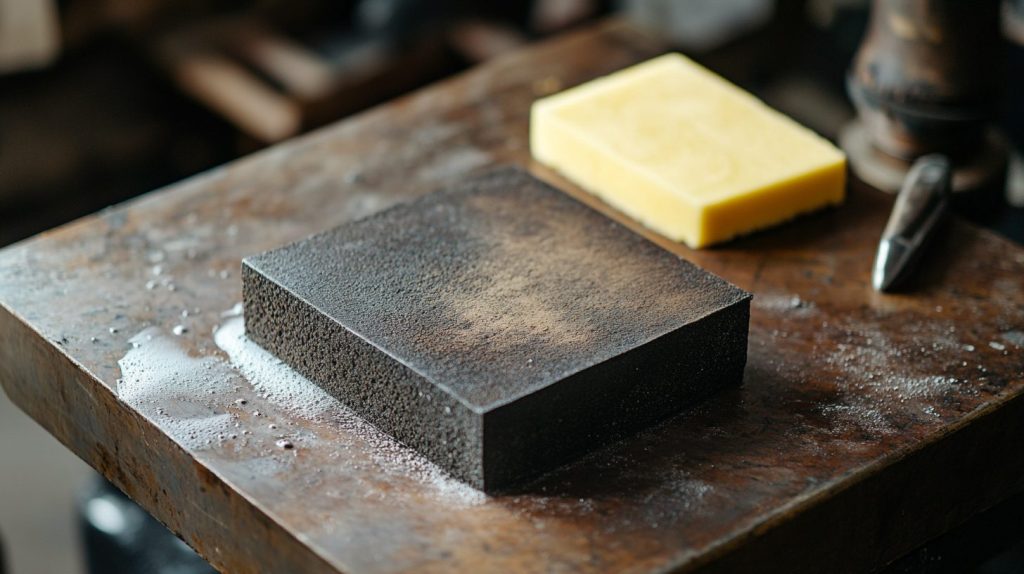
- Clean metal with soap and water
- Sand until the surface looks dull
- Wipe off dust with a tack cloth
2. BASE COAT
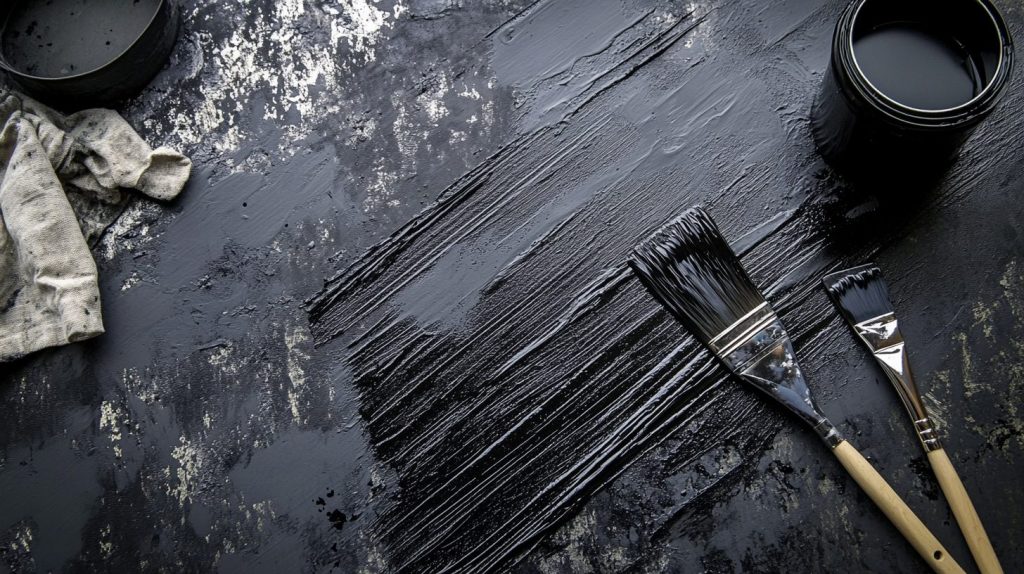
- Apply black paint in uneven strokes.
- Work slowly for texture.
- Let dry for 4-6 hours.
3. ACCENT COLORS
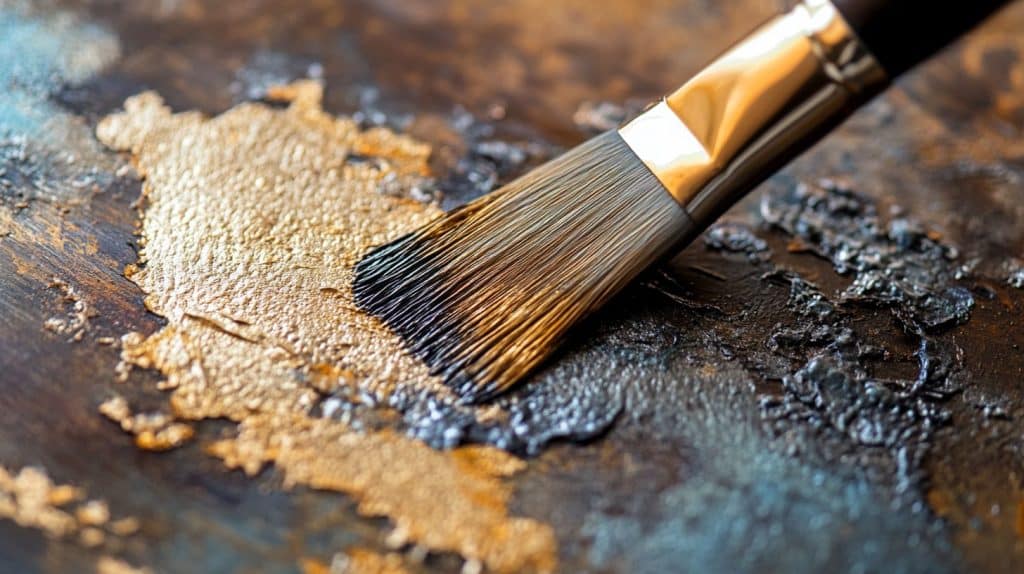
- Use a dry brush for metallic paint.
- Work in small sections.
- Build color gradually.
- Let each layer dry for 30 minutes.
4. FINAL DETAILS
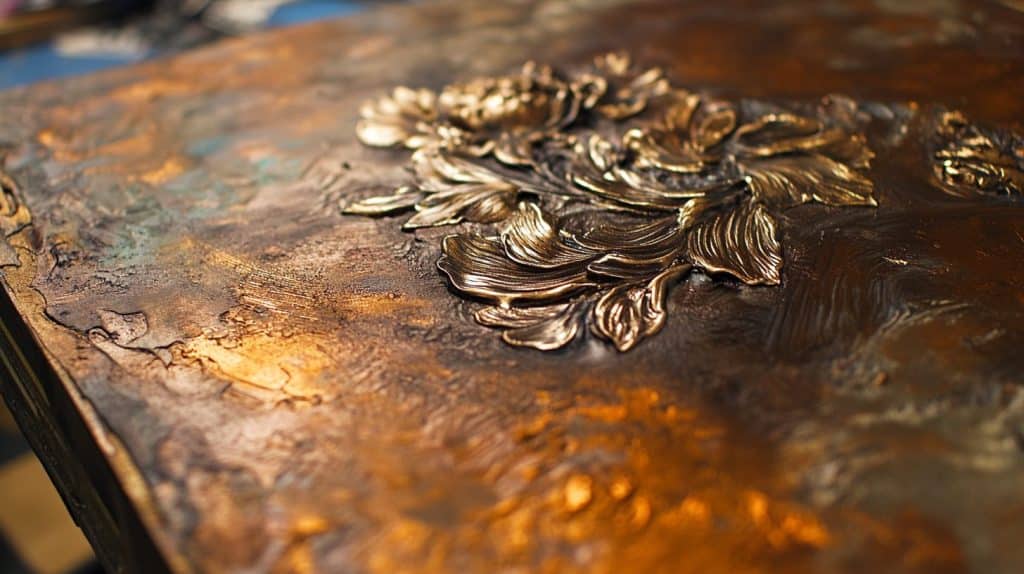
- Add highlights on the edges.
- Focus on wear-prone areas.
- Let dry 24 hours before use.
Tips for Best Results
Temperature and humidity significantly affect paint drying time. For the best results, work on dry days with moderate temperatures. Building up thin layers creates more realistic aging than thick applications.
Quick Chemical Treatment: Turn New Metal into Aged Pieces
Materials Needed
This method requires a toilet bowl cleaner containing bleach and basic cleanup supplies. Before starting, prepare your area with plastic sheeting and ensure proper ventilation.
Step-by-Step Process
1. PREPARATION
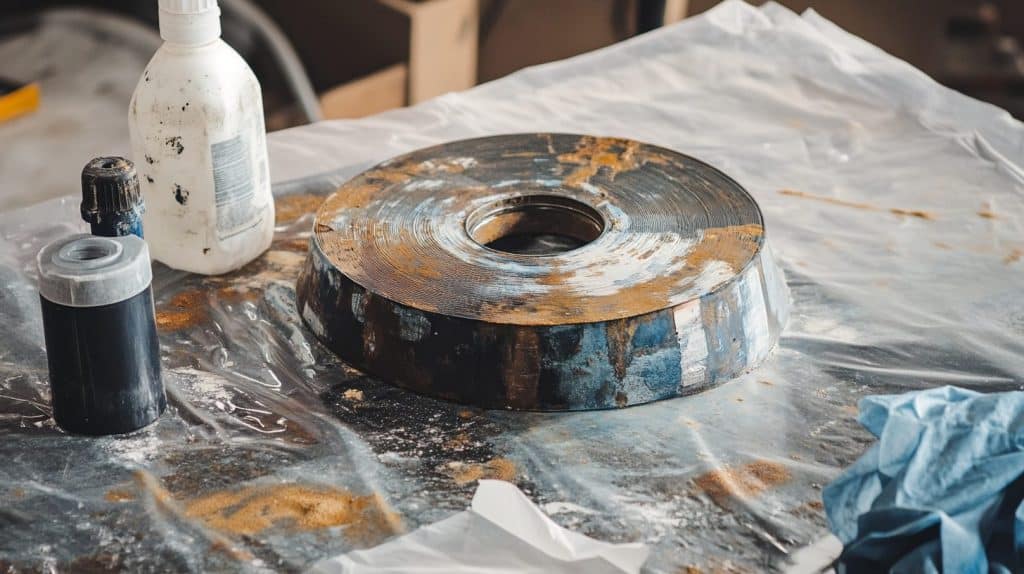
- Clean metal surface.
- Sand lightly.
- Wipe clean.
2. APPLICATION
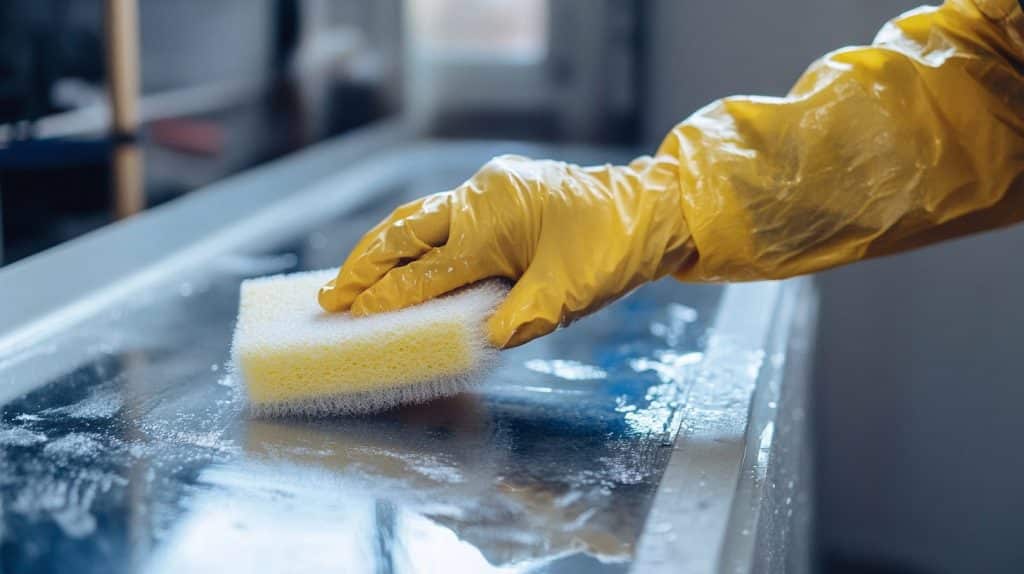
- Put on safety gear.
- Apply the chemical with a brush/sponge.
- Cover the surface evenly.
3. MONITORING
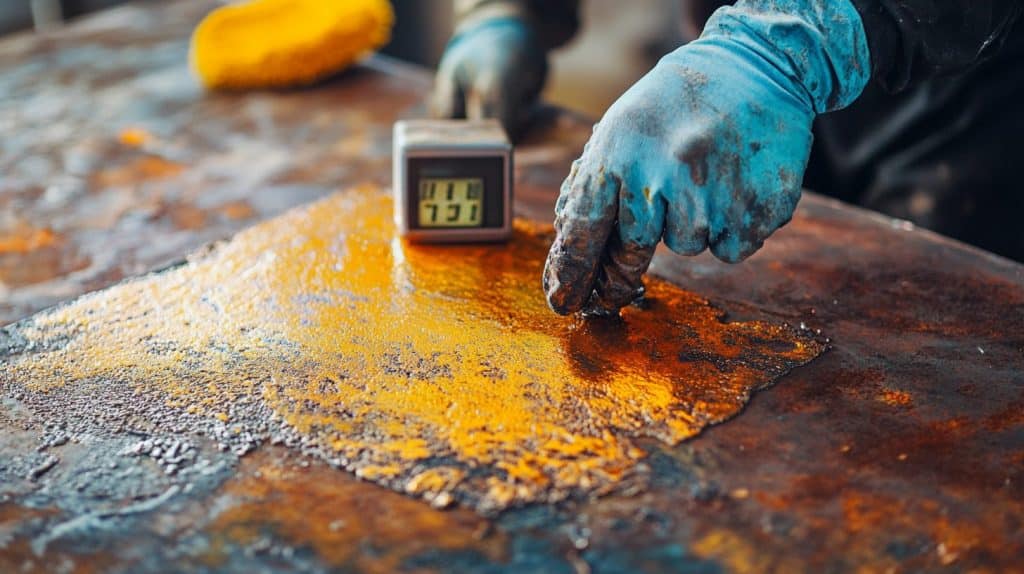
- Wait up to 30 minutes.
- Check every 5-10 minutes.
- Look for color changes.
4. FINISHING

- Rinse with clean water.
- Let air dry completely.
- Wait 24 hours before handling.
Safety Considerations
Never mix different chemical solutions, as this can create dangerous fumes. Work in short sessions to avoid chemical exposure. Keep baking soda nearby to neutralize any spills quickly.
Salt and Vinegar Method: The Gentle Path to Time-Worn Metal
Materials Needed
This gentle aging method requires white vinegar, salt, and steel wool. You’ll also need spray bottles and mixing containers for the solution. The solution will
Step-by-Step Process
1. MIXTURE
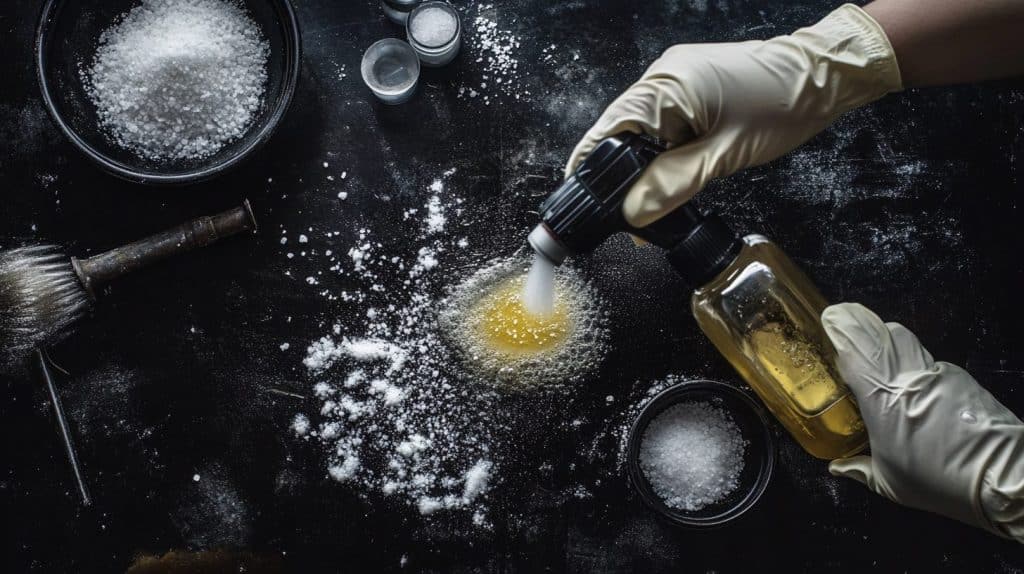
- Combine equal parts vinegar and salt.
- Mix in a spray bottle.
- Shake well.
2. TEST
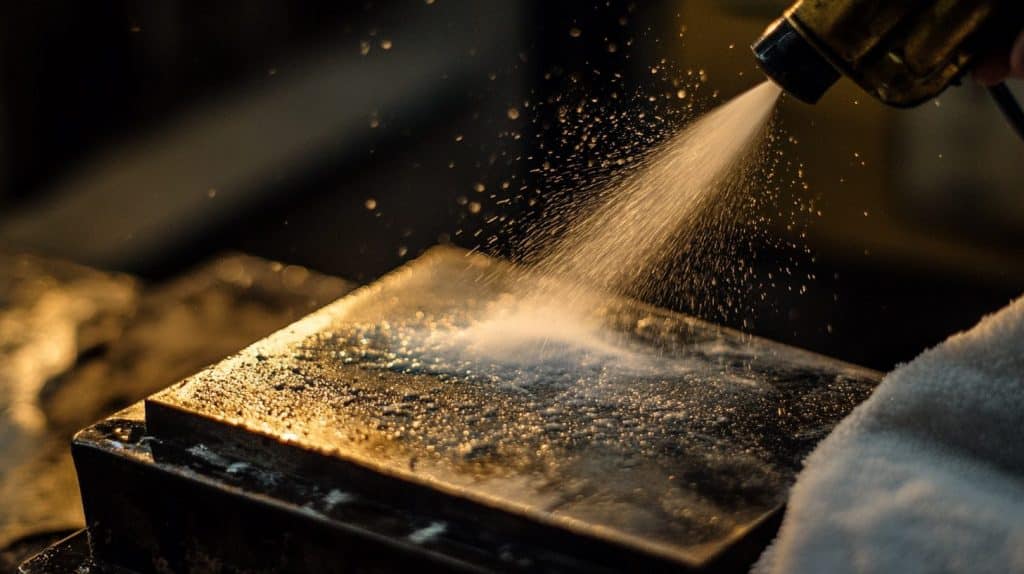
- Pick a small test area.
- Apply solution.
- Watch for reaction.
- Wait 1 hour.
3. FULL APPLICATION
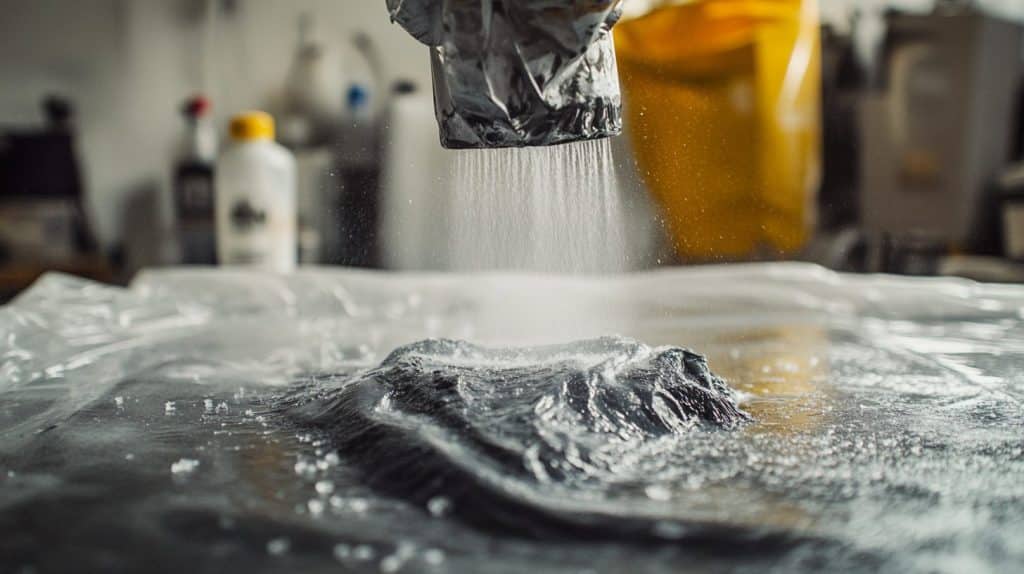
- Spray the entire surface.
- Cover evenly.
- Wait 8-24 hours.
- Check progress.
4. COMPLETION
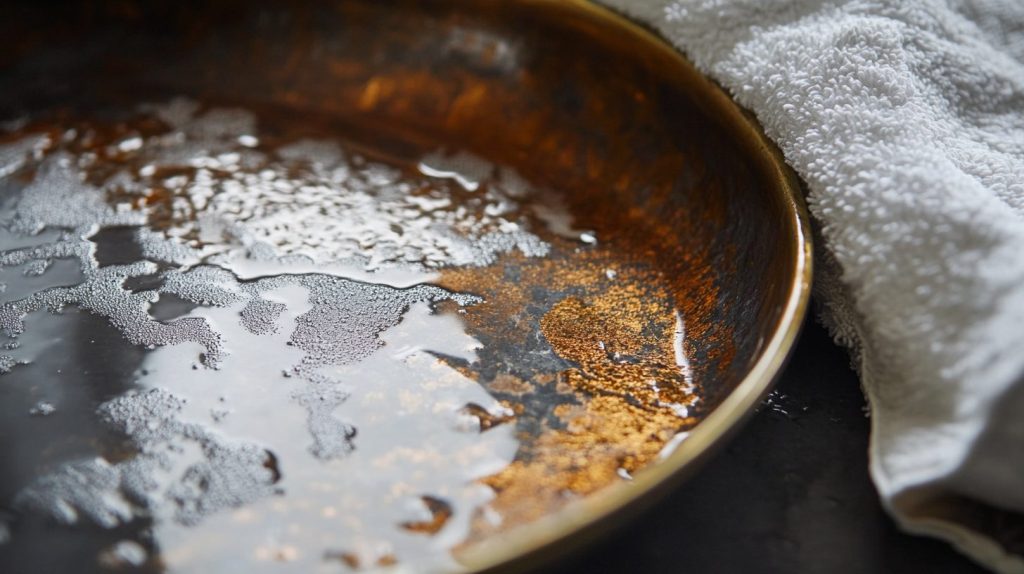
- Rinse with clean water.
- Dry completely.
- Apply sealer if desired.
Sealing the Finish
Apply a clear sealer to protect your aged finish. Choose a product designed for exterior use if the piece will live outdoors. Two thin coats provide better protection than one thick layer.
Tips for Different Metal Types
1. Galvanized Metal
Galvanized metal has a protective zinc coating that affects the aging process. This coating needs specific preparation to accept any aging treatment. Start with a light sanding to create a textured surface for better results.
The paint method works well on galvanized surfaces. Chemical treatments should be used sparingly as they can remove the protective coating entirely.
For best results, maintain some zinc layers to prevent rust formation. To prevent rust formation for the best results.
2. Copper and Brass
Copper and brass develop a natural green-blue color over time. These metals respond well to the vinegar method, creating rich color variations. Salt and vinegar solutions work particularly well on these materials.
Monitor the aging process closely with these metals. The reaction can continue even after rinsing, so timing is critical. Surface preparation matters less with copper and brass compared to other metals.
3. Iron and Steel
Iron and steel require careful handling during the aging process. These metals can rust quickly if left unprotected.
Start with clean, rust-free surfaces before applying any aging technique. If left unprotected, they. Therefore, before applying any aging technique, start.
The paint method offers the most control for these metals. If using chemical or vinegar methods, work quickly and seal the surface promptly. Watch for any signs of rust development during the process.
4. Other Metals
Aluminum and stainless steel present special challenges. These metals resist traditional aging methods. Focus on the paint technique for these materials, as chemical solutions have limited effect.
Mixed metal pieces need careful attention. Test each section separately, as different metals react differently to aging solutions. Consider masking off areas that you want to protect during the process.
Common Mistakes to Avoid
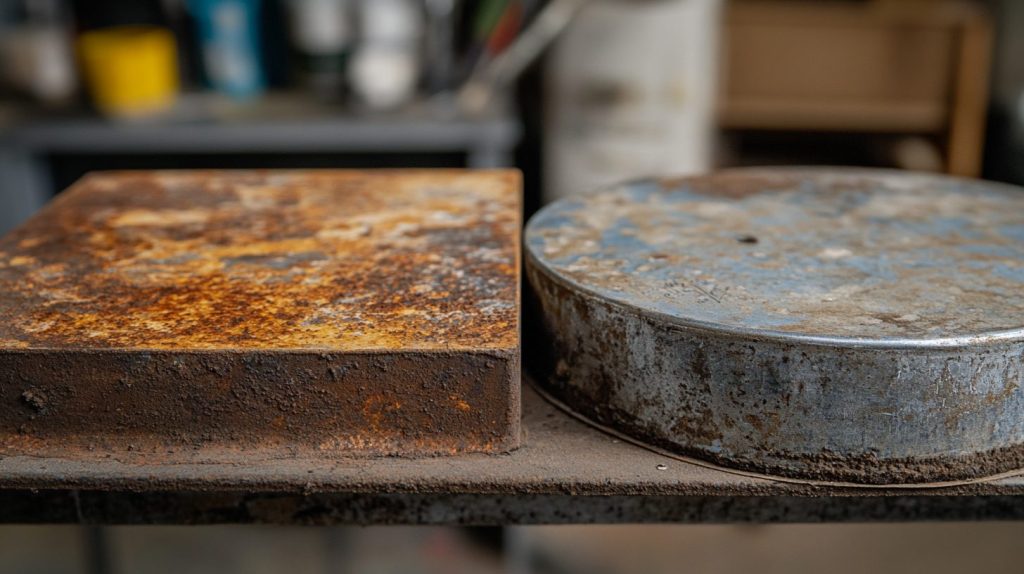
Many beginners skip proper surface preparation, leading to uneven results. Take time to clean and sand your piece thoroughly before starting. Rushing the process rarely produces good results.
Inadequate ventilation poses serious safety risks. Set up fans and open windows to prevent accidents, even when using natural solutions. Also, keep your work area clean and organized.
Failing to test solutions in a small area first can ruin your project. Different metals react uniquely to aging solutions. Always start with a test patch in an inconspicuous spot.
Maintenance and Care
1. Sealing Options
Clear acrylic sealers provide good protection for aged metal surfaces. Choose water-resistant sealers for outdoor pieces.
Apply thin, even coats for the best protection. Protect well for outdoor pieces; choose water-resistant sealers.
Wax-based sealers work well for indoor items. These create a soft, natural finish that enhances the aged appearance. Reapply wax every few months to maintain protection.
2. Long-term Preservation
Store indoor pieces away from direct sunlight and moisture. Check sealed surfaces yearly for wear or damage. Cover outdoor pieces when possible during harsh weather.
Clean sealed surfaces with mild soap and water only. Avoid harsh cleaners that might damage the protective coating. Touch up the sealer before any aging effects are compromised.
3. Touch-up Techniques
Keep small amounts of your aging materials for future touch-ups. Match the original technique as closely as possible when fixing damaged areas.
Work in small sections to blend new and old finishes. When fixing damaged areas, match.
Let touch-ups dry completely before applying the sealer. Check the entire piece for a consistent appearance. If necessary, reapply the sealer over the surface to maintain even protection.
For outdoor pieces, plan for yearly maintenance checks. Address any damage promptly to prevent further deterioration. Document your original aging process for consistent touch-ups later.
Conclusion
Aging metal adds character to your projects through three reliable methods: paint techniques offer careful control and artistic freedom, chemical treatments create quick, dramatic changes, and natural vinegar solutions provide gentle, authentic aging over time.
Remember these key points for success: Always test your chosen method on a small area first. Take time with surface preparation – it’s crucial for good results.
Keep your workspace clean and organized. Most importantly, seal your finished pieces to preserve the aged look you’ve created.
Stay safe throughout your metal aging projects. Use proper safety gear, work in well-ventilated areas, and store materials correctly. Never mix different chemical solutions, and always label your containers clearly.
