Want to build a patio that tells a story?
Old bricks have a character. You just can’t buy new ones.
Over the years, I’ve laid thousands of reclaimed bricks, and I’m here to help you create your own slice of history.
In this guide, you’ll learn everything from sourcing your bricks to laying the final satisfying piece.
If you’ve been worried about tackling this project yourself, don’t be—I’ll break it down into manageable steps that any DIY enthusiast can follow.
Reclaimed brick patios aren’t just beautiful – they’re smart.
You’ll save money while giving these materials a second life.
Plus, those weathered textures and varied colors create a charm that new bricks simply can’t match.
We’ll cover material selection, proper foundation prep, layout patterns, and installation techniques.
By the end, you’ll be confident to transform your backyard into a timeless outdoor space.
Building Materials Required
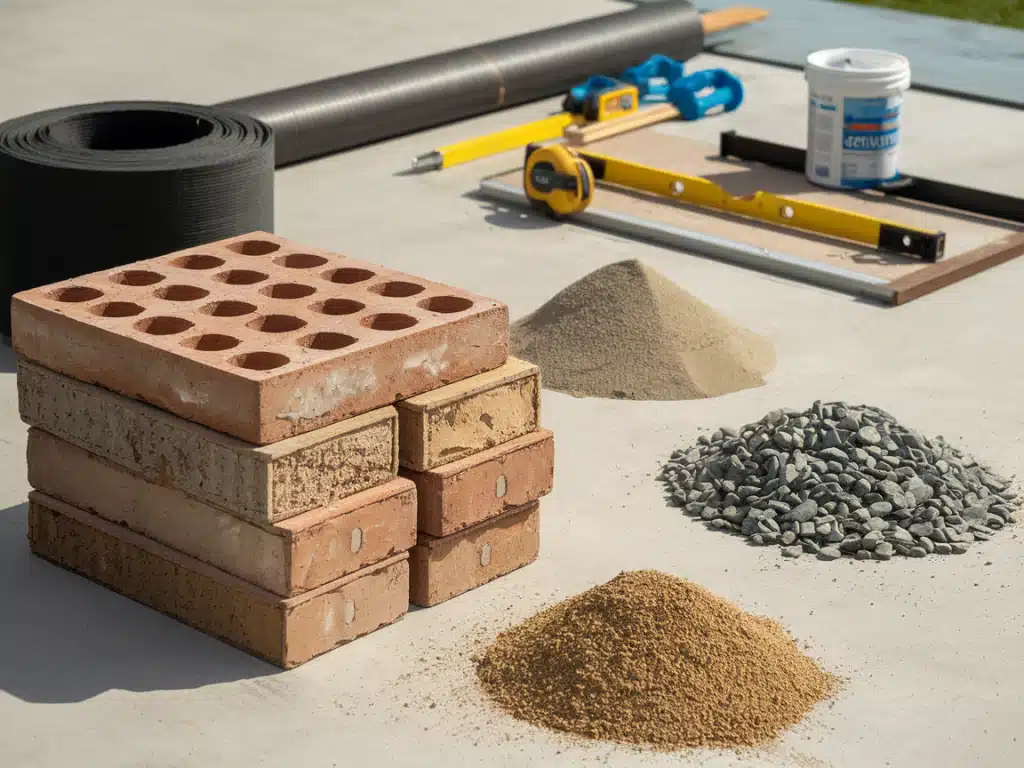
Let’s start with the heart of your patio—the bricks.
I first check local demolition sites, salvage yards, and online marketplaces.
You’ll want solid bricks with minimal chips and cracks.
Plan to get about 10% more than you need to account for breakage.
Here’s your complete materials checklist:
For the Base Layer
- Gravel (crushed stone or #57 limestone)
- Coarse sand
- Landscape fabric (get the heavy-duty kind – it’s worth it)
- Edge restraints to keep your bricks from shifting
For the Surface
- Reclaimed bricks
- Polymeric sand for joints (it’s better than regular sand – trust me)
- Level
- String lines
- Tape measure
Quick Tip: To determine the number of bricks you’ll need, measure your patio space in square feet and multiply by 4.5.
Typically, one standard-sized brick fits in one square foot.
What’s cool?
Every reclaimed brick you use keeps one more brick out of a landfill.
When I tell my clients this, they love knowing their beautiful patio is also helping the planet.
Equipment/Tools Required
I’ve laid patios with fancy and basic tools—both get the job done.
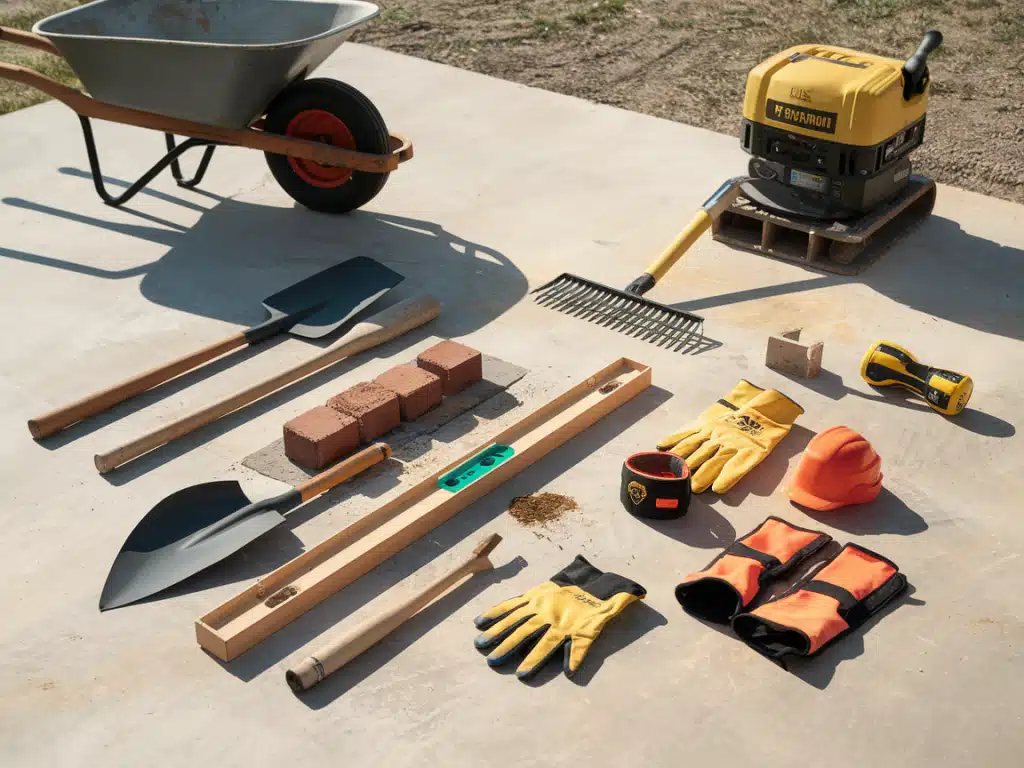
Here’s what you’ll need to transform those old bricks into your new outdoor space.
Must-Have Tools
- Shovel (flat and pointed – you’ll use both)
- Wheelbarrow (borrow one if you don’t own it)
- Garden rake for leveling
- 4-foot level
- 25-foot measuring tape
- Rubber mallet
- Work gloves
- Safety glasses
- Knee pads (your knees will thank you later)
The Big Tools
You’ll need a plate compactor for one day.
Instead of buying one, rent one from your local hardware store. It’s much cheaper, and you won’t need to store it.
Money-Saving Tips: I always tell my clients they don’t need to buy everything new. Borrow tools from neighbors or join a local tool library. Here’s what you can usually borrow:
- Wheelbarrow
- Garden rake
- Long level
- String lines
Pro Tip: Keep a bucket of clean water and a stiff brush nearby. You’ll need them to clean bricks as you work.
Step-by-Step Guide to Building a Reclaimed Brick Patio
1. Prepare the Ground
First, let’s get your space ready.
I always start by marking my area with string lines and stakes.
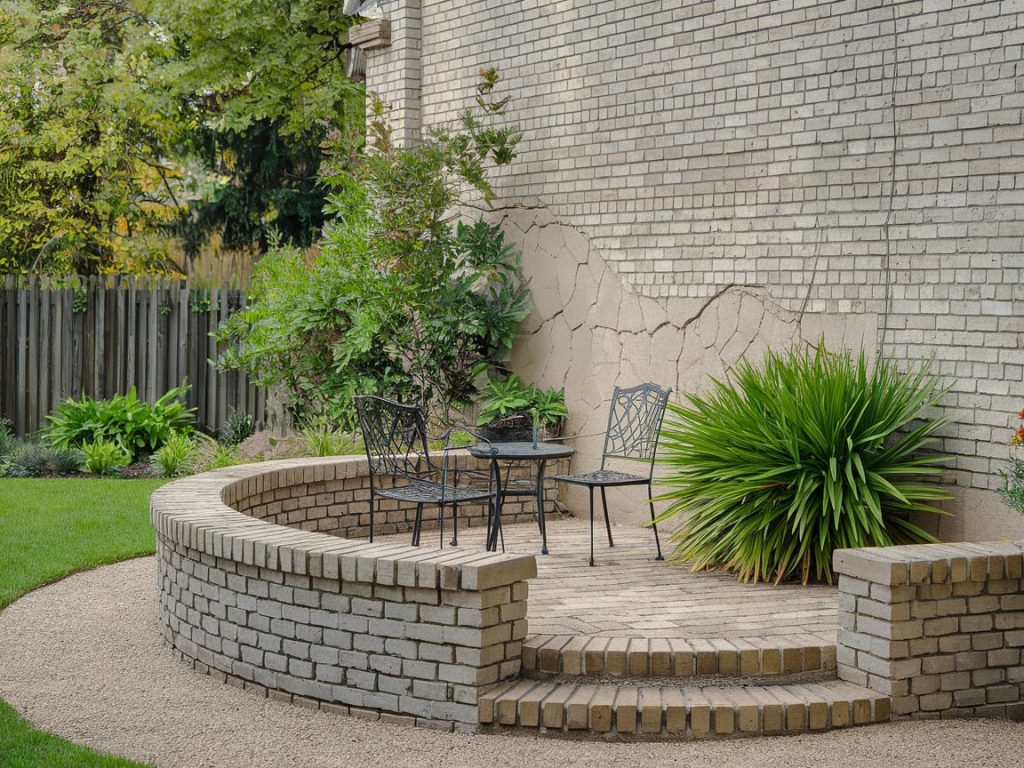
This will give you a clear picture of your future patio. Dig out all the grass and roots to about 7 inches deep.
The surface should be slightly sloped – I aim for a 1-inch drop every 8 feet so water runs off.
2. Build Your Foundation
This is where most DIYers go wrong – they rush the base.
Pour in 4 inches of gravel. Run your compactor over it in a grid pattern.
Take your time here. A solid base prevents future headaches.
3. Add Your Sand Layer
Spread 1 inch of coarse sand over your gravel. Level it with a longboard—I use a straight 2×4.
Don’t walk on your leveled sand! Work from the edges.
4. Lay Your Pattern
Here’s where it gets fun. Start from a corner and work outward:
- Running bond looks classic (like a brick wall)
- Herringbone adds drama
- Basketweave is easier for beginners
5. Set and Secure
Tap each brick with your rubber mallet.
Check your level every few feet. If a brick is too high, add or remove sand underneath.
6. Lock It All In
Pour polymeric sand over your bricks, sweeping it into all the gaps.
Run your plate compactor over everything one last time. Then, mist the entire patio with water to activate the sand.
Pro Tip: Work in small sections. It’s better to complete a small area perfectly than rush through the whole thing.
Design Tips to Elevate Your Reclaimed Brick Patio

Your patio is more than just bricks—it’s a space to enjoy.
With a few simple design ideas, we can make it look amazing.
1. Creative Patterns
Patterns can take your patio from plain to striking.
Here are a few you can try:
- Herringbone: A timeless classic with a zigzag look.
- Basketweave: Great for a vintage vibe.
- Running Bond: Simple and clean, like a brick wall.
2. Landscaping Ideas
Surround your patio with greenery or other details to make it pop.
- Plants: Add potted plants or create garden beds along the edges.
- Edging: Use stone or wood to create a clear border.
- Lighting: String lights or lanterns can make your patio cozy at night.
3. Furniture Placement
How you arrange your furniture can transform the space.
- Create zones: Add a dining table for meals or a lounge area for relaxing.
- Stick to a theme: Go rustic, modern, or minimalist to keep things cohesive.
- Use rugs: Outdoor rugs can add warmth and tie the space together.
4. Mix-and-Match Bricks
Don’t be afraid to mix things up!
- Use bricks in different shades for a natural, rustic look.
- Try incorporating a few stones or tiles as accents.
Common Challenges and How to Solve Them
After laying hundreds of patios, I’ve hit every snag imaginable.
Here’s how to handle the tricky parts without losing your cool.
Dealing with Uneven Ground
Have you found a low spot?
Don’t panic.
Add extra gravel in layers, compacting each one. For high spots, dig a bit deeper.
Remember this: It’s better to spend an extra hour leveling than years looking at a wobbly patio.
Battling Weeds
Those tiny gaps between bricks are weed magnets.
Here’s my three-part solution:
- Double up your landscape fabric – overlap the edges by 6 inches
- Use polymeric sand instead of regular sand
- Keep a bottle of vinegar handy for any stubborn sprouts
When Bricks Go Bad
Sometimes, a brick will crack months after installation.
No worries – here’s how to swap it:
- Remove the surrounding sand with a shop vac
- Pry out the broken brick with a flat screwdriver
- Clean the space thoroughly
- Drop in your new brick
- Pack fresh polymeric sand around it
Pro Tip: Save a few extra bricks from your original batch. When you need replacements, they’ll match perfectly.
The Dreaded Sinking Spot
If part of your patio starts to sink, don’t try quick fixes. Instead, lift the bricks in that area, add more base material, and compact the area well.
Yes, it’s work – but it’s the only real solution I’ve found in 15 years of building patios.
Maintenance Tips for Long-Lasting Appeal
Reclaimed brick patios require little care.
I’ll share what I’ve learned about keeping them beautiful year after year.
Regular Cleaning
Skip the pressure washer – it can damage old bricks.
Instead, sweep weekly and scrub with a stiff brush and mild soap every few months.
For tough stains, I mix equal parts white vinegar and water.
Works like magic on moss and algae.
Quick Clean Recipe:
- 1 cup dish soap
- 1-gallon warm water
- Stiff bristle brush
- Garden hose on low-pressure
About Sealing
Here’s the truth about sealing: it’s not always needed.
Reclaimed bricks have survived decades without it. But if you want extra protection:
- Choose a breathable sealer
- Apply when bricks are completely dry
- Reapply every 2-3 years
- Test on a hidden spot first
Weather Protection
Each season needs different care:
Spring: Check for loose bricks after winter. Add fresh polymeric sand if needed.
Summer: Remove any weeds while they’re small. Keep trees trimmed to prevent sap drips.
Fall: Clear leaves quickly – they can stain. Cover furniture, not the bricks.
Winter: Use sand for ice, not salt. Salt eats away at old bricks. Push snow gently with a plastic shovel.
Creative Ideas for a Reclaimed Brick Patio
Over the years, I’ve helped create some truly unique patios.
Here are my favorite ideas that’ll make your outdoor space stand out.
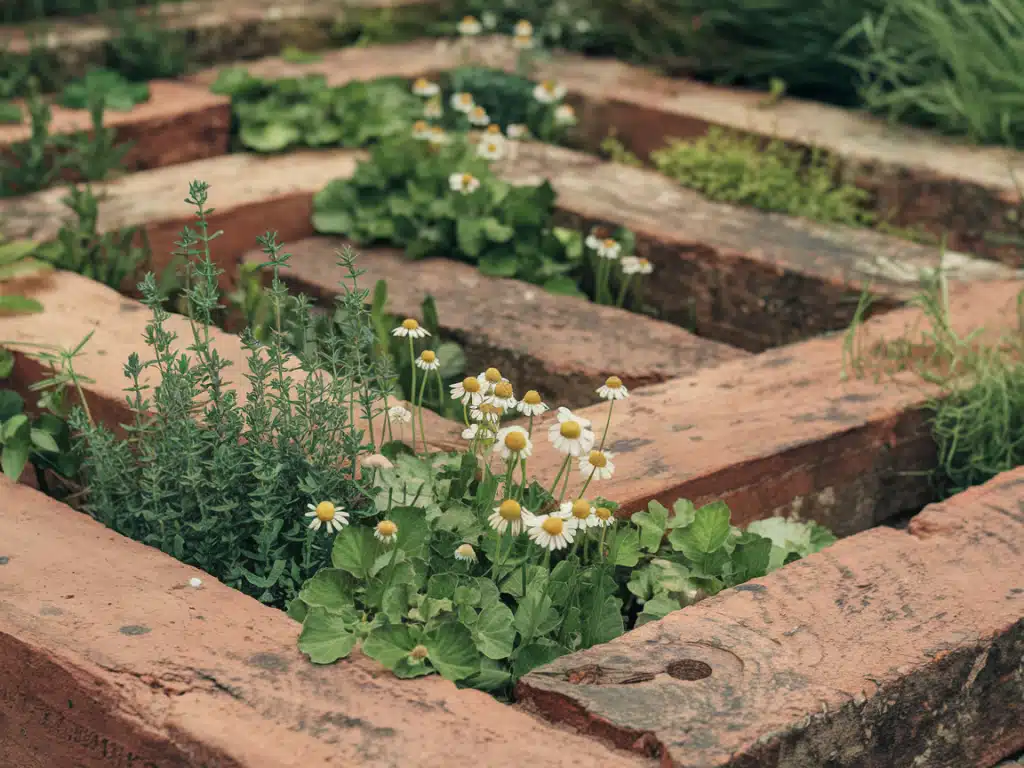
1. The Secret Garden
Plant herbs between your bricks to create a mini maze.
Strategic gaps can be used to plant thyme, chamomile, or creeping jenny.
When you walk across them, they release a lovely scent. I’ve seen this transform plain patios into magical spaces.
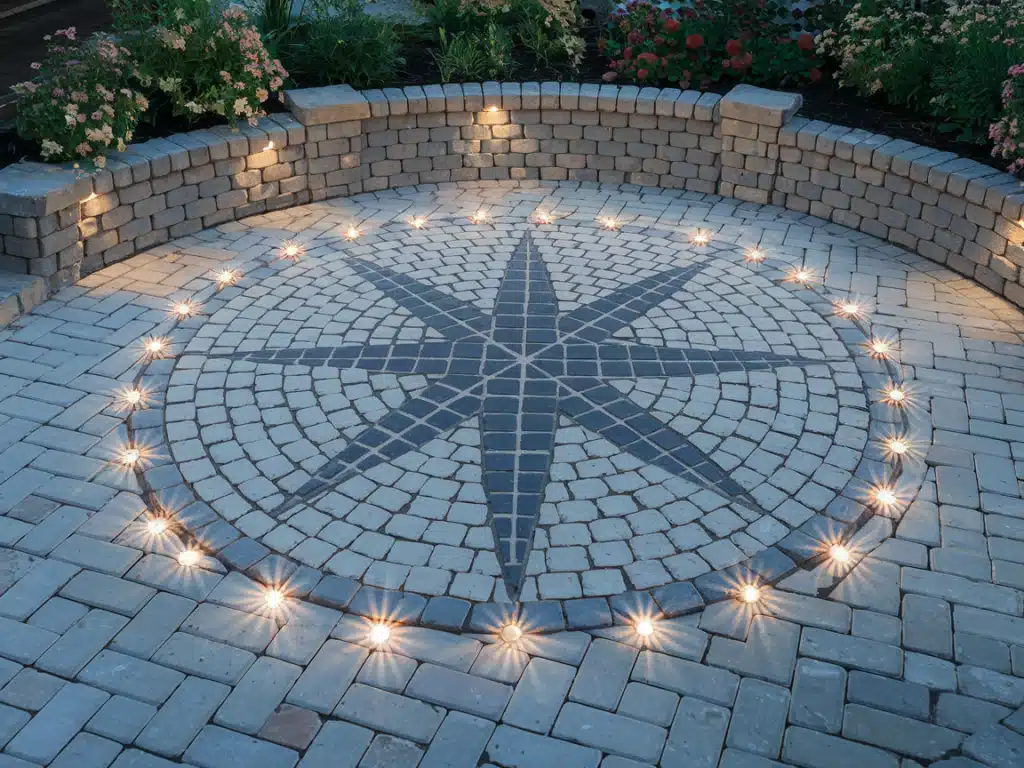
2. The Night Sky Pattern
Use darker bricks to create a star pattern in the center of your patio.
Circle it with lighter bricks. Add solar-powered lights around the edges.
At night, it looks like you’re sitting under the stars.
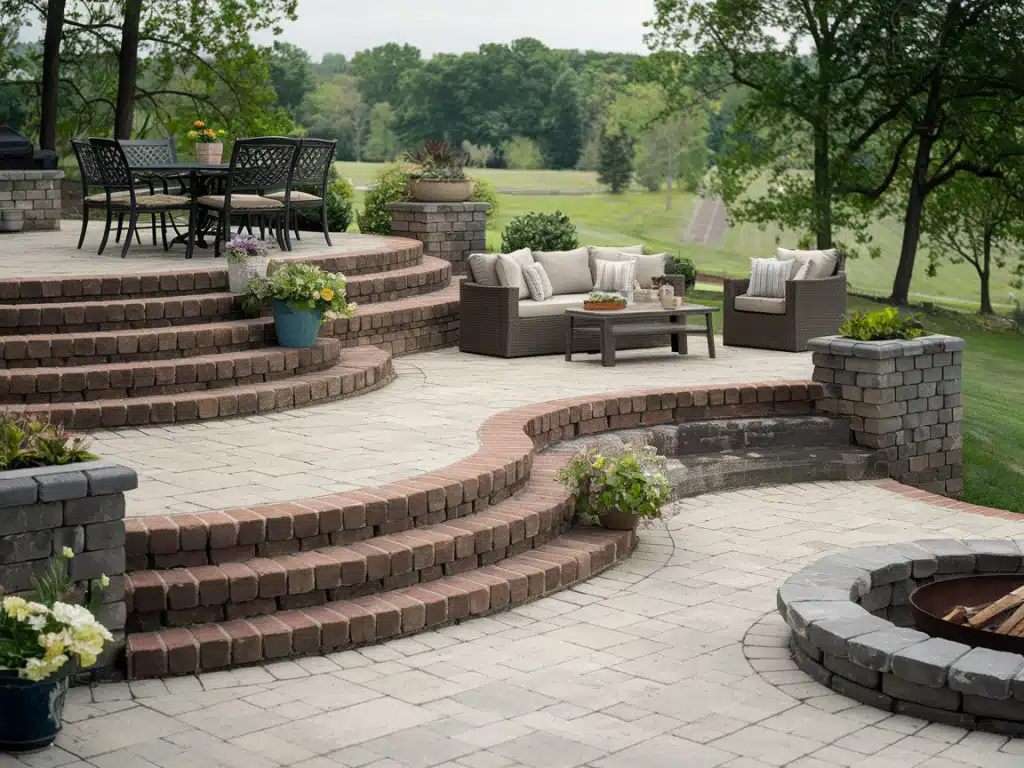
3. The Multi-Level Marvel
Build two or three small levels using old brick steps.
Each level can serve a different purpose – dining up top, lounging in the middle, fire pit down below.
It’s perfect for sloped yards.
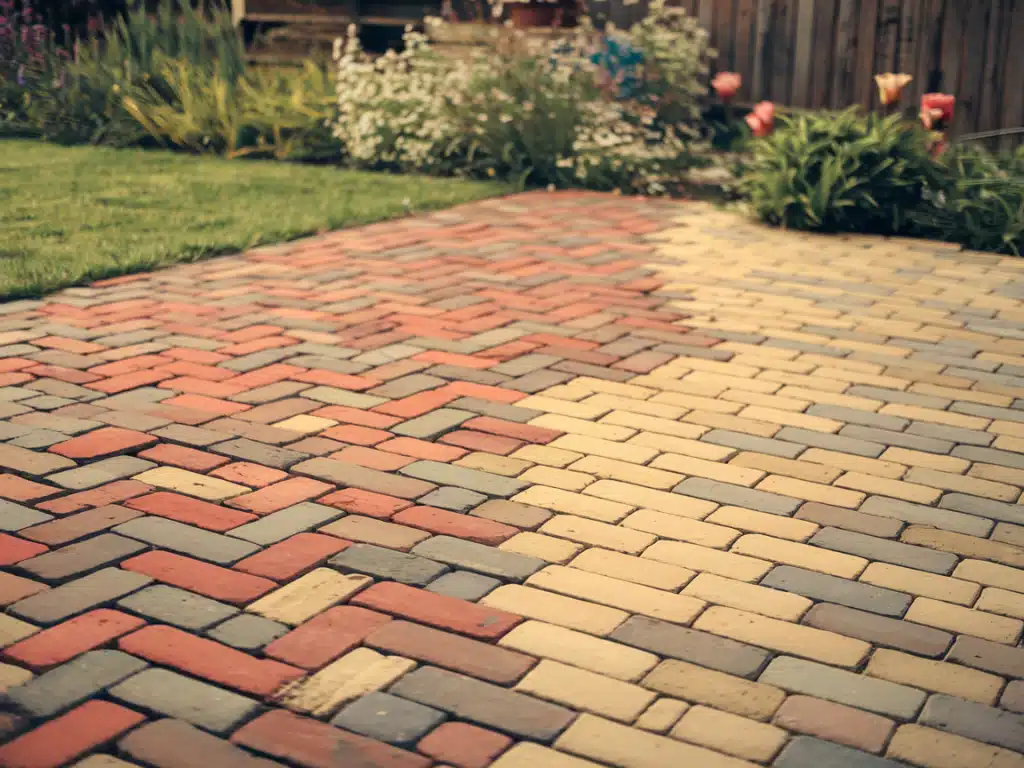
4. The Historic Timeline
I love this one. Arrange bricks from different eras to create a timeline.
Mix red clay bricks from the 1800s with yellower ones from the 1920s. Each section tells a story.
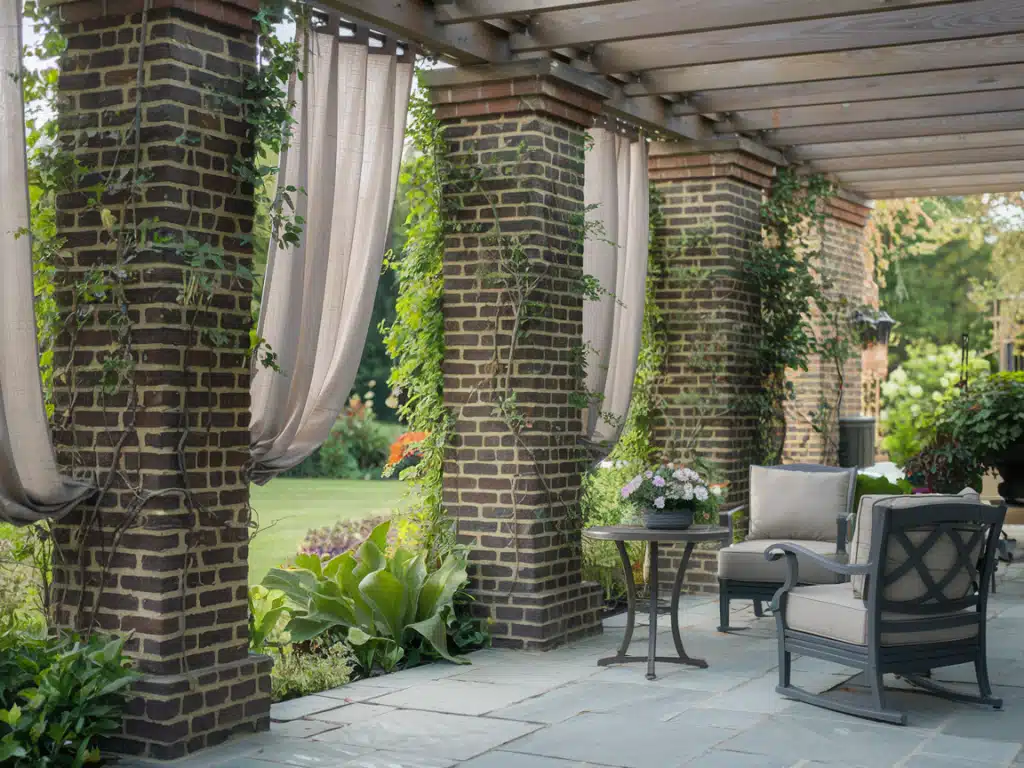
5. The Outdoor Room
Use brick pillars at the corners to support a pergola.
Train vines to grow up them.
Add outdoor curtains between pillars. Now you’ve got a cozy outdoor room with character.
6. The Compass Rose
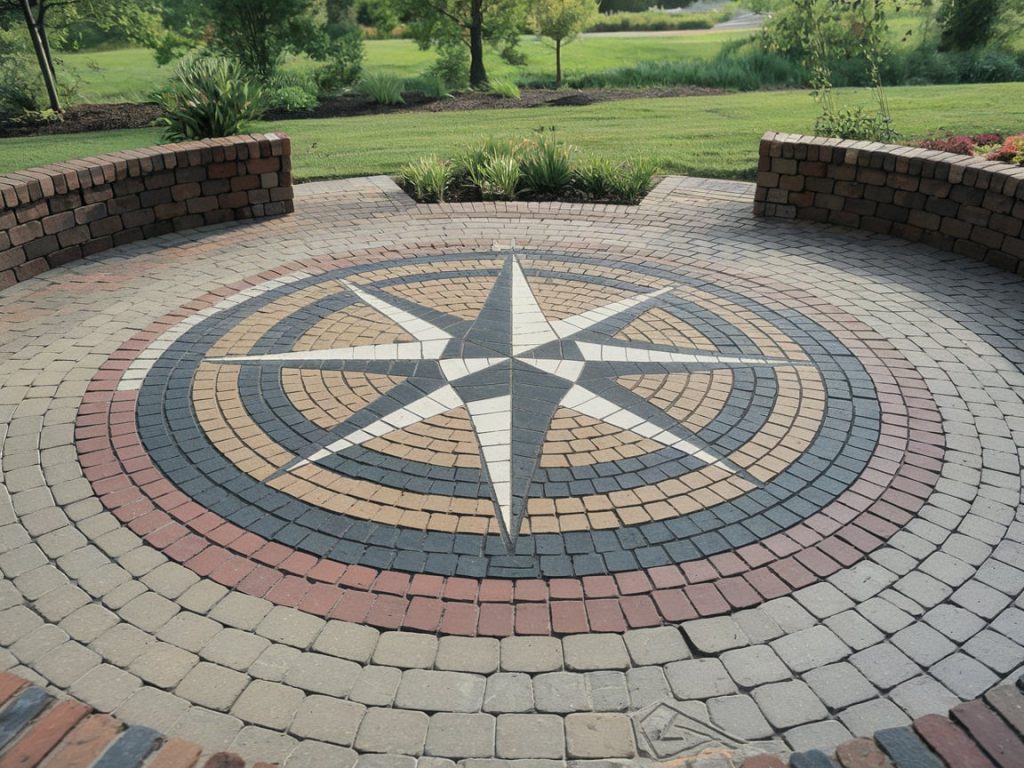
Create a large compass design in the center using contrasting brick colors.
Surround it with a circular pattern. It’s not just beautiful – it’s a conversation starter.
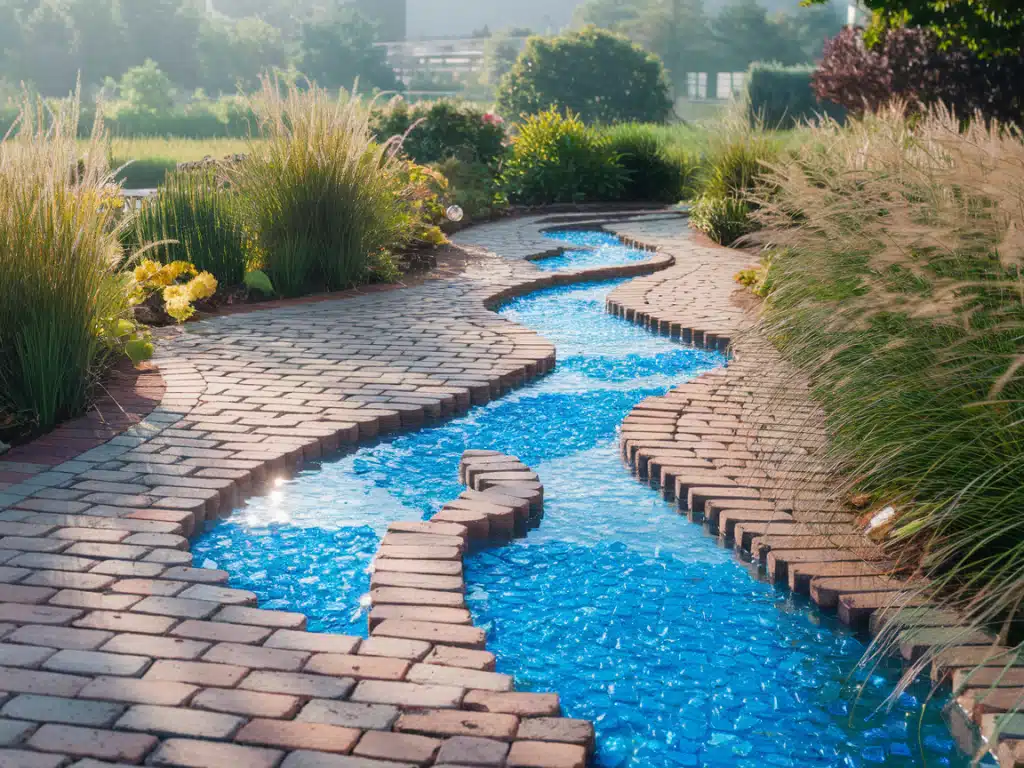
7. The River Run
Lay your bricks to create the illusion of a winding river.
Use blue-tinted glass pieces between some bricks to catch the light. Edge it with plants that wave in the breeze.
Conclusion
Creating a reclaimed brick patio takes work but is worth every sore muscle.
Remember, you’re not just laying bricks – you’re giving old materials new life and building a space that tells a story.
Those slight color variations and weathered textures are not flaws but characters.
I’ve built dozens of patios, and the ones with perfect imperfections always get the most compliments.
Take your time with the foundation, have fun with patterns, and let your patio develop its personality.
Trust me, there’s nothing quite like sitting out on a warm evening, knowing you built it yourself.
Do you have questions about your project?
Please post them in the comments below. I’d also love to see photos of your finished patios!
Frequently Asked Questions
Can I Use Any Brick For a Reclaimed Brick Patio?
No, choose sturdy bricks without cracks.
Avoid bricks from fireplaces or chimneys, as they may not handle outdoor conditions well.
How Deep Should I Dig For the Patio Base?
Excavate about 6-8 inches deep to allow for the gravel, sand, and bricks, ensuring a solid and level foundation.
Do I Need to Seal My Reclaimed Brick Patio?
Sealing is optional but helps prevent stains, protect from moisture, and maintain the brick’s color over time.
How Do I Prevent Weeds Between the Bricks?
Lay landscape fabric under the base and use polymeric sand in the joints to block weeds from growing.
What’s the Best Pattern For a Reclaimed Brick Patio?
Herringbone, basketweave, and running bond are popular patterns.
Choose one that fits your space and style preferences.

