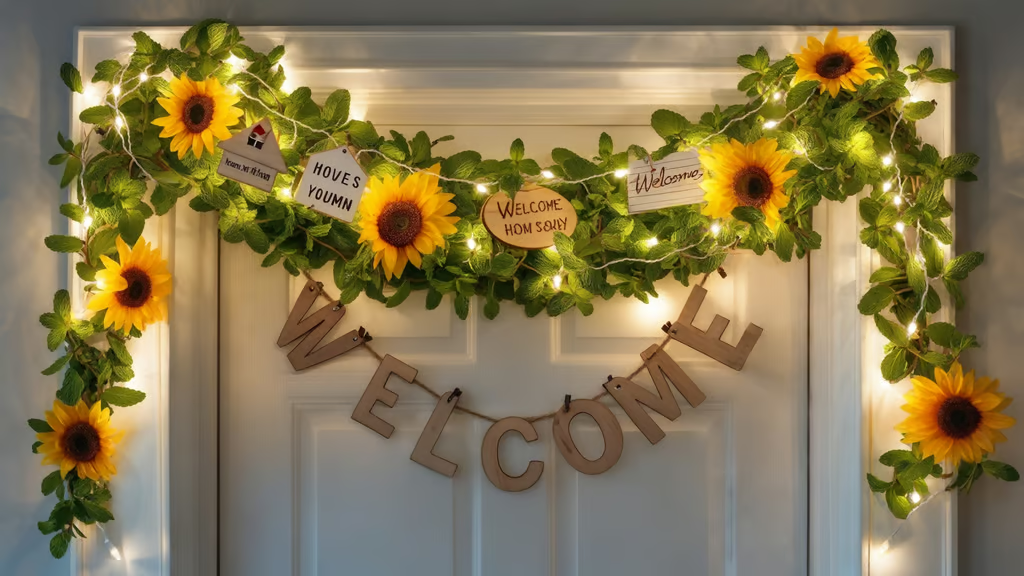
Want to add a natural touch to your home decor?
Making garlands by hand costs less than buying pre-made ones, but many people find the task hard to start.
The good news is that creating your own garland doesn’t need to be complex.
This guide will show you the step-by-step process to make a beautiful garland for any event.
I have learned
- which materials work best
- How to keep your garland fresh longer
Even if you’ve never made one before, you’ll find these methods easy to follow.
So, let’s get started!
How I Made a Beautiful Garland
Tools Required
- Garden string or twine
- Floral wire
- Garden scissors or pruners
- Various types of fresh foliage
- Optional: pine cones
- Water mister (optional)
Step-By-Step Guide for Making
1. Starting Your Garland
- Take your wire and twist it onto the string’s end
- The string acts as your guide for foliage placement
- Start with 2-3 slightly longer pieces of greenery
2. Building The Base
- Place small bundles of foliage on the string
- Wrap wire around stems to secure them
- Think of a three-position pattern: left, top, right
- Layer new pieces over the previous bundle’s stems
- Pull the wire tight but not too tight
3. Adding Structure
- Work in a pattern similar to hair braiding
- Place foliage at different angles
- Make sure to catch stem tips with wire
- Keep wire connected throughout – don’t cut until the end
- Add pieces on top for a fuller appearance
4. Creating the End
- Use shorter bundles near the finish
- Work in the opposite direction for the final pieces
- Hide wire with bushy foliage pieces
- Secure with final wraps of wire
- Tie off the string and trim the excess
Tips and Tricks for Keeping It Fresh Longer
- Keep garland outside until needed to maintain freshness
- Spray with water mister to extend life
- Mix different textures for visual interest
- Save bushy pieces for the ends to hide connections
- Wire pine cones before starting the garland
- Take breaks if needed – it’s okay to finish later
- Adjust the length by trimming the string as needed
- Create smaller bundles for tighter curves
- Mix long and short pieces for a natural look
Overall Cost Required for Making a Basic Garland
| Item | Cost |
|---|---|
| Essential Items | |
| Garden string or twine | $3-5 for a roll |
| Floral wire | $4-6 for a spool |
| Garden scissors or pruners | $10-15 for a basic pair |
| Fresh foliage (foraged) | Free |
| Fresh foliage (purchased) | $15-25 for mixed greenery bundles |
| Optional Items | |
| Pine cones (collected) | Free |
| Pine cones (purchased) | $5-8 for a bag |
| Water mister | $3-5 |
| Total Estimated Cost | |
| Minimum (foraged materials) | $17-26 (tools and binding materials) |
| Average (purchased greenery) | $32-51 |
Keep in Mind That
- Tools like scissors and pruners are one-time purchases that can be used for future projects
- Costs can vary based on your location and where you source materials
- The length of the garland you plan to make will affect how much material you need
- Seasonal timing can affect the cost of fresh greenery
Benefits of Make a Garland at Home
- Making garlands at home saves money since store-bought ones often come with high price tags.
- When you create them yourself, you can buy materials in bulk and make several garlands for the same cost as one pre-made piece.
- Your garland will look fresher because you control when you make it. Store-bought garlands might sit in storage for days before you buy them. But when you make them at home, you can time the creation perfectly for your event.
- You get to pick exactly what goes into your garland. This means you can match your home’s style or party theme perfectly.
- Plus, you can change the size to fit your space just right. You won’t have to settle for standard store lengths if you need a longer or shorter garland.
- The process of making garlands can be fun and calming. It allows you to work with your hands and create something beautiful. You might even find it becomes a hobby you look forward to.
Different Varieties and Cost of Garlands
| Garland Type | Cost (per 6 feet) | Features | Best Use |
|---|---|---|---|
| Classic Pine Garland | $15-25 | Strong pine scent, dark green, lasts 2-3 weeks | Traditional holiday settings |
| Boxwood Garland | $25-35 | Small, round leaves stay green for 3-4 weeks | Formal events |
| Mixed Berry Garland | $30-45 | Greens with seasonal berries last 2 weeks | Adds color to winter decor |
| Eucalyptus Garland | $35-45 | Silver-blue color, fresh scent | Modern settings |
| Olive Branch Garland | $40-55 | Gray-green leaves last up to 3 weeks | Mediterranean themes |
| Bay Leaf Garland | $35-45 | Glossy green leaves, subtle spice scent | Kitchen Decor |
| Cedar Garland | $20-30 | Soft, feathery texture, fresh woodsy smell | Outdoor use |
| Magnolia Garland | $35-50 | Large, glossy leaves, brown underside | Southern-style decor |
How to Decor Garlands for Different Occasions
1. Wedding Celebrations
- White and cream flowers woven through greenery
- Add small fairy lights for evening events
- Tie in light tulle or silk ribbons
- Match flowers to bridal bouquet colors
- Cost-saving tip: Focus flowers at photo spots
2. Birthday Parties
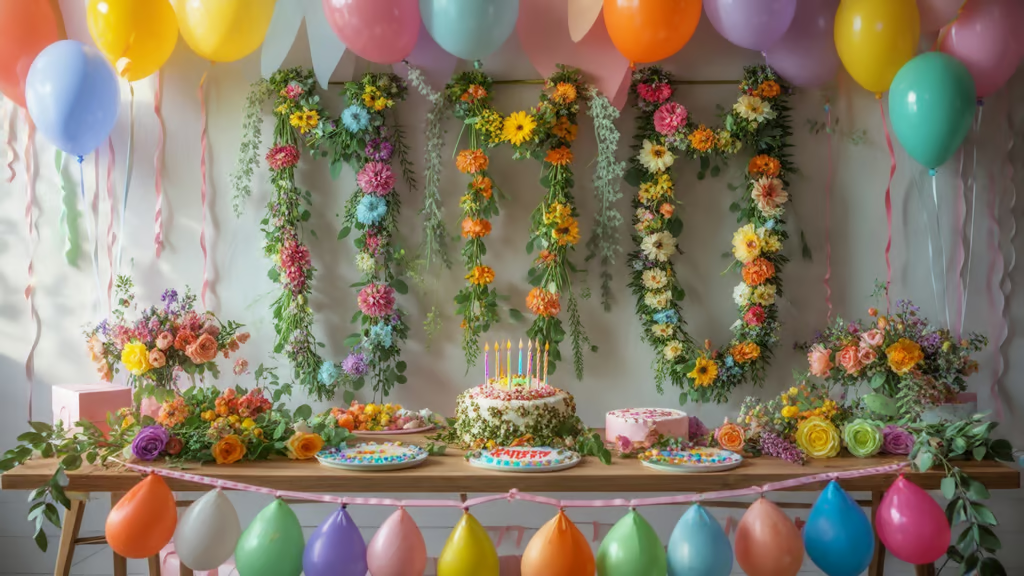
- Mix in balloons at regular intervals.
- Add paper flowers or themed cutouts
- Tie in colorful ribbons
- Include small party banners
- Keep decorations light so the garland stays stable
3. Holiday Season
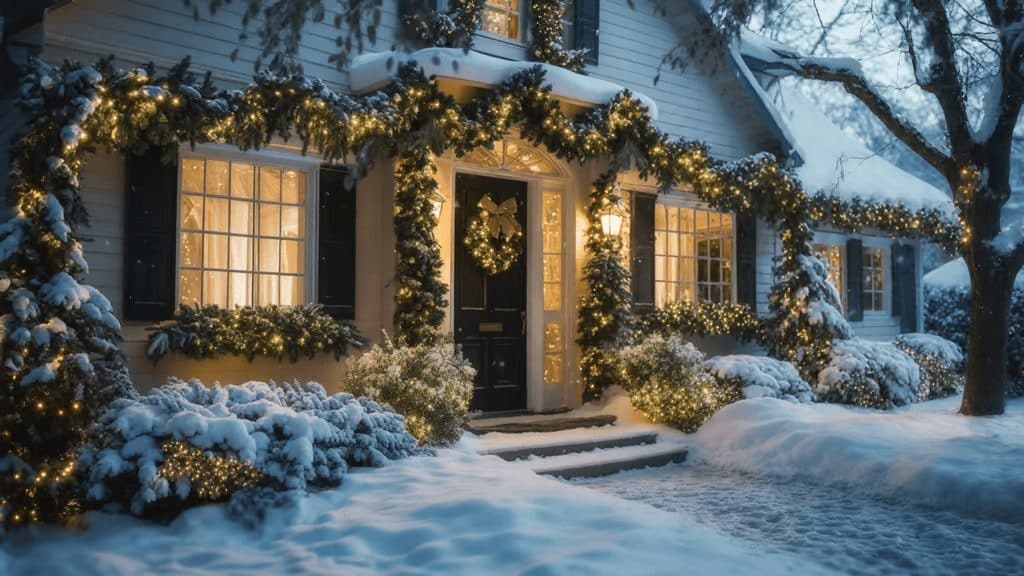
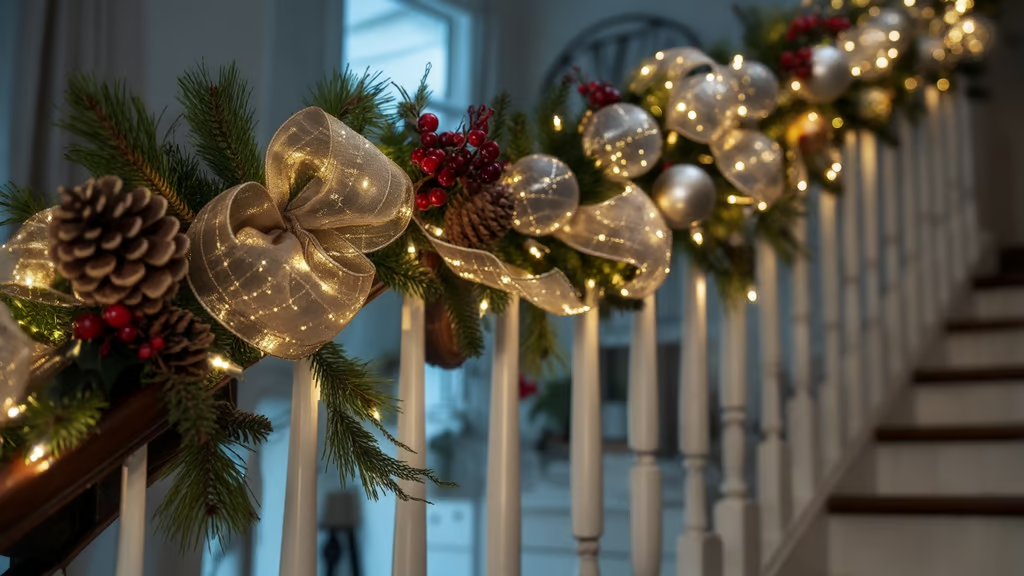
- String warm white lights through branches
- Add pinecones and red berries
- Mix in glass ornaments sparingly
- Use a wired ribbon for easy bows
- Keep heavy items near support points
4. Baby Shower
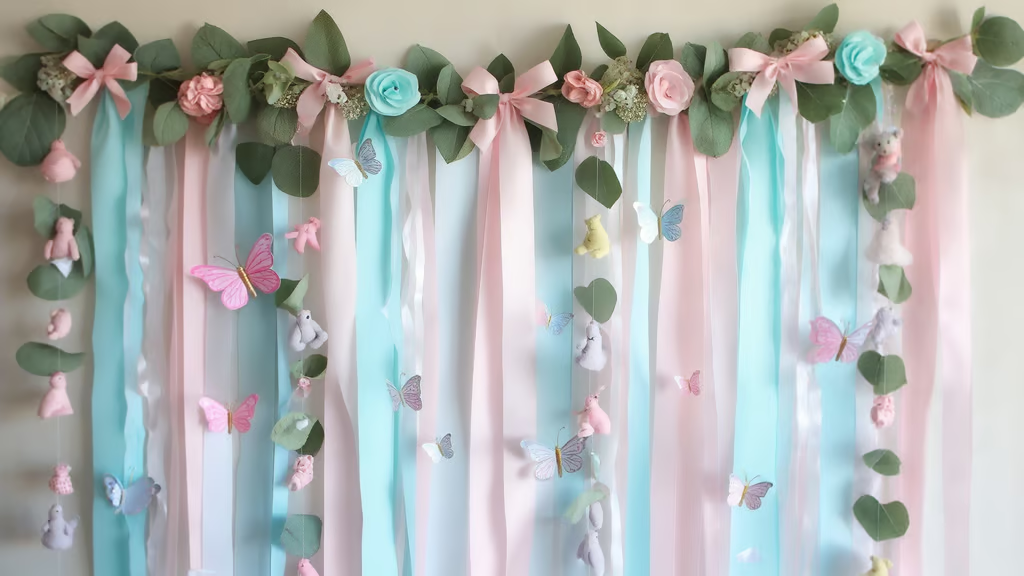
- Soft pink or blue ribbon accents
- Small paper flowers or butterflies
- Light fabric bows
- Tiny stuffed animals tucked in greenery
- Use plastic decorations for safety
5. Graduation Day
- School colors in ribbons and flowers
- Small diploma rolls as accents
- Add graduation caps
- Mix in year numbers
- Keep it light for outdoor events
6. House Warming
- Simple white lights
- Fresh herbs tucked in greenery
- Small welcome signs
- Seasonal flowers
- Easy-to-remove decorations
Best Color Combination with Garlands: I Always Prefer
| Theme | Color Palette | Key Features |
|---|---|---|
| Traditional Holiday Colors | Deep green, red, silver, gold, white berries | Classic winter look, shine from silver/gold, snow-like effect with white berries. |
| Summer Fresh | Light green, white, pink, yellow, purple | Bright and sunny yellow flowers, balanced with purple and green |
| Rustic Earth Tones | Brown, green, orange, deep red, tan | Natural and warm, dried elements for texture, easy on the eyes |
| Modern Minimalist | White, green, silver, blue-green | Clean and simple, with subtle shine, eucalyptus adds a modern touch |
| Romantic Pastels | Soft pink, cream, light purple, pale yellow | Gentle and soft, pale yellow adds warmth, light purple for depth |
| Seasonal Success | Spring: Pink, white, light green Summer: Yellow, purple, bright green Fall: Orange, red, deep green Winter: White, dark green, burgundy |
Seasonal color recommendations for year-round decor |
| Quick Tips | Start with two main colors and add one accent Use shades of the same color for depth Bright colors in small touches Match room’s colors |
Tips to create balanced, cohesive designs |
Certain Maintenance Tips to Make Garlands Evergreen
- Store garlands outdoors in a cool spot until you need them indoors.
- Mist the foliage with water every morning using a spray bottle.
- Keep garlands from heat sources like fireplaces, radiators, or sunny windows.
- Place garlands in position gently to avoid breaking or damaging the foliage.
- Check daily for any loose pieces and secure them with floral wire if needed.
- Remove any brown or dried pieces promptly to maintain a fresh look.
- Place a damp towel behind garlands on mantels to add moisture.
- Avoid hanging garlands where people might brush against them often.
- Make garlands closer to your event date for maximum freshness.
- Place bowls of water near indoor garlands to increase humidity around them.
Conclusion
Making your own garland brings natural beauty to any space, and now you have all the tools to create one yourself.
From picking the right materials to matching colors for different occasions, this guide covers the basics you need to start.
Remember, your first garland doesn’t need to be perfect. Start with simple greenery, and as you get comfortable, try adding different elements.
The money you save by making garlands at home lets you create more for different spaces or events.
Want to try making a garland?
Start with a small piece for your table. Once you’ve mastered that, you can tackle longer pieces for mantels or doorways.
Share your creations in the comments below – we’d love to see what you make!
Frequently Asked Questions
How Long Does It Take to Make a Fresh Garland?
A 6-foot garland takes about 45 minutes to make. Beginners might need 1-2 hours. Speed improves with practice.
How Do I Keep My Garland from Falling Apart?
Secure foliage tightly with floral wire. Wrap wire continuously along the base. Check wire connections daily and fix loose spots.
How Far in Advance Can I Make a Fresh Garland?
Make garlands 2-3 days before your event. Store them outside in cool weather. Most greens stay fresh for up to two weeks.
How Much Does It Cost to Make a Garland vs. Buy One?
Making a 6-foot garland costs $8-15 for basic greens. Store-bought versions cost $25-40. You save about 60% by making it yourself.
What Type of Greenery Lasts Longest in Garlands?
Pine, cedar, and magnolia leaves last longest, staying fresh for 2-3 weeks. Eucalyptus and boxwood also hold up well.

