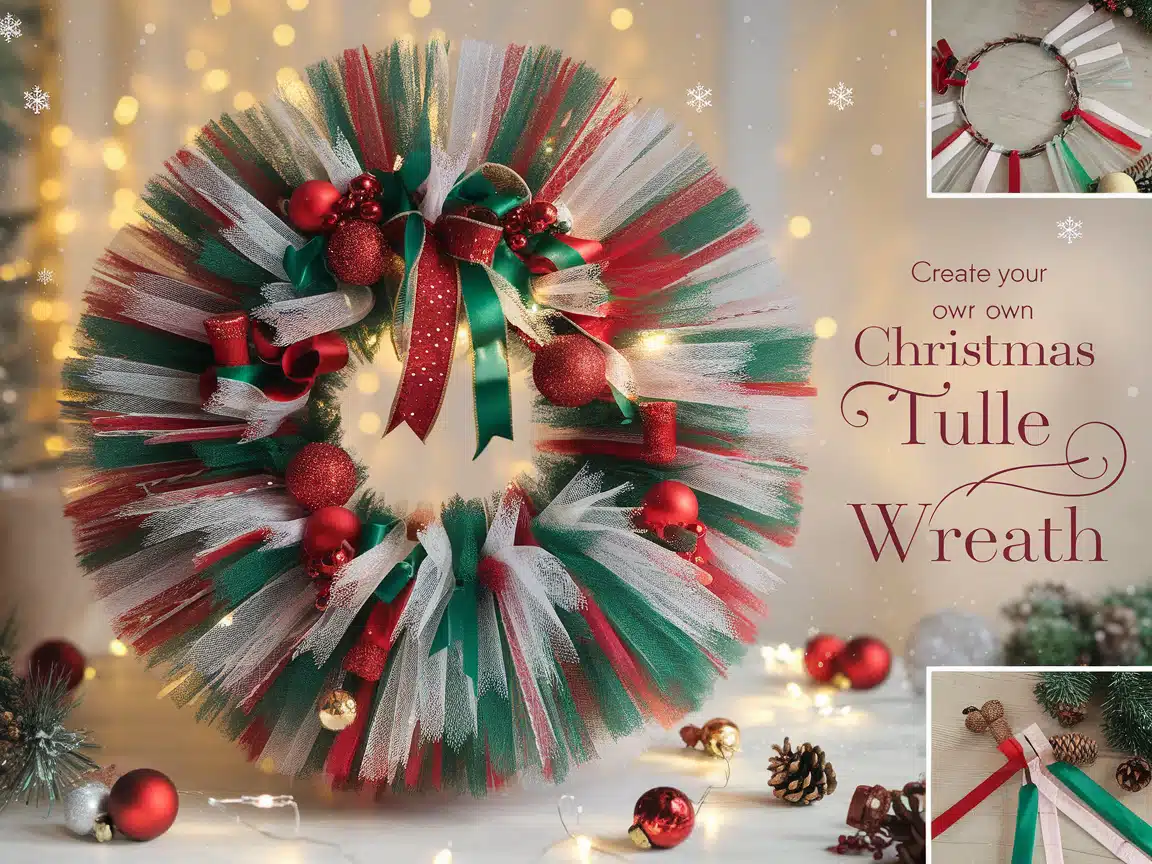
My Christmas Tulle Wreath Guide (Creative Steps and Ideas)
Want to add holiday cheer to your home without spending too much?
A tulle wreath might be just what you need.
This soft, fluffy decoration brings warmth to any door or wall, and you can make it yourself for less than store-bought options.
Many people think wreath-making is hard or expensive.
The truth is that tulle wreaths are simple to create, and you can personalize them with your favorite colors and patterns.
In this guide, you’ll learn how to make your Christmas tulle wreaths.
I’ll cover everything from choosing materials to adding finishing touches.
You’ll find clear steps, helpful tips, and creative ideas to make a wreath that fits your style.
Plus, I’ll share money-saving suggestions so you can create something beautiful without breaking your budget.
Materials You’ll Need to Make a Tulle Wreath

Essential Supplies Checklist
Let’s start with the basics. Here’s what you’ll need:
- Tulle rolls or fabric: 2-3 rolls (each 6 inches wide, 25 yards long)
- Wire wreath frame: 12-14 inches works best for most doors
- Sharp scissors: Regular or fabric scissors will work fine
- Measuring tape: To keep tulle pieces even
- Workspace: A flat table or counter
Extra items you might want
- Small ornaments
- Basic ribbons
- Battery-powered fairy lights
- Hot glue gun and glue sticks
- Pipe cleaners
Tips for Choosing the Right Tulle Colors and Patterns

I’ve found that three colors work best for a full, eye-catching wreath. Here’s what I suggest:
Pick one main color as your base. For Christmas, green or red works well.
Then, add two accent colors that match your home’s style. White and gold make classic pairs.
Here’s a quick tip about tulle types: Stick with basic tulle rather than glitter versions.
The glitter sheds everywhere, and plain tulle looks just as good.
Here’s a helpful hint: Buy more tulle than you need.
I usually get an extra roll because it’s better to have too much than too little.
Plus, you can use the leftover tulle for other projects.
Step-by-Step Guide to Making a Christmas Tulle Wreath
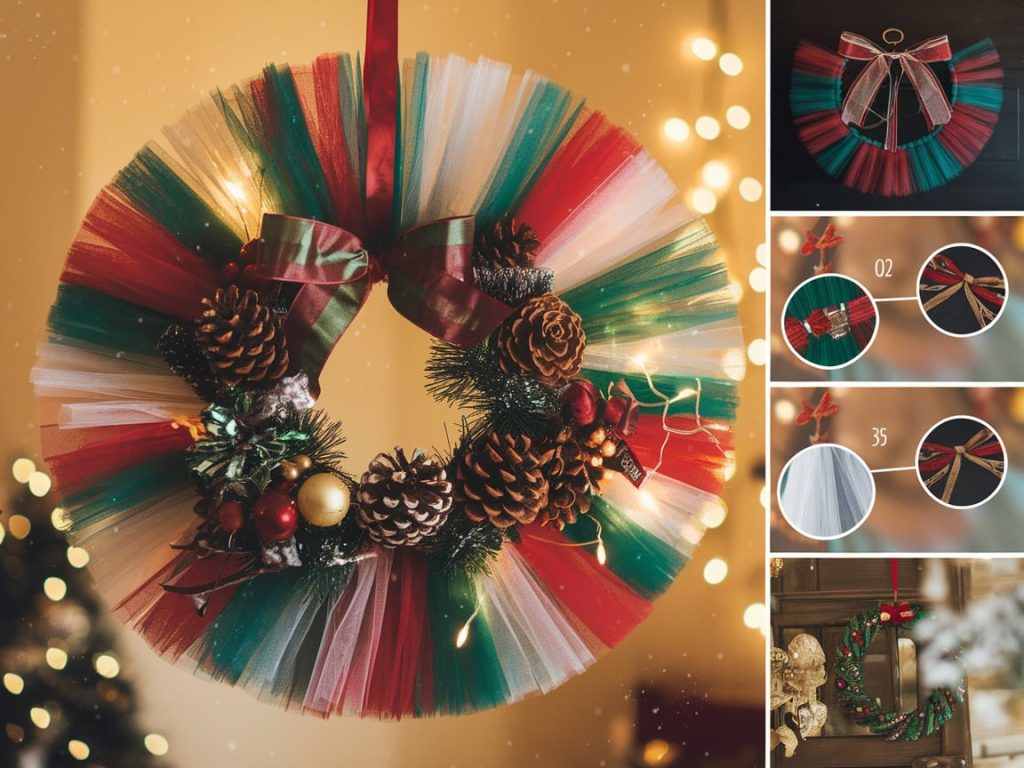
Step 1: Preparing the Frame and Tulle
First, let’s get your tulle ready.
I recommend cutting pieces that are 10 inches long. Here’s my simple method:
- Spread the tulle on your work surface
- Use your measuring tape to mark 10-inch sections
- Cut straight across with your scissors
- Make about 60-80 pieces per color
Pro tip: Fold the tulle in layers before cutting. This saves time and keeps pieces even.
Step 2: Attaching the Tulle to the Frame
Here’s the fun part!
Take your wireframe and follow these steps:
- Fold one tulle piece in half to make a loop
- Put the loop under a wire section
- Pull the ends through the loop
- Pull snugly (but not too tight)
- Slide it next to the frame’s cross-bars
Keep adding pieces side by side. Mix your colors as you go.
I like to work in small sections rather than doing one color at a time.
Step 3: Adding Creative Elements
Now, let’s make your wreath special. Some ideas I’ve tried:
- Small glass balls (tie them in with the tulle knots)
- Simple bows (attach at the bottom or top)
- Battery lights (weave them through gently)
Important: Less is more. Pick 2-3 extra items that look good together.
Step 4: Final Touches
Almost done!
Here’s how to perfect your wreath:
- Gently pull each tulle piece to fluff it
- Turn fragments in different directions for fullness
- Check for gaps and add more tulle if needed
- Make sure decorations are secure
Last tip: Take a step back and examine your wreath from different angles. Fix any flat spots or uneven areas.
Creative Christmas Tulle Wreath Ideas
1. Classic Christmas Wreath

A timeless look that fits any home.
Start with a deep green tulle as your base. I would like to use about 40 pieces.
Add bright red tulle between the green, spacing it evenly. Small gold balls tucked into the knots work perfectly.
Finish with a red bow at the bottom. Space tiny pinecones around the wreath for a natural touch.
- Deep green tulle as the base layer
- Bright red tulle woven throughout
- Small gold balls tucked in layers
- Simple red bow at the bottom
- Tiny pinecones spaced evenly
My tip: Mix two shades of green tulle to create depth.
2. Winter Wonderland Wreath

Use white tulle to create a frosty masterpiece. Use both shiny and matte types—the contrast makes it special.
Weave silver tulle throughout for sparkle.
Add clear plastic snowflakes at 4-5 points around the wreath. String pearly white beads in small clusters.
Top it with a shimmery white ribbon.
- White tulle (both shiny and matte)
- Silver tulle mixed in
- Clear plastic snowflakes
- Pearly white beads
- Shimmery white ribbon
A quick tip: Add small silver bells for a gentle sound when the door moves.
3. Candy Cane-Inspired Wreath
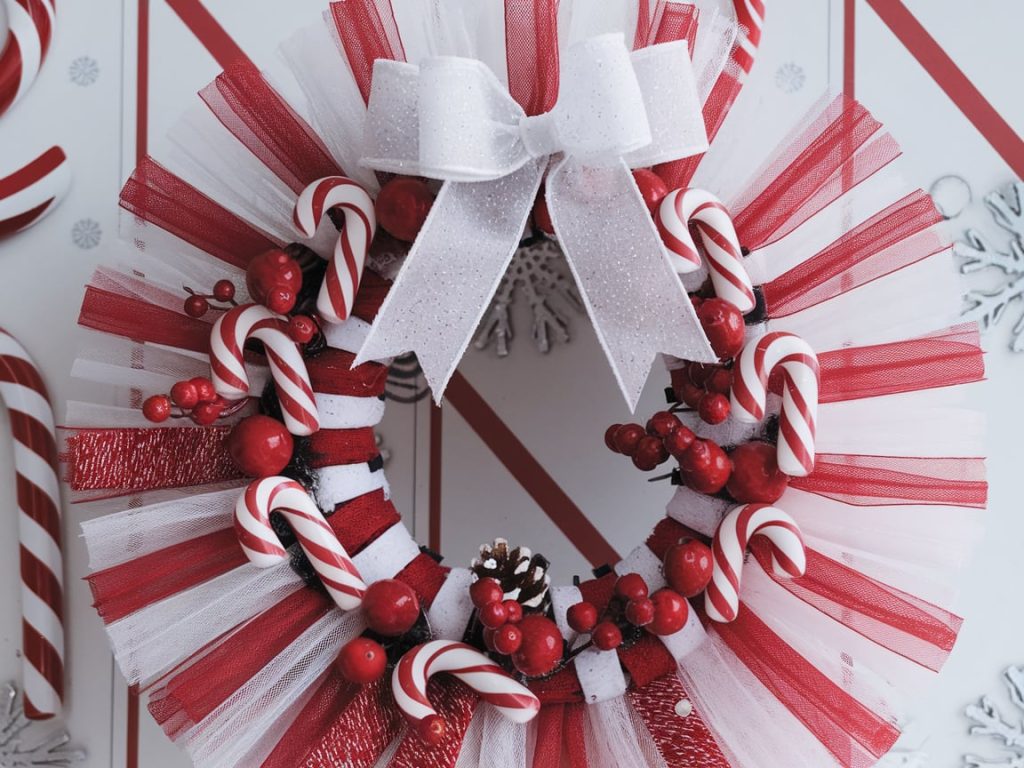
Make this sweet design with equal amounts of red and white tulle.
Alternate the colors as you tie the tulle to create a striped pattern. Space mini candy canes every few inches.
Tuck in red berries between the tulle knots. Add a white sparkly ribbon bow as the final touch.
- Equal parts red and white tulle
- Striped pattern effect
- Mini plastic candy canes
- Red berries scattered throughout
- White sparkly ribbon bow
Money-saving tip: Use ribbon candy canes instead of plastic ones.
4. Rustic Christmas Wreath
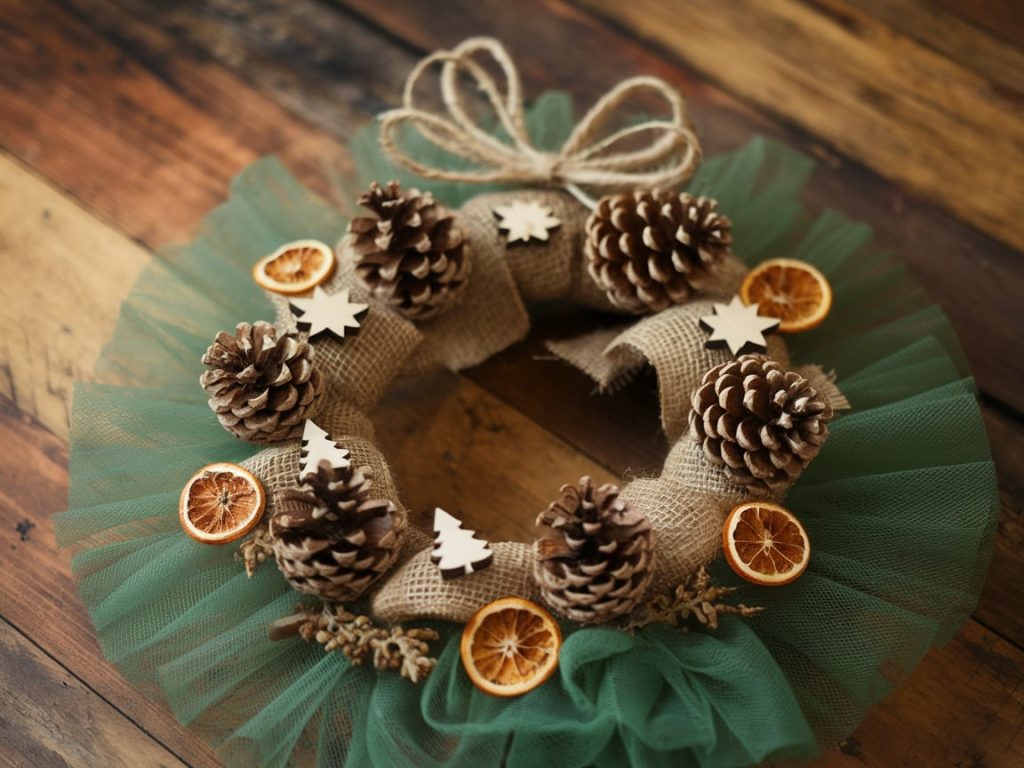
Begin with a green tulle base.
Weave strips of burlap ribbon through the tulle for texture. Add small wooden ornaments, such as stars or trees.
Group pine cone clusters in threes. Top it with a natural twine bow.
- Green tulle base
- Burlap ribbon weaved in
- Small wooden ornaments
- Pine cone clusters
- Twine bow at the top
Personal touch: Add dried orange slices for extra charm.
5. Blue Christmas Wreath

This design is perfect for modern homes. Layer navy and light blue tulle pieces, mixing in silver accents as you go.
Hang clear icicle ornaments at different lengths. Attach white snowflakes of various sizes.
Complete with a full silver ribbon bow.
- Navy and light blue tulle
- Silver accents throughout
- Clear icicle ornaments
- White snowflakes
- Silver ribbon bow
Style tip: Great for modern homes.
6. Gingerbread Theme
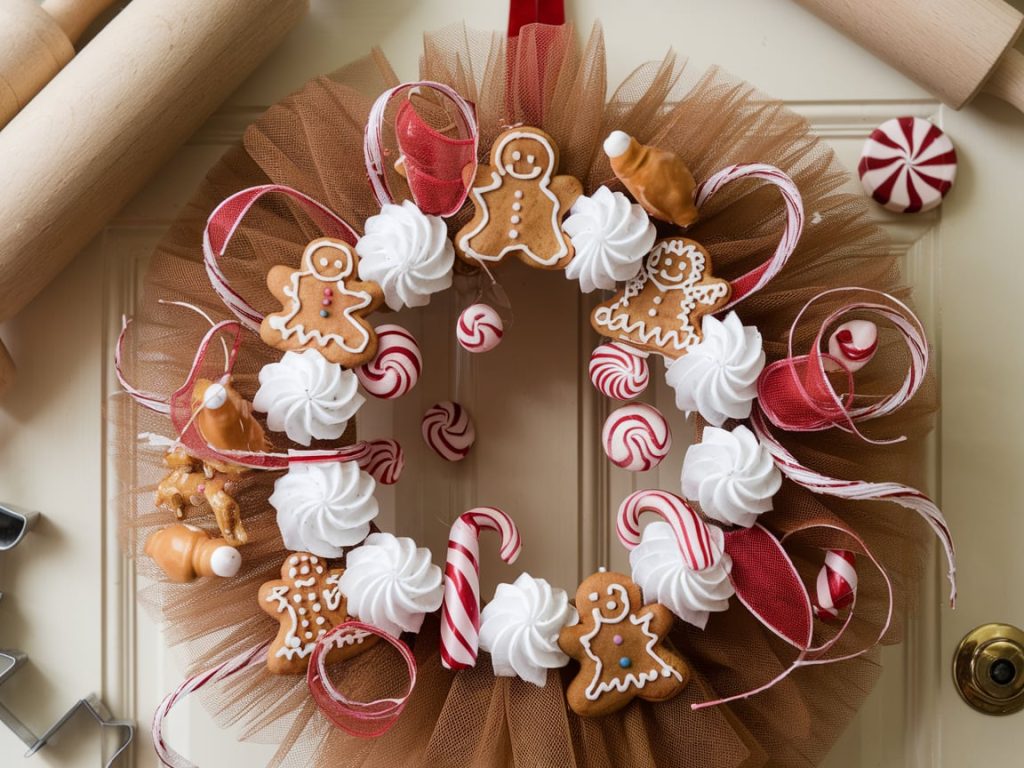
Start with brown tulle for your base.
Add white tulle in swirls like frosting. Place mini gingerbread ornaments at key points.
Wrap red and white ribbon in gentle curves. Finish with small candy decorations.
- Brown tulle base
- White tulle “frosting”
- Mini gingerbread ornaments
- Red and white ribbon
- Small candy decorations
Fun addition: Add peppermint-scented ornaments.
7. Santa’s Workshop
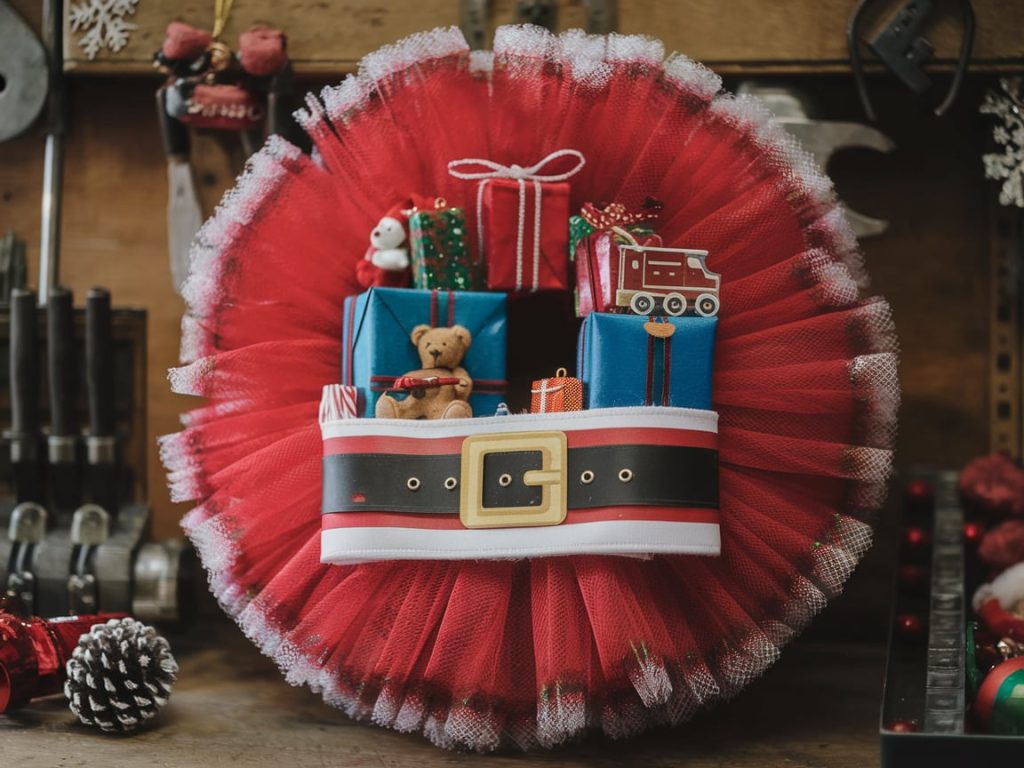
Create the base with a bright red tulle.
Add white tulle around the edges as trim. Place mini-wrapped presents in different spots.
Include small toy ornaments like teddy bears or trains.
Add a black ribbon as Santa’s belt.
- Red tulle base
- White tulle trim
- Mini wrapped presents
- Small toy ornaments
- Black ribbon belt
Creative idea: Include tiny workshop tools.
8. Christmas Tree Farm
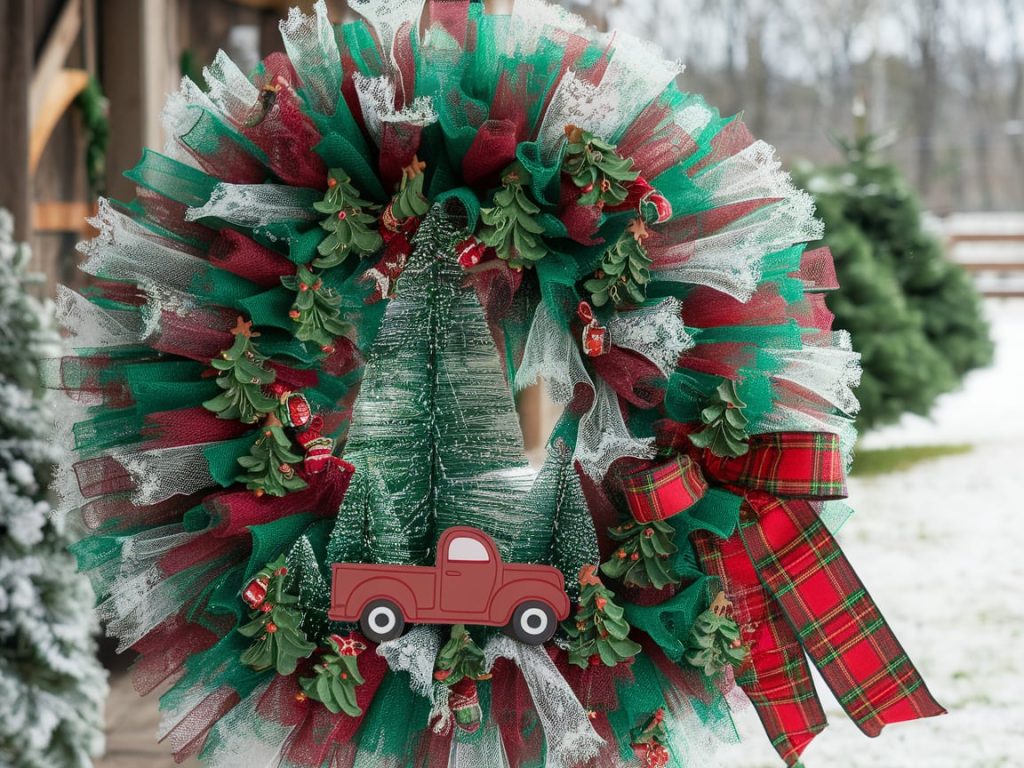
Layer multiple green shades for depth—space mini tree ornaments around the wreath.
Place a red truck decoration at the bottom.
Add touches of white tulle for snow. Finish with a loosely wrapped red plaid ribbon.
- Multiple green shades
- Mini tree ornaments
- Red truck decoration
- White “snow” tulle
- Red plaid ribbon
Special touch: Add a tiny string of battery lights.
9. Personalized Family Wreath

Choose colors that match your home. Place weatherproof family photos in clear cases.
Add wooden letters spelling your family name. Include ornaments with special dates.
Mix in small items that tell your family’s story.
- Your favorite colors
- Family photos in cases
- Wooden name letters
- Special date ornaments
- Memory items
Protection tip: Use clear covers for photos if hanging outdoors.
Tips for Displaying Your Christmas Tulle Wreath
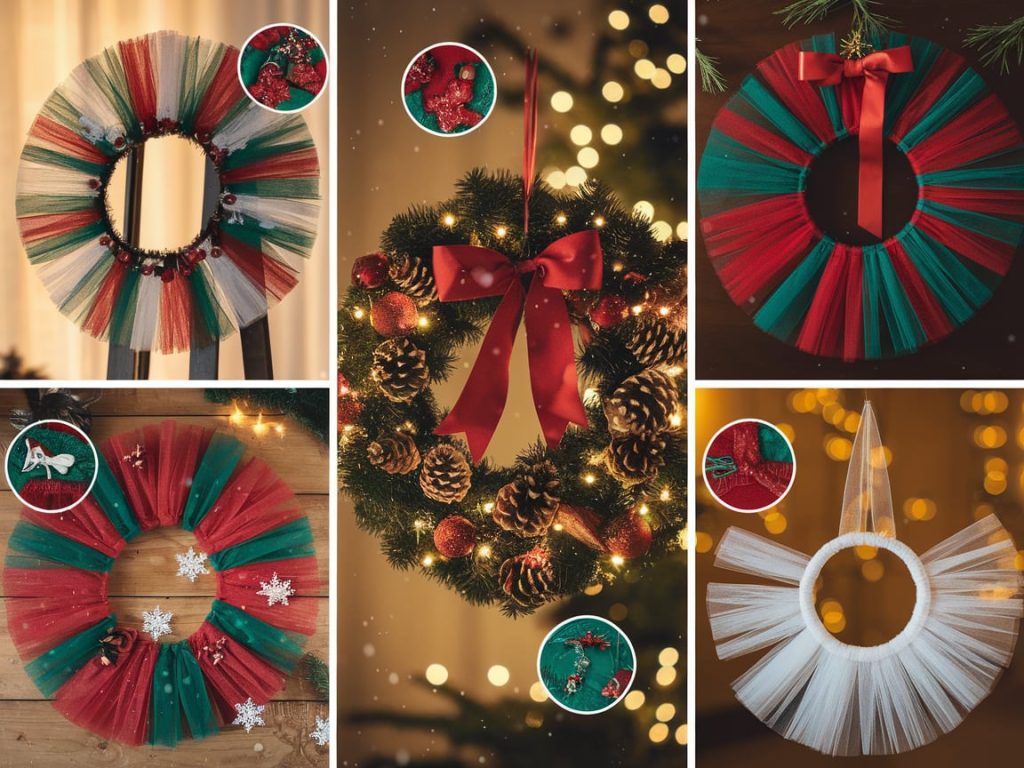
Best Places to Hang Your Wreath
Let me share some spots where your wreath will stand out:
- Front door: Makes a warm welcome
- Above the fireplace: Creates a cozy feeling
- Entry wall: Greets guests inside
- Window: Adds cheer from both inside and out
- Dining room: Makes meals more festive
Smart tip: If you hang it outside, pick a spot with some cover from rain and snow.
Hanging Hacks
I’ve tried many ways to hang wreaths. Here are the best ones:
For doors:
- Over-the-door hooks (won’t damage the door)
- A wide ribbon looped around the top
- Magnetic hooks for metal doors
For walls:
- Command hooks (they come off clean)
- Small clear pushpins
- Removable suction cups for mirrors or windows
Quick fix: Put a small piece of felt behind the wreath to protect your wall.
Storage Tips for After the Holidays
Keep your wreath looking good for next year with these steps:
- Clean it gently with a hair dryer on a cool setting
- Put it in a large plastic bag or box
- Store in a cool, dry place
- Keep it flat or hang it up
- Don’t stack heavy items on top
My best storage trick is to cover the wreath with an old pillowcase.
This keeps dust off but allows air to flow through.
Conclusion
Making a Christmas tulle wreath is simpler than you might think.
With basic supplies and a bit of time, you can create something special for your home this holiday season.
I’ve shared all my favorite tips and tricks, from picking colors to storing your wreath.
Now it’s your turn to try them!
Mix and match colors, add personal touches, and make a wreath that fits your style.
Remember: There’s no wrong way to make your wreath. Each one is unique, and that’s what makes it special.
Start with the basic steps, then add your creative touches.
We’d love to see what you make! Share a photo in the comments below, or tell us about your favorite wreath designs.
Frequently Asked Questions
How Long Does it Take to Make a Tulle Wreath?
It typically takes 1–2 hours, depending on the size of the wreath and the decorations you choose to add.
How Much Tulle Do I Need For a Wreath?
For a standard 12-inch wreath, you’ll need about 6–8 yards of tulle.
Adjust the amount based on the size and fullness you want.
Can I Reuse My Tulle Wreath Next Year?
Yes!
Store it in a protective bag or box to keep it clean and maintain its shape for the next holiday season.
What’s the Best Way to Attach Ornaments?
Securely attach ornaments to the tulle without damaging it using hot glue, twist ties, or small hooks.
Can I Use Other Materials Besides Tulle?
Absolutely!
You can combine tulle with fabric strips, burlap, or ribbon for a unique and textured look.

