I recently faced a common storage problem in my home – that awkward space under the stairs. Like many homeowners, I wanted to make the most of this spot without spending too much money.
After trying different options, I found a way to turn it into a useful pantry that didn’t break the bank.
In this post, I’ll share the simple steps I took to build my under-stair pantry. I’ll tell you exactly what materials I used, where I saved money, and how I organized everything to fit perfectly.
If you’re looking to create more storage space in your home, my experience might help you do the same – even if you’re working with a tight budget.
How to Plan Your Under-Stair Pantry
Planning an under-stair pantry doesn’t need to be complex.
- First, I grabbed a measuring tape and noted down the exact width, height, and depth of my space. I found sketching these measurements on paper helpful – nothing fancy, just a basic drawing.
- Next, I listed what I wanted to store there. In my case, I needed space for canned goods, pasta, and some kitchen appliances. This helped me figure out my shelf depths and heights.
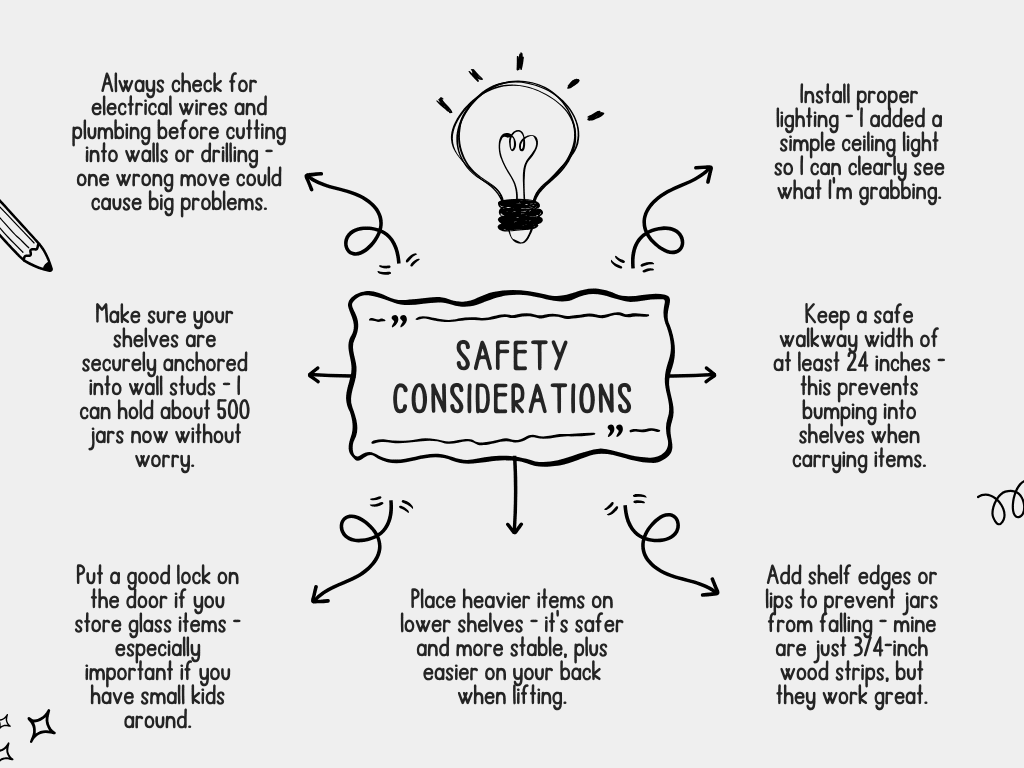
- I also checked where the nearest electrical outlet was since I wanted to add a small light. Good lighting makes a big difference when you’re searching for ingredients!
Here’s a quick tip from my experience: Leave about 24 inches of walking space in front of the shelves. This makes it easy to bend down and reach items at the back of lower shelves.
Remember, you’re working with a triangle shape, so shorter items work better at the back where the ceiling slopes down. I learned this the hard way when I first tried to put tall cereal boxes there!
DIY Guide On Narrow Under Stair Pantry
Tools & Materials Required
- Measuring tape
- Stud finder
- Level
- Screwdriver/drill
- Sandpaper
- Paint and brushes
- Drywall sheets
- Drywall screws
- Wood for shelving
- Heavy-duty brackets
- 3/4-inch wood strips (for shelf edges)
- Basic lighting fixture
- Paint tape
Step-by-Step Building Guide
1. Prepare the Space
- Remove existing wall if needed
- Clean the area thoroughly
- Check for water pipes and electrical lines
2. Install Basic Structure
- Put up drywall sheets
- Screw drywall into place
- Add a simple light fixture for better visibility
3. Paint the Space
- Tape off edges and fixtures
- Apply wall paint
- Let it dry completely
4. Install Shelving
- Find and mark wall studs
- Use level to mark shelf placement
- Cut shelves to fit sloped ceiling
- Install back supports into studs
- Add heavy-duty brackets
- Place shelf boards on brackets
5. Add Safety Features
- Install 3/4-inch wood strips on shelf edges
- Sand edges smooth
- Optional: Paint front edges only
- Leave shelf surfaces unpainted to prevent jars from sticking
6. Final Touches
- Test shelf stability
- Clean up the work area
- Allow everything to dry completely before using
The beauty of this project is its simplicity – you’re making good use of space that often goes to waste. It took me a few weekends to complete, but the result was worth the effort!
DOWNLOAD THE ENTIRE UNDER STAIR PANTRY DIY GUIDE FROM THIS PDF
DIY Vs. Hiring Professional – Which is the Best Options
| Option | DIY Route | Professional Installation |
|---|---|---|
| Materials Cost | $200-$400 | $500-$1,000 |
| Basic Tools (if needed) | $100 | Not applicable |
| Time Investment | 2-3 weekends | 1-2 days |
| Labor Costs | None | $500-$1,500 |
| Benefit | Customization | Expert finish, warranty coverage |
| Risk | Mistakes may need fixing | Less budget flexibility |
My Personal Take
I chose DIY because I wanted to save money and have basic tools. The project wasn’t too complex – mainly measuring, cutting, and installing shelves.
However, if you’re not comfortable with power tools or don’t have spare weekends, hiring a pro might be worth the extra cost.
Money-Saving Tip
You could try a hybrid approach – hire a pro for tricky parts like electrical work, then DIY the shelving. I’ve seen friends save hundreds this way while still getting quality results.
The choice depends on your skills, tools, time, and budget. In my case, DIY worked great, but there’s no shame in calling a pro if that feels right for you.
Top Designing Options for Narrow Spaces
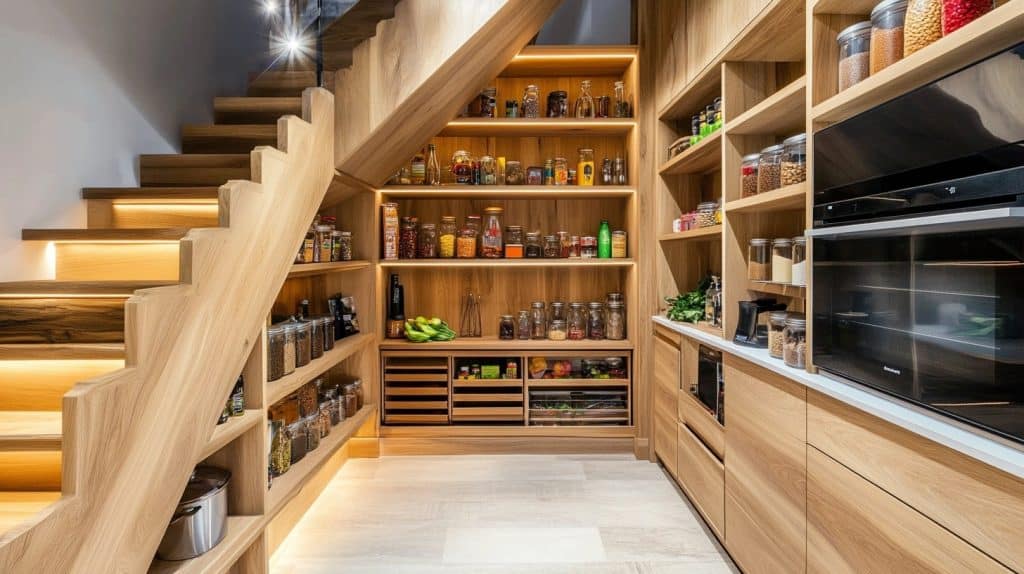
1. Basic Wire Shelving ($50-$80)
I found this to be the cheapest option. Wire shelves are light and let you see what’s stored behind other items. Plus, they don’t need much DIY skill – I put mine together in about an hour.
2. Wooden Floating Shelves ($100-$150)
These look nicer than wire shelving. I made mine from pine boards and hidden brackets. They hold plenty of weight and give a clean look. The cost depends on wood quality and how many shelves you need.
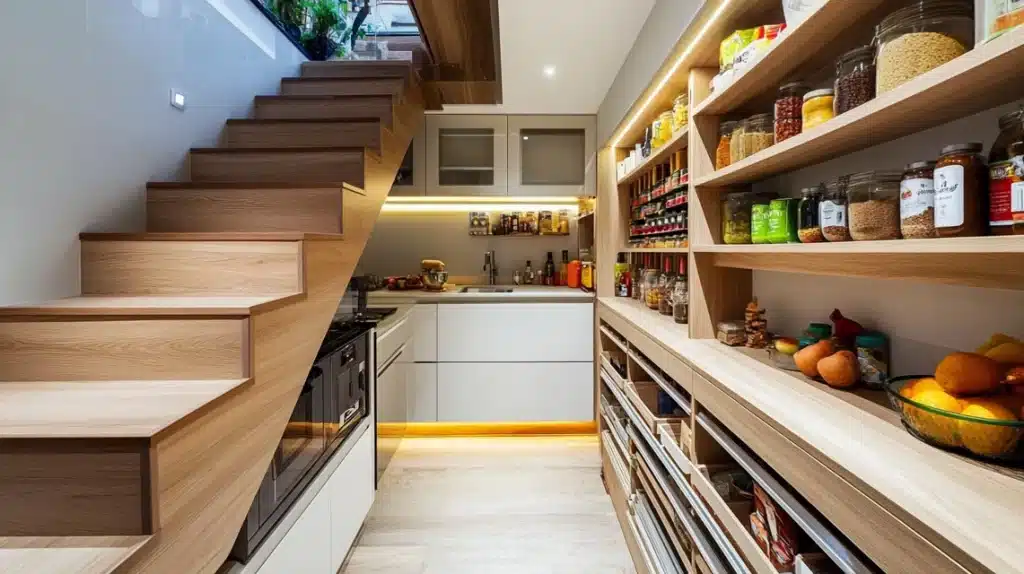
3. Pull-Out Storage Units ($150-$200)
These make the most of deep spaces. I installed sliding drawers that pull out fully, making it easy to reach items at the back. While pricier than basic shelves, they use space better.
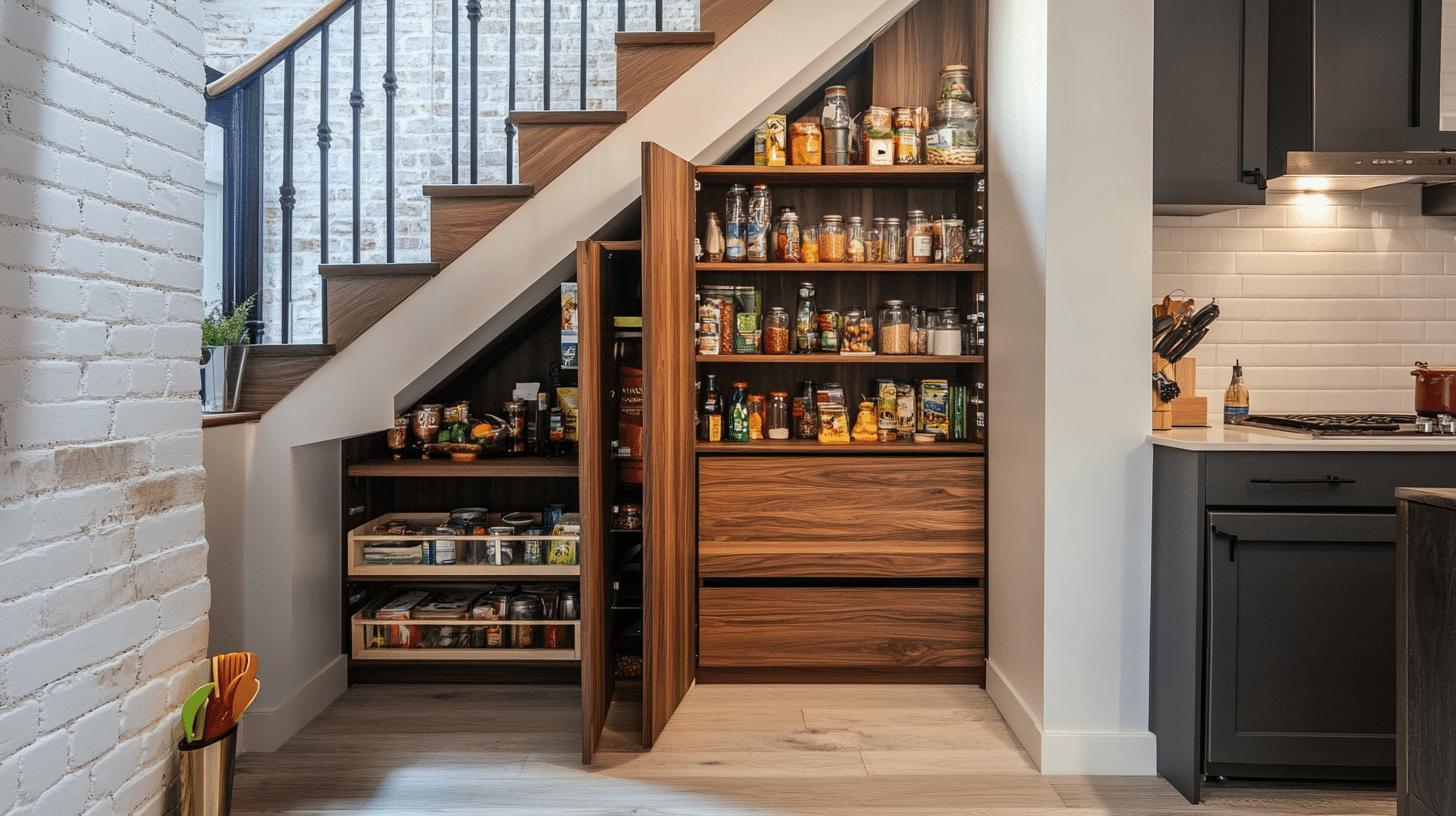
4. Custom Built-ins ($200-$300)
For my space, I chose this option. I used plywood and 2x4s to build shelves that fit exactly. While it cost more upfront, I got exactly what I wanted. The price mainly covers materials since I did the work myself.
5. Door Options ($30-$100)
A simple curtain works well ($30), or you could add a basic door ($80-100). I picked a curtain because it was cheap and easy to install.
Remember – these prices are from my local stores. You might find better deals in your area!
How to Organize Your Narrow Pantry
Let me share how I organized my narrow pantry in a way that really works.
- Zone Planning: I split my pantry into clear zones – baking items up top, everyday items at eye level, and heavy stuff at the bottom. This setup saves me time when cooking and makes restocking easier.
- Smart Container Choice:s For my narrow space, square containers worked better than round ones. I found that clear containers let me see what’s running low. Dollar store bins work perfectly here – no need for fancy storage!
- Label Everything: I stuck simple paper labels on shelves and containers. Nothing fancy – just masking tape and marker. This helps my family put things back in the right spots.
- Height Maximizing: I use mini shelf risers from the dollar store to stack cans. This doubled my storage space. Behind tall items, I store extras of the same product – like pasta behind pasta.
- Door Space Use: I added a basic over-door organizer for spices and small packets. It costs me about $15 and holds tons of little items that would get lost on shelves.
- Rotation System: I keep new items at the back, older ones in front. Super simple but stops food from going bad at the back of shelves. I check dates once a month when putting away groceries.
None of these ideas cost much money, but they’ve made my narrow pantry work so much better for my family.
Conclusion
Building my under-stair pantry was one of my best home projects. It turned wasted space into a useful storage area that I use every day. While it took some planning and a few work weekends, the results were worth every minute.
If you’re thinking about starting this project, remember that you don’t need fancy tools or expensive materials. The main things are careful planning, proper measurements, and attention to safety.
Whether you choose to DIY or hire a pro, make sure to add good lighting and sturdy shelves.
Want to see how others have done similar projects? Leave a comment below with your questions, or share your own pantry transformation story.
I’d love to hear how you’ve made the most of your under-stair space!
Frequently Asked Questions
Can I Incorporate Appliances Into My Under-Stair Pantry?
Yes, but consider ventilation and power access. I keep my small appliances there, but I install an outlet first. Just be sure not to overload the circuit.
How Do I Handle Odd Angles and Heights in Under-Stair Spaces?
I used adjustable shelving brackets and cut custom shelf lengths. The key is measuring each section carefully and using the slope to your advantage for different-sized items.
How Difficult Is It to DIY an Under-Stair Pantry Conversion?
If you can measure accurately and use basic tools, you can handle this project. I rate it 5/10 for difficulty. The trickiest part is working with angled cuts.





One Comment
vavada casino: vavada – vavada casino