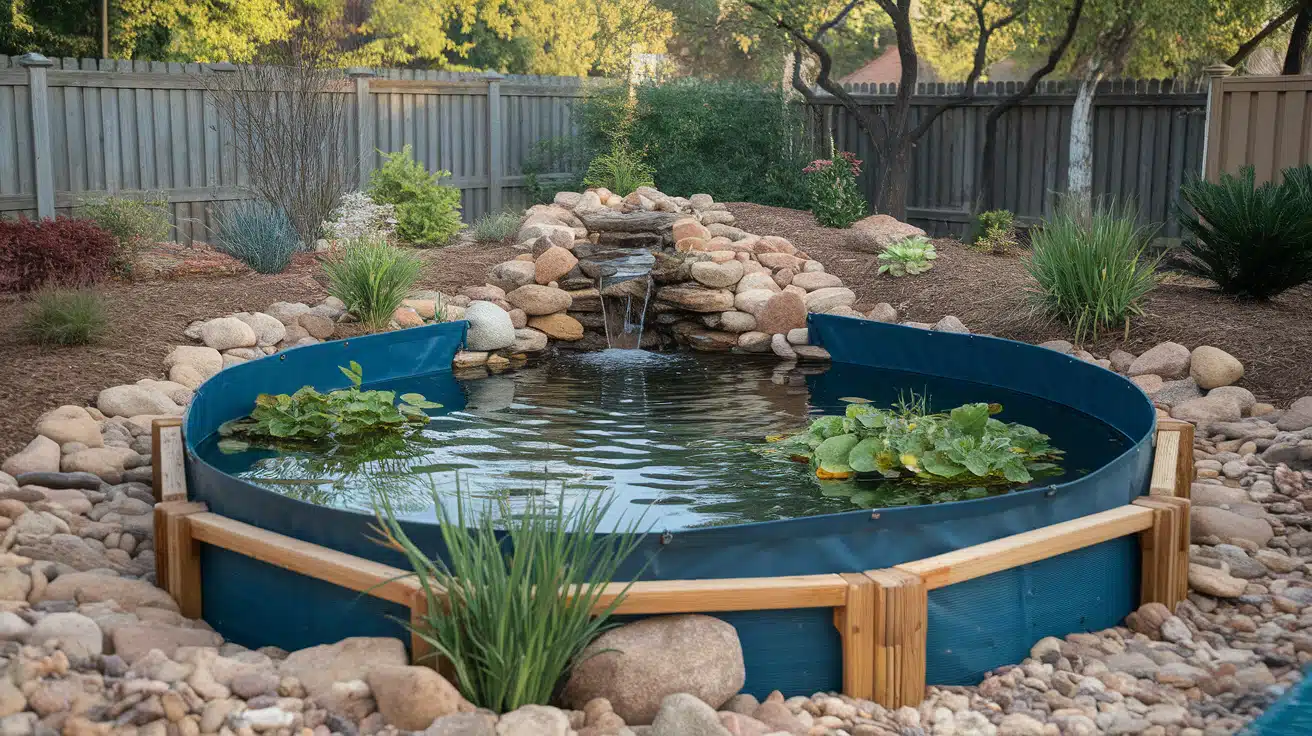
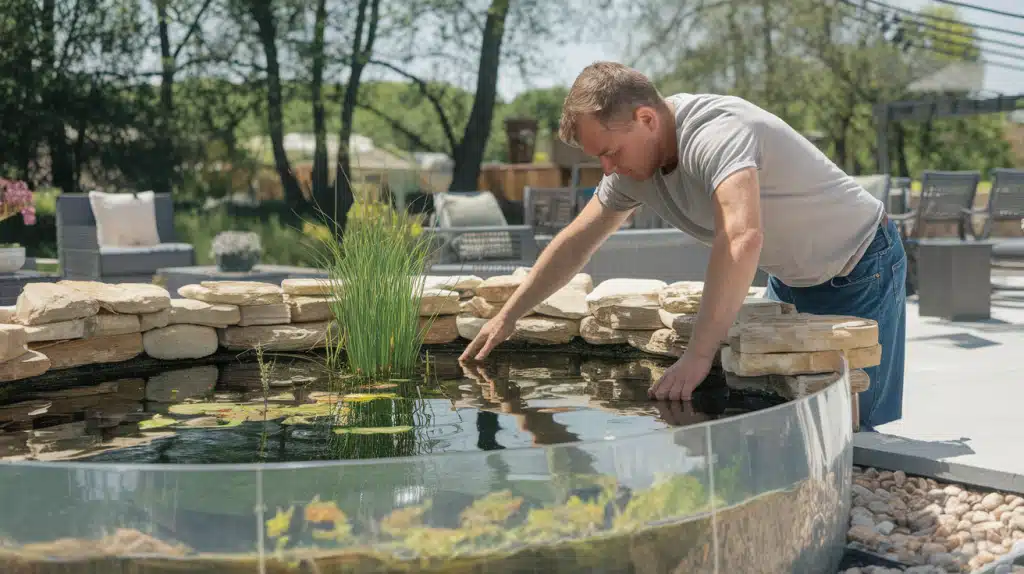
Want a backyard water feature without breaking your back with digging? An above-ground pond offers the perfect solution. This guide walks you through creating your outdoor oasis step by step.
Building a pond adds natural beauty to any space. The sound of flowing water brings peace to your yard, and fish and plants create their own tiny world right outside your door.
Best of all, you can build it yourself. With basic tools and materials, your dream pond is within reach. This guide covers everything from planning to keeping your pond healthy year-round.
Ready to start? Let’s walk through each step of making your above-ground pond. We’ll help you avoid common mistakes and create a water feature that brings joy for years.
The Ultimate Guide to Building Your DIY Above-Ground Pond
Building a pond starts with a clear plan. With the right design choices and careful planning, your outdoor space can become a peaceful retreat.
Defining the Purpose
Your pond’s purpose shapes every decision you make. A fish pond needs different features than a simple water garden. Fish ponds require deeper water and more filtration, while water gardens focus on plants and need shallow areas for different species to thrive.
Consider what brings you joy. Do you want to watch a fish swim? Would you rather see water lilies bloom? Maybe you just want to hear water flowing while you relax outside. Your choice will guide your entire project.
Site Selection
Picking the right spot makes a big difference in your pond’s success. Look for a level area that gets some shade during the day. Too much sun can heat the water and cause algae growth.
Place your pond where you’ll see it often. A pond near your patio or visible from your windows brings more enjoyment. Check that you have easy access to electricity for pumps and filters.
Laying the Foundation: A Step-by-Step Construction Guide
Tools and Material (with Cost)
| Item | Description | Estimated Cost |
|---|---|---|
| Materials | ||
| Pond Liner | Essential for retaining water | $50 – $300 |
| Sand | For the base layer under the liner | $20 – $50 |
| Stone Slabs or Cement | For constructing the base and edges | $100 – $300 |
| Decorative Stones/Rocks | For landscaping around the pond | $50 – $200 |
| Mulch or Gravel | For additional landscaping | $30 – $100 |
| Insulation Materials | For winterizing the pond | $20 – $100 |
| Tools | ||
| Shovel, Level, Wheelbarrow | Basic tools for ground preparation | $30 – $200 |
| Hammer, Saw, Drill, Screws | Tools for construction and assembly | $50 – $300 |
| Construction Accessories | ||
| Pond Pump and Filtration System | For water circulation and filtration | $100 – $400 |
| Pond Heater or De-icer | To prevent ice in winter | $30 – $150 |
| Aquatic Life | ||
| Fish (e.g., Goldfish, Koi) | Depending on species and quantity | $20 – $200 |
| Aquatic Plants | Plants suitable for pond settings | $50 – $150 |
Step 1: Getting Ready
Start with a 500-liter tub as your main pond container. This size works well for most yards. Set up a good filter system to keep the water clean and healthy for plants and fish.
Step 2: Finding the Perfect Spot
Pick a spot that’s easy to reach and fits well in your yard. Clear the area of any items. The ground should be flat and stable. Consider placing it where you can see it from your home.
Step 3: Building Your Base
Gather these items first:
- Six solid slabs
- Two bags of building sand
- A trusty level tool
Spread the sand evenly on your chosen spot. Place the slabs on top, using your level to check each one. Fill any gaps under the slabs with small stones. This creates a strong foundation for your pond.
Step 4: Adding Protection Layers
Think of this like making a sandwich – each layer matters:
- Put insulation board right on top of your slabs
- Add a wooden board over the insulation
- Top it with vinyl flooring for extra protection
This layering keeps your pond stable and helps maintain water temperature.
Step 5: Setting Up the Main Structure
Place your tub carefully on the base. Wrap insulation boards around the sides. This helps keep water temperature steady year-round. Cover the outside with decking boards to make it look great.
Step 6: Making It Look Good
Add a nice trim around the top edge. This covers any rough spots and makes everything look finished. Make sure your decking sits at the right height so the trim fits perfectly.
Step 7: Final Touches
Give your wooden parts a good coat of protective stain. Fill any small gaps with bamboo strips or similar materials. These details make your pond look like it was built by a pro.
Step 8: Adding Life to Your Pond
Once everything is set, slowly add water. Test all your equipment. When the water is ready, you can add fish. Keep checking water quality in the first few weeks.
Video Tutorial
Watch a full video tutorial below on a DIY above-ground pond by Ginger Fishy.
Beautifying Your Above Ground Pond
Let’s transform your pond into a stunning water feature that fits perfectly in your yard. Here’s how to add beauty and life to your creation.
Creative Edging Ideas
Make your pond part of your garden’s natural flow. Start with small plants near the edges to soften the hard lines of your pond structure. Add taller plants behind the pond to create a natural backdrop. Keep some open spaces at the front for easy viewing and maintenance.
The key is matching your current garden style. Keep the pond edges clean and structured if your garden has formal beds. For natural gardens, mix textures and create gentle curves with your plantings. This helps your pond look like it has always been there.
Selecting Fish and Plants
Fish bring movement and interest to your pond. Small goldfish work well in most ponds and are easy to care for. Consider adding minnows, as they help control insects naturally.
Water lilies create beautiful surface coverage and provide shade for fish. Marsh marigolds add bright colors along the edges. Reed plants offer height and movement in the breeze. Local garden centers often stock plants that grow well in your area.
Child and Pet Proofing
Safety starts with stable edging around your pond. Create clear boundaries that everyone can see. Good lighting helps family and guests stay safe after dark. Consider adding gradual slopes near edges for extra security.
Motion sensors and security lights add protection without looking obvious. Non-slip surfaces around the pond prevent accidents during maintenance.
Cover Essentials
The right cover protects your pond when needed. Use nets in the fall to catch leaves before they sink. Winter covers help in cold areas while still letting in light. Make sure any cover stays secure in the wind while allowing rain through.
Good covers should let you access your pond easily for maintenance. They protect your fish from predators while keeping debris out. With proper planning, your safety measures can blend naturally into your pond’s design.
Maintaining Your Pond Paradise
Proper care can keep your pond clean and healthy throughout the year. Let’s examine how to keep your water feature in top shape.
Keeping Your Pond Pristine
| Season | Maintenance Tasks |
|---|---|
| Spring | Remove debris, check and restart the pump, add beneficial bacteria, and test water quality. |
| Summer | Remove dying leaves, top up water, clean filters, and control algae growth. |
| Fall | Install net covers, trim plants, reduce feeding, and check equipment. |
| Winter | Manage ice, maintain a pump, monitor water levels, and postpone major cleaning. |
Managing Water Quality
Clearwater starts with good habits. Remove dead leaves and plant matter quickly. Keep fish numbers suitable for your pond size. Run your filter system daily.
Test your water monthly. Check acidity and ammonia levels. Good water helps fish stay healthy, and small changes prevent big problems later.
Watch for green water in summer. Shade from floating plants helps prevent this. UV filters clear existing green water. Regular testing catches issues early.
Preparing for the Cold: Winterizing Your Pond
Cold weather requires planning. Pond walls should be given extra protection. Underwater heating systems should be checked, and pumps that might freeze should be removed.
Keep some plants in place. They provide natural insulation. Pull tropical species before frost. Store tender plants in frost-free places.
Deep water stays warmer longer. Make sure fish have enough depth. Add extra bottom space if needed. Consider temporary depth increases.
Moving water fights ice formation. Keep one small pump running and point it toward the surface. This creates a small ice-free spot.
Floating heaters work well. Put them where fish gather, check them regularly, and keep backup power ready for cold snaps.
Remember, winter care keeps fish safe. Remove decaying matter before ice forms. Keep feeding light as temperatures drop. Watch for early spring warm-ups.
Conclusion
Your outdoor water feature brings more than beauty to your space. From the gentle ripples to the sight of fish swimming peacefully, a pond creates a personal retreat step from your door.
This guide teaches you the steps to build a strong, lasting pond. You’ve seen how to plan wisely, build carefully, and maintain your creation through all seasons. Each choice, from the base foundation to the final touches, shapes your pond’s success.
Remember that a well-built pond gets better with time. As plants grow and fish make themselves at home, your pond becomes part of your yard’s natural flow.
Your effort today creates a living feature that brings simple pleasures for many years ahead.


