DIY Christmas Village: Stepwise Guide and Maintenance Tips
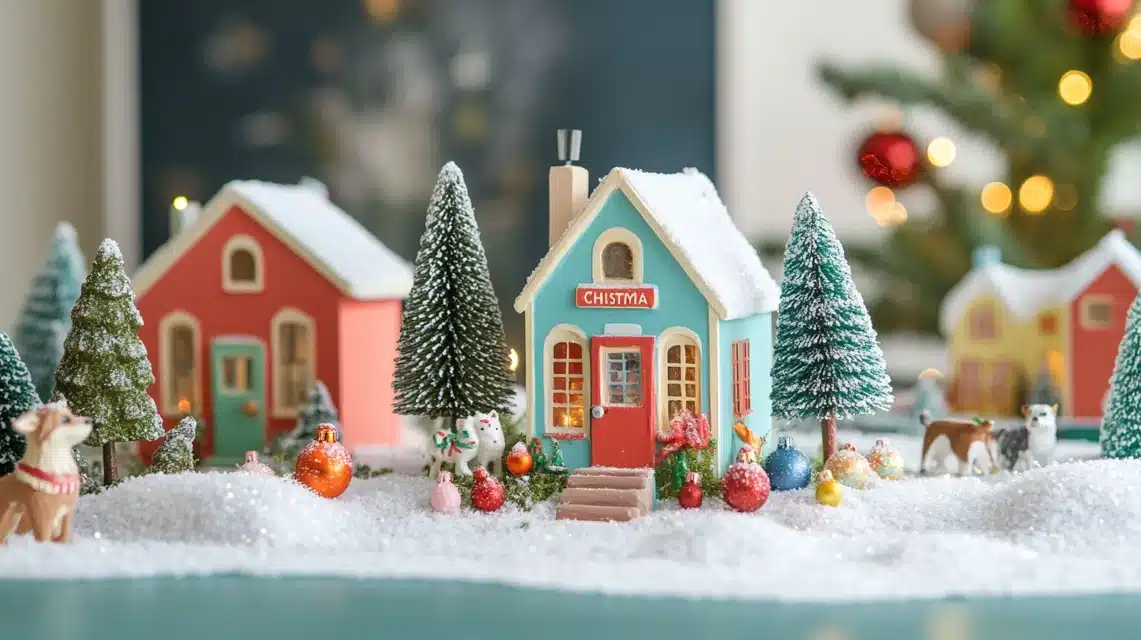
Last Christmas, I fell in love with having a Christmas village in our home.
But when I saw the prices of those glass houses at the store – some costing $60 or more each – I knew I needed a different plan.
Like many families, we wanted something that could handle curious little hands and match our home’s style without breaking the bank.
That’s why I created this guide to help you build your own DIY Christmas village.
I’ll show you how to make a charming display using simple materials that cost less than $50.
Whether you want pastel colors, traditional designs, or something unique, this project lets you create exactly what you want while keeping your budget intact.
Choosing a Theme for Your Christmas Village
When choosing your Christmas village theme, start with your current holiday decorations and home style.
Consider all-white houses with metallic accents if you have a modern space with clean lines. White or cream houses with rustic touches like pine cone trees work well for farmhouse decor.
Pastel colors can create a sweet, whimsical look that’s perfect for more playful spaces.
The key is making your village an extension of your existing decor. Look at your throw pillows, stockings, and other holiday items to pick matching colors.
This helps the village feel like it belongs in your space rather than looking out of place among your other decorations.
Step-by-Step Guide to DIY Christmas Village
Essential Supplies
- Chipboard or Paper Mache Houses: Easy to paint and assemble.
- Paint: Craft paints like Martha Stewart or chalk in festive colors (mention popular options like pastel pink, white, and mint green).
- Miniature Bottle Brush Trees: Budget-friendly, available in bulk.
- Accessories: Wreaths, beads, tiny pom-poms, snowflakes, fake snow, mini cars or figurines, and tinsel.
- Tools: Hot glue gun, foam brushes, scissors for cutting out details like windows or doors.
Step 1: Prepare the Houses
- Start with your chipboard or paper mache houses.
- First, carefully punch out all the windows and doors.
- Save these pieces, as you can use them later for details.
- Paint each house while it’s still flat and unassembled.
- Use a foam brush instead of a regular paintbrush to get smoother coverage.
- Choose colors that match your theme—soft mint green, light pink, or pure white—and they all work well.
- Each house needs 2-3 coats for solid coverage.
Step 2: Painting & Assembling
- Paint all roofs white to create a snowy effect.
- This ties the village together no matter what colors you choose for the houses.
- Once completely dry, assemble each house with a hot glue gun.
- Put a thick glue line along each edge and hold the pieces together for about 30 seconds until set.
- Attach the roof last, making sure it sits evenly.
Step 3: Adding Special Details
- Create snowy roofs using spray adhesive, white glitter, or fake snow.
- Work over a foil-lined tray to catch excess for reuse.
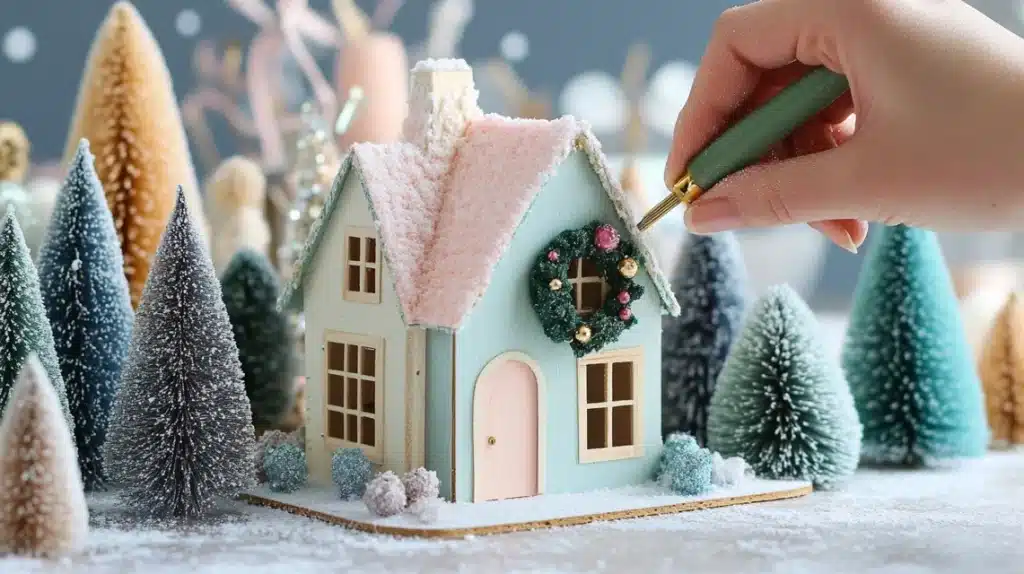
- Make tiny wreaths for the doors using saved window pieces or mini decorations.
- Add snowflakes, silver beads, or small pom-poms to make each house special.
- Glue these extras on securely, especially if children will be nearby.
Setting Up Your Village
1. Creating the Base
Start with books or small boxes to build different levels – this simple trick adds depth and makes your village more interesting.
Cover everything with fake snow, ensuring no books or risers show through.
Use extra snow around the edges where houses meet the base to make them look settled in the landscape.
A white tablecloth or sheet can be a base if you’re setting up on furniture.
2. Arranging the Houses
Set up your houses like a real village street. Put larger houses toward the back and smaller ones in front so everything is visible.
Space them slightly apart to create “paths” between buildings.
Add bottle brush trees in different sizes – group them in threes for the best look.
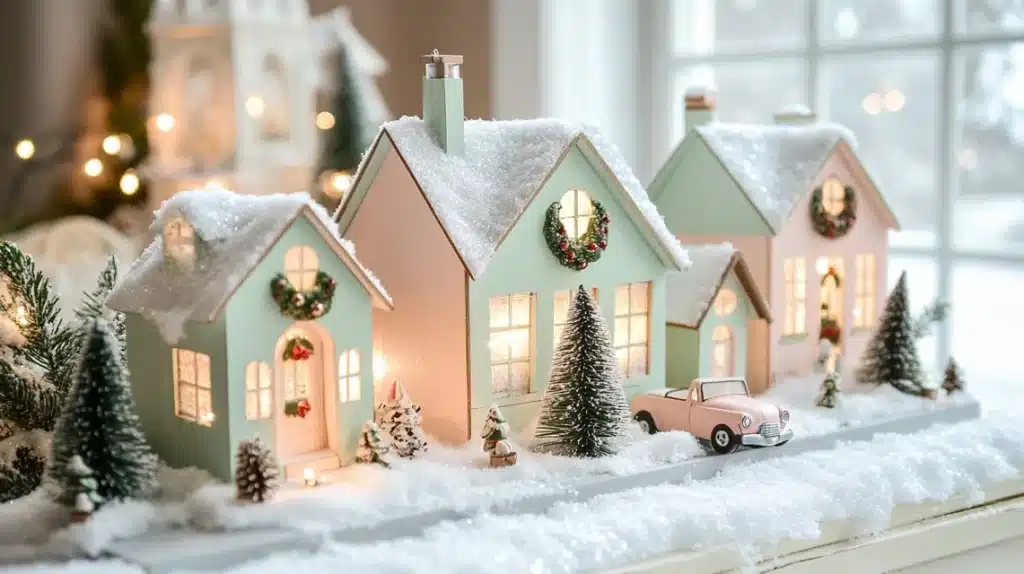
Small LED lanterns or battery-operated tea lights behind windows create a warm glow at night.
Mix in extra touches like:
- Tiny cars or sleds
- Small figurines
- Miniature lamp posts
- Bottlebrush trees in various sizes
- Tea lights behind windows
- Strings of mini lights weaved between houses
Remember to leave some open spaces—not every spot needs to be filled. This will make your village look more natural and less crowded.
Customization of DIY Christmas Village
Ideas for Personal Touches
- Paint a house in your favorite colors
- Add a tiny mailbox with your family name
- Include models of your pets
- Place a small Christmas tree like the one in your living room
- Use decorations that match your full-size ones
Kid-Friendly Touches
Make your village safe and fun for children by using:
- Non-toxic craft paint
- Plastic or wooden figures instead of glass
- Firmly attached decorations that won’t come loose
- Unbreakable houses that can handle being touched
Let kids help decorate their houses or choose where to place trees and figures.
This excites them about the display and gives them a sense of ownership of the family’s holiday decorations.
Styling & Displaying Your Christmas Village
Where to Place the Village
Best display spots include:
- Living room shelves
- Dining room buffet
- Entry table
- Kitchen counter corner
- Side table near the tree
Place pine branches between houses, wrap a small garland around the display or add white pillar candles nearby. Keep decorations simple so they don’t overshadow your village.
Lighting Effects
Good lighting makes your village magical. Try:
- Small battery lights behind windows
- A string of mini lights woven between houses
- Tea lights in mini lanterns on “street corners.”
- Spotlights aimed at specific houses
- LED strip lights under the snow layer
Final Touches for Christmas Village & Maintenance
Keep your village looking fresh by gently cleaning it with a small brush or makeup brush—this works better than dusting cloths that might snag on decorations.
Use a low-power handheld vacuum with the brush attachment for loose glitter or snow.
When the season ends, pack your village properly to keep it safe for next year:
- Wrap each house in tissue paper
- Store small decorations in plastic bags
- Use a box with dividers to keep houses separate
- Add bubble wrap between layers
- Keep in a dry place away from heat
Label your “Christmas Village” storage box and note which way is up. Include any pieces you want to add next year while ideas are fresh.
Summing Up
I’ve shown you how to make a Christmas village that’s both beautiful and budget-friendly.
We covered everything from picking themes and materials to painting techniques and display ideas.
The best part is that you can customize it completely—whether you want a modern, farmhouse, or whimsical style.
For less than $50 and a few hours of crafting, you’ll have a unique holiday decoration that’s kid-friendly and perfectly matched to your home.
Plus, you can add to it each year as your collection grows.
Frequently Asked Questions
How Do You Make a Christmas Village Out of Cardboard?
Use sturdy chipboards or paper mache houses from craft stores. Paint them with acrylic or chalk paint, add glitter or snow to roofs, and decorate with small details like wreaths and lights.
What Paint is Best for Wooden Village Houses?
Chalk paint or acrylic craft paint works best on wooden houses. They provide good coverage, dry quickly, and don’t need primer. Use 2-3 coats for best results.

