Ultimate Guide to Clay Eggs: Crafting, Decorating, and Uses
Clay eggs bring art and craft together in a simple yet fulfilling way. Many people want to try making clay eggs but feel unsure of where to start or worry about getting the techniques right.
The good news is that anyone can create beautiful clay eggs with the right guidance and basic materials.
This guide will show you how to make, decorate, and use clay eggs. You’ll learn which materials work best for your projects, step-by-step crafting methods, and ways to add your personal touch. Plus, you’ll discover how to keep your creations looking fresh for years to come.
From choosing the right clay to adding final touches, we’ll cover everything you need to know.
Start making clay eggs you’ll proudly display or give as gifts.
Getting to Know Clay Eggs
Making clay eggs by hand stimulates creativity while connecting us to ancient traditions. With basic materials and simple steps, you can create beautiful clay eggs at home. Let’s examine clay eggs and learn how to pick the right materials for your projects.
What Exactly Are Clay Eggs?
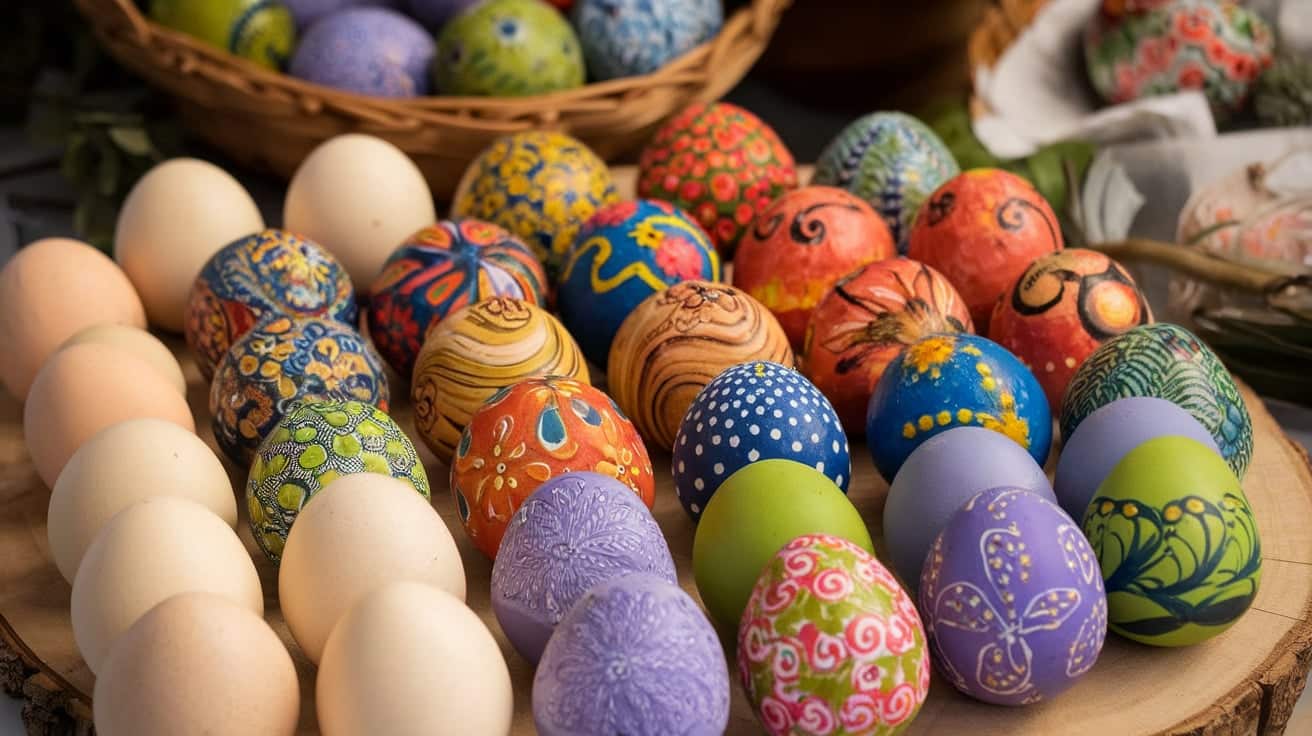
Clay eggs are handmade items that combine art and function. People shape them from different types of clay and then dry or fire them to create lasting pieces. These eggs serve many uses – from home decor to teaching tools.
Early cultures used clay eggs in ceremonies and daily life. People placed clay eggs in tombs in ancient Egypt as symbols of new life. Native American tribes crafted clay eggs for both practical use and storytelling.
Today, people make clay eggs for many reasons. Artists sell them at craft fairs. Teachers use them to show students how to work with clay. Home crafters create them for holiday decor and gifts.
Exploring Types of Clay for Egg Crafting
| Clay Type | Best For | Drying Method | Durability | Approximate Price (Per lb/pack) | Special Notes |
|---|---|---|---|---|---|
| Air-Dry Clay | Beginners, Home Projects | Natural drying (24-72 hours) | Good | $5-$10 per 2.2 lb block | • No special equipment needed <br> • Can crack if dried too quickly <br> • Paint after drying |
| Polymer Clay | Detailed Work, Color Projects | Home oven (275°F-325°F) | Very Good | $12-$20 per 1 lb pack | • Many color options <br> • No shrinkage <br> • Water-resistant |
| Ceramic Clay | Professional Projects | Kiln firing (1800°F-2400°F) | Excellent | $8-$15 per 5 lb bag + firing costs ($20-$50) | • Needs studio access <br> • Can use glazes <br> • Most water-resistant |
Additional Cost Notes:
- Prices may vary by location and brand
- Bulk purchases often cost less per pound
- Basic tools add $10-$20 to starting costs
- Paint and finishing supplies range from $15-$30
Crafting Your Clay Eggs: A Step-by-Step Guide
Basic Materials Needed
| Must-Have Items | Cost | Why You Need It | Shopping Tips |
|---|---|---|---|
| Polymer Clay | $10-$20 | The main material for eggs | Pick firm, good-quality brands |
| Basic Tool Set | $15-$25 | Shapes and cuts clay | Look for plastic tools to start |
| Fine Sandpaper | $5-$10 | Smooths surfaces | Get both 400 and 800-grit |
| Liquid Clay | $10-$15 | Bonds pieces together | Clear works best |
| Decorating Kit | $15-$30 | Adds patterns and shine | Multi-tool kits save money |
Step 1: Prepare Your Clay (15-20 minutes)
- Please take out the clay and let it warm to room temperature
- Break off a piece about the size of a golf ball
- Roll it between your palms until it softens
- Press it to test – it should be firm but workable
- Remove any lint or dust from the surface
Step 2: Create Basic Egg Shape (20-25 minutes)
- Roll clay into a smooth ball first
- Press gently with your thumbs to start the egg-shape
- Turn and squeeze to form the classic egg taper
- Check that one end is slightly smaller than the other
- Keep rolling between palms to smooth out finger marks
- Set it down often to check the shape from all angles
Step 3: Perfect The Form (15-20 minutes)
- Look for any flat spots or dents
- Press very gently to round out problem areas
- Roll on a clean surface to even out the texture
- Make sure the bottom is slightly flat for standing
- Use fingertips to smooth out any lines
- Check that both sides match in shape
Step 4: Prepare For Baking (10-15 minutes)
- Make a tiny air hole in the bottom with a pin
- Check the entire surface for dust or fingerprints
- Smooth out any last-minute bumps
- Place on a clean baking sheet
- Position the egg so it won’t roll during baking
- Double-check all surfaces one last time
Step 5: Baking Process (45-60 minutes)
- Preheat oven to exactly 275°F
- Put the baking sheet in the center of the oven
- Set a timer for 45 minutes
- Don’t open the oven while baking
- Turn off the oven when done
- Leave egg inside to cool slowly
Step 6: First Round of Finishing (30 minutes)
- Wait until the egg is completely cool
- Start with 400-grit sandpaper
- Sand in gentle circular motions
- Wipe surface clean frequently
- Check progress often
- Move to 800 grit for a finer finish
Step 7: Surface Perfecting (20-25 minutes)
- Use the finest sandpaper for final smoothing
- Wet sand if needed for extra smoothness
- Clean surface thoroughly
- Let dry completely
- Check for missed spots
- Repeat if needed
Step8: Adding Basic Decorations (30-40 minutes)
- Plan your design on paper first
- Mark guidelines lightly if needed
- Apply liquid clay for add-ons
- Press on decorative elements carefully
- Let each layer set before adding more
- Keep design balanced all around
Step 9: Finishing and Sealing (20-25 minutes)
- Make sure all decorations are secure
- Apply a thin coat of sealant
- Let dry completely
- Add a second coat if needed
- Check for complete coverage
- Allow 24 hours for full cure
DOWNLOAD THE FULL GUIDE FROM THIS PDF
CLICK HERE
Video Tutorial
Check out this detailed video tutorial by Heather Wells.
Decorating Your Clay Eggs
Mastering Painting Techniques
Start with acrylic paints for your clay eggs. They bond well with clay and stay bright over time. Small bottles of Folk Art or Apple Barrel work great for beginners.
You’ll need white paint for base coats and three to four main colors for designs. Store-brand acrylics cost between $3-8 per bottle.
Adding Special Effects
The marble effect starts with two or three paint colors that look nice together. Place small paint drops next to each other on the egg. Use a toothpick to make light swirls through the paint.
Simple items make great texture tools. Kitchen sponges create soft patterns. Bubble wrap prints tiny circles. Fresh leaves leave natural marks—textured cloth rolls on interesting patterns. Small household items can stamp unique designs.
Making Your Eggs Last
The clear sealant keeps your work safe. Start with a thin first coat. Two hours of drying time is good. The second coat makes it stronger. Full-day drying makes it last longer.
Matte sealant looks natural on eggs. Gloss makes colors stand out more. Semi-gloss gives a nice middle look. Water-based products clean up easily. Quick-drying helps finish projects faster.
Ways to Use Clay Eggs
Home Display Ideas
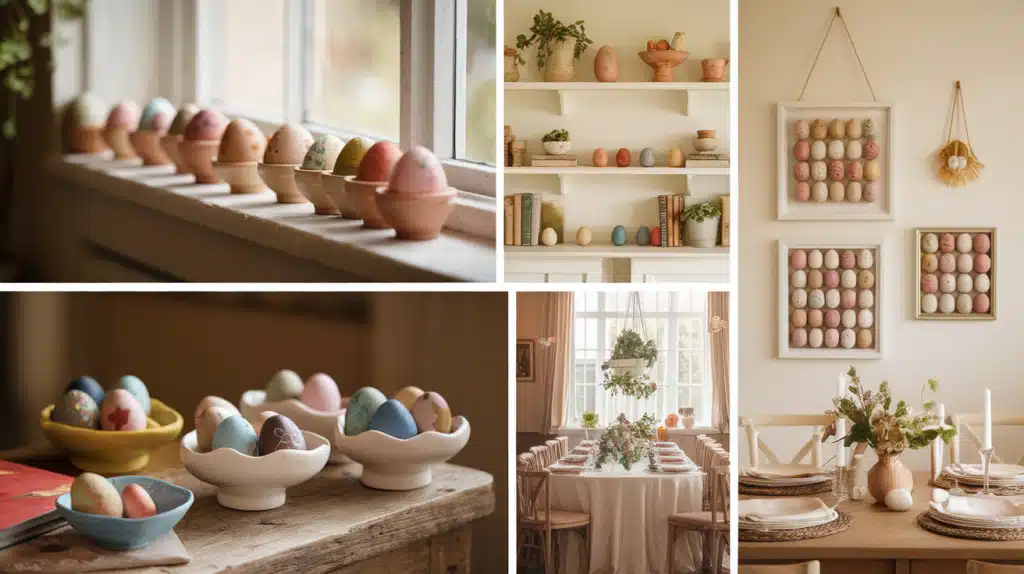
Put eggs in pretty bowls on tables, line them up on window sills, add them to shelf displays, make them part of table settings, or group them on walls in frames.
Gift Options
Clay eggs make thoughtful birthday gifts. Use them as holiday decorations. Give them as thank you present. Make sets for wedding tables. Create baby shower memories.
Teaching Tools
Students learn colors with painted eggs. They practice making patterns. Small hands gain better control. Art classes try new methods. Science rooms show egg shapes.
Conclusion
Clay eggs offer more than just crafting fun – they create lasting memories. By shaping, decorating, and finishing these pieces, you can express your creativity in meaningful ways. Each egg tells its own story, from the choice of colors to the final personal touches.
As you’ve seen, making clay eggs doesn’t require special skills or costly tools. When followed with care and attention, the basic steps lead to pieces you can keep or share. The techniques we’ve covered give you a firm base to start from, while leaving room for your own ideas to shine through.
Remember that each clay egg you make helps build your skills. Start with simple designs, then try new methods as you gain confidence. Your clay eggs will improve with each attempt, making every project better than the last.

