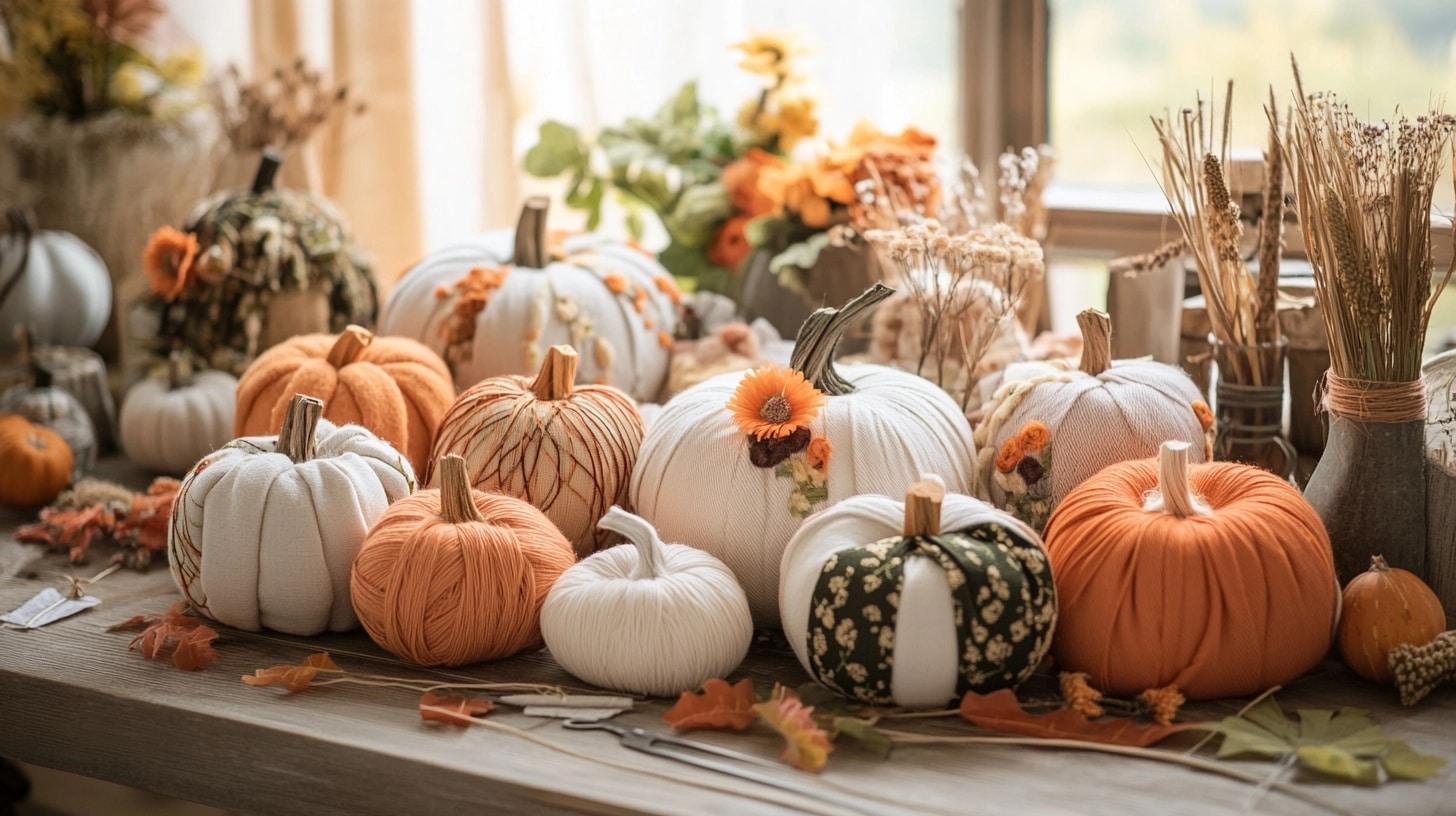
I’ve been making fabric pumpkins for my home decorations, and they’ve become my favorite fall craft project.
With some basic materials like fabric, stuffing, and simple tools, you can create charming decorations that last for years.
What I love most about this project is its flexibility – you can use old clothes, different fabrics, and various decorations to match your style.
In this guide, I’ll share two methods: one with basic sewing and a no-sew option perfect for quick projects or crafting with kids.
Stepwise Guide to Sewing Fabric Pumpkins
1. Gather Materials
- Fabric: Use old shirts, Dollar Tree fabric, or any preferred material.
- Circle Templates: Charger plates, cake boards, large plates, or buckets (for circles of different sizes).
- Needles: Yarn needle, darning needle, or a heavy-duty needle with a large eye.
- Thread/Yarn: Yarn is recommended for durability.
- Stuffing: Polyfill, recycled pillow stuffing, or old stuffed animals.
- Decorative Elements: Sticks, ribbon, pit berry garlands, felt, cupcake toppers, faux flowers, and stems.
2. Prepare Fabric Circles
- Trace and cut the fabric into circles using a circular object (e.g., a charger or cake board).
- For smaller pumpkins, use smaller circles; for larger pumpkins, use bigger ones.
- Precision isn’t crucial—rough edges are fine.
3. Stitch the Fabric
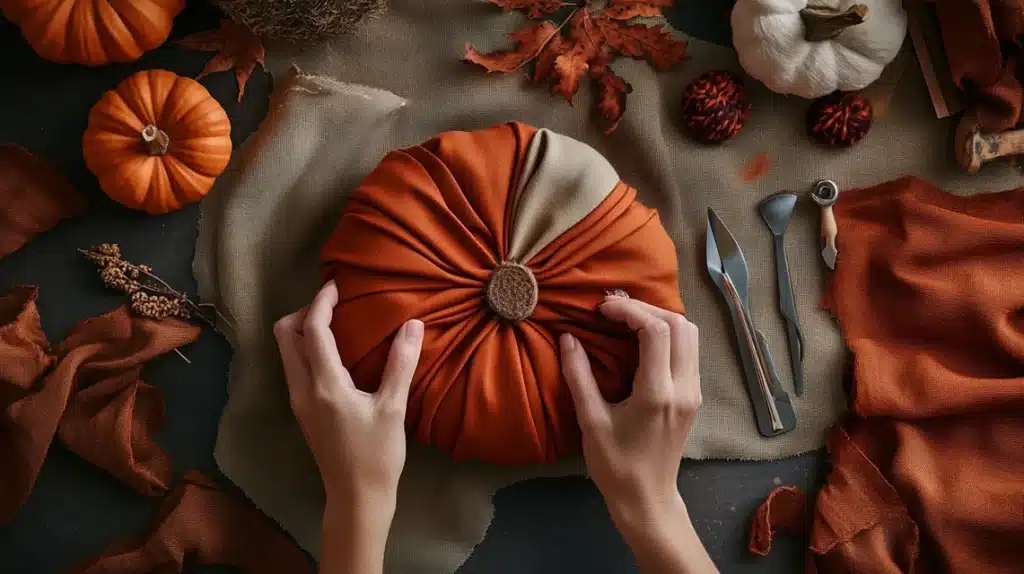
- Use a gathering stitch (slip stitch) around the edge of the fabric circle.
- Accordion-style stitching allows the fabric to bunch up when pulled.
- Be cautious of fabric thickness and avoid tearing by spacing stitches appropriately.
4. Stuff the Pumpkin
- Fill the gathered circle with polyfill or your chosen stuffing material.
- Leave a small opening at the top for the stem and decorative elements.
- Tie the yarn securely to close the opening.
5. Add Pumpkin Veins
- Use yarn to create the classic pumpkin shape by tying it tightly around the stuffed fabric to form sections.
- Pass the needle through the center of the pumpkin, pulling the yarn to form 4-5 veins.
- Adjust the sections to achieve the desired shape.
6. Create the Pumpkin “Butt”
- Pull the yarn tightly to create a dimple at the base (resembling a pumpkin’s natural bottom).
- Tie securely and adjust the stuffing if needed.
7. Add Decorative Accents
- Felt Squares: Pinking shears cut felt into squares to cover the bottom dimple.
- Stems: Attach real wood, crafted, or faux stems with hot glue.
- Ribbon Bows: Make bows using wired or non-wired ribbons and secure them with floral wire.
- Tendrils: Create coiled tendrils using pit berry garlands or colored wire.
- Faux Flowers and Accessories: Add seasonal accents like pinecones, faux leaves, cupcake toppers, or other embellishments.
8. Assemble and Secure
- Glue all decorative items to the top of the pumpkin.
- Use hot glue to attach stems and additional embellishments securely.
- Adjust ribbons, tendrils, and accents as needed.
9. Customize Themes
- Fall Pumpkins: Use warm-toned fabrics (browns, oranges, yellows) with farmhouse accents like raffia or buffalo check ribbon.
- Halloween Pumpkins: Incorporate spooky elements like skull fabrics, lime green ribbons, and bats.
- Farmhouse Pumpkins: Use neutral tones, ticking fabric, and soft greenery like lamb’s ear or eucalyptus.
10. Finishing Touches
- Add extra polyfill for a fuller look.
- Ensure the base and top are secure and visually appealing.
- Add personalized elements such as painted messages or custom bows for added charm.
No-Sew Method for Fabric Pumpkins
This method is perfect for quick projects and crafting with kids. It uses glue instead of stitching to assemble fabric pumpkins.
Step-by-Step Instructions
1. Gather Materials
- Fabric: Use pre-cut circles of cotton, flannel, or old clothing like socks or sweaters.
- Stuffing: Polyfill, old pillow stuffing, or recycled materials.
- Fabric Glue or Hot Glue: Depending on availability and safety considerations.
- Decorative Items: Ribbon, faux flowers, felt, sticks for stems, and other embellishments.
- Template for Circles: Plates, chargers, or cake boards for cutting circles.
2. Prepare the Fabric
- Cut fabric into circles using a template (no need for perfect edges).
- For alternative materials, use socks or sweaters. Use one sock per pumpkin. Cut the toe and stretch it into a round shape. Use the sleeves or any stretchy portion to cut circles.
3. Assemble the Pumpkin
- Step 1: Lay the fabric circle flat.
- Step 2: Place stuffing in the center.
- Step 3: Bring the edges of the fabric up around the stuffing, forming a gathered pouch.
- Step 4: Apply fabric or hot glue along the edges to secure them at the top.
4. Add Decorative Veins (Optional)
- Use yarn or twine: Wrap it around the pumpkin’s exterior to create sections, tying or gluing the ends at the top or bottom.
- If working with kids, use soft materials like ribbon for safety.
5. Attach the Stem
- Use sticks, cinnamon sticks, or rolled felt.
- Secure the stem to the top with hot glue or fabric glue.
- Add decorative elements like ribbon bows or faux flowers around the stem.
6. Final Touches
- Add tendrils using twisted wire, pipe cleaners, or coiled ribbon.
- For kids, provide pre-made embellishments like stickers or foam shapes to decorate.
Safety Precautions When Using Glue
- Use fabric glue for children to avoid burns.
- If using hot glue, supervise closely.
- Ensure glue guns are unplugged and cooled after use.
- Provide safety scissors and blunt tools.
Why Choose the No-Sew Method?
- Fast and Easy: Great for last-minute projects.
- Kid-Friendly: Simple steps that engage children while promoting creativity.
- Versatile: Can be adapted with different materials and decorations.
Choosing the Right Fabric
| Fabric Type | Pros | Cons |
|---|---|---|
| Velvet | – Luxurious, elegant appearance – Stretchable for easy shaping – Wide range of vibrant and jewel tones |
– Expensive – Delicate and prone to tearing – Slippery texture, harder to sew |
| Cotton | – Versatile with endless patterns – Easy to cut, sew, and handle – Durable and budget-friendly |
– Stiff with no stretch – Prone to fraying edges |
| Flannel | – Soft and cozy texture – Thicker and forgiving for stitching – Available in rustic patterns |
– Limited stretch – Bulkier fabric may be harder to shape |
| Burlap | – Rustic, textured aesthetic – Durable and resistant to tearing – Adds dimension to designs |
– Rough texture, uncomfortable to handle – Frays easily – Rigid for shaping |
Summing Up
Making fabric pumpkins has brought me so much joy, and I hope this guide helps you create your special pieces.
The best part is how each pumpkin is unique, adding personality to your fall decor.
Whether you sew or use glue, experiment with different fabrics and decorations until you find your style.
These little pumpkins make wonderful gifts and can become treasured family decorations.
Remember, there’s no wrong way to make them – let your creativity guide you and have fun with the process.
Frequently Asked Questions
How Much Fabric is Needed to Make a Pumpkin?
For a medium-sized pumpkin (6-8 inches), use a circle of fabric about 12-14 inches wide. Bigger pumpkins need larger circles.
What Types of Fabric Work Best for This Project?
Cotton works great for beginners. Flannel and velvet add texture. Look for medium-weight fabrics that hold shape but aren’t too stiff.
Is it Possible to Make this a Kid-Friendly Craft?
Yes! Use the no-sew method with fabric glue instead of hot glue. Let kids pick fabrics and decorations. Supervise all steps.
How Do I Care for and Store Fabric Pumpkins After the Season?
Store in a cool, dry box with tissue paper. Keep away from direct sunlight—dust with a soft brush. Avoid crushing them.


