How to Deep Clean Your Dishwasher in Simple Steps
Your dishwasher handles dirty dishes daily, but it needs deep cleaning too. Food particles, grease, and soap scum build up in filters, spray arms, and door seals over time.
This creates bad smells and reduces cleaning power. In this guide, you’ll learn how to completely clean your dishwasher using simple household items like white vinegar and baking soda.
We’ll show you how to remove and clean the filter system, scrub interior surfaces, and run two special cleaning cycles.
You’ll also get essential maintenance tips to keep your dishwasher fresh and working efficiently. Plus, we’ll cover common mistakes that can damage your machine.
This step-by-step process takes just a few hours but will restore your dishwasher’s performance for months.
Why Regular Dishwasher Cleaning Matters
Some of you might assume that dishwashers clean themselves during regular wash cycles. However, the reality is quite different.
Food debris gets trapped in filters, grease accumulates on interior surfaces, and soap residue builds up over time. These deposits create the perfect environment for bacteria and mold growth.
A dirty dishwasher not only smells bad but also performs poorly. Your dishes may come out with spots, films, or even bits of old food.
The spray arms can become clogged, reducing water pressure and cleaning effectiveness. Regular deep cleaning prevents these issues and keeps your dishwasher running like new.
Additionally, mineral deposits from hard water can damage internal components over time. By removing these deposits regularly, you protect your investment and avoid costly repairs.
How to Deep Clean Your Dishwasher: Step-by-Step
Learn how to remove grease, odors, and buildup from your dishwasher using simple household items in just a few hours.
Tools and Materials Needed
| Item | Purpose | Alternative |
|---|---|---|
| Distilled white vinegar (4% acidity) | Removes mineral deposits and soap scum | Regular white vinegar (4–7% acidity) |
| Baking soda | Deodorizes and removes stains | None |
| Old toothbrush | Scrubs hard-to-reach areas | Small cleaning brush |
| Microfiber cloth | Wipes surfaces clean | Clean dish towel |
| Dishwasher-safe cup or bowl | Holds vinegar during the cleaning cycle | Small glass bowl |
| Rubber gloves | Protects hands | None |
| Mild bleach cleaner (optional, for mold) | Removes mold and mildew | Mild dish soap |
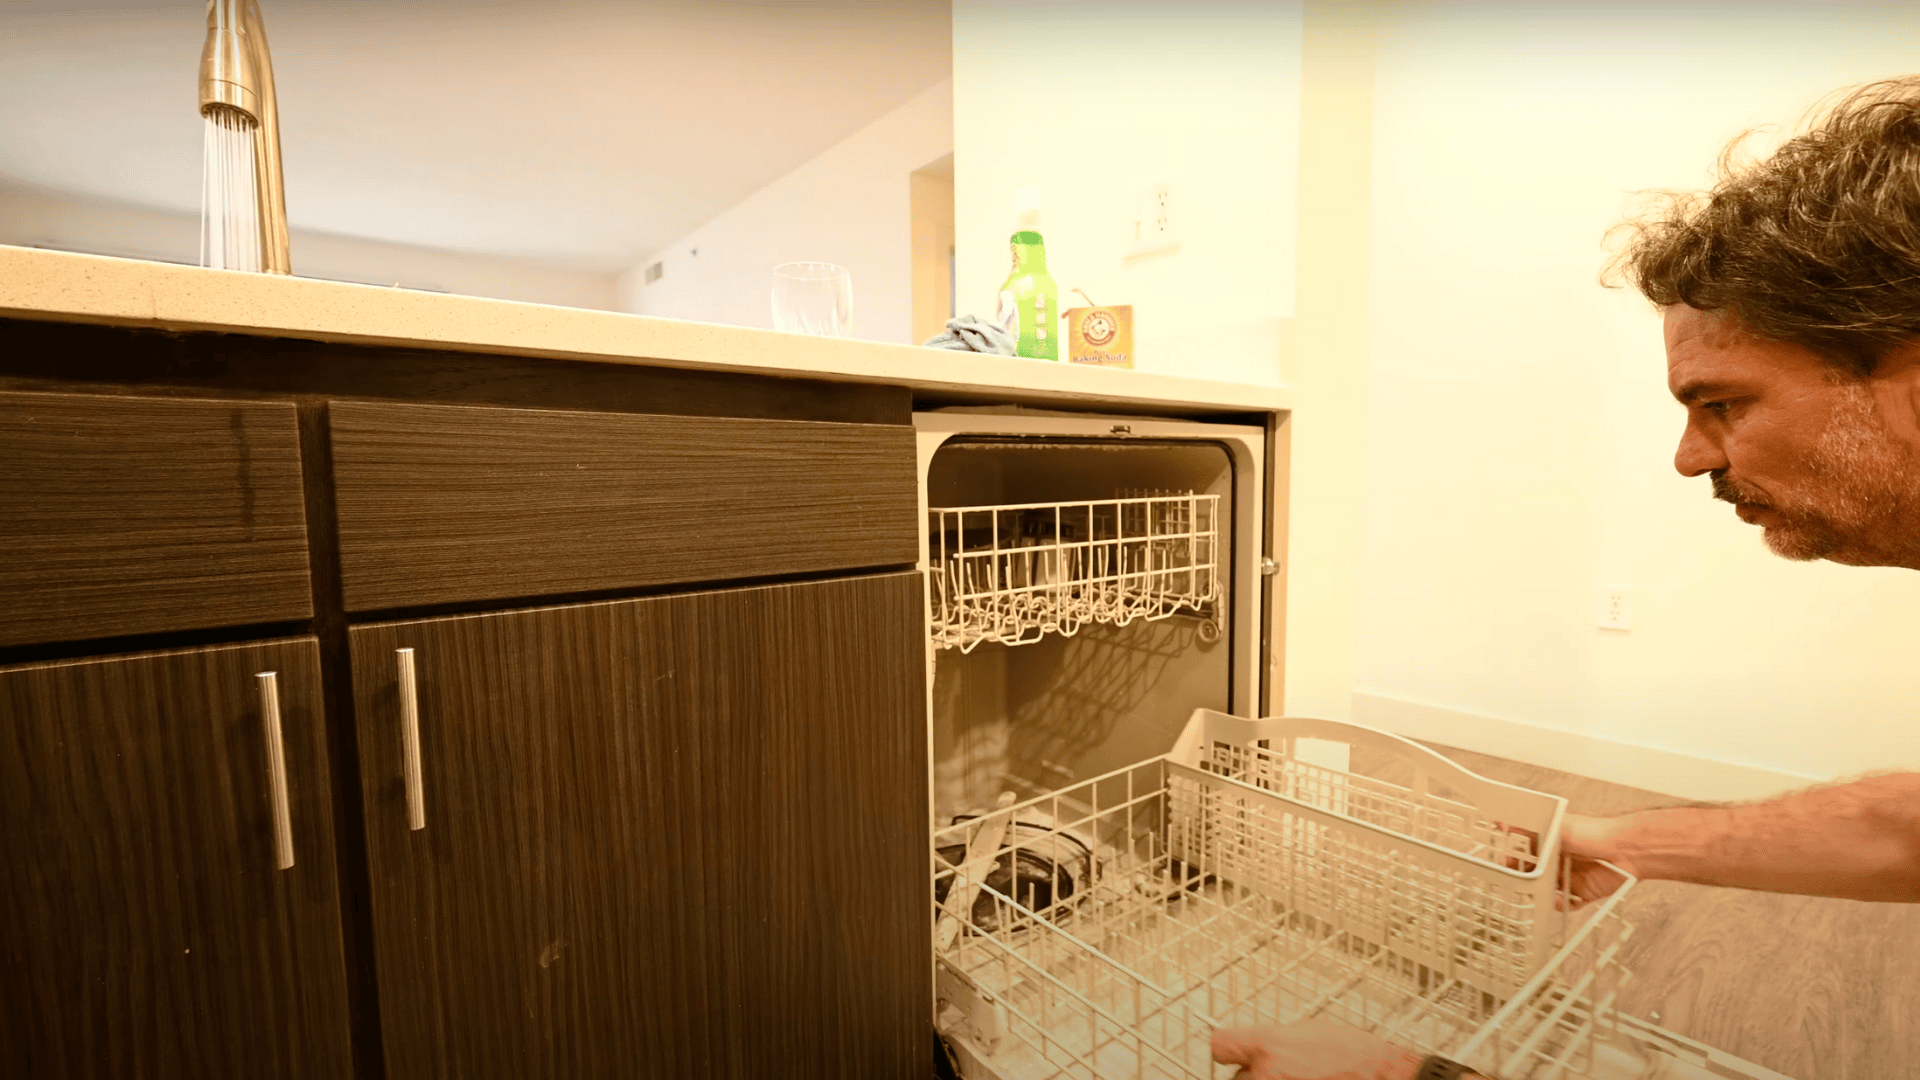
Step 1: Remove and Clean the Bottom Rack
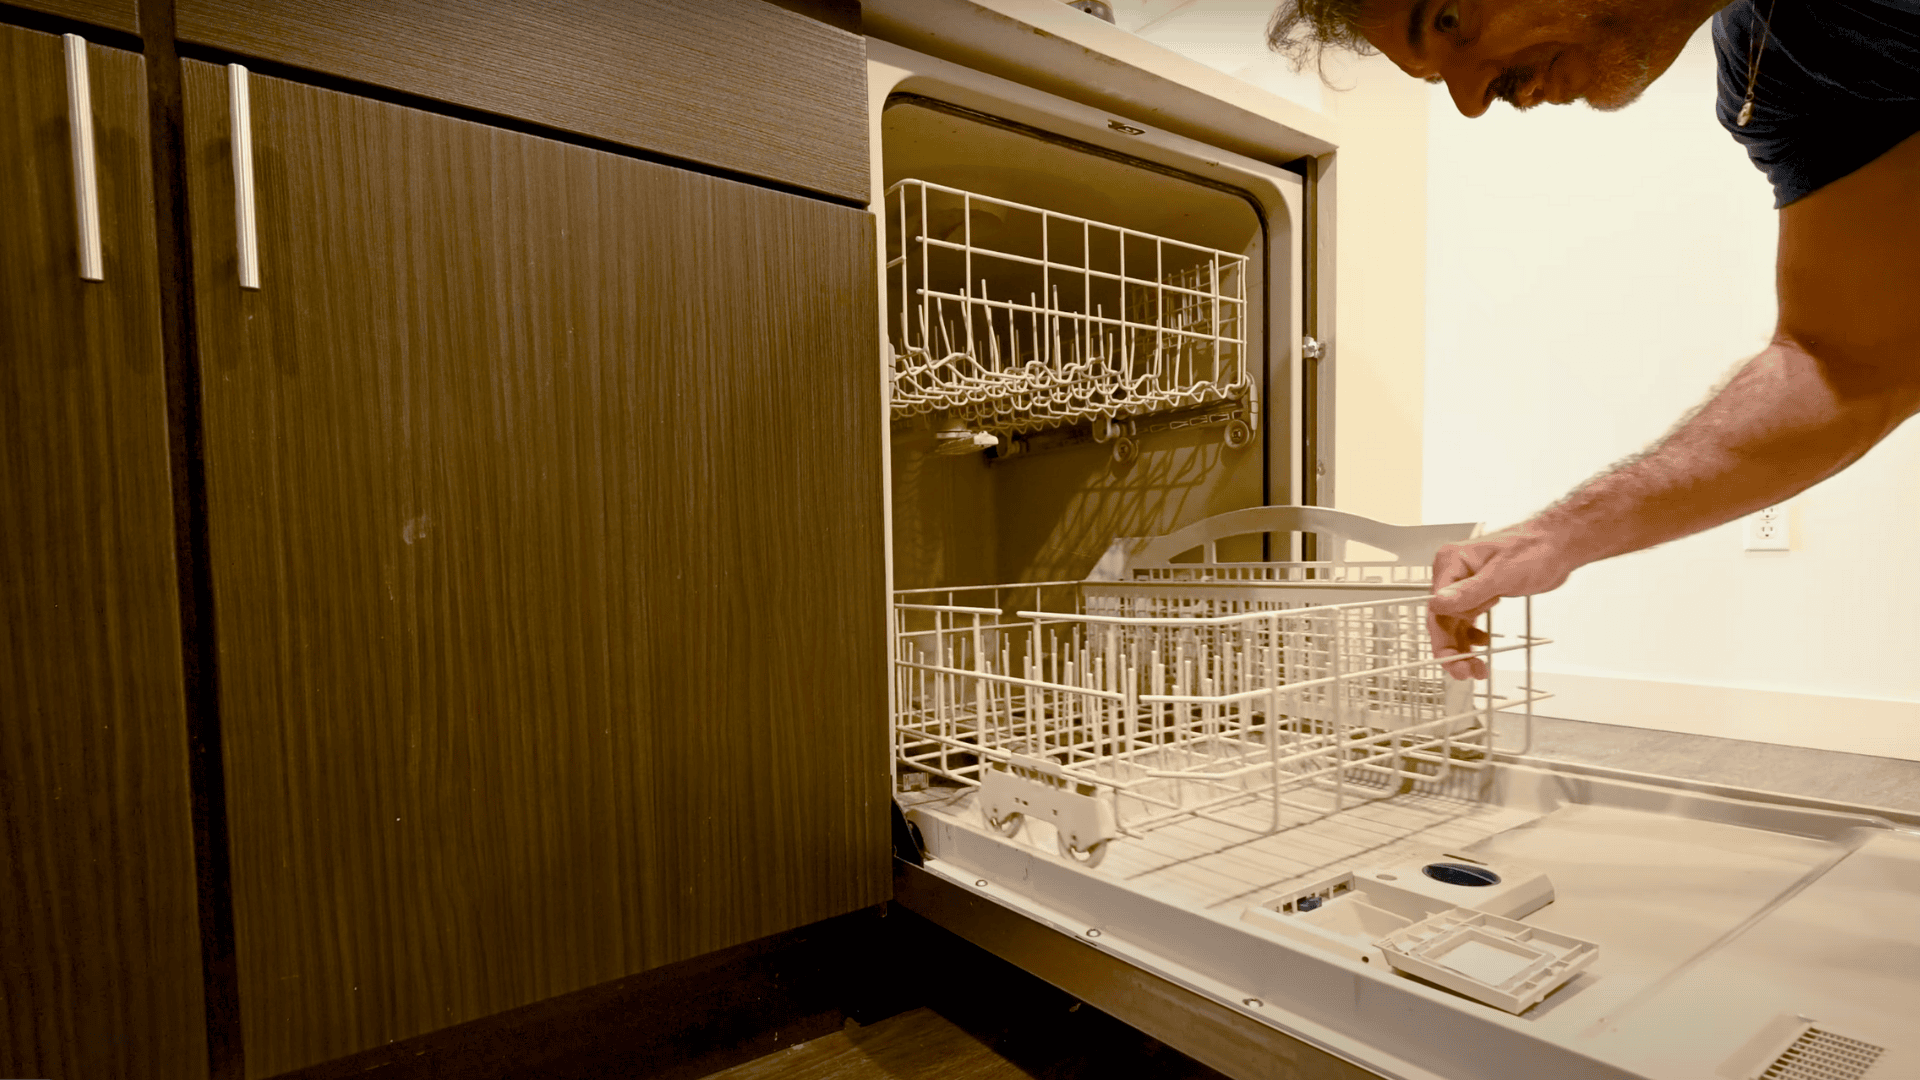
The first step is to access your dishwasher’s interior components. Most dishwashers have removable bottom racks that slide out completely, making it easier to reach the filter and other parts that need attention.
Start by opening your dishwasher door fully and pulling the bottom rack straight out. Most racks have wheels or rollers that allow them to glide smoothly.
Some models may have stops or levers you need to lift or press to remove the rack completely.
Materials needed in this step: None
Instructions: Pull the bottom rack out completely and set it aside. This gives you full access to the dishwasher floor, drain area, and filter system.
Check if your rack needs cleaning too – you can wash it separately in your sink if necessary.
Step 2: Remove and Clean the Filter System
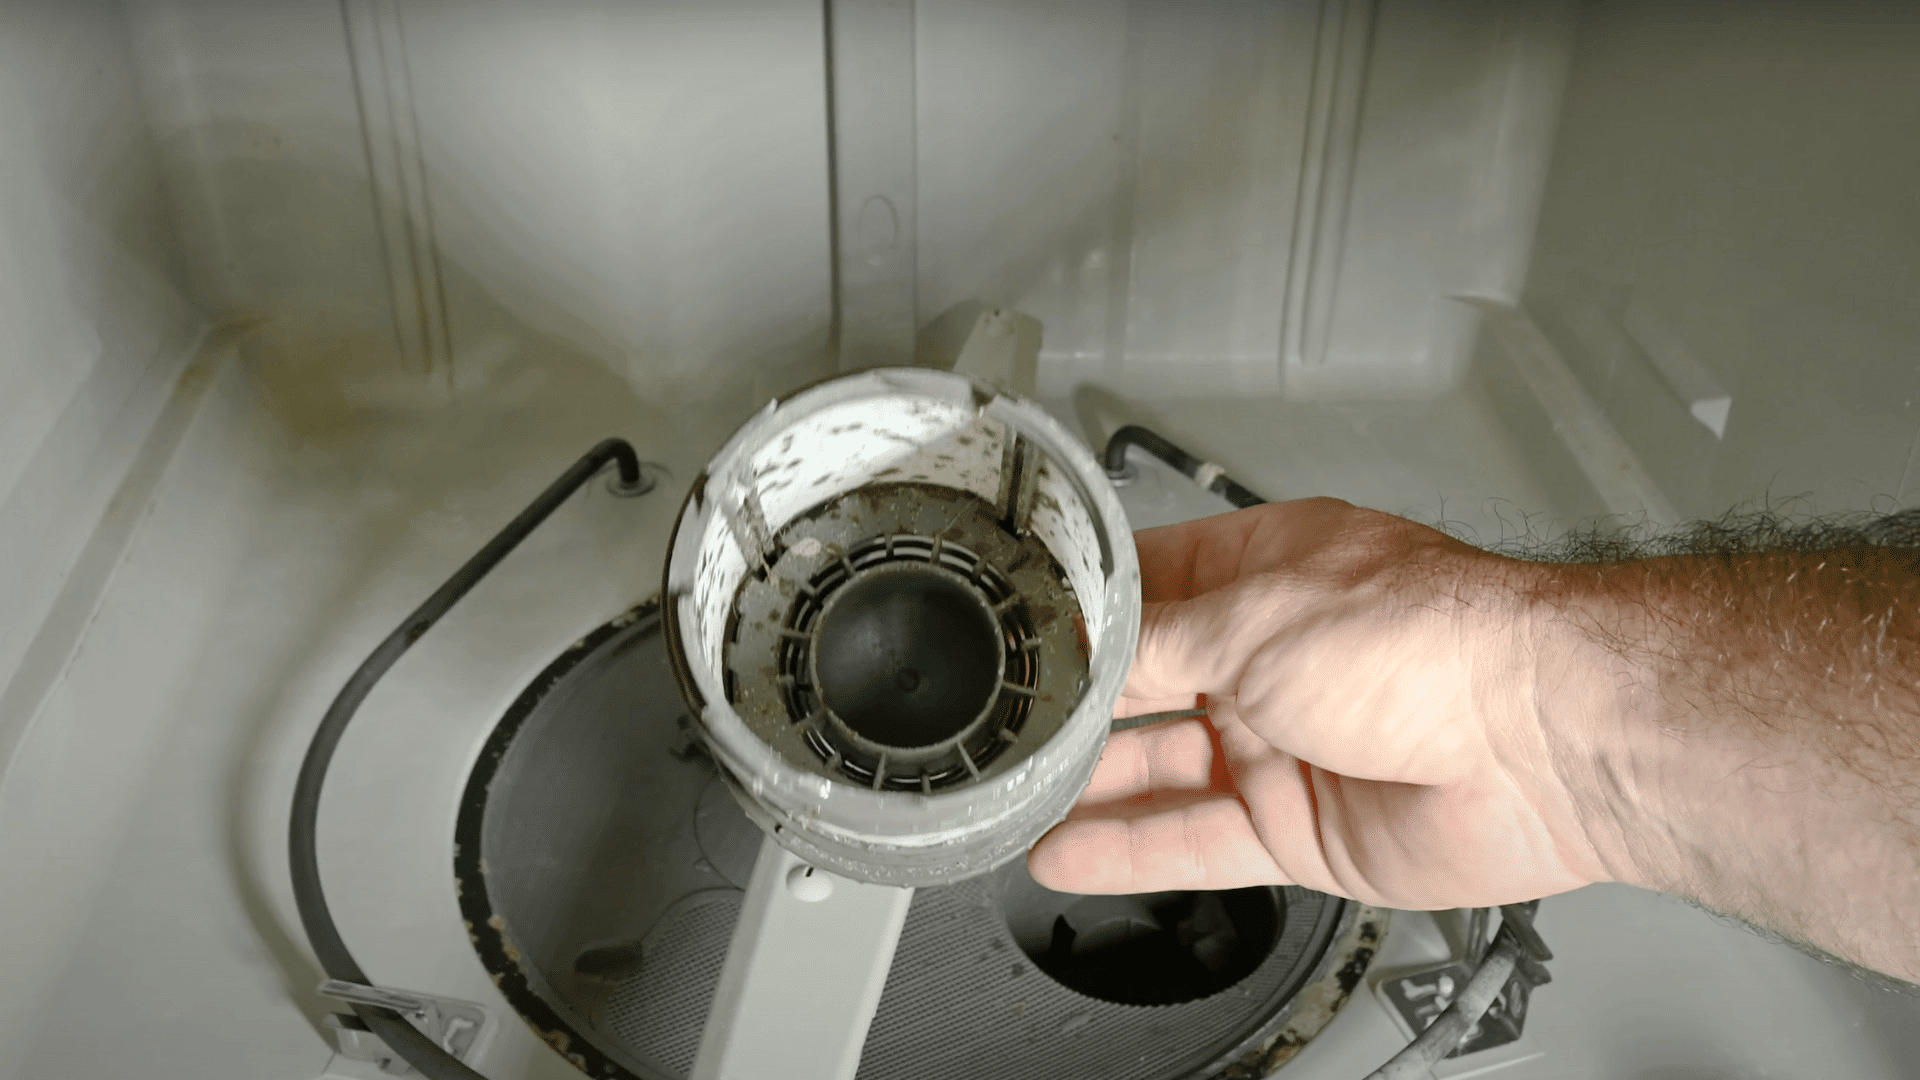
The filter system is often the dirtiest part of your dishwasher because it catches all the food particles and debris.
Most modern dishwashers have a cylindrical filter that twists out, along with a mesh screen underneath. Locate the filter at the bottom of your dishwasher, usually in the center or back corner.
The main filter typically has a handle or raised section that you can grip. Turn it counterclockwise (left) and lift it out. You may also find a flat mesh screen underneath that simply lifts out.
Materials needed in this step: Old toothbrush, bleach cleaner or mild soap, rubber gloves
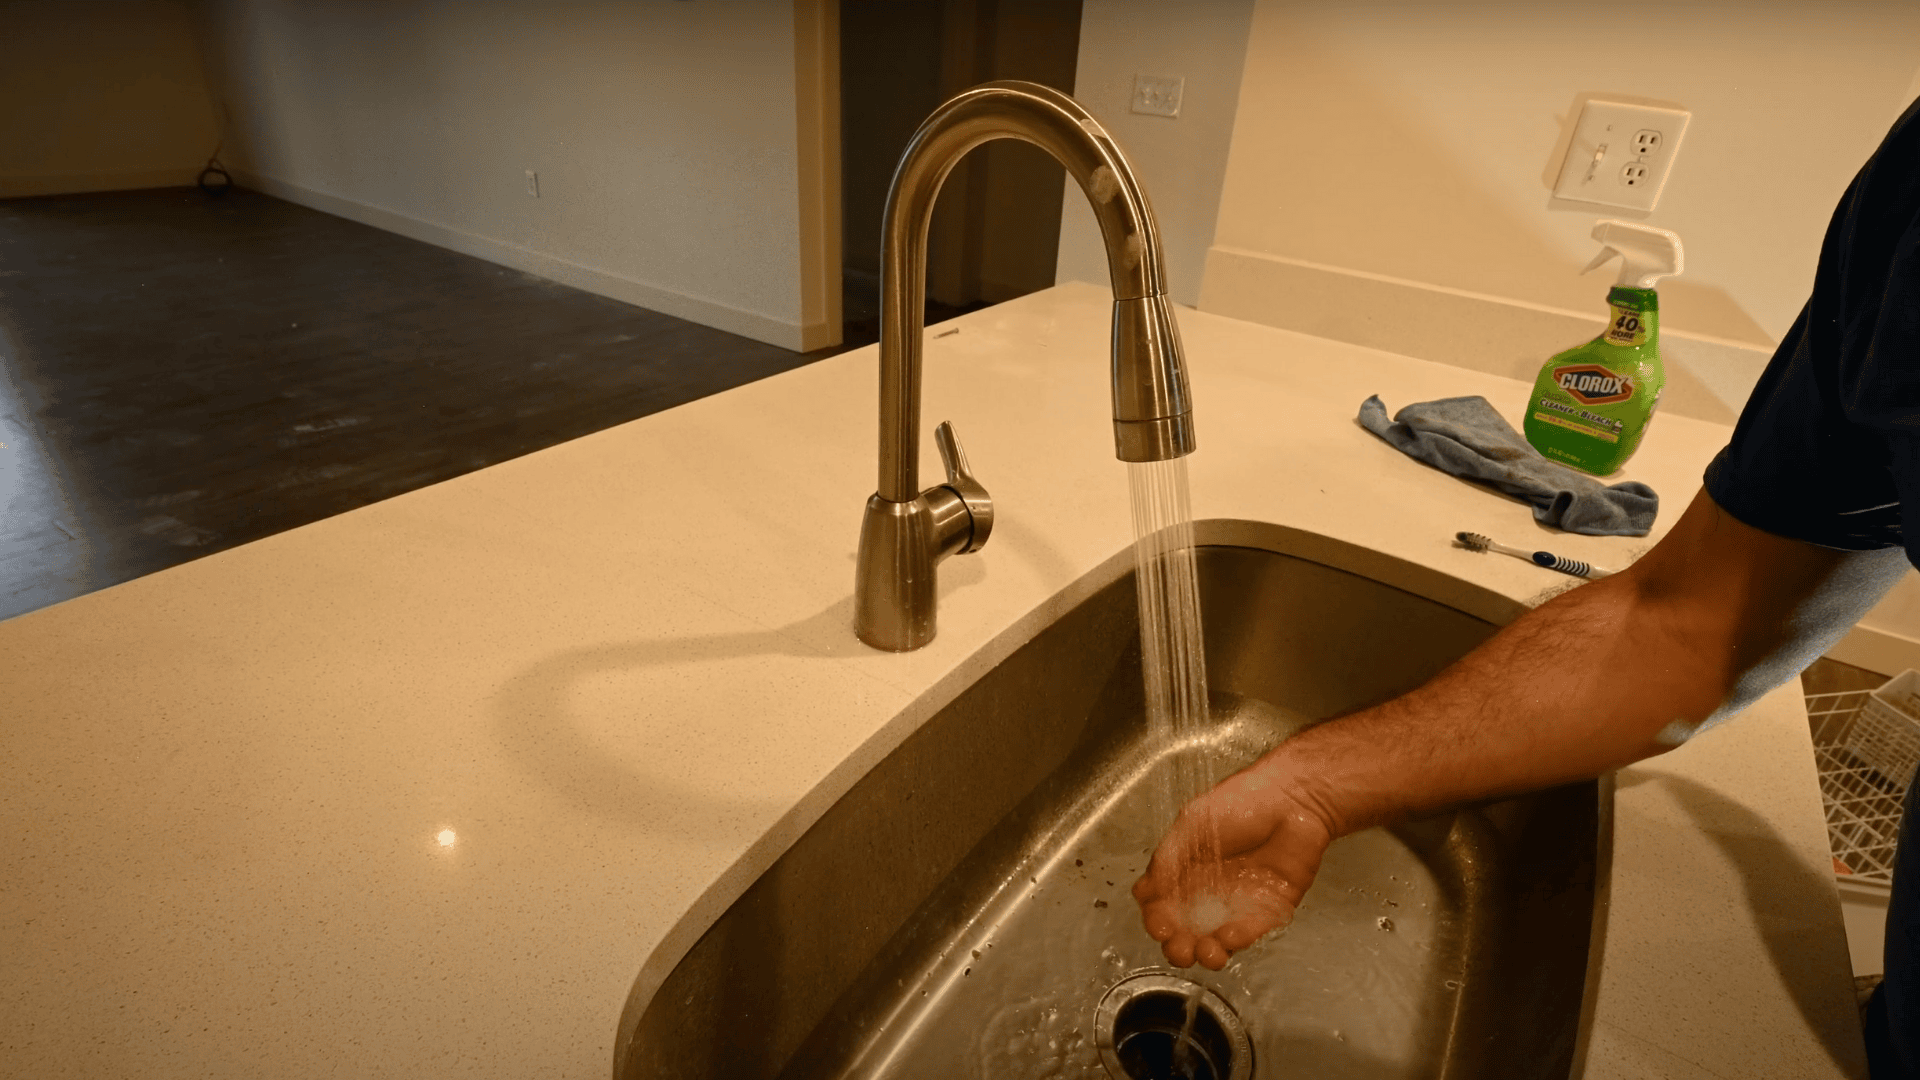
Instructions: Rinse the filter and screen under hot running water. Use the old toothbrush to scrub away stuck-on debris and buildup.
For heavily soiled filters, apply a small amount of bleach cleaner and let it sit for a few minutes before scrubbing. Rinse thoroughly until all cleaning product is removed.
Step 3: Clean the Interior Surfaces and Seals
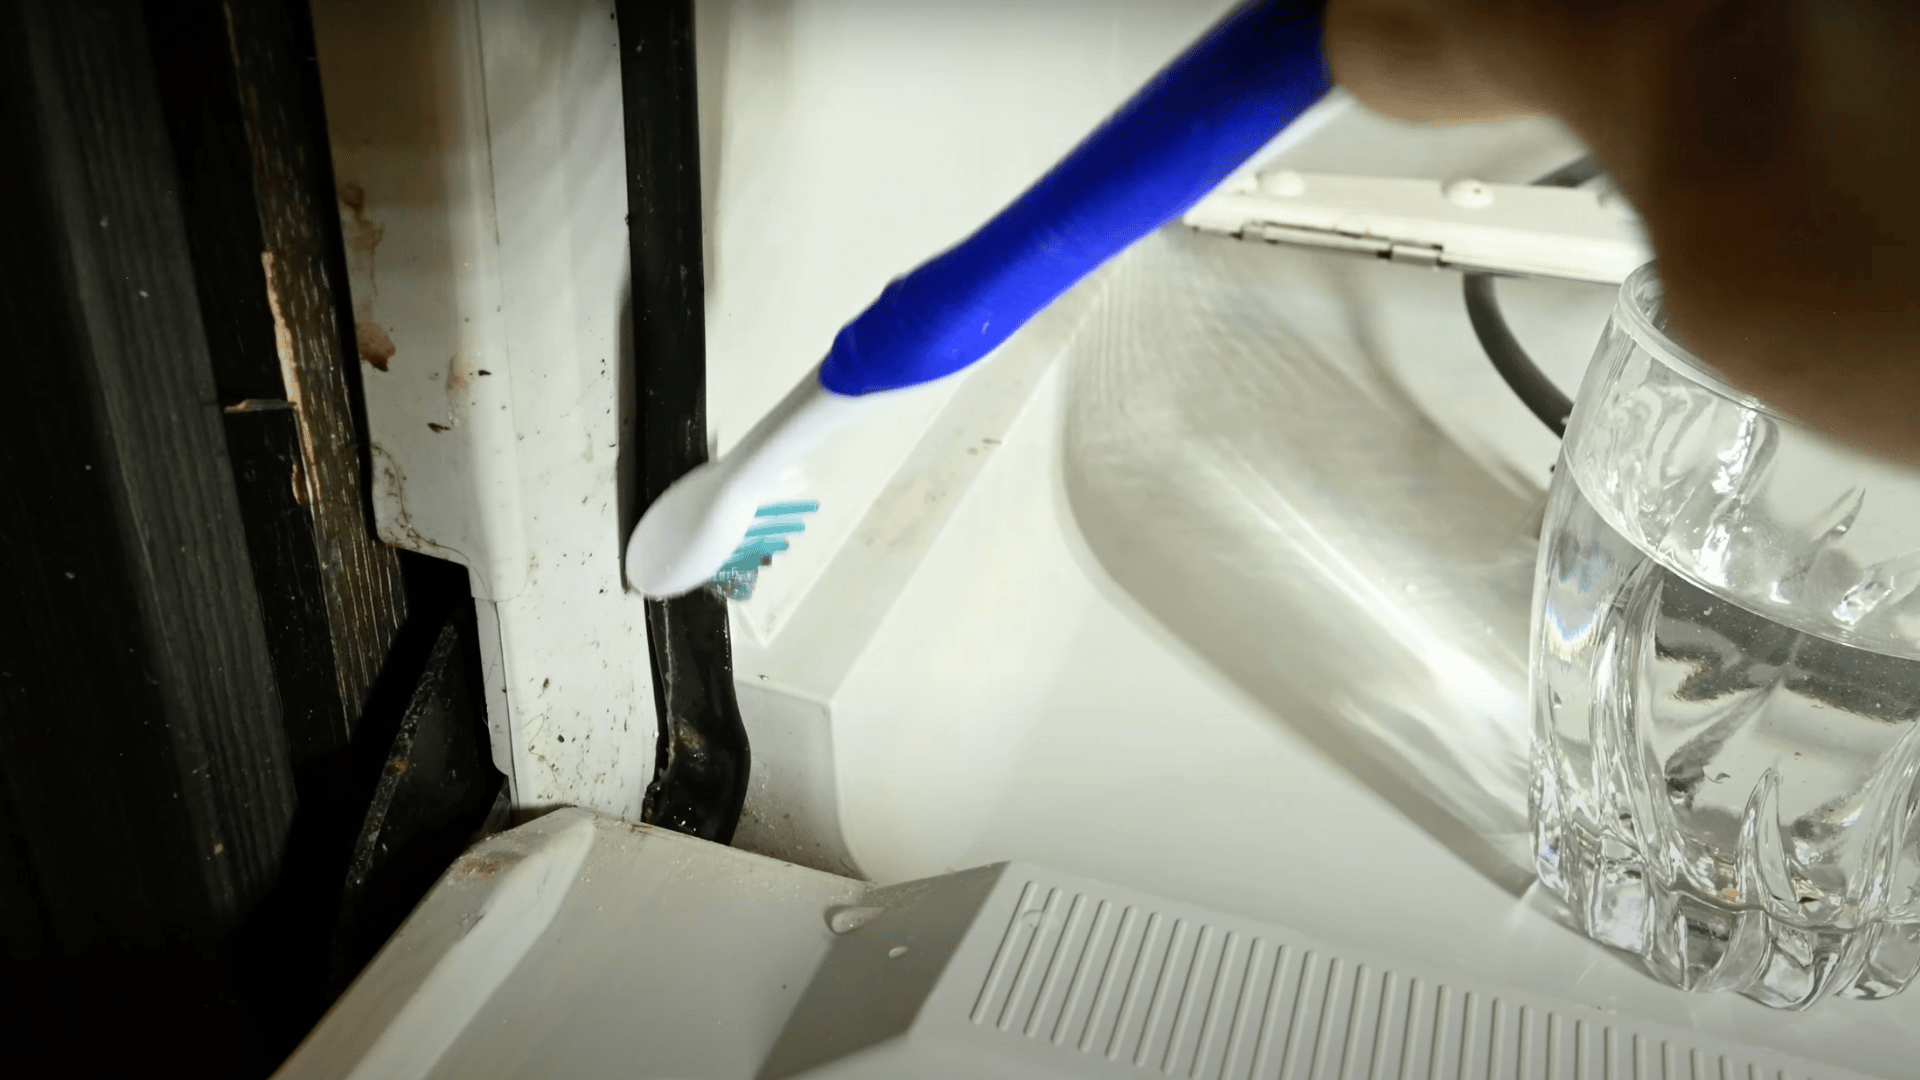
With the filter removed, you can now access and clean the dishwasher’s interior surfaces. Pay special attention to the door seals, spray arms, and any visible buildup on the walls.
The rubber door seals are particularly prone to bacterial and mold growth. Food particles and moisture get trapped in the folds, creating an ideal environment for growth. Use your toothbrush to gently scrub these areas.
Materials needed in this step: Old toothbrush, microfiber cloth, distilled white vinegar, bleach cleaner
Instructions: Spray problem areas with your chosen cleaner. Use the toothbrush to scrub the door seals, paying attention to folds and crevices.
Clean around the soap dispenser and any other areas with visible buildup. Don’t forget to check and clean the vent area if your dishwasher has a removable vent cover.
Step 4: Run the First Cleaning Cycle with Vinegar
Now comes the first of two cleaning cycles. The vinegar cycle removes mineral deposits and soap scum and helps break down grease buildup throughout the entire system.
Fill a dishwasher-safe cup or bowl with one cup of distilled white vinegar. Place this container on the top rack of your dishwasher. Replace the bottom rack and close the dishwasher door.
Materials needed in this step: 1 cup distilled white vinegar, dishwasher-safe cup or bowl
Instructions: Run your hot water tap until the water is steaming hot before starting the cycle. This ensures the dishwasher begins with the hottest possible water.
Select a normal wash cycle with high temperature settings, but skip the heated dry option for this first cycle. The vinegar will be distributed throughout the wash, breaking down deposits and eliminating odors.
Step 5: Run the Second Cleaning Cycle with Baking Soda
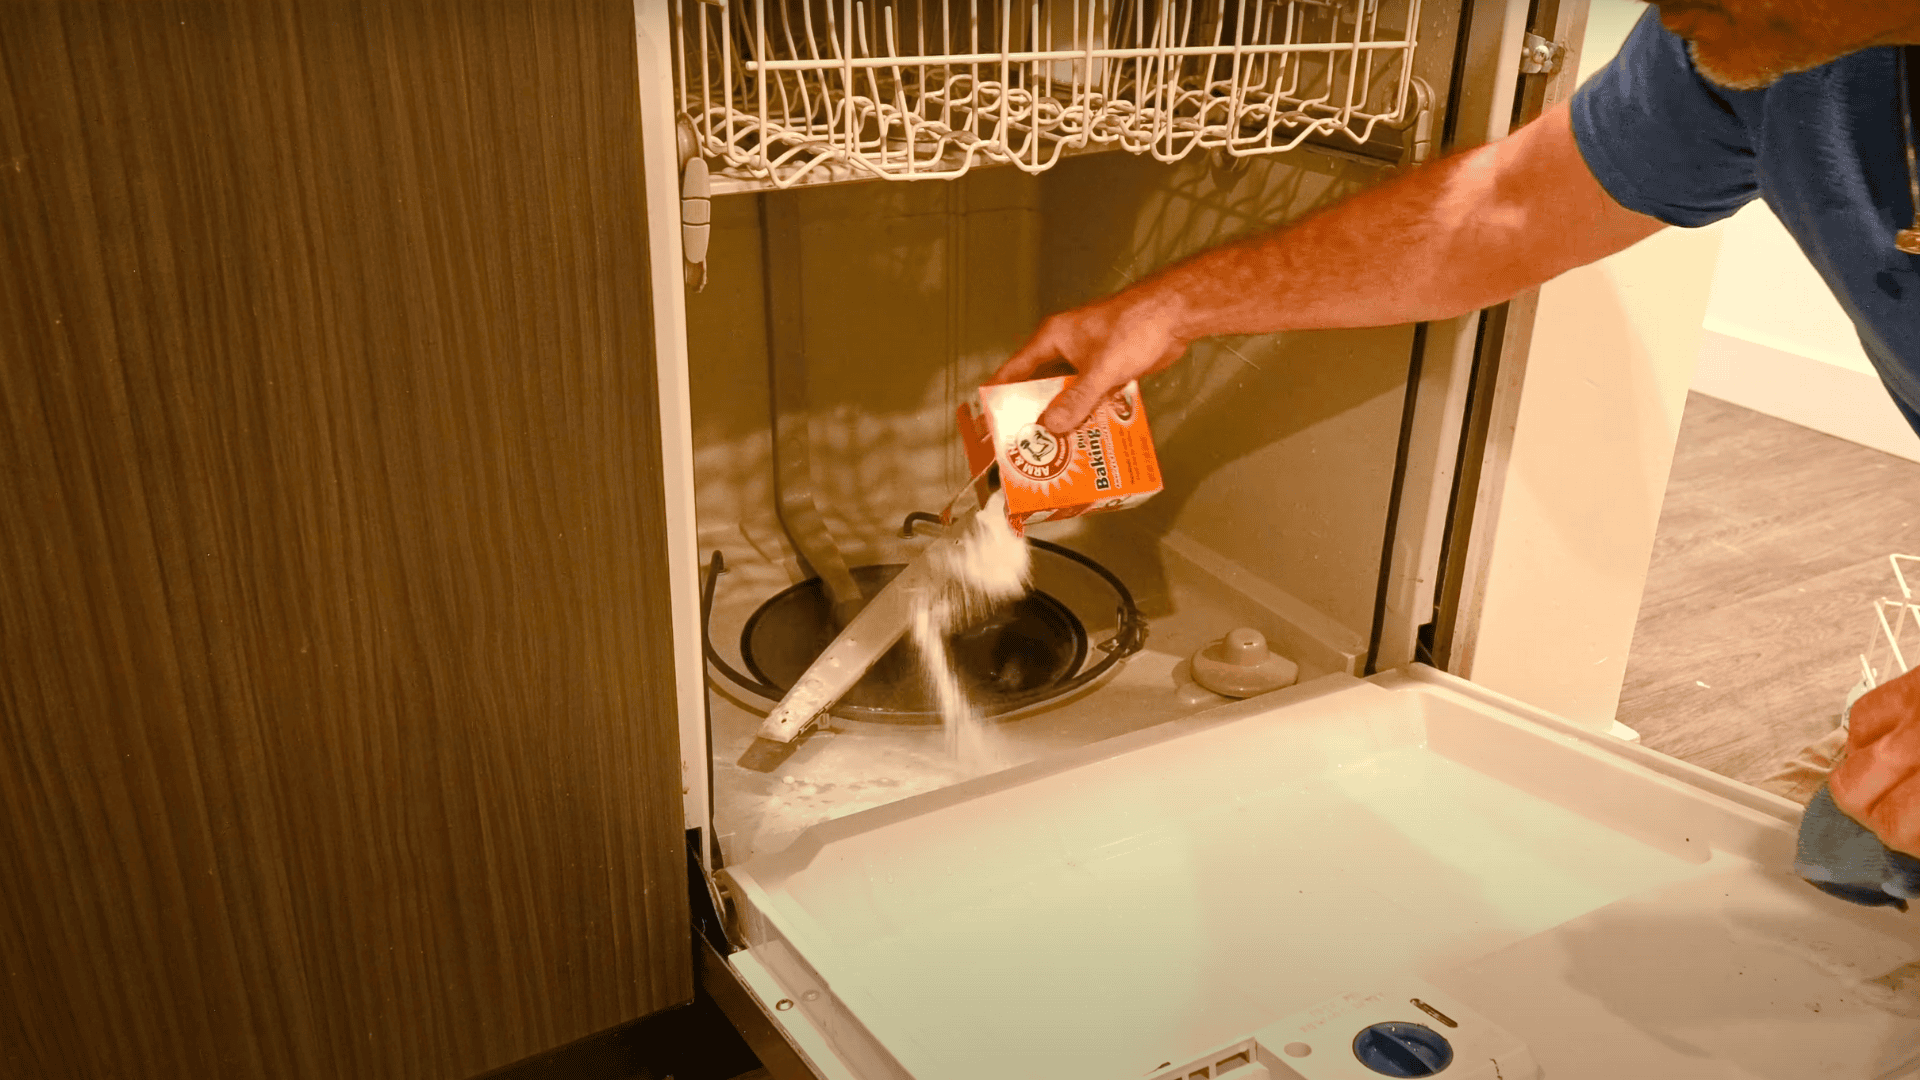
After the vinegar cycle completes, you’ll run a second cycle using baking soda. This step neutralizes odors, removes stains, and gives your dishwasher a final deep clean.
Remove the cup that held the vinegar and take out both racks again. You’ll notice that the vinegar cycle has loosened much of the buildup. Wipe down any loose debris with a microfiber cloth.
Materials needed in this step: 1 cup baking soda, a microfiber cloth
Instructions: Sprinkle one cup of baking soda evenly across the bottom of the empty dishwasher. Replace the racks and run another hot water cycle.
This time, use the heated dry setting to help eliminate any remaining moisture. The baking soda will deodorize and remove any remaining stains or buildup.
Step 6: Final Inspection and Reassembly
Once both cycles are complete, it’s time to reinstall your clean filter system and do a final inspection of your work.
Open the dishwasher and remove the racks again. You should notice a significant improvement in cleanliness and smell. Any remaining debris should wipe away easily with a damp cloth.
Materials needed in this step: Clean microfiber cloth
Instructions: Reinstall the mesh screen first, then the main filter. Turn the filter clockwise until it locks in place; it should not lift out when properly installed.
Replace the bottom rack and run your hand along the door seals to ensure they’re clean and dry. Your dishwasher is now ready for regular use.
Video Tutorial
I’d like to acknowledge Apartment Maintenance Pro for the insightful video, which was a key reference in putting this guide together.
Also read: How to Effectively Clean Your Kitchen Sink Drain
Maintenance Tips for Peak Dishwasher Performance
Simple daily and monthly habits that keep your dishwasher working at its best for years to come.
1. Regular Filter Cleaning Schedule
The dishwasher filter should be cleaned monthly, or more often if you frequently wash heavily soiled dishes. This simple maintenance task prevents most odor and performance issues before they start.
Remove and rinse the filter under hot water after every few loads if you notice food particles accumulating. For monthly deep cleaning, use a soft brush and mild dish soap to remove any buildup.
Always check your owner’s manual for specific filter maintenance instructions, as some models have different requirements.
2. Proper Loading Techniques
How loading the dishwasher significantly impacts both cleaning performance and the need for maintenance. Scrape plates before loading, but avoid pre-rinsing unless the food is dry.
Pre-rinsing can actually reduce cleaning effectiveness because dishwasher detergent needs some soil to work properly. Load dishes so water can reach all surfaces and drain freely.
Don’t overcrowd racks, and ensure spray arms can rotate without hitting dishes. Face soiled surfaces toward the center where the spray arms are located. Proper loading reduces the amount of debris that reaches your filter system.
3. Water Temperature and Quality Considerations
Your water heater should be set to 120°F for optimal dishwasher performance. Water that’s too cool won’t activate detergent properly or dissolve grease effectively.
If you have hard water, consider using a rinse aid and cleaning your dishwasher more frequently to prevent mineral buildup.
Hard water leaves white spots on dishes and creates mineral deposits throughout your dishwasher. These deposits can clog spray holes and reduce cleaning effectiveness.
If hard water is a persistent problem, consider installing a water softener system for your entire home.
4. Choosing the Right Detergent and Rinse Aid
Use only dishwasher-specific detergents, never hand dish soap, which creates excessive suds. Powder detergents work well for heavily soiled loads, while liquid detergents dissolve better in shorter cycles.
Tablet detergents offer convenience but may not fully dissolve during quick wash cycles. Rinse aid helps prevent water spots and improves drying performance.
Fill the rinse aid dispenser monthly or when the indicator light appears. Adjust the rinse aid setting based on your water hardness; harder water requires more rinse aid to prevent spots.
5. Monthly Maintenance Routine
Establish a monthly maintenance routine to keep your dishwasher in peak condition. This should include cleaning the filter, wiping down door seals, and checking spray arms for clogs.
Look for food particles stuck in the spray arm holes and use a toothpick to clear them. Once every three months, run an empty cleaning cycle with vinegar or a commercial dishwasher cleaner.
This prevents buildup and maintains optimal performance. Keep a maintenance log to track when you last performed each task; this helps establish good habits and ensures nothing gets overlooked.
Dishwasher Mistakes That Damage Your Machine
Even with regular cleaning, certain habits can quietly reduce your dishwasher’s efficiency. Avoiding these common mistakes helps protect your appliance and keeps it performing at its best.
| Mistake | Why It’s Wrong | Correct Approach |
|---|---|---|
| Using regular dish soap | Creates excessive suds that can damage the dishwasher | Use only dishwasher-specific detergents |
| Skipping pre-scraping | Large food particles clog filters and spray arms | Scrape plates, but don’t pre-rinse |
| Overloading racks | Prevents proper water circulation and cleaning | Load dishes with space for water flow |
| Ignoring filter maintenance | Leads to odors and poor cleaning performance | Clean filter monthly or as needed |
| Using hot water cycles for everything | Wastes energy and can damage delicate items | Match the cycle to soil level and dish types |
| Forgetting to clean door seals | Allows bacteria and mold growth | Include seals in the regular cleaning routine |
| Running dishwasher without rinse aid | Results in water spots and poor drying | Keep the rinse aid dispenser filled |
How often should I deep clean my dishwasher?
You should deep-clean your dishwasher every three to six months to keep it running efficiently and prevent the buildup of food debris, grease, and mineral deposits.
If you often run heavily soiled loads or have hard water, consider cleaning it more frequently. Regular maintenance, such as wiping down door seals and rinsing the filter after a few loads, helps reduce odors and improve performance.
Deep cleaning removes hidden buildup that can clog spray arms and reduce water pressure. It also helps prevent mold, bacteria, and lingering smells. Following a consistent schedule protects your dishwasher and ensures your dishes come out clean every time.
By combining routine care with periodic deep cleans, you can extend the life of your appliance.
Final Thoughts
Deep cleaning your dishwasher is straightforward and pays big dividends in performance and longevity.
By following these six steps every three to six months, you’ll maintain a fresh-smelling, efficiently running appliance.
The combination of vinegar and baking soda removes buildup, eliminates odors, and restores your dishwasher’s cleaning power.
Regular maintenance, including monthly filter cleaning and proper loading, prevents most problems before they start.
A clean dishwasher performs better and provides cleaner, more hygienic results. With a few household supplies and a couple of hours, you can keep your dishwasher running like new for years.