Mastering Houseplant Propagation for Beginners

Picture this: your single houseplant becomes the parent of an entire indoor jungle, and it doesn’t cost you a dime. That’s the magic of propagation—the practice of creating new plants from existing ones. Whether you’re nurturing a sun-hungry succulent or working with a low light houseplant that thrives in shadowy corners, propagation lets you multiply your leafy friends and tailor your collection to every nook and cranny of your home. This deeply satisfying skill transforms your relationship with indoor gardening while building genuine confidence through hands-on discovery. Let’s dive into the essential techniques, practical wisdom, and common stumbling blocks that will set you up for propagation success.
Why Propagation Matters for Indoor Gardeners
Propagation turns indoor gardening from a wallet-draining pursuit into something beautifully sustainable. Sure, the money you’ll save is nice, but there’s so much more to it. You’ll breathe new life into aging plants, give yourself permission to experiment freely, and develop an intimate understanding of how plants actually work. Take Sarah, a complete beginner who started with just one pothos cutting gifted by a friend. Six months later, she had coaxed it into five flourishing plants, each perfectly suited to different rooms throughout her apartment.
Key Takeaway: Propagation saves money and builds skills—start with plants you already own.
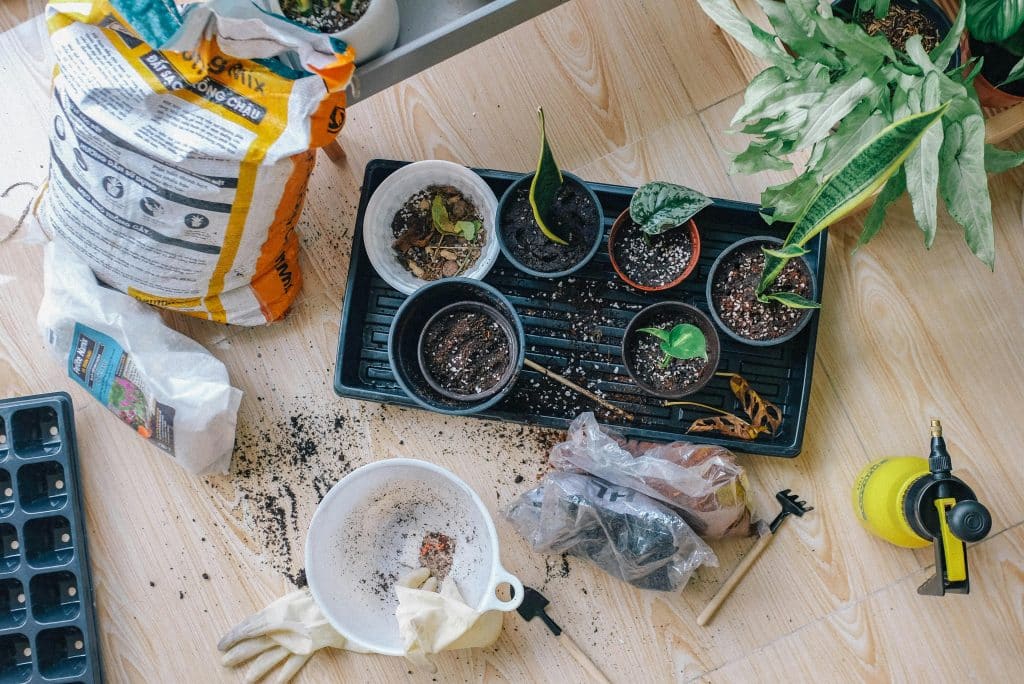
Essential Tools and Preparation
Your success story begins with smart preparation. Gather sharp scissors or pruners, rooting hormone, small pots, a quality well-draining soil mix, and clear jars for water propagation. Here’s a step that trips up many newcomers: sterilize every cutting tool with rubbing alcohol. This simple habit prevents disease from sabotaging your efforts.
Timing plays a crucial role too. Spring and summer are your sweet spot—plants are in active growth mode, which translates to faster root development and dramatically better success rates. Following this natural rhythm aligns your efforts with what plants want to do anyway.
Common Propagation Methods Step-by-Step
Stem Cuttings
This workhorse method shines with pothos, philodendron, and monstera. Make your cut just below a node (that little bump where leaves emerge), strip away the lower leaves to prevent rot, then nestle your cutting in water or moist soil. Fresh water every few days keeps oxygen levels healthy, and a dab of rooting hormone can speed things along nicely.
Leaf Cuttings
Sansevieria, begonias, and African violets respond beautifully to this patient person’s approach. Make clean cuts, let those cut surfaces form a protective callus over 24 hours, then tuck them into soil. Pro tip for snake plants: create triangular cuts rather than straight ones—this extra surface area can make all the difference in your success rate.
Division
This is propagation’s instant gratification method, perfect for spider plants, ZZ plants, and snake plants. When repotting time comes around, gently tease apart those natural offsets or rhizomes, making sure each piece has its own roots. Instead of waiting months for babies to grow, you get mature plants right from the start.
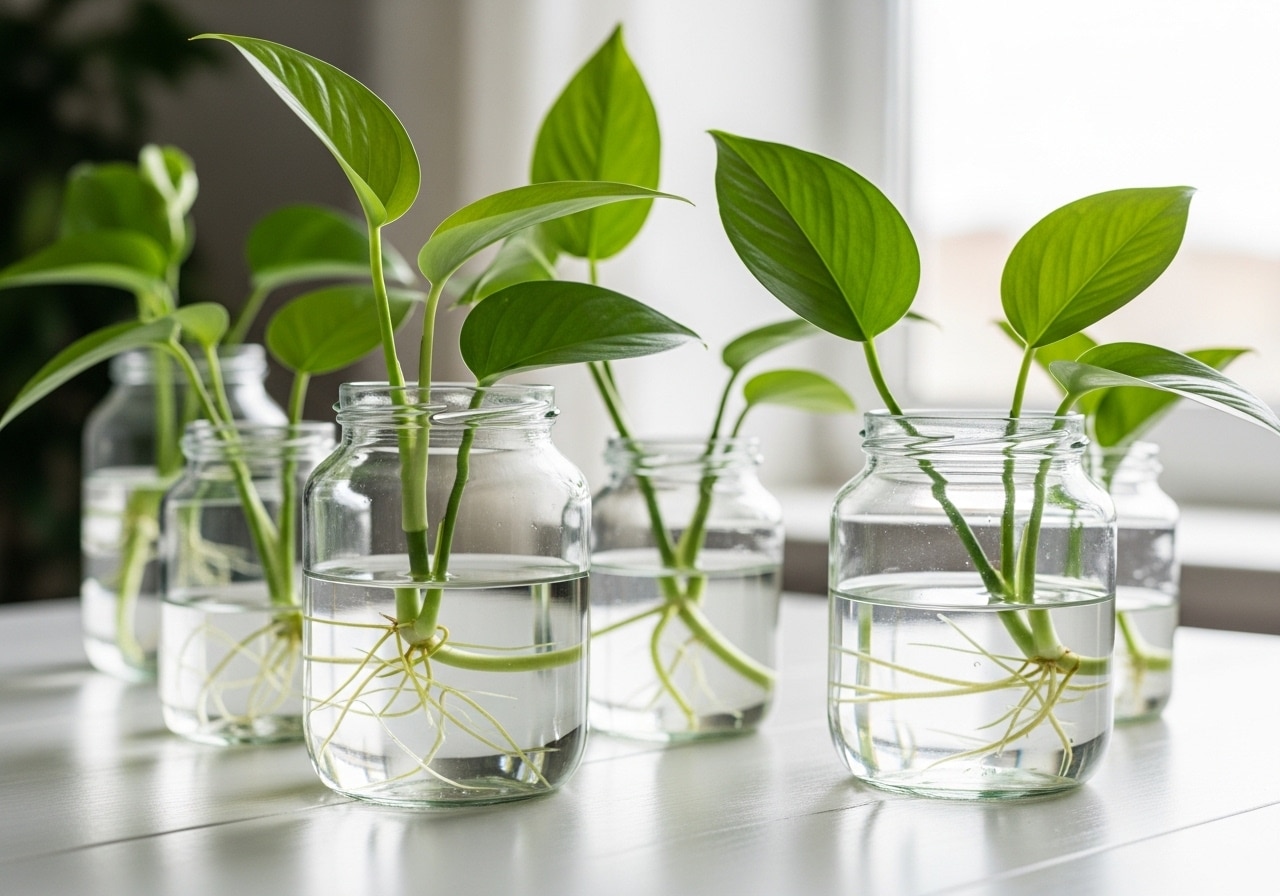
Water Propagation Basics
Choose stems with visible nodes, make angled cuts to maximize surface area, then find a spot with warm, indirect light. Water propagation has a wonderful advantage—you can actually watch those roots develop day by day. Once they reach 2-3 inches long, it’s time to make the transition to soil for the best long-term results.
Troubleshooting and Best Practices
The two biggest culprits behind propagation heartbreak? Rot from too much water and weak, spindly growth from too little light. Your soil should feel like a well-wrung sponge—moist but never soggy. A heat mat can provide that gentle warmth plants crave, while bright, indirect light creates the perfect growing environment.
|
Method |
Best Plants |
Pros |
Cons
|
|
Stem Cuttings |
Pothos, Philodendron |
Fast water roots |
Rot risk |
|
Leaf Cuttings |
Snake Plant, Begonia |
Beginner-friendly |
Slower process |
|
Division |
Spider Plant, ZZ |
Instant plants |
Needs mature plant |
Caring for New Propagules
Think of your newly propagated plants as teenagers finding their way in the world—they need gentle guidance during this vulnerable phase. Ease them into normal conditions gradually, keeping the moisture consistent without creating a swamp. That first flush of new growth, typically appearing within 4-8 weeks, is your victory signal. Once you see it, you can start offering light doses of low-nitrogen fertilizer to support healthy root development.
Conclusion
Propagation unlocks a world of possibilities for growing your houseplant family while nurturing skills that will serve you for years to come. These approachable techniques—whether you start with simple stem cuttings or try your hand at division—welcome gardeners at every level of experience. Pick one plant, keep track of what happens, and watch your confidence flourish alongside your expanding green sanctuary. Every lush indoor jungle started with a single cutting—and your own green thumb is just waiting to be discovered through this deeply rewarding practice.


