Sleek Rose Napkin Fold: Convert Your Table in 7 Steps
I’ve always believed that the smallest details make the biggest impression when hosting an event.
After years of planning dinner parties and special gatherings, I’ve learned that the humble napkin can become a stunning focal point with just a few creative folds.
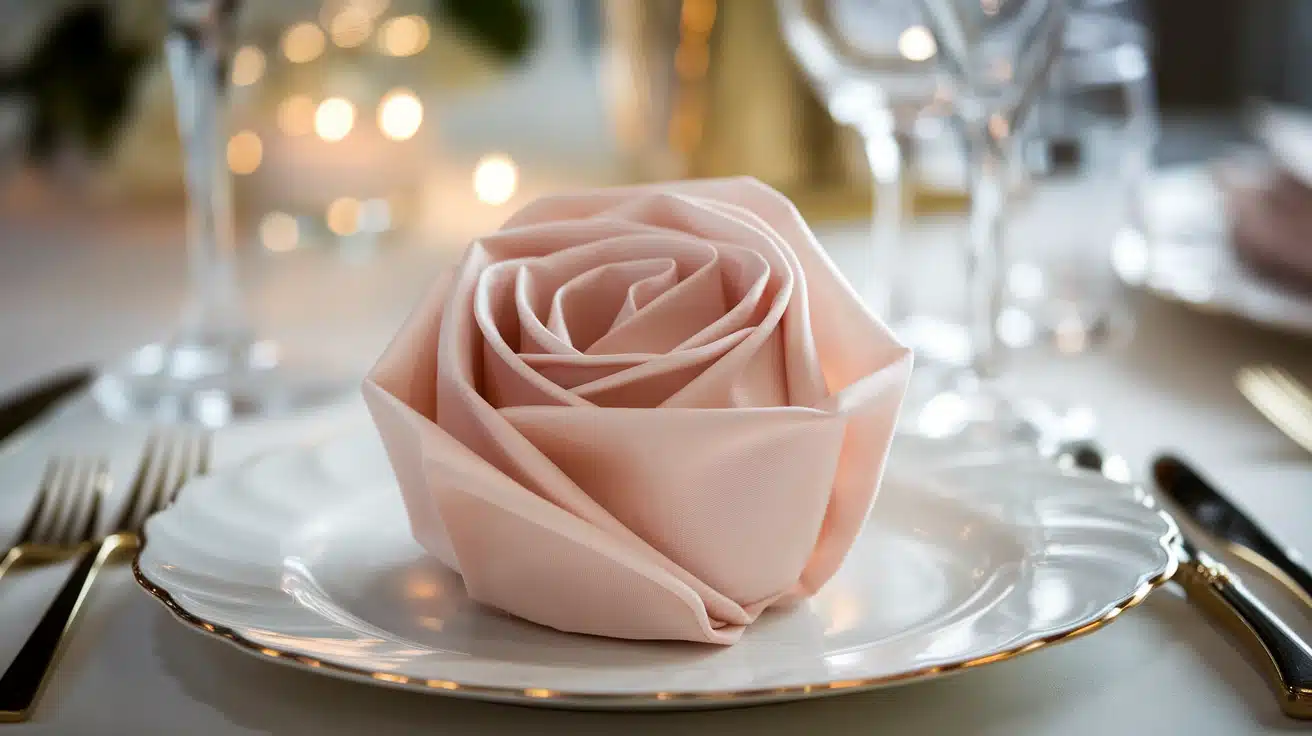
The rose napkin fold is one of my absolute favorites. This lavish technique transforms a simple square of fabric into a blooming flower right before your eyes.
Despite its impressive appearance, this fold is surprisingly straightforward to master.
Whether you’re planning an upscale dinner party, a romantic evening, or adding refinement to a wedding reception, this rose-shaped napkin brings instant charm to any table setting.
Napkin Roses: Perfect Timing for Maximum Impact
The artful rose napkin fold shines differently depending on when you showcase it. Morning gatherings? Save your efforts—bleary-eyed breakfast guests rarely appreciate intricate table details before their coffee kicks in!
Luncheons offer the perfect stage, as natural daylight highlights every delicate fold and creates a refined midday ambiance. But dinner parties? Pure enchantment. Candlelight dancing across these fabric blooms creates dramatic shadows that elevate your entire tablescape.
Wedding receptions convert these simple fabric sculptures into coveted keepsakes. I’ve watched nicely dressed guests discreetly slip these roses into purses and pockets—the ultimate compliment to your folding skills!
Don’t forget to capture your creation—these photogenic blooms make scroll-stopping social media content! #NapkinRoses
Materials Needed
- Square cloth napkin (solid color recommended)
- Small glass or bowl (optional, to help hold the shape)
Step-By-Step Guide
This sleek rose-shaped fold recasts ordinary napkins into blooming flowers, creating refined table décor perfect for weddings, dinner parties, and upscale restaurants.
Step 1: Prepare Your Workspace
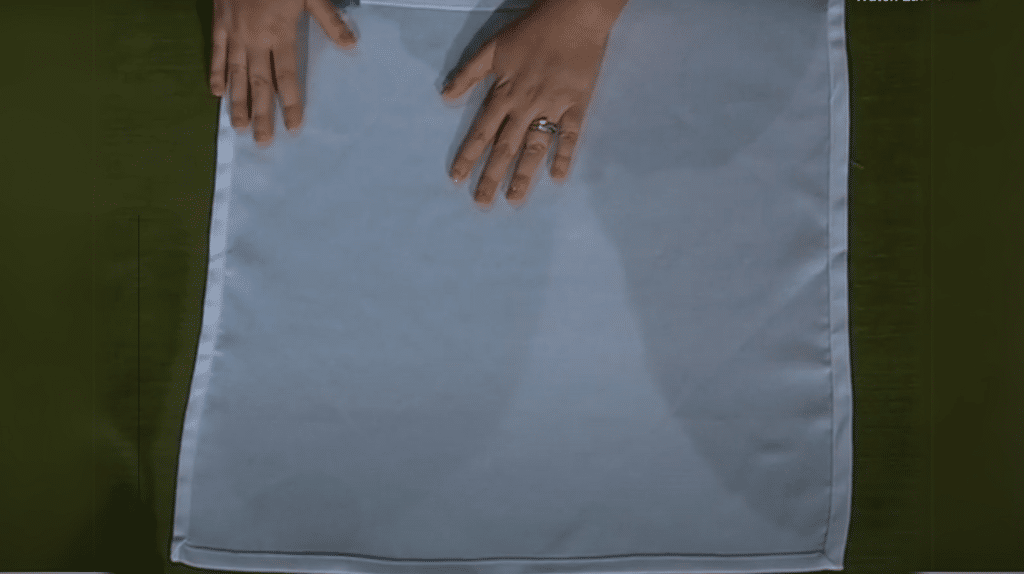
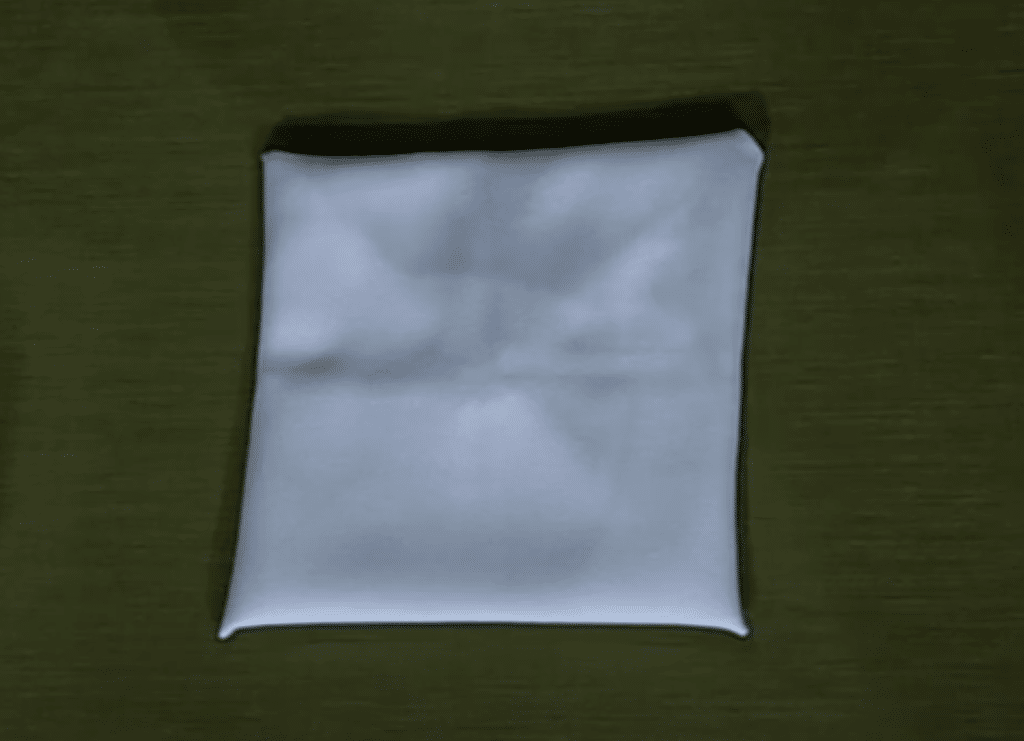
Lay your square napkin flat on a clean, smooth surface with the pattern side down (if applicable). A solid-colored napkin works best for this fold as it creates a cleaner look.
Make sure the napkin is properly pressed beforehand to ensure crisp folds. Smooth out any wrinkles with your hands before beginning the folding process to create a professional appearance.
Pro Tip: If your napkins are wrinkled, iron them before folding to create sharper creases and a more deft final presentation.
Step 2: Create the First Set of Corner Folds

Fold each of the four corners toward the center of the napkin, creating a square shape with pointed edges meeting in the middle.
Take your time to ensure the corners align precisely in the center – accuracy in this step determines how symmetrical your rose will look. Press down firmly on each fold line to create a crisp edge that will hold its shape.
Pro Tip: Use a ruler or straight edge to help align the corners perfectly in the center for a more precise fold.
Step 3: Create the Second Set of CornerFolds
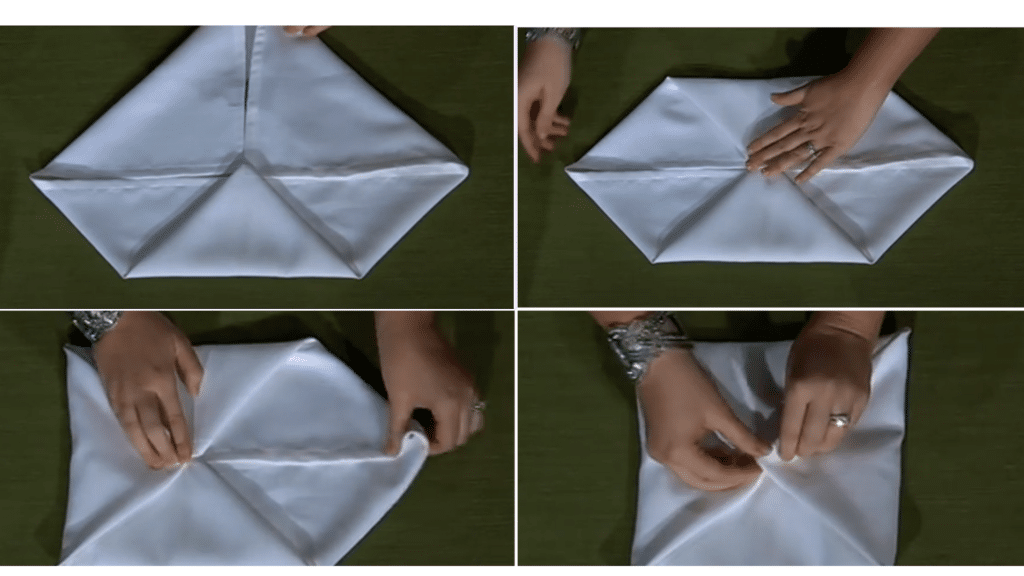
Repeat the corner-folding process again, taking the new corners and folding them toward the center. This creates a smaller square with eight layers of fabric.
Be careful to maintain alignment as you fold, ensuring all corners meet precisely in the middle. Press down firmly on each fold to set the creases, which will be important for the upcoming steps.
Pro Tip: For a more defined rose, run your fingernail along each crease to create sharper fold lines that will hold better.
Step 4: Flip the Napkin
Carefully flip the folded napkin over while maintaining all the folds you’ve created. This reveals a smooth side with visible fold lines.
Place your fingers on the center as you flip to keep everything in place. Once flipped, press down again to reinforce all the creases and prepare for the next set of folds.
Pro Tip: Cup your hand slightly as you flip the napkin to prevent the corners from unfolding during the turning process.
Step 5: Final Corner Folds
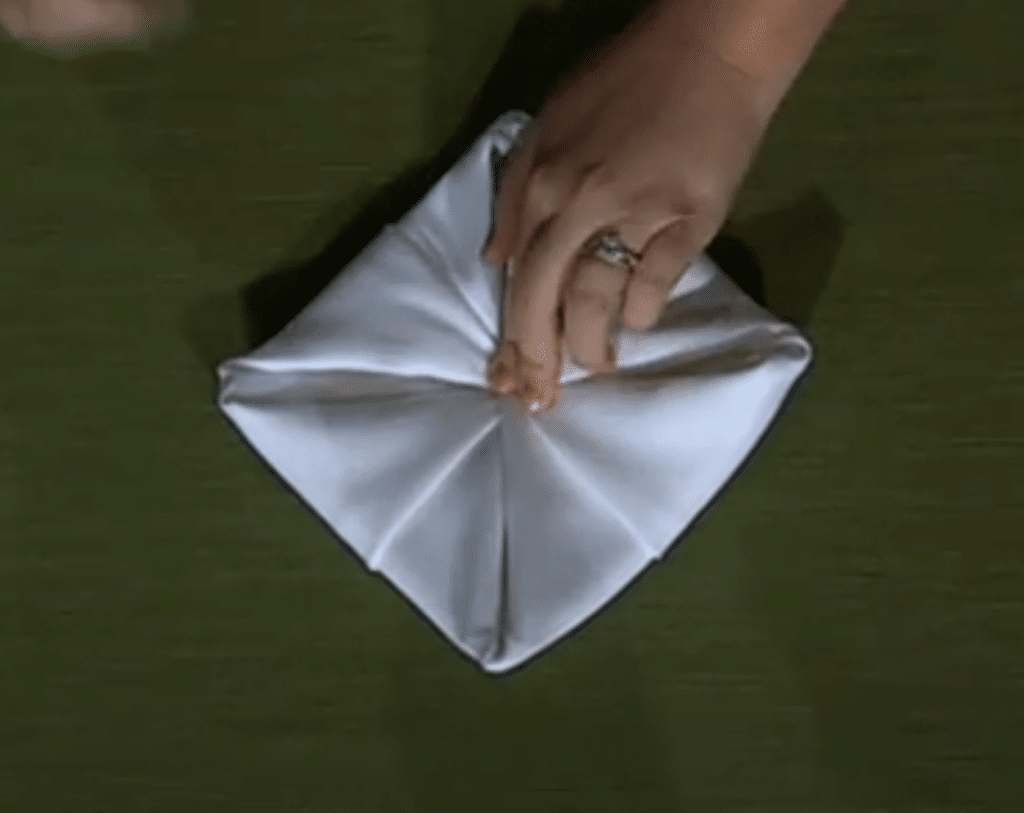
With the napkin flipped, fold all four corners toward the center again, just as you did in steps 2 and 3. Ensure the corners align precisely in the middle for a symmetrical appearance.
These folds create additional layers that will form the “petals” of your rose, so take extra care to make them even and well-pressed.
Pro Tip: At this stage, if your napkin feels too stiff, lightly dampen your fingertips to slightly moisten the fabric, making it more pliable for the final shaping.
Step 6: Add Weight and Create Petals
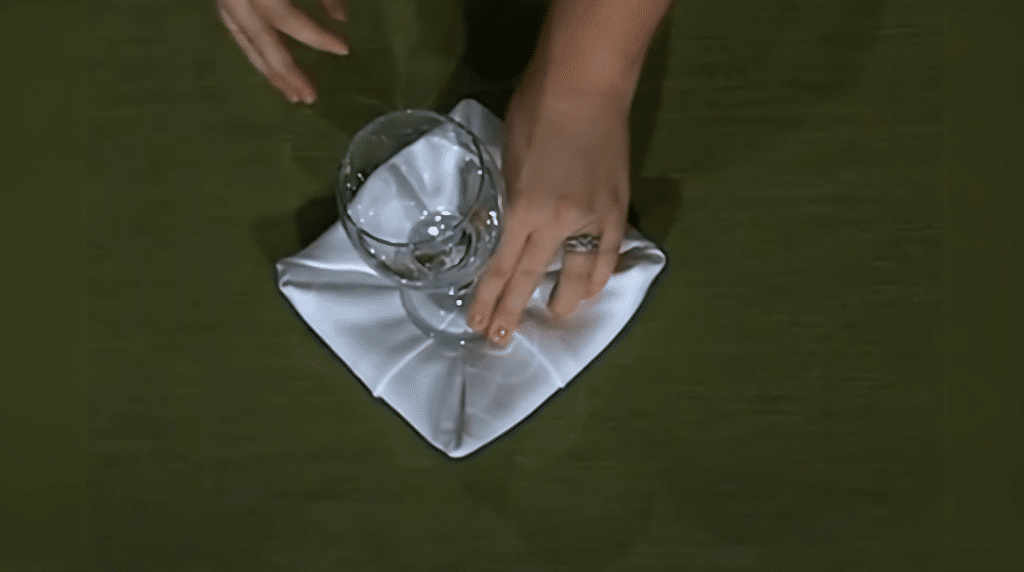
Place a glass or small bowl in the center of the folded napkin to add weight. Reach under the napkin and gently pull out the corners of the original folds one by one, creating “petals” around the central weight.
Pull each corner tip just enough to create a bubble-like effect without unfolding the entire napkin. Work your way around until all corner tips are pulled out.
Pro Tip: If you don’t have a glass handy, you can use your non-dominant hand to hold the center down while pulling out the petals with your dominant hand.
Step 7: Final Shaping and Presentation
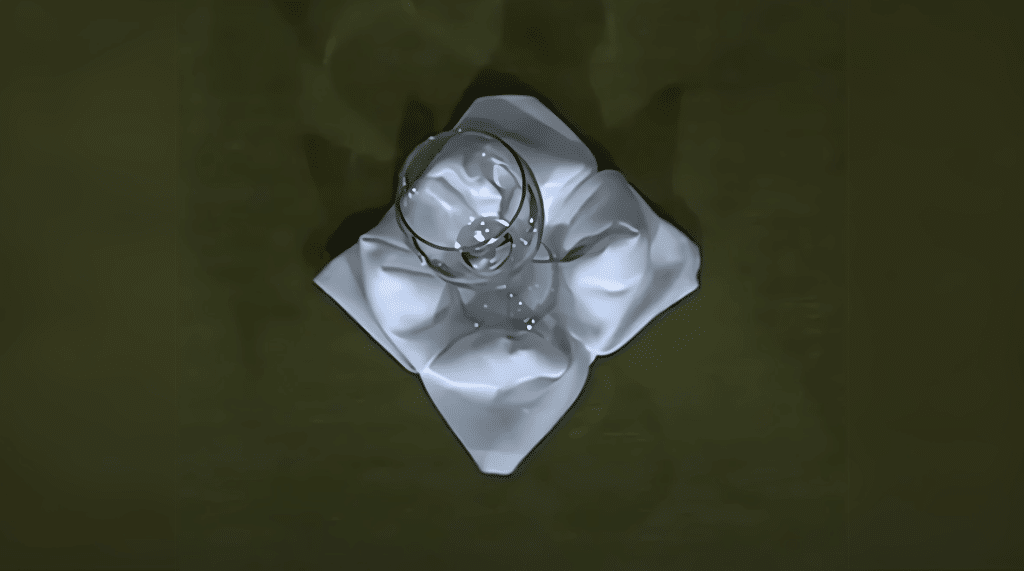
Gently adjust the pulled corners to create a rose-like appearance, fluffing and arranging the “petals” to achieve your desired look.
You can leave the glass in place as part of your table setting or carefully remove it if you prefer just the napkin rose. This luxury fold works beautifully for formal dinners, weddings, or any special occasion.
Pro Tip: To sweeten the presentation, place a small artificial flower bud or ring in the center of your rose napkin fold for an extra special touch.
Video Tutorial
I want to acknowledge Daystar for the insightful video, which was a key reference in putting this guide together.
Troubleshooting Your Rose Napkin Fold
When creating your rose napkin fold, you might encounter several common issues that can be easily resolved with the right techniques:
Floppy petals: If your napkin material is too thin, the petals won’t hold their shape properly. Try using starched napkins or double-layering your fabric. Cotton-polyester blends with medium weight typically work best for maintaining structure.
Lopsided rose: A symmetrical rose requires precise corner alignment at each folding step. Use a ruler to mark the center point before you begin, ensuring all corners meet exactly at this point. Take your time with this foundational step.
Won’t stay folded: For napkins that resist holding their shape, lightly spray them with water before folding to improve crease formation. Allow them to dry completely in the folded position for long-lasting results.
Rushed preparations: You can prepare these sleek folds up to 24 hours in advance. Store them in a flat container with a lightweight separator between each to prevent crushing.
Overly stiff napkins: Some new napkins may be too rigid to fold smoothly. Gently work the fabric between your hands before starting, or wash them once to increase pliability.
Limited design options: Experiment with different-sized glasses in the center to create varied petal arrangements, from tight buds to full blooms.
Seasonal Rose Napkin Inspirations
Convert your rose napkin folds throughout the year with simple seasonal touches. For spring, create soft pink roses nestled among fresh greenery. Summer calls for bright yellow roses paired with cool blue accents, creating vibrant table settings perfect for outdoor dining.
As autumn arrives, switch to deep burgundy or burnt orange napkin roses complemented by miniature pumpkins and cinnamon sticks. Winter holidays shine with crisp white or emerald green roses, sweetened with pine sprigs or small ornaments.
Don’t forget themed gatherings—navy roses for nautical parties or pastel variations for baby showers add that perfect coordinated touch.
The beauty of this technique lies in its adaptability; by simply changing colors and surrounding elements, one fold serves countless occasions.
Master this single technique, and you’ll have a lavish table accent for every season without learning multiple complicated folds.
Conclusion
What begins as a simple square of fabric converts into an extravagant centerpiece through just a few deliberate folds. The rose napkin technique exemplifies how small details boost ordinary gatherings into memorable experiences.
Beyond mere table decoration, these fabric flowers become conversation starters that showcase your attention to detail.
I’ve witnessed countless dinner party guests marvel at these blooms, often asking for impromptu tutorials between courses.
Whether gracing a formal wedding reception or brightening a casual brunch, rose napkins add that touch of refinement that turns meals into occasions.
Remember that perfection comes with practice; each fold becomes more intuitive with time. Start with quality napkins, focus on precision, and soon you’ll create flawless fabric roses that become your entertaining signature.