Cracked mortar joints are every homeowner’s nightmare.
When you see weathered, crumbling mortar between your bricks, it’s not just about looks; it’s about protecting your biggest investment from costly water damage and structural problems.
The good news? Tuckpointing can fix these issues before they become expensive disasters.
This proven masonry repair technique removes old, damaged mortar and replaces it with fresh material that matches your brick perfectly. A thin contrasting line is then applied to create clean, professional-looking joints.
This comprehensive guide covers everything you need to know about tuckpointing, including what it is, when your home requires it, typical costs ($5-$25 per square foot), and whether you should tackle the project yourself or hire professionals. You’ll also learn the warning signs that indicate your mortar needs immediate attention.
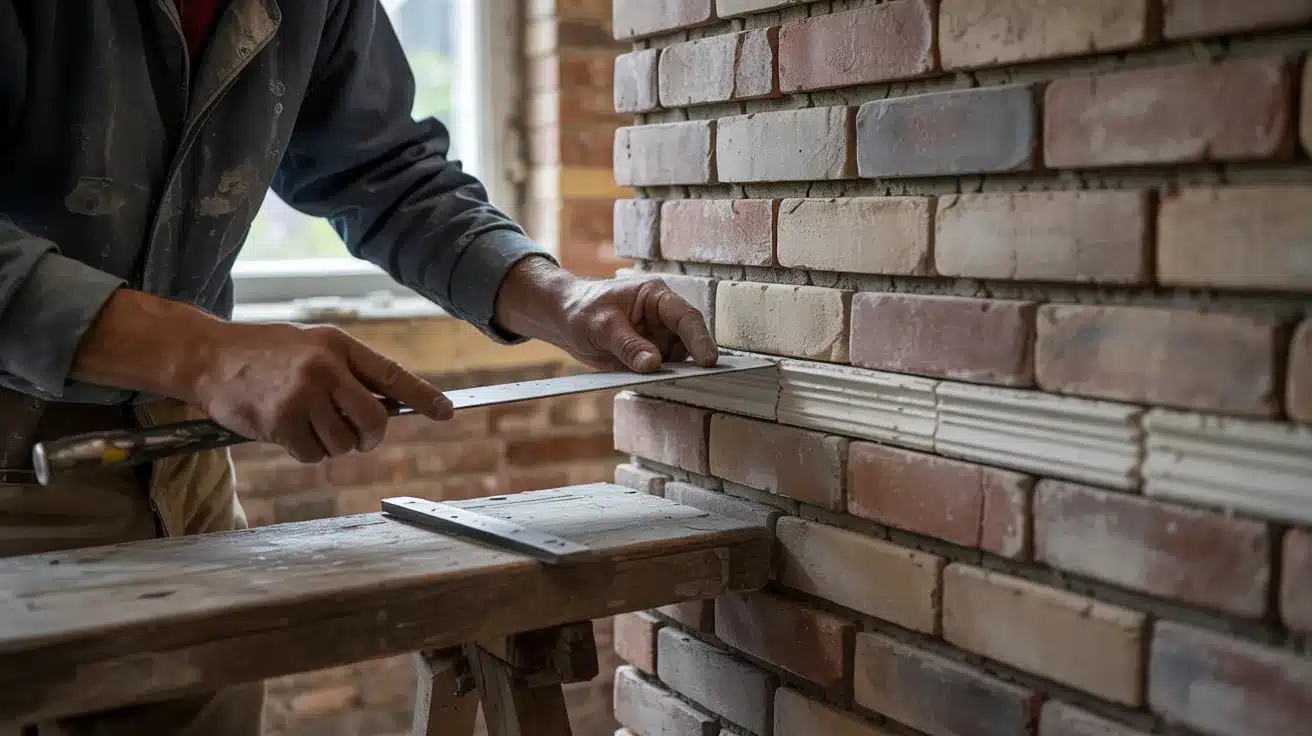
What Is Tuckpointing?
Tuckpointing involves removing a portion of deteriorated mortar, filling the joints with new mortar that closely matches the brick color, and applying a thin line of putty in a contrasting color down the center of the joint.
This specialized masonry technique gets its name from the process of “tucking” the contrasting putty into the mortar joints. The result creates an optical illusion that makes joints appear thinner and more precise than they actually are.
Benefits of Tuckpointing:
Ready to protect your investment? First, you need to identify the signs that tuckpointing is necessary.
- Water Protection: Prevents water from seeping into the building and damaging your foundation
- Cost Prevention: Saves money by stopping deterioration before expensive repairs are needed
- Property Value: Increases home value by improving both appearance and structural condition
- Visual Enhancement: Creates clean, straight joint lines that maintain the original character of buildings
- Structural Protection: Fresh mortar prevents wall weakening and keeps moisture out for long-term stability
When Do You Need Tuckpointing?
You can usually tell when tuckpointing is necessary. Here are the key warning signs:
- Cracked or Missing Mortar: Broken or missing mortar joints need immediate repair
- Crumbling Mortar: Mortar that falls out or appears powdery
- White Coating: Yellowish or flaky surface on mortar
- Damaged Bricks: Cracked or crumbling bricks
- Loose Bricks: Often comes with mortar problems
- Interior Water Damage: Damp spots, discoloration, or white powder on interior walls
Warning: Ignoring these signs can lead to costly water damage and structural problems. Address mortar issues early to prevent expensive repairs.
Tools Needed for Tuckpointing
| Tool | Use |
|---|---|
| Angle grinder | Remove old mortar |
| Chisel and hammer | Clean out joints |
| Wire brush | Clear debris |
| Pointing trowel | Apply new mortar |
| Jointing tool | Shape joints |
| Safety glasses | Eye protection |
| Dust mask | Breathing protection |
| Work gloves | Hand protection |
>The Tuckpointing Process: Step-by-Step>
With your tools ready, let’s walk through the step-by-step tuckpointing process:
>Step 1: Remove Old, Damaged Mortar from Joints>
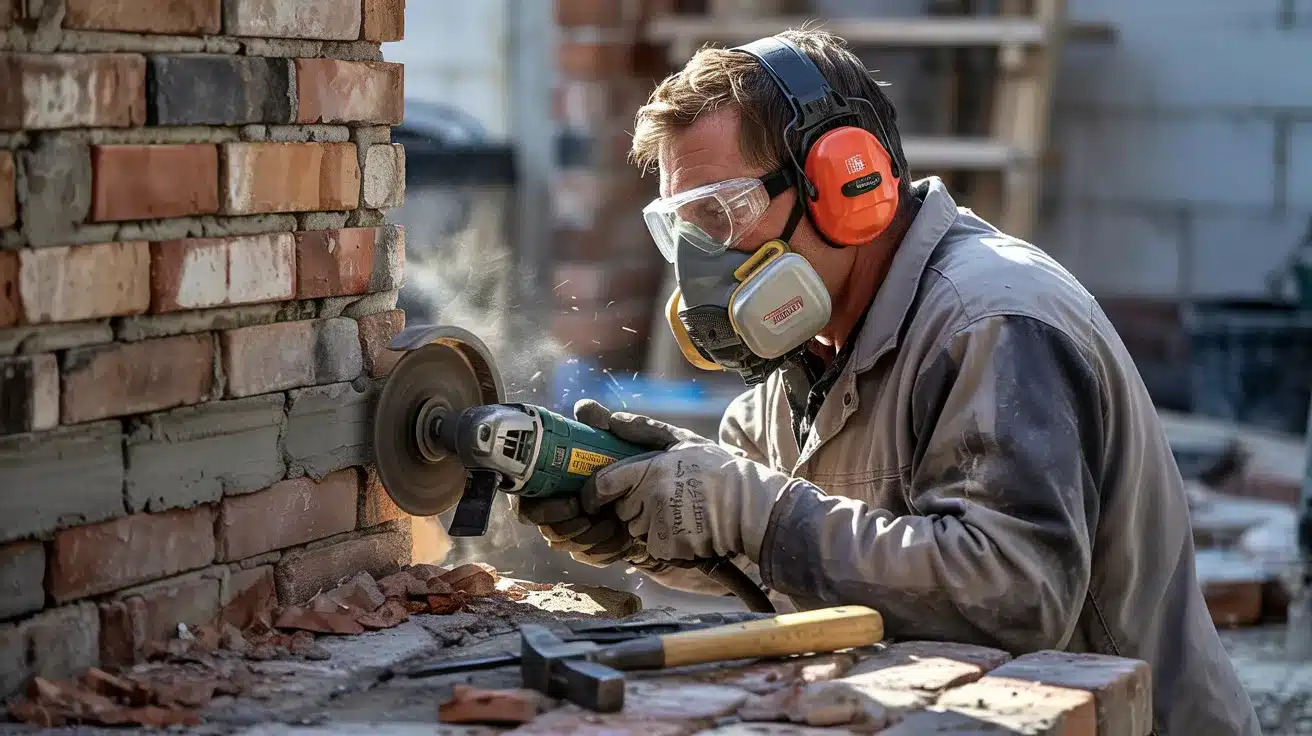
Remove the existing mortar joints to a depth of approximately one inch. Masons often use an angle grinder to remove the mortar, which is a messy job requiring a respirator mask.
The depth of mortar removal should be two times the mortar joint thickness or as deep as you need to go to reach solid mortar.
- Safety Tips: Wear breathing protection, eye protection, and hearing protection
- Time Required: 30-60 minutes per 10 square feet
Step 2: Clean out Joints for a Stronger Bond
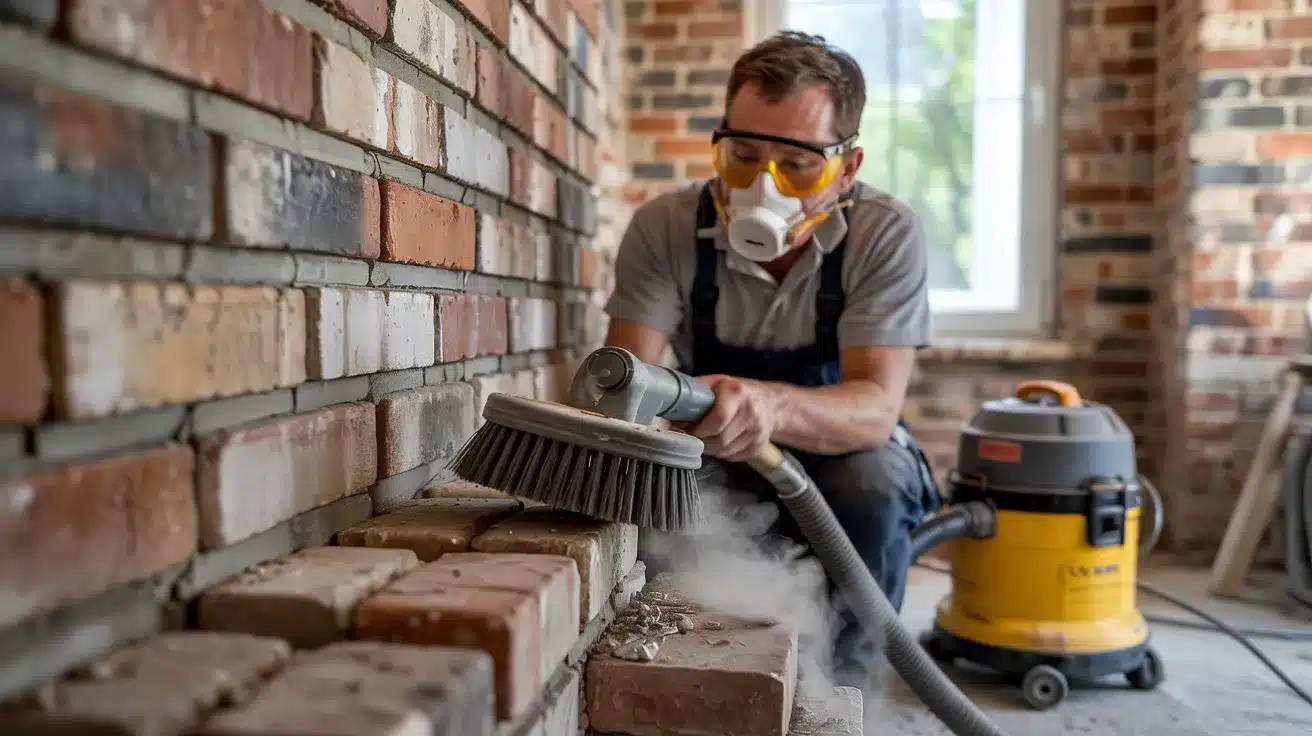
Once the mortar is removed, joints must be thoroughly cleaned using a masonry brush, air nozzle, or vacuum. Any leftover debris can weaken the new mortar’s grip. This often-overlooked step is key to a long-lasting repair.
- Safety Tips: Continue wearing a dust mask, and protect your eyes from debris
- Time Required: 15-30 minutes per 10 square feet
Step 3: Mix Mortar to Match Color and Consistency
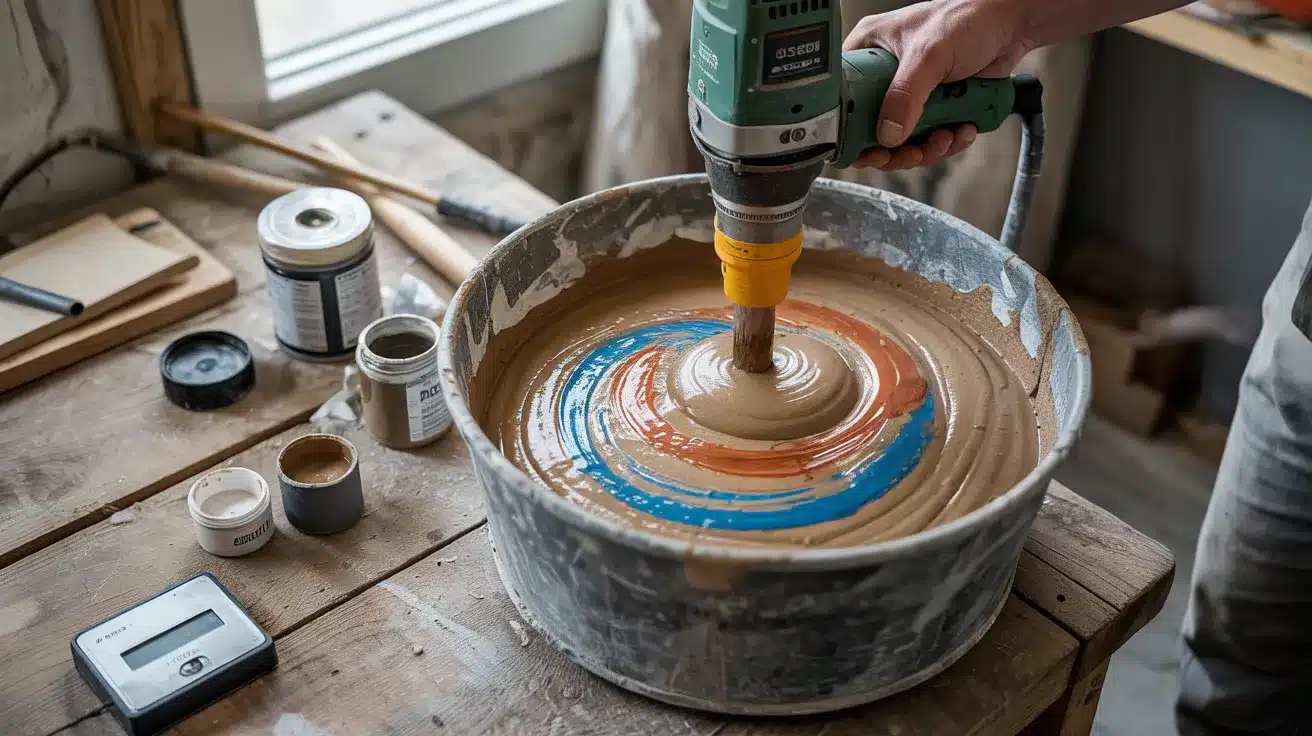
Fresh mortar is mixed using a paddle drill and pigments to closely match the original mortar color. Getting the texture and tone just right may take a few attempts. The right consistency is essential for smooth application and strong adhesion.
- Safety Tips: Work in a well-ventilated area, wear gloves when handling materials
- Time Required: 20-40 minutes for color matching and mixing
Step 4: Apply New Mortar with Precision
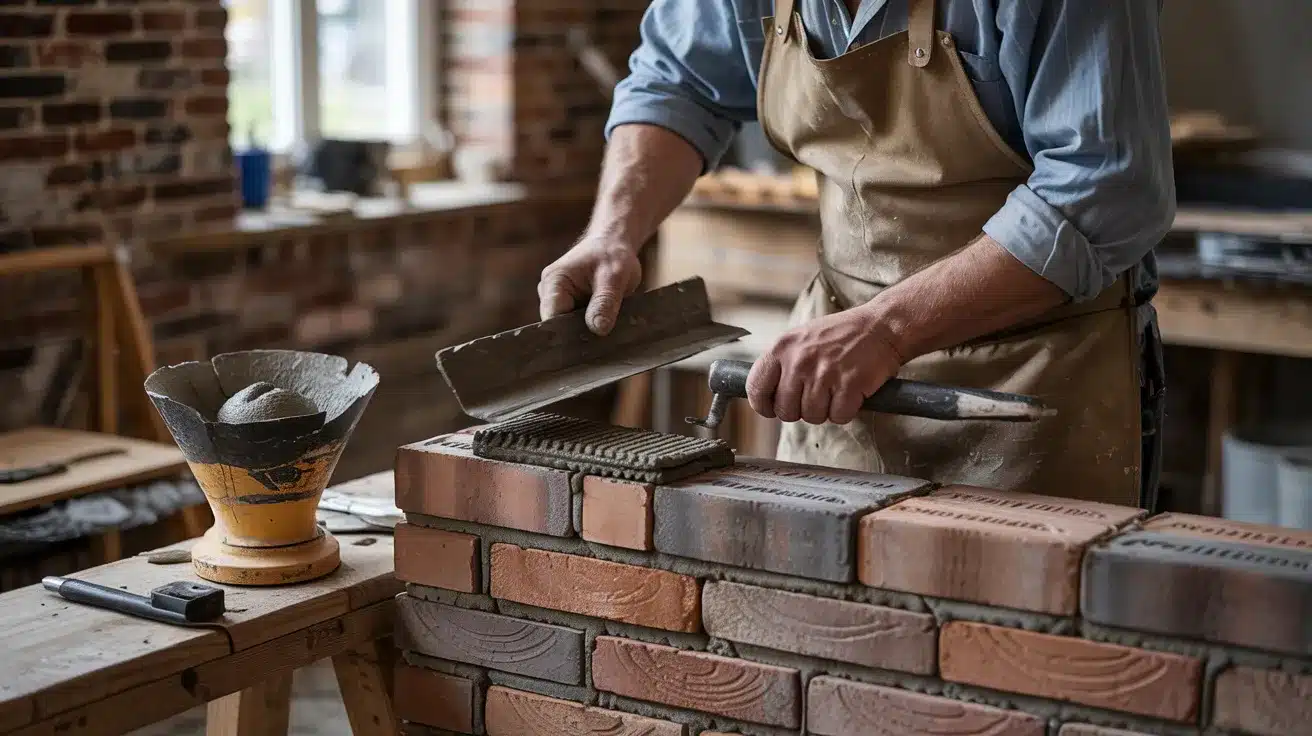
Mortar is carefully packed into the cleaned joints, starting with horizontal lines. Tools like a pointing trowel and jointing tool help shape and smooth the mortar without smearing it across the bricks. A steady hand here makes a big difference in the final appearance.
- Safety Tips: Work carefully to avoid mortar on brick faces, maintain a steady hand
- Time Required: 45-90 minutes per 10 square feet
Step 5: Add Contrasting Putty Line for Classic Finish
To achieve the traditional tuckpointed look, a thin line of white or light-colored lime putty is applied down the center of each joint. This step adds visual sharpness and requires perfect timing, the mortar must be slightly firm but not fully set.
- Safety Tips: Work when the mortar is at the right consistency, and avoid rushing the process
- Time Required: 30-60 minutes per 10 square feet
>DIY Requirements vs. Professional Help
>
While a professional can make quick work of the job, the process of the repair is fairly simple and could be taken on as a DIY project if you have the proper tools.
| Aspect | DIY Approach | Professional Approach |
|---|---|---|
| Essential Tools | Mortar raking tool, hammer, chisel, safety glasses, joint filler tool, jointing tool, masonry hawk, angle grinder with tuckpointing blade, breathing protection | Professional-grade equipment included |
| Material Costs | $300 to $1,600 for tuckpointing mortar for an 8×8-foot surface | Materials included in the service cost |
| Skill Requirements | Extreme precision needed to avoid crooked appearance and uneven joints | Expert skills and experience |
| Safety Concerns | Time-consuming and unsafe for beginners, especially at heights | Professional safety training and equipment |
| Potential Issues | Incorrect work can cause additional damage to bricks and structure | Guaranteed quality work with warranties |
| Color Matching | Getting exact mortar color match is difficult without experience | Professional color matching expertise |
Who Should Consider DIY?
Small, accessible projects under 8 feet high with basic mortar damage work well for experienced DIYers.
If you have masonry experience, proper tools, and plenty of time, DIY tuckpointing can save money on material costs. Single-story homes, garden walls, and small repair areas are good candidates for DIY work.
Who Should Hire Professionals?
Large projects, multi-story buildings, chimneys, and historic properties require professional expertise.
If you lack experience with masonry, don’t have proper safety equipment, or need work done quickly, professionals provide better results. Complex color matching and extensive damage also need expert skills.
Conclusion
Tuckpointing is essential maintenance that protects your home’s structural integrity while improving its appearance. Since mortar typically needs replacement every 25 to 30 years, planning for this maintenance helps prevent costly emergency repairs.
The key is catching problems early. Look for cracked, crumbling, or missing mortar joints, and address them promptly before water damage occurs. While DIY tuckpointing is possible, professional work ensures proper technique, color matching, and long-lasting results.
Ready to protect your home’s masonry? Contact a certified mason for a professional assessment. Getting quotes from multiple contractors helps you understand your options and budget appropriately for this important home maintenance project.
Have you noticed signs that your home might need tuckpointing? Share your experience in the comments below.
Frequently Asked Questions
How Long Does Tuckpointing Last?
Typically 15-30 Years, Depending on Climate Conditions, Material Quality, and Exposure to Weather. Proper Installation Extends Lifespan Significantly.
What Happens if I Don’t Tuckpoint?
Water Enters Between Bricks and Speeds up Mortar Decay, Leading to Structural Damage, Mold Growth, and Expensive Repairs Later.
Can I Tuckpoint Over Old Mortar?
Only if Old Mortar is Solid and Hasn’t Deteriorated. Bad or Crumbling Mortar Must Be Completely Removed for Proper Bonding.
When Do I Need Full Brick Replacement?
When You See Loose Bricks, Stair-Step Cracks, Spalling Damage, or Structural Issues Beyond Simple Mortar Joint Problems Requiring Extensive Repair.
Is Tuckpointing Worth the Cost?
Yes, it prevents expensive water damage, structural repairs, and foundation issues while increasing property value and extending building lifespan significantly.