Starting a rock painting hobby can feel tricky when you don’t know which supplies to buy or methods to use. Many beginners quit before they create anything they like due to frustration with basic techniques.
I understand this feeling completely. After many attempts and mistakes, I’ve found simple ways to make beautiful painted rocks without fancy tools or art skills.
In this guide, I’ll walk you through selecting the right rocks, basic prep work, and easy painting methods that look great even for first-timers.
You’ll learn which paints work best, how to seal your creations, and five beginner-friendly designs anyone can master.
Painting Rocks: Step-By-Step Tutorial
Rock painting is fun and simple. This guide will help you start creating your own small works of art.
Materials Needed
| Material | Details |
|---|---|
| Rocks | Smooth stones from yards, paths, or riverbanks. |
| Gypsum Cement | For making your own rocks. |
| Santorini Stones | Ready-to-paint stones from craft stores. |
| Acrylic Paint | Budget-friendly craft paint in many colors. |
| Specialty Paints | Glow or glitter options for fun effects. |
| Spackle (optional) | Fills small holes for smoother painting. |
| Mod Podge | Prepares and seals the rock surface. |
| Clear Sealer | Protects finished designs from weather. |
Tools Needed
| Tool | Details |
|---|---|
| Paint Brushes | Basic brush set with flat and pointed tips. |
| Nail Art Brushes | Great for fine lines and tiny details. |
| Paint Pens | Easy writing/drawing – Tooli-Art or Posca. |
| Dotting Tools | Makes clean circles – use specialty or nail tools. |
| Fine Markers | For adding short messages or outlines. |
| Soap & Water | To clean rocks before painting. |
Step 1: Find Your Perfect Rocks

Look for smooth, flat stones in your yard or local paths. River rocks work best since water has made them smooth over time.
Choose rocks that are 2-4 inches across. They should fit comfortably in your hand and have at least one flat side for painting.
Avoid taking rocks from parks or private land. Craft stores sell bags of smooth stones if you can’t find natural ones.
Pro Tip: Rocks with flat sides sit better while painting. Medium-sized stones are easier to hold and carry. Dark rocks need white paint first; light rocks don’t.
Step 2: Prep Your Rocks
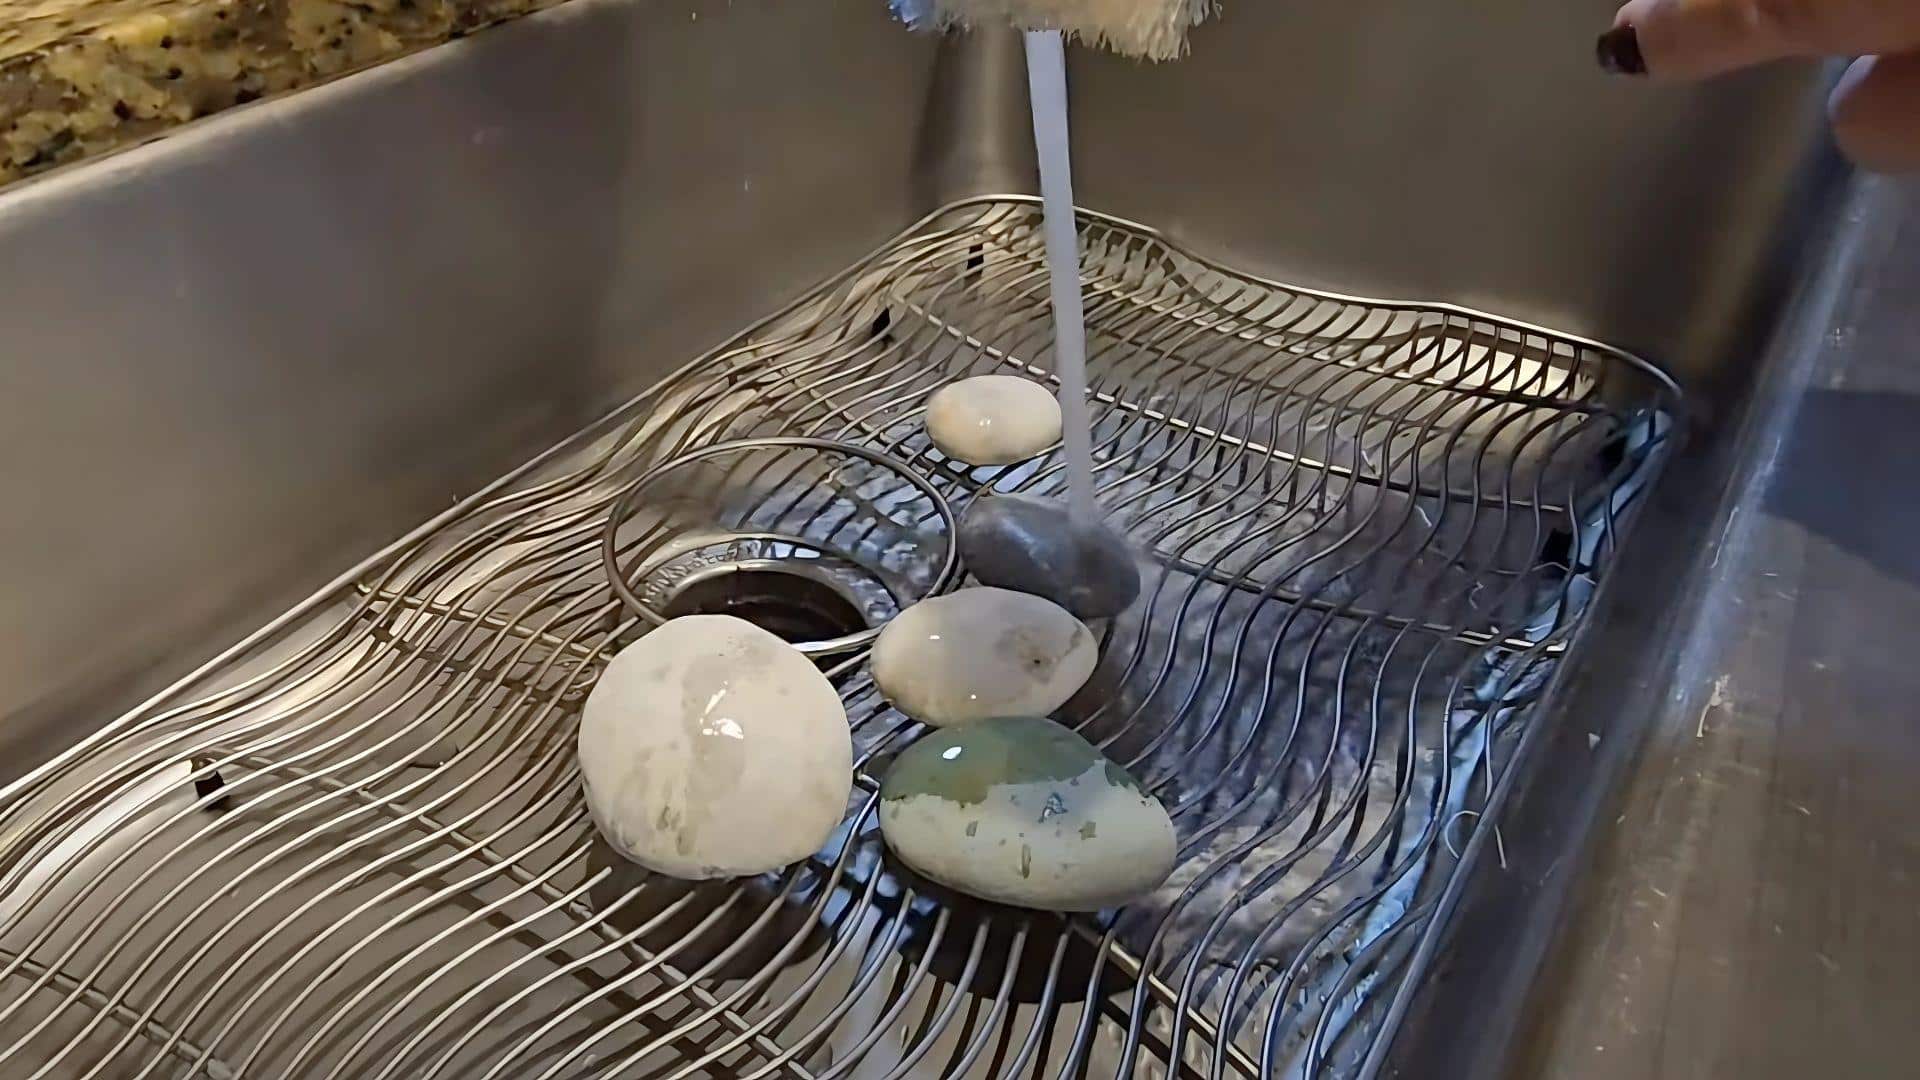
Wash your rocks with dish soap and warm water. Scrub with an old toothbrush to remove all dirt and oils from the surface.
Let them dry completely for 24 hours. Rocks must be bone dry before painting or your paint may peel or bubble later. Fill small holes with wall spackle using a craft stick. Sand rough spots smooth. Apply Mod Podge as a base coat.
Pro Tip: Clean rocks accept paint better than dirty ones. Fully dry your stones before painting to prevent peeling. Mod Podge creates a good surface for paint to stick to.
Step 3: Paint Your Design
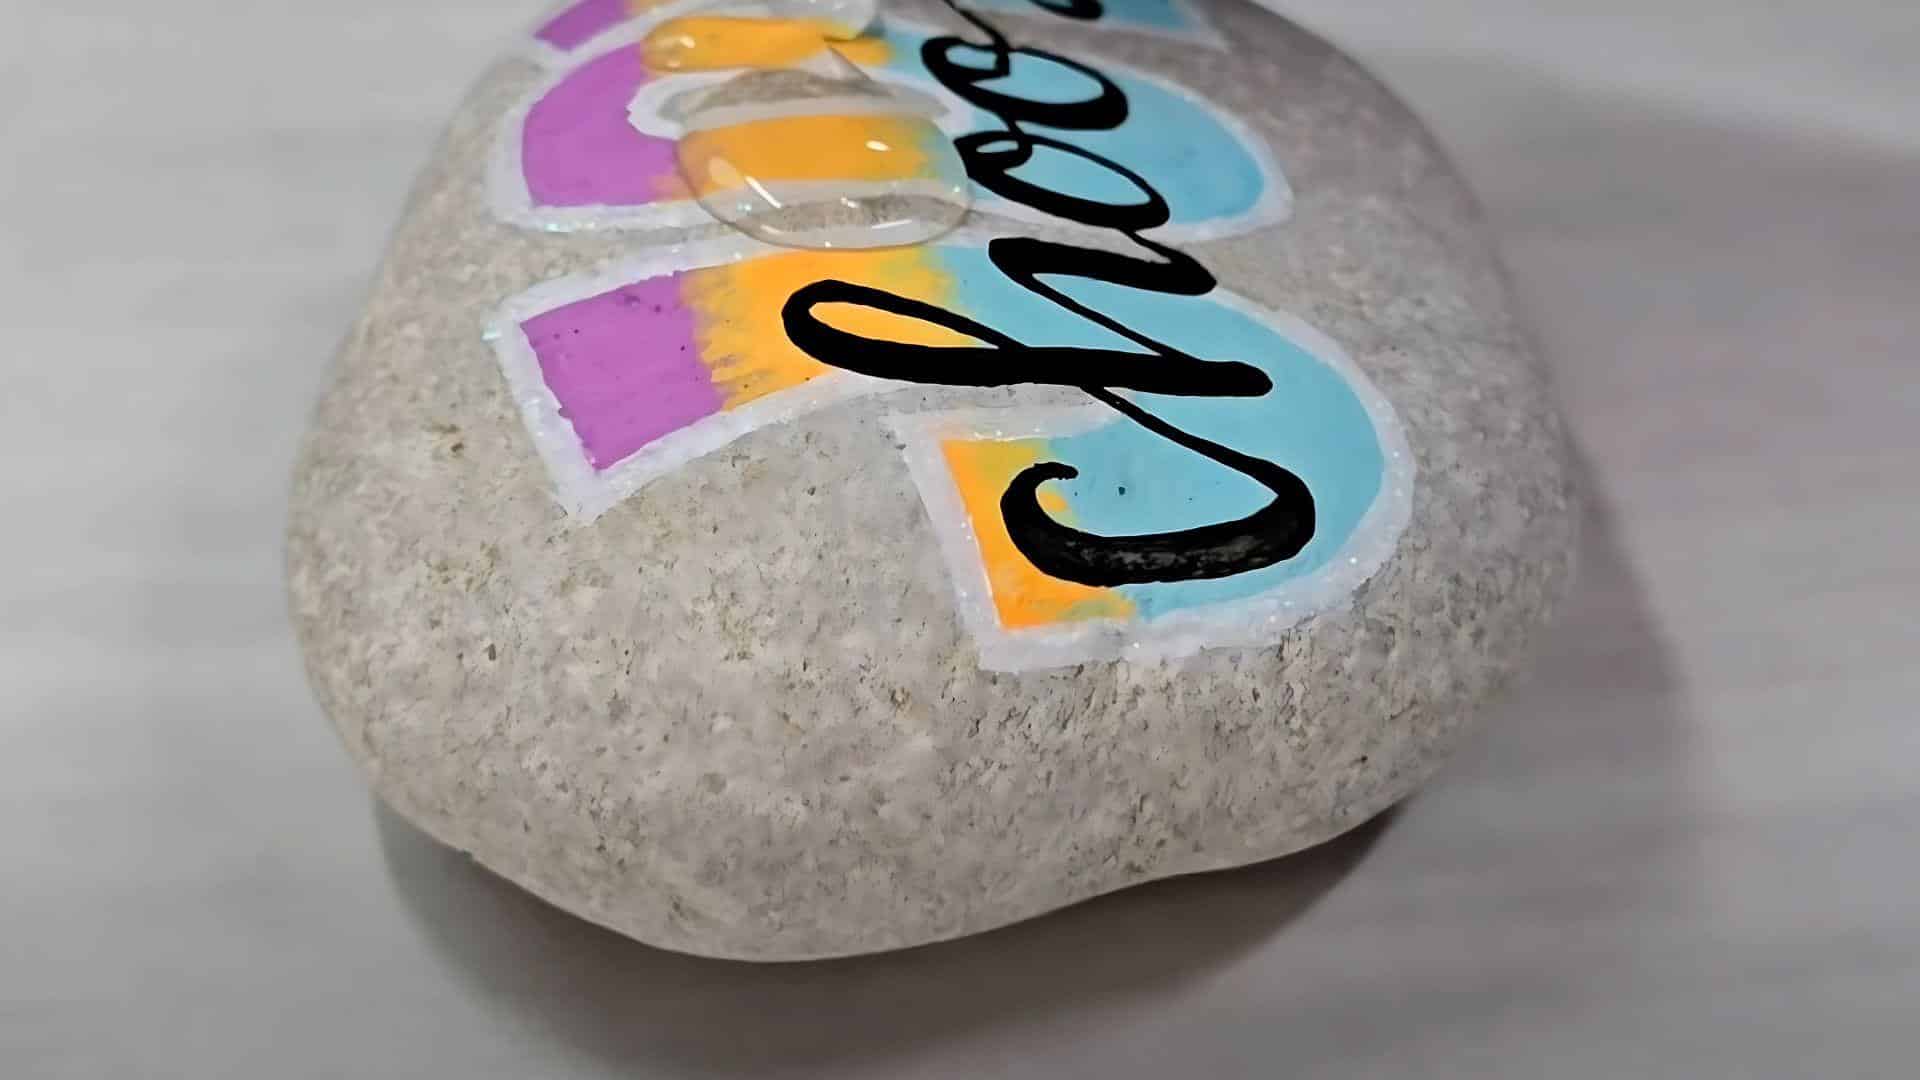
Start with simple shapes like hearts, dots, or flowers. Use bigger brushes for large areas and small ones for details. Let each color dry before adding the next. Paint tends to look lighter when dry, so apply two coats if needed.
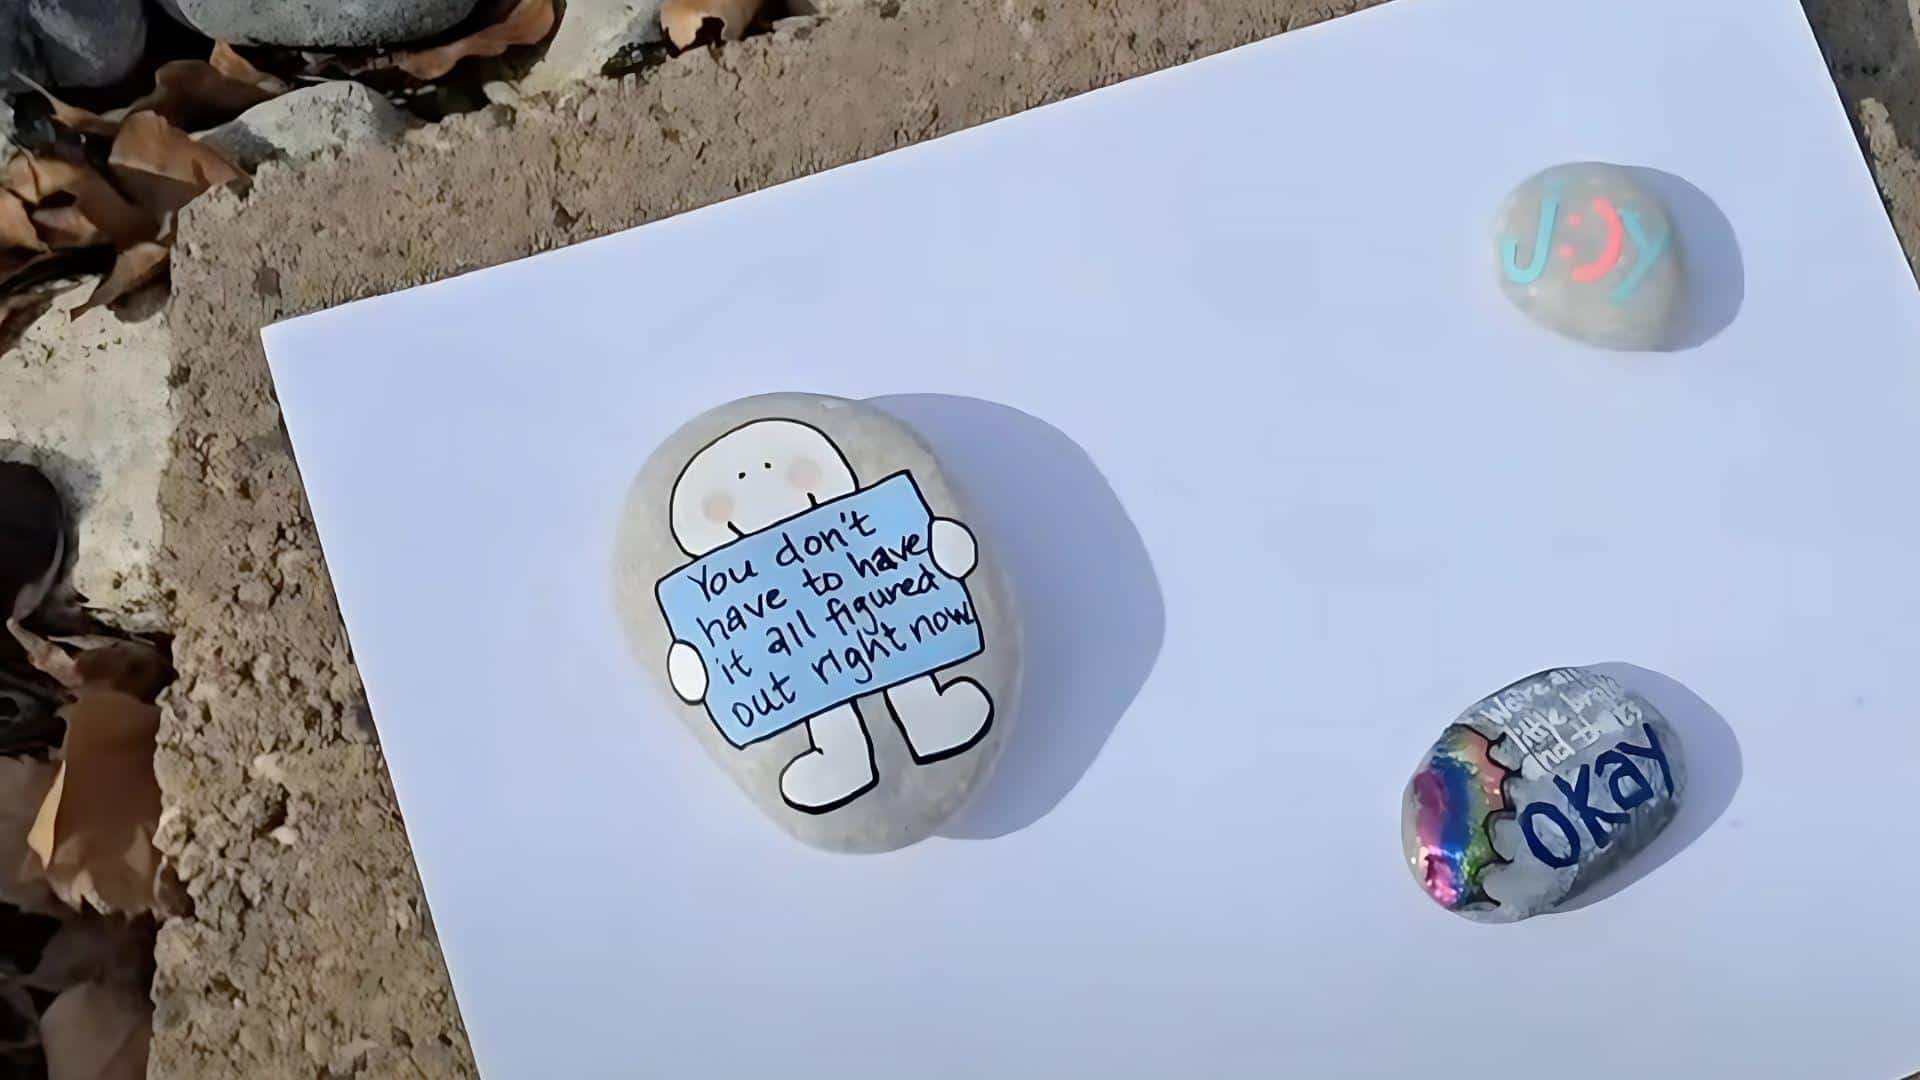
Try adding words with paint pens after your base design dries. Simple messages like “Smile” or “Hope” work well for beginners.
Pro Tip: Paint from big areas to small details. Light colors often need two coats to look bright. Pencil outlines help guide your painting hand.
Step 4: Protect Your Work
Allow your painted rock to dry fully for 24 hours. Complete drying prevents the sealer from making your colors run or smear.
Apply clear sealer in a well-ventilated area. Use spray versions outdoors and brush-on types for indoor projects. Add 2-3 thin coats rather than one thick layer. Let each coat dry completely between applications for best results.
Pro Tip: Sealer makes colors look wet and bright again. Thin coats dry clearer than thick ones. Protect all sides if your rock will live outdoors.
Sharing the Joy: Hiding & Gifting Rocks
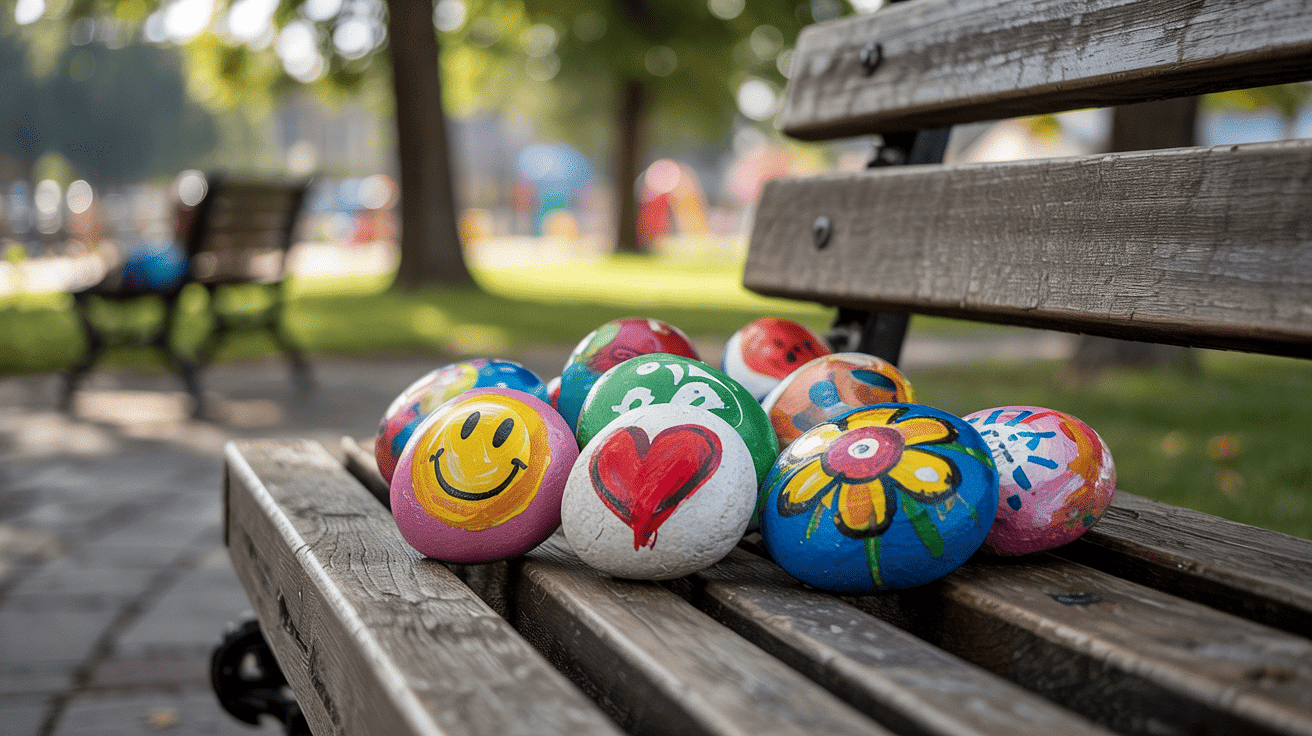
rocks can brighten someone’s day when left in just the right spot. Here’s how to share your stone creations with others.
1. Where to Hide Rocks
Put your rocks in parks where people walk every day. Good spots are near benches, along paths, or by playgrounds.
Try leaving them outside libraries, grocery stores, or post offices. Pick places where folks slow down and might spot small items.
Bus stops, near coffee shops, and around community centers work great too. Just don’t block walkways or put them where lawn mowers might hit them.
2. Fun Gifting Ideas
Give painted rocks to teachers instead of the usual mugs or gift cards. They make desk decorations that last for years. For birthdays or holidays, rocks with simple pictures or happy words make sweet gifts that won’t be thrown away.
When staying at hotels, leave a nice rock with your room tip. The cleaning staff will remember your kindness longer than just money alone.
3. What to Write on Rocks
On the bottom, write “Keep or re-hide” so people know they can take it home or place it somewhere new for others to find.
Use paint pens for writing since regular markers wash off in rain. Black works best and shows up clearly. Short messages like “You matter” or “Have a good day” fit well and make finders smile without taking up much space.
4. Tracking Your Rocks
If you want to see where your rocks travel, write a local group name like “Main Street Rocks” on the bottom. Some rock painters use simple tags that people can search online to post pictures of found rocks.
Always think about safety – don’t put your home address or full name on rocks. A group name is safer and still lets people connect.
Common Mistakes to Avoid When Rock Painting
New rock painters often make simple errors that ruin their work. Here are the biggest mistakes and how to avoid them.
1. Rock Selection Errors
- Don’t take rocks from protected areas- Many parks and nature reserves don’t allow rock collecting. Stick to your yard, public paths, or buy craft store stones.
- Avoid rocks that are too small or too big- Tiny stones are hard to paint. Giant rocks are heavy to carry and hard to hide. Pick stones that fit in your palm comfortably.
- Skip rough or bumpy surfaces- Rocks with lots of texture make painting much harder. Look for smooth, flat sides that give you a good canvas to work with.
2. Preparation Problems
- Never paint dirty rocks- Oil from your hands, dirt, and dust will make paint peel off later. Always wash with soap and scrub with an old toothbrush first.
- Don’t rush the drying process- Wet rocks cause paint to bubble and crack. Wait a full 24 hours after washing before you start painting.
- Skipping the base coat is a mistake- Mod Podge helps paint stick better and look brighter. It only takes a few minutes to apply and saves problems later.
3. Painting Mistakes
- Using the wrong paint type- Regular house paint or watercolors wash off easily. Stick to acrylic craft paint that’s made for outdoor projects.
- Painting too thick, too fast- Heavy coats of paint take forever to dry and often crack. Apply thin layers and let each one dry completely first.
- Not testing colors first- Paint looks different when wet versus dry. Test your colors on paper or a practice rock before starting your final design.
Quick Prevention Tips:
- Clean rocks completely before painting
- Test colors on practice surfaces first
- Work in good lighting and ventilation
- Allow proper drying time between steps
- Start simple and build skills slowly
Conclusion
Rock painting brings small moments of joy both to you and the people who find your creations. We’ve walked through finding good rocks, preparing them properly, adding your personal touch, and protecting your art for years to come.
Remember these key points: clean rocks take paint better, simple designs often look best, and proper sealing keeps your work looking fresh outdoors.
Why does this matter? Because in our fast-paced world, taking time to make something by hand helps us slow down and connect with others through small acts of kindness.
Ready to start? Grab a few smooth stones, wash them well, and try a simple heart or flower design. Then share your creation where someone might find it and smile – maybe near a park bench or outside your local library.
What’s your first rock design going to be?
Frequently Asked Questions
How Do You Seal Rocks for Painting?
Use clear spray sealer outdoors or brush-on types for indoor projects. Apply 2-3 thin coats, letting each dry fully between layers.
How to Make Painted Rocks Glossy?
Apply multiple thin layers of clear sealer rather than one thick coat. Some brands offer high-gloss finish options for extra shine.
What Kind of Pens Do You Use for Rock Art?
Paint pens work best – brands like Tooli-Art or Posca. They act like markers but put down actual paint that sticks well to stone.