Have you ever wondered why your basement always feels damp and smells musty?
Most homeowners ignore these warning signs until serious problems develop. Hidden moisture seeps through concrete walls every single day, creating perfect conditions for mold growth and structural damage.
This invisible enemy affects your entire home’s air quality. Excess basement moisture creates a hidden feedback loop; polluted air rises and lingers, triggering discomfort and compounding respiratory issues over time.
Basement encapsulation provides the complete solution you need. This proven method creates an airtight barrier that stops moisture before it enters your living space.
I’ll show you exactly how this process works and why it’s the most effective long-term fix for basement moisture problems.
What Is Basement Encapsulation?
Basement encapsulation creates a moisture-proof seal around your basement space. The process involves installing vapor barriers on walls and floors. These barriers block water vapor from entering your home.
The system includes several key components:
- Vapor barriers – Thick plastic sheets that cover basement walls.
- Sealed flooring – Moisture-resistant materials over concrete floors.
- Dehumidification – Equipment that controls humidity levels.
- Proper drainage – Systems that redirect water away from the foundation.
This method differs from basic waterproofing. Traditional waterproofing only stops liquid water. Encapsulation blocks both liquid water and water vapor.
The sealed environment prevents mold growth. It also stops musty odors from developing. Your basement becomes a clean, dry space you can actually use.
Signs Your Basement Needs Encapsulation
Several warning signs indicate moisture problems in your basement. These symptoms often appear gradually but signal serious issues developing behind the scenes.
- Musty odors – This smell indicates mold or mildew growth in hidden areas. The odor gets stronger during humid weather and spreads throughout your home.
- White powder – Mineral deposits appear when water evaporates from concrete surfaces. This white residue shows that moisture is constantly moving through your foundation walls.
- Condensation – Water droplets form when warm, humid air meets cool surfaces. This visible moisture creates perfect conditions for mold growth and material damage.
- High humidity – Digital hygrometers reveal humidity levels that promote mold and mildew. Healthy basements should maintain humidity between 30-50% year-round.
- Mold spots – Dark patches or fuzzy growth indicate active mold colonies. These spots often appear in corners, behind stored items, or near foundation walls.
- Water stains – Brown or yellow marks show where water has leaked or seeped through. These stains indicate ongoing moisture problems that will worsen without proper sealing.
These problems worsen during humid summer months. Spring rains often make symptoms more noticeable. Don’t wait for significant damage to develop before taking action.
Step-By-Step Process to Basement Encapsulation
Professional encapsulation follows a systematic approach to create lasting moisture protection. The process typically takes 2-3 days for average-sized basements, depending on size and complexity.
Tools and Materials Needed
Before starting the encapsulation process, gather all necessary equipment and materials to ensure proper installation and long-lasting results.
| Tools | Materials |
|---|---|
| Pressure washer | 6-mil vapor barrier plastic |
| Industrial dehumidifier | Polyurethane sealant |
| Utility knife | Mechanical fasteners |
| Caulk gun | Adhesive tape |
| Measuring tape | Antimicrobial solution |
| Safety equipment | Insulation materials |
Step 1: Initial Inspection and Assessment
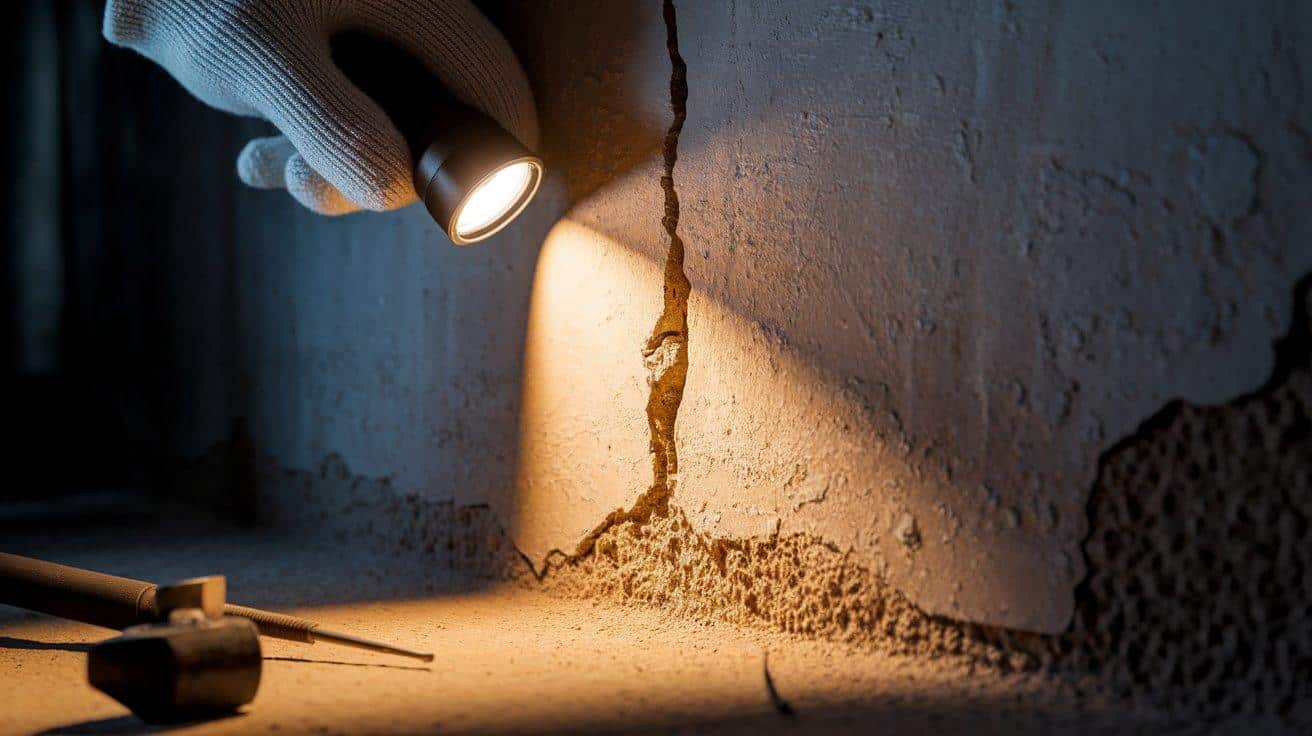
Start by examining every corner of your basement for moisture problems. Look for water damage, foundation cracks, and potential entry points where water might seep through. This careful inspection helps determine exactly what materials and methods your specific basement needs.
- Check foundation cracks of any size that need immediate sealing.
- Examine window wells where water commonly enters basements.
- Locate floor drains that require integration with new systems.
Important note – Record all problem areas with photos for reference during installation.
Step 2: Cleaning and Preparation
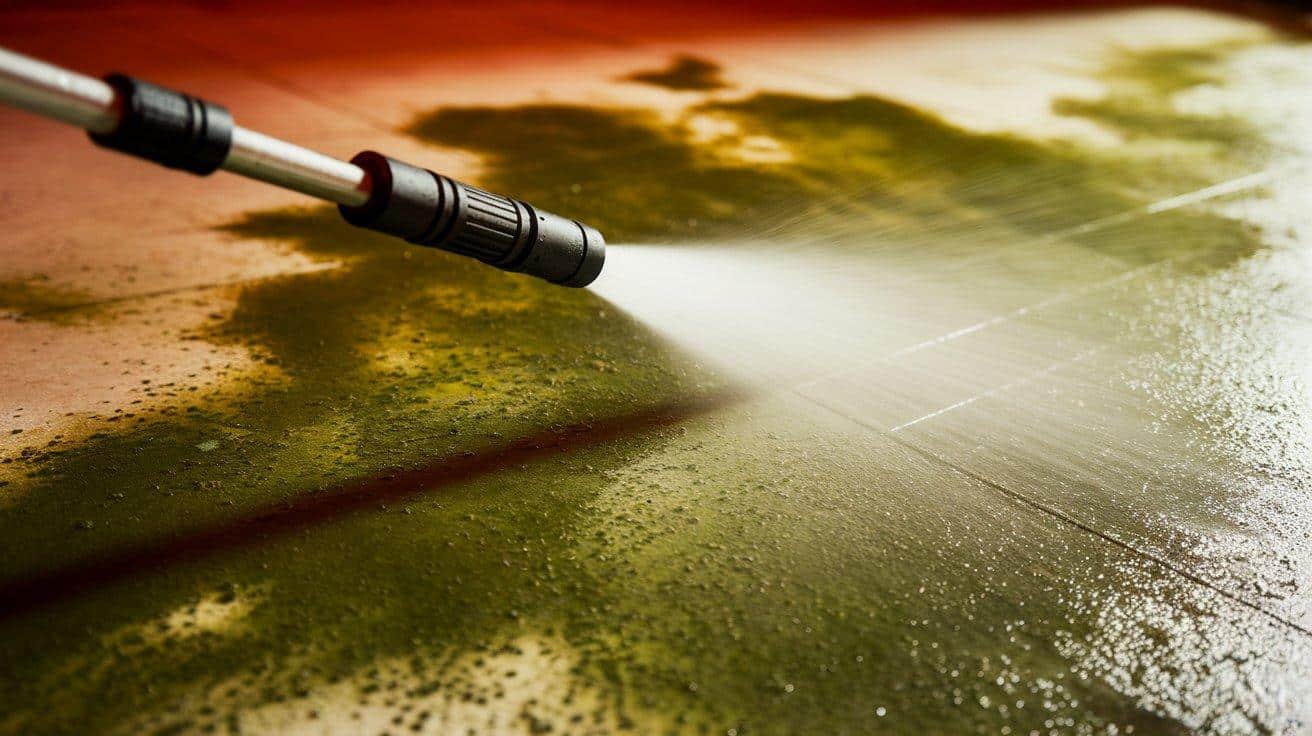
Clean all basement surfaces completely before installing any barriers. Remove dirt, debris, and treat any existing mold growth you find. Make sure your basement is completely dry before moving to the next step.
- Pressure wash walls and floors to remove all surface contaminants.
- Apply antimicrobial solutions to areas showing mold or mildew growth.
- Clear out stored items and debris to create workspace access.
Drying period – Allow 24-48 hours for complete surface drying before proceeding.
Step 3: Sealing Cracks and Gaps

Seal every crack and gap you discovered during inspection. Use sealants specifically designed for basement moisture conditions. This prevents water from finding new ways to enter your sealed space.
- Fill wall cracks using appropriate sealant for the crack size and location.
- Seal joints where walls meet floors completely.
- Close gaps around utility pipes and electrical penetrations.
Curing time – Wait for sealants to cure completely according to the manufacturer’s specifications.
Step 4: Installing Vapor Barriers
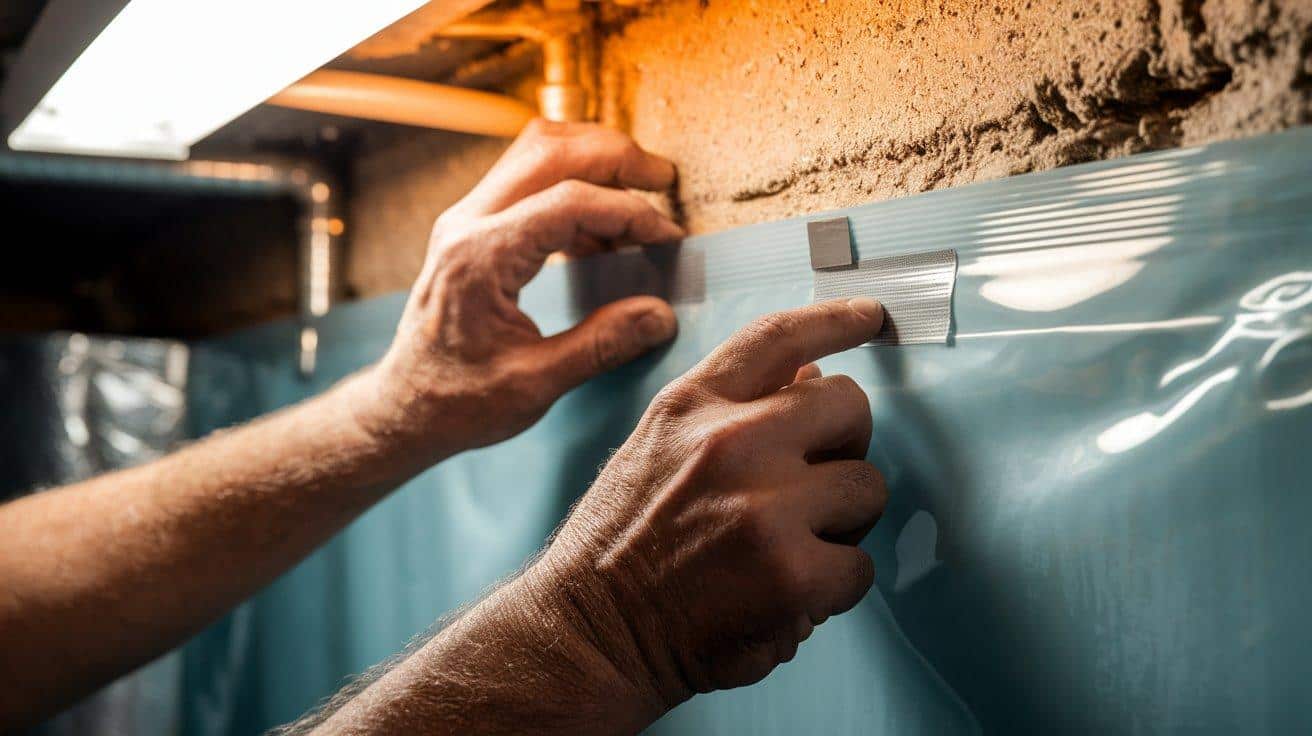
Cover all basement walls with heavy-duty plastic sheeting from floor to ceiling. Make sure you leave no gaps where moisture could sneak through. Seal all seams carefully using special tape and adhesives.
- Install 6-mil or thicker plastic for maximum moisture protection.
- Extend coverage behind utilities and into tight spaces.
- Secure barriers with mechanical fasteners and waterproof adhesives.
Quality verification – Test each sealed seam for air leaks before continuing.
Step 5: Adding Insulation and Dehumidification Systems
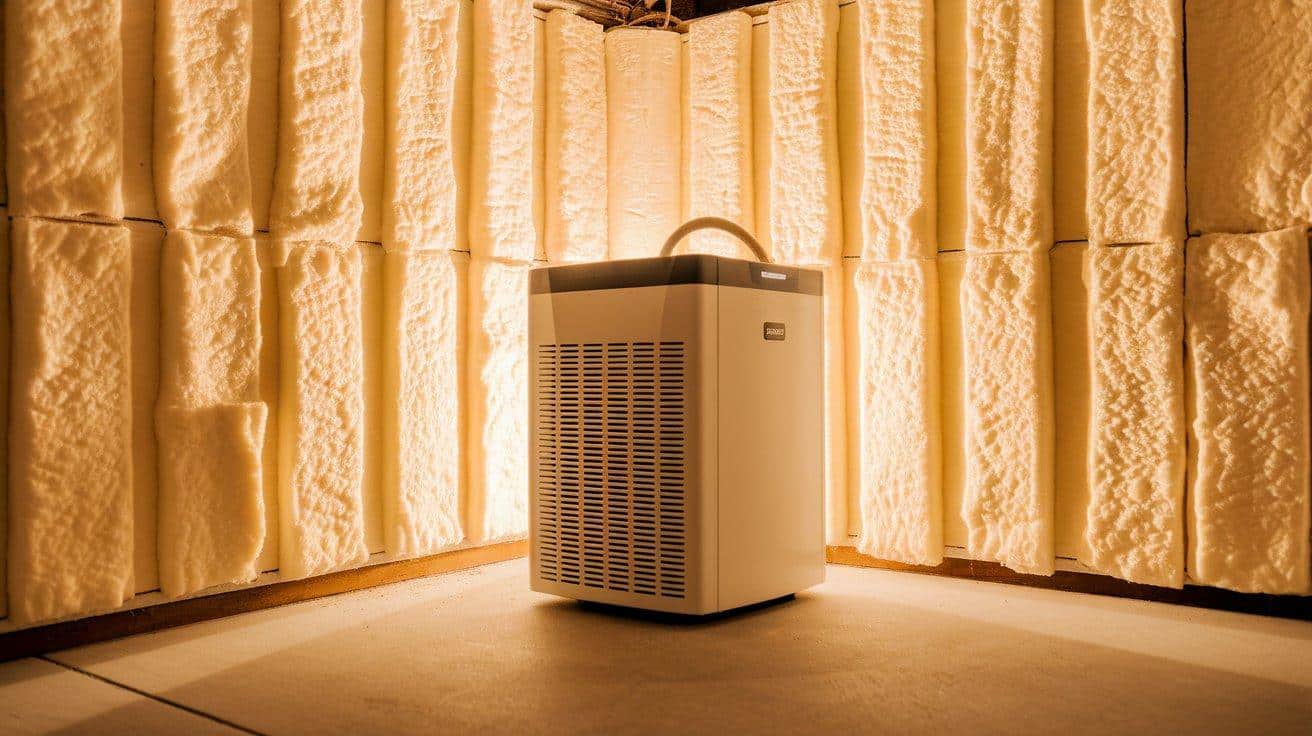
Install insulation over your vapor barriers for temperature control. Set up dehumidification equipment to maintain proper humidity levels year-round. These systems work together to keep your basement comfortable and dry.
- Choose closed-cell foam or rigid board insulation for the best results.
- Size dehumidifiers based on your basement’s square footage requirements.
- Connect automatic drainage systems to remove collected water.
Performance check – Run all equipment for initial testing to ensure proper operation.
Hiring a Professional for Basement Encapsulation
While DIY encapsulation is an option, hiring a professional contractor is often the best choice for ensuring a successful, long-lasting result. A qualified professional has the experience, tools, and knowledge to complete the job correctly and efficiently.
Types of Contractors to Consider
-
Basement Waterproofing Experts – These contractors specialize in preventing moisture from entering your basement. They often offer encapsulation as part of their services.
-
Foundation Repair Companies – If you have cracks or other foundation issues, a foundation repair specialist can handle the structural aspects of your encapsulation project.
-
General Contractors – If you’re remodeling or finishing your basement, a general contractor with experience in moisture control may be the right fit.
How to Choose the Right Professional
When choosing a basement encapsulation contractor, ensure they are licensed, insured, and bonded for protection. Look for contractors specializing in waterproofing with certifications from trusted industry organizations.
Request quotes from multiple contractors to compare prices, materials, and timelines. Make sure the contractor provides a warranty and is willing to answer key questions, such as their experience with basement encapsulation and how they handle unexpected issues.
Verify that they follow local building codes and take care of any necessary permits. Watch out for unclear estimates, high-pressure sales tactics, or lack of proper credentials, as these are red flags. Choosing the right professional ensures quality work and lasting protection for your home.
Professional Basement Encapsulation Services
You can consider professional encapsulation services for complete moisture control solutions in your basement or crawl space. These companies offer expertise, warranties, and specialized equipment that ensure long-lasting protection.
1. Basement Systems– They lead the industry in basement waterproofing and encapsulation services. They provide expert installation with comprehensive warranties that protect your investment. Their proven methods have helped thousands of homeowners solve moisture problems permanently.
2. DryZone Basement Systems– They specialize in basement moisture control with reliable encapsulation solutions. Their trusted experts focus on keeping homes dry and safe from water damage. They offer customized approaches based on your specific basement conditions and needs.
3. Foundation Recovery Systems– They deliver quality basement encapsulation and waterproofing services with extensive experience. Their long history of customer satisfaction demonstrates their commitment to excellent results. They provide thorough assessments and professional installation to protect your home’s foundation.
Disclaimer: The services mentioned in this blog are based solely on users experience and are not sponsored or affiliated with any companies.
DIY vs. Professional Encapsulation
When deciding between DIY and professional basement encapsulation, consider factors like cost, time, material quality, and expertise.
DIY methods are more affordable but come with higher risks, while professional services offer guaranteed results, faster completion, and long-term warranties.
| Aspect | DIY Methods | Professional Service |
|---|---|---|
| Cost | $3-5 per sq ft | $8-15 per sq ft |
| Time Required | 2-4 weeks | 2-3 days |
| Material Quality | Consumer-grade products | Commercial-grade materials |
| Warranty | None or limited | 10-25 year warranties |
| Skill Level | Moderate to high | Expert installation |
| Equipment Needed | Must purchase or rent | Included in the service |
| Permits | Homeowner responsibility | Contractor handles |
| Code Compliance | Must research yourself | Guaranteed compliance |
| Success Rate | 60-70% effective | 95%+ effective |
| Problem Diagnosis | Limited expertise | Professional assessment |
Additional Benefits of Encapsulation
Basement encapsulation offers more than just moisture control. Here are a few additional benefits that make it a smart investment for your home:
-
Improved Energy Efficiency: Encapsulation helps regulate the temperature in your basement, making it easier to heat or cool your home. This can lower energy costs by preventing drafts and reducing the load on your HVAC system.
-
Better Indoor Air Quality: By sealing out moisture, encapsulation helps prevent mold and mildew growth, which can negatively impact your air quality. This creates a cleaner, healthier environment for you and your family.
-
Increased Property Value: A dry, moisture-free basement adds value to your home. If you’re planning to sell in the future, buyers will appreciate a basement that’s free of mold, odors, and potential water damage.
-
Long-Term Cost Savings: Encapsulation prevents structural damage caused by moisture, reducing the need for costly repairs down the road. It also helps avoid expensive mold remediation costs.
Maintenance After Encapsulation
Proper maintenance keeps your encapsulation system working effectively for decades. Regular checks prevent minor problems from becoming major issues that require expensive repairs.
| Immediate Actions | Monthly Tasks | Annual Maintenance |
|
|
|
Address maintenance issues promptly to avoid system failure. Most problems cost less than $200 to fix when caught early. Neglected maintenance can lead to complete system replacement.
Conclusion
Basement encapsulation solves moisture problems that threaten your home’s foundation and your family’s health. This investment protects against costly structural damage while creating cleaner air throughout your house.
Professional installation ensures your system works correctly from day one. Qualified contractors know local building codes and use commercial-grade materials that last for decades.
Regular maintenance keeps your encapsulation system performing at peak efficiency. Simple monthly checks prevent expensive repairs down the road.
The sooner you address basement moisture, the less damage occurs to your property. Every month of delay allows more mold growth and concrete deterioration.
Ready to permanently eliminate your basement moisture problems?
Frequently Asked Questions
Is Basement Encapsulation Worth It?
Yes, encapsulation increases property value and energy efficiency. It prevents mold damage while improving comfort and safety for families.
Is a Vapor Barrier Better than Encapsulation?
Encapsulation offers complete moisture control. It seals walls, floors, and vents with dehumidification systems for total humidity management.
Do I Need a Vapor Barrier Behind Drywall in The Basement?
Yes, barriers protect drywall from moisture seeping through concrete walls. Without protection, drywall develops mold and damage quickly.