Dark-stained wood can make your space feel smaller and less bright than you’d like.
Many homeowners struggle with wood features that looked great initially but now seem too heavy or overpowering for their room’s style.
The good news is that you don’t need to remove or completely refinish your stained wood to achieve a lighter, more modern look.
This guide will show you exactly how to whitewash over existing stained wood. You’ll learn a simple technique that can change dark, heavy-looking wood into bright, contemporary surfaces, making your space feel larger and more inviting.
We’ll cover everything from selecting the right materials to applying the whitewash technique, as well as essential maintenance tips to keep your newly finished wood looking its best for years to come.
Why Whitewash Over Stained Wood?
Whitewashing is a finishing technique that applies a semi-transparent white coating over existing wood finishes.
When you apply whitewash over dark-stained wood, you create a beautiful contrast that highlights the original wood grain through the white finish.
This technique works exceptionally well over dark stains because it creates an antique, weathered appearance.
The dark stain underneath provides depth and character while the white overlay brightens the overall look.
You can control the opacity by adjusting how long you let the whitewash sit before wiping it off. The process is significantly less complicated than completely stripping and restaining wood.
It saves time, money, and effort while achieving dramatic results that can completely change the feel of your space.
Whitewashing Wood Step-by-Step Instructions
Learn how to achieve a stylish, weathered look with these simple, step-by-step instructions for whitewashing wood.
Tools and Materials Needed
| Item | Purpose | Approximate Cost |
|---|---|---|
| White wood stain | Creates the whitewash effect | $8-12 |
| Foam brushes | Applies stain evenly | $3-5 |
| Clean rags or paper towels | Wipes excess stain | $2-4 |
| Drop cloths | Protects surrounding surfaces | $5-8 |
| Polycrylic clear coat | Seals and protects finish | $10-15 |
| Rubber gloves | Protects hands | $2-3 |
| Ventilation fan (optional) | Improves air circulation | $20-30 |
Step 1: Prepare Your Work Area
Setting up your workspace properly ensures a clean, professional result. Choose a well-ventilated area and lay down drop cloths to protect floors and surrounding surfaces from spills and drips.
Clean the stained wood surface thoroughly to remove any dust, dirt, or grease that could interfere with the whitewash application. Ensure the existing stain is completely dry and cured before proceeding.
Materials needed for this step:
- Drop cloths
- Clean rags
- Mild cleaning solution
Instructions:
- Spread drop cloths around the work area
- Wipe down the wood surface with a clean, damp rag
- Allow the surface to dry completely before proceeding
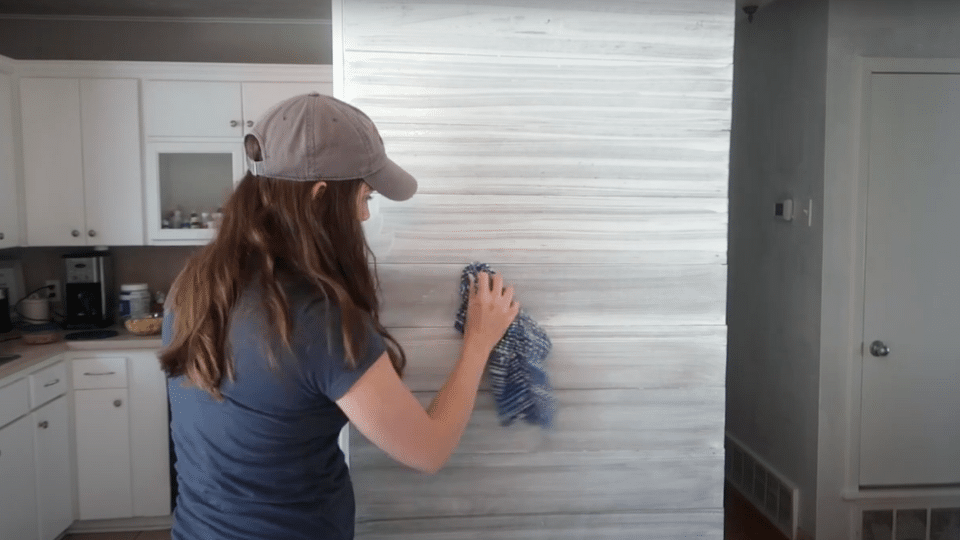
Step 2: Apply the First Coat of White Stain

The first coat establishes the base color and coverage. Work in manageable sections to maintain control over the application and drying time.
Dip your foam brush into the white stain and apply it in the direction of the wood grain. Work quickly but methodically, as the stain will begin to penetrate immediately.
Materials needed for this step:
- White wood stain
- Foam brush
- Rubber gloves
Instructions:
- Put on rubber gloves for protection
- Load the foam brush with white stain
- Apply the stain following the wood grain direction
- Work in 2-3-foot sections at a time
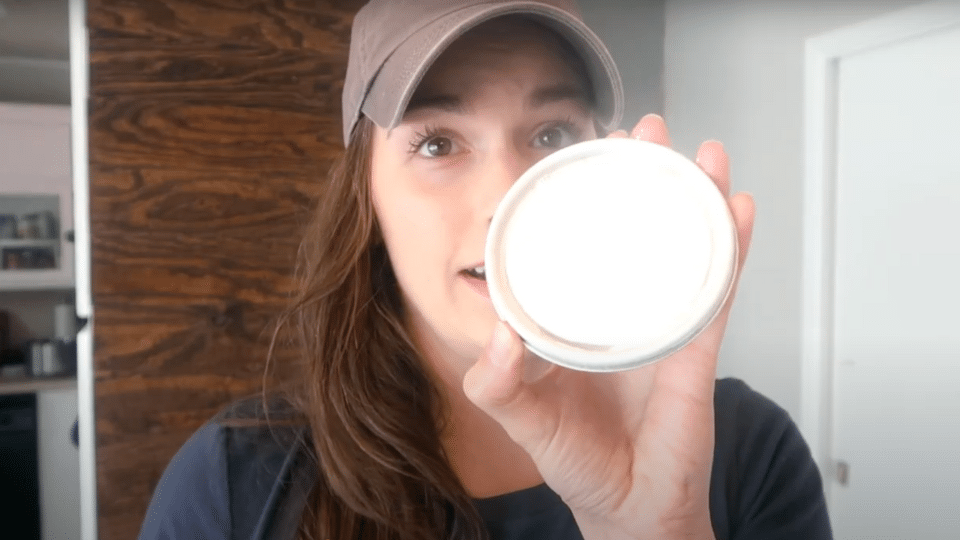
Step 3: Final Wipe and Inspection
After achieving your desired look, perform a final inspection and touch up any areas that need attention. This is your opportunity to ensure even coverage and consistent appearance across the entire surface.
Look for any streaks, drips, or uneven areas that may need additional attention. Address these issues while the stain is still workable.
Materials needed for this step:
- Clean rags
- Additional white stain (if needed)
- Good lighting for inspection
Instructions:
- Examine the entire surface under good lighting
- Touch up any uneven areas as needed
- Perform final cleanup of drips or excess stain
Step 4: Apply Protective Clear Coat
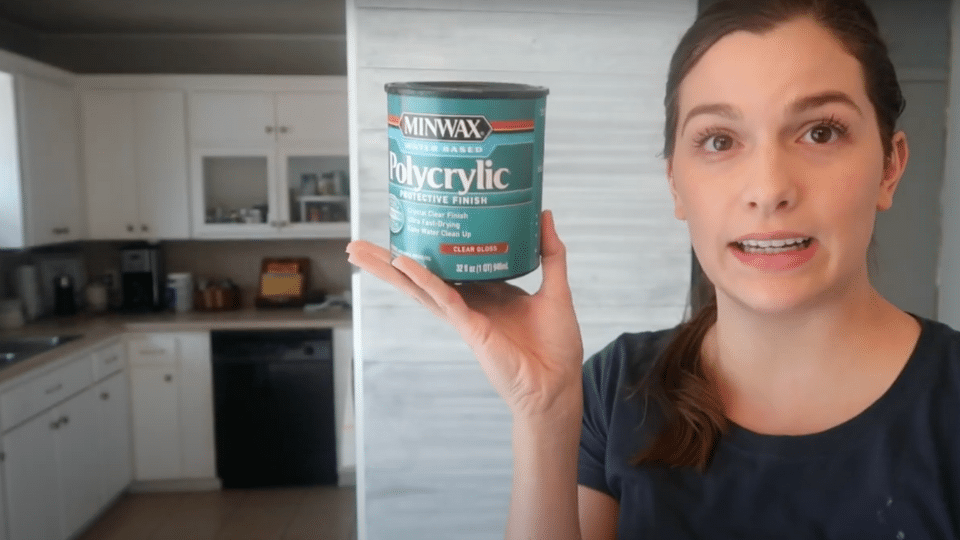
Once the whitewash is completely dry, apply a protective clear coat to seal and protect your finish. This step is crucial for durability and easy maintenance.
Use polycrylic clear coat in either satin or gloss finish, depending on your preference. Apply thin, even coats following the manufacturer’s instructions.
Materials needed for this step:
- Polycrylic clear coat
- Clean a foam brush or applicator
- Fine-grit sandpaper (if required)
Instructions:
- Ensure the whitewash is completely dry
- Apply the clear coat in thin, even layers
- Allow proper drying time between coats
- Apply 2-3 coats for optimal protection
Video Tutorial
Special thanks to TheSimplifiedSaver for providing valuable insights in their video, which I referenced while creating this guide.
Cost-Effective Tips and Money-Saving Strategies
| Strategy | Potential Savings | Best For |
|---|---|---|
| Buy gallon-size stain containers | 30-40% vs quart sizes | Multiple rooms or large projects |
| Purchase contractor packs of brushes | 25-35% per brush | Several projects planned |
| Buy clear coats in larger containers | 20-30% cost reduction | Long-term maintenance needs |
| Coordinate with neighbors/friends | Split costs on bulk purchases | Community projects |
| Shop end-of-season sales | 40-60% off regular prices | Non-urgent projects |
| Use store loyalty programs | 5-10% additional discounts | Regular DIY projects |
How to Maintain Whitewashed Wood?
To maintain whitewashed wood, clean it regularly with a soft cloth, avoid harsh chemicals, and apply a protective finish (like wax or varnish) periodically to preserve the color and prevent damage.
1. Keep Your Whitewashed Wood Clean
Regular cleaning maintains the beauty of your whitewashed finish. Use a soft, damp cloth to wipe away dust and dirt regularly. Avoid harsh chemicals or abrasive cleaners that could damage the finish.
For deeper cleaning, use a mild soap solution and rinse with clean water. Dry the surface immediately to prevent water spots or damage to the protective coating.
Weekly dusting and monthly deeper cleaning will keep your whitewashed wood looking fresh and new for years to come
2. Protect from Excessive Moisture
While the polycrylic coating provides protection, excessive moisture can still damage whitewashed wood. Wipe up spills immediately and use coasters or placemats to protect surfaces from water damage.
In high-humidity environments, consider using a dehumidifier to maintain optimal moisture levels. This prevents the wood from expanding and contracting excessively, which could cause the finish to crack.
Monitor the finish regularly for signs of wear or damage, particularly in high-use areas where the protective coating may wear thin over time.
3. Reapply Protective Coating When Needed
The protective clear coat will wear over time, especially in high-traffic areas. Plan to reapply the polycrylic coating every 2-3 years or when you notice the finish becoming dull or showing signs of wear.
Light sanding between coats ensures proper adhesion of the new protective layer. Use fine-grit sandpaper and clean thoroughly before applying the new coat.
This maintenance step helps extend the life of your whitewash finish, keeping it looking professional and well-maintained.
4. Touch Up Minor Damage Promptly
Minor scratches or chips in the whitewash finish should be addressed quickly to prevent further damage. Clean the area thoroughly and apply a small amount of matching white stain to the damaged spot.
Blend the repair carefully with the surrounding finish and seal with a clear coat once dry. Prompt attention to minor damage prevents more extensive and costly repairs later.
Keep leftover stain and clear coat for future touch-ups, as exact color matching can be difficult if you need to purchase new materials later.
5. Inspect and Maintain Hardware
If your whitewashed wood features hardware, such as hinges or handles, inspect and maintain these components regularly. Tighten loose screws and replace worn hardware to support the overall appearance and function.
Clean hardware with appropriate cleaners that won’t damage the surrounding whitewash finish. Consider upgrading to higher-quality hardware if the original pieces show significant wear.
Proper hardware maintenance contributes to the overall professional appearance of your whitewashed wood project.
Choosing the Right White Stain for Your Project
- Oil-Based vs. Water-Based Stains – Oil-based stains last longer but take 6-8 hours to dry. Water-based stains dry in 2-4 hours with less odor. Oil-based paints create warmer whites, while water-based paints produce cooler tones.
- Opacity Levels and Coverage – Semi-transparent stains show more wood grain, while semi-opaque provides lighter coverage. Test small samples on hidden areas before purchasing full containers.
What Not to Do When Whitewashing Wood
| Mistake | Why It’s Problematic | How to Avoid |
|---|---|---|
| Not cleaning the surface first | Prevents proper stain adhesion | Clean thoroughly before starting |
| Applying too thick a coat | Creates an uneven, blotchy appearance | Use thin, even applications |
| Working in direct sunlight | Causes the stain to dry too quickly | Choose a shaded, controlled environment |
| Skipping the protective coating | Finish wears quickly without protection | Always seal with polycrylic |
| Rushing between coats | Poor adhesion and finish quality | Allow proper drying time |
| Using low-quality brushes | Leaves brush marks and streaks | Invest in good foam brushes |
| Not testing the timing first | Results in the wrong opacity level | Test on a small area first |
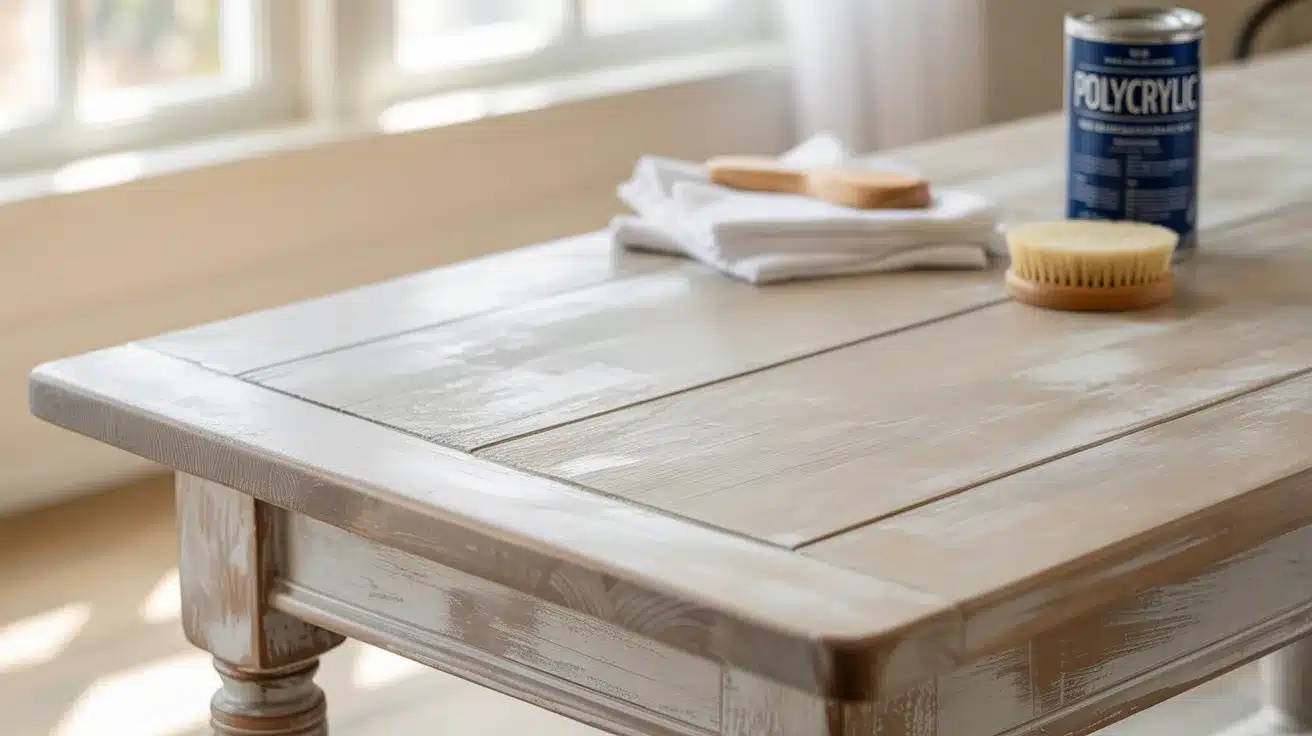
Final Thoughts
Whitewashing stained wood offers an excellent solution for updating dark, heavy-looking wood surfaces without the expense and effort of complete refinishing.
This technique creates a beautiful, modern appearance that brightens your space while maintaining the natural character of the wood grain.
The process is straightforward and affordable, requiring only basic materials and tools that are readily available at most home improvement stores.
Remember that timing is crucial for achieving the perfect opacity level, and the protective clear coat is essential for durability.
Take your time with each step, test your technique on a small area first, and don’t hesitate to apply multiple coats if needed to achieve your desired look.
Need how-tos and hacks? Find more helpful tips and guides here.