Old wallpaper can make your room look dated and tired. You stare at those faded patterns every day, knowing they need to go.
The good news? Removing wallpaper doesn’t have to be a nightmare when you have the right tools and know-how.
We promise to show you exactly how to strip away that old wallpaper quickly and safely. This guide covers everything from choosing the proper steamer to protecting your floors and walls.
You’ll learn professional techniques that make the job easier and prevent damage to your drywall.
In this article, you’ll find a comprehensive guide to wallpaper removal. We’ll walk you through each step, share essential tips, and help you avoid common mistakes that can turn this project into a disaster.
When to Remove Wallpaper?
Knowing when wallpaper needs to be completely removed saves you time and effort. Remove wallpaper when it’s peeling, bubbling, or damaged, as paint won’t adhere properly to loose sections.
Multiple layers of wallpaper also require removal because the weight can cause everything to fall off your walls. You can paint over wallpaper in good condition if it’s firmly attached and has a smooth surface. \
Test a small area first by applying primer and paint to assess the appearance. Textured or vinyl wallpapers show through paint and need removal for professional results.
Age matters; wallpaper older than 20 years typically uses stronger adhesives, making future removal much harder. Removing it now prevents bigger problems later when you want to redecorate again.
Step-by-Step Instructions for Removing Wallpaper
Follow this detailed guide for a straightforward, step-by-step approach to removing wallpaper and preparing your walls for a fresh new look.
Tools and Materials Needed
| Item | Purpose | Where to Get |
|---|---|---|
| Steam wallpaper remover | Loosens adhesive | Home improvement stores |
| Wallpaper scoring tool | Creates small holes for steam penetration | Hardware stores |
| Putty knife (small and large) | Removes stubborn pieces | Any hardware store |
| Sharp razor blade | Cuts around outlets and trim | General stores |
| Plastic sheeting | Protects flooring | Home centers |
| Painter’s tape | Secures floor protection | Paint stores |
| Towels | Absorbs excess moisture | Home supplies |
| Wall texture spray | Repairs minor surface issues | Home improvement stores |
| Primer | Seal the wall before painting | Paint retailers |
| Drop cloths | Additional floor protection | Hardware stores |
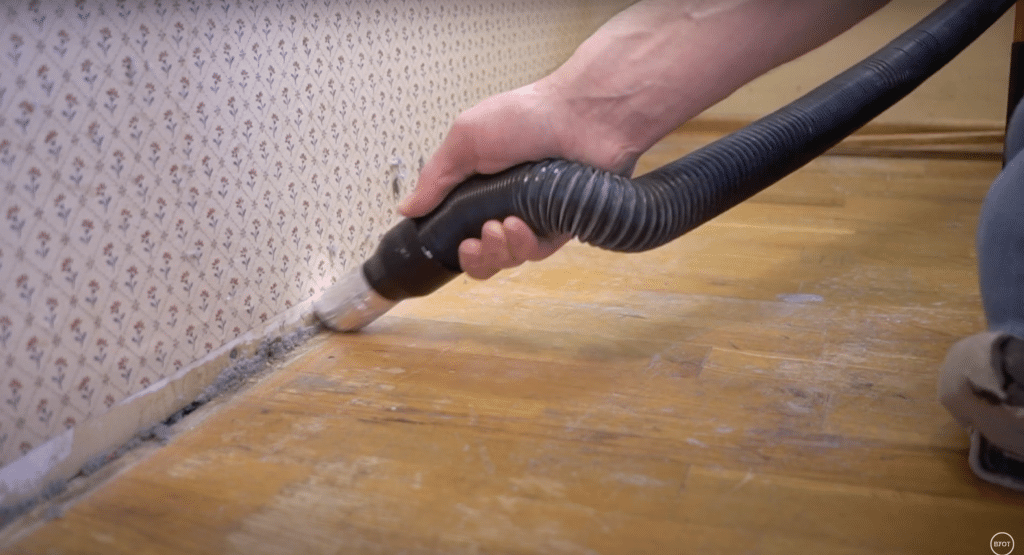
Step 1: Prepare Your Workspace
Remove furniture and cover floors with plastic sheeting. Remove electrical outlet covers after turning off the power at the breaker box. This prevents accidents when moisture comes into contact with outlets during the steaming process.
Materials needed in this step: Plastic sheeting, painter’s tape, screwdriver
Instructions: Tape plastic sheeting 3 feet from the walls. Place towels at the base of the wall to catch drips. Store outlet covers in labeled bags for easy reinstallation.
Step 2: Score the Wallpaper Surface
Create small holes using a scoring tool to let steam penetrate the adhesive layer. Work in 4-square-foot sections with light pressure. You should see small indentations, but avoid pressing so hard that you cut into the wall.
Materials needed in this step: Wallpaper scoring tool
Instructions: Roll the tool across the wallpaper in overlapping rows from top to bottom. Overlap passes by one inch for complete coverage.
Step 3: Apply Steam to Loosen Adhesive
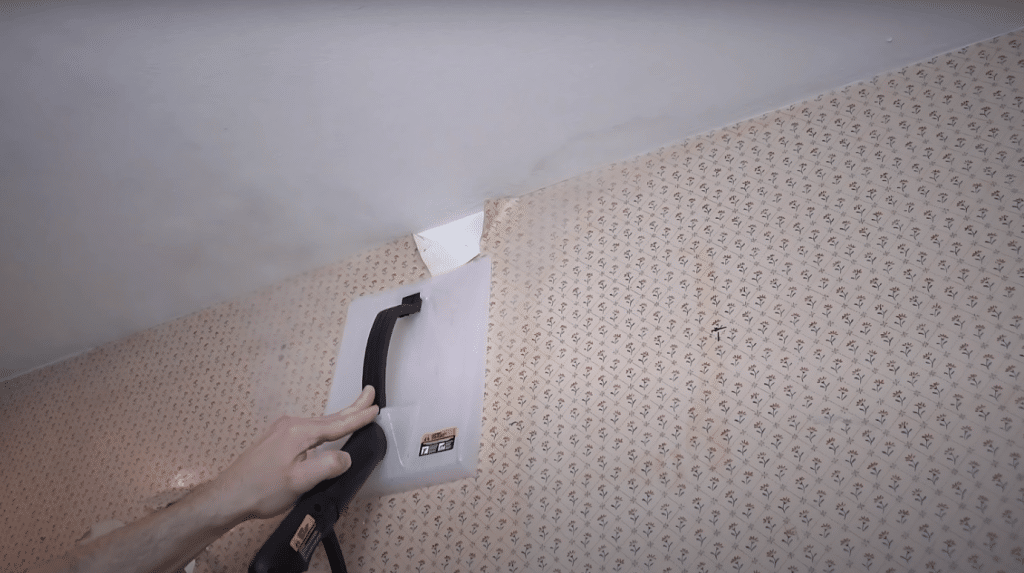
Fill the steamer with water and wait for the ready indicator to appear. This usually takes about 10 minutes for most models.
Hold the steam plate against scored wallpaper for 10-15 seconds per section. You’ll see the wallpaper starting to bubble slightly as the steam works effectively.
Materials needed in this step: Steam wallpaper remover, water, heat-resistant gloves
Instructions: Move the steam plate systematically across scored sections. Work top to bottom, keeping the plate flat against the wall to effectively trap heat.
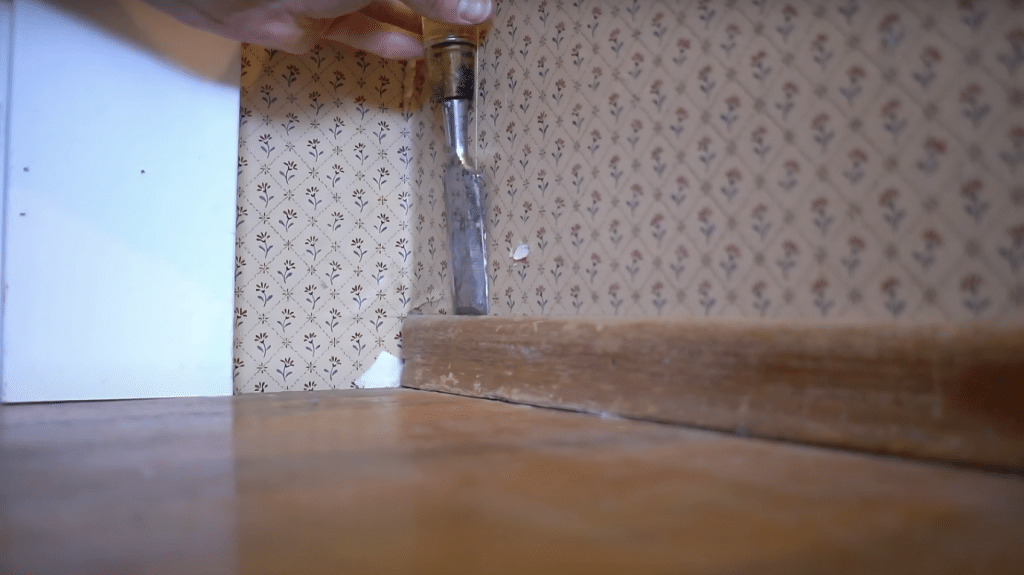
Step 4: Remove the Wallpaper

Start peeling at corners or seams, pulling slowly at a 45-degree angle. Apply more steam to stubborn areas rather than forcing removal. Use your putty knives to help lift edges and work around obstacles, such as outlets.
Materials needed in this step: Small and large putty knives, towels
Instructions: Peel in the most significant sections possible. Score around electrical outlets with razor blades. Keep towels handy for moisture cleanup.
Video Tutorial
Special thanks to BYOT for providing valuable insights in their video, which I referenced while creating this guide.
Essential Tips for Successful Wallpaper Removal
Learn expert tips and tricks to ensure a smooth and hassle-free wallpaper removal process for a flawless finish.
1. Work in Manageable Sections
Breaking your project into 4-foot square sections keeps the steam hot and the adhesive soft while you work.
Trying to steam large areas at once means the first sections cool down and become difficult to remove by the time you get to them.
Plan your sections logically, starting from the least visible area in case you need to practice your technique. Most walls have natural breaking points, such as windows, doors, or built-in furniture, that make good section boundaries.
2. Keep Your Steamer Filled and Hot
Most steamers provide about 40 minutes of continuous operation per fill. Monitor your water level and refill before it runs completely dry.
Always turn off the unit and let it cool for a few minutes before adding more water to prevent dangerous steam bursts.
A consistently hot steamer makes the difference between easy removal and hours of scraping. Plan your breaks around refill times rather than stopping in the middle of a section when the steam is working well.
3. Handle Steam Safety Seriously
Steam reaches temperatures over 200 degrees and can cause serious burns if not handled properly. Never point the steam wand toward yourself or others. Keep children and pets out of the work area during the entire project.
Wear long sleeves and consider heat-resistant gloves when working close to the steam source. If you do get burned by steam, immediately run cold water over the affected area and seek medical attention if the burn is severe.
4. Test Your Technique First
Start your project in a closet or behind furniture where mistakes won’t be visible. This gives you a chance to perfect your steam timing and peeling technique before working on prominent walls.
Different wallpaper types respond differently to steam. Vinyl wallpapers often come off in large sheets, while paper-backed types may require more steam time and come off in smaller pieces.
5. Protect Your Walls During Removal
Pay attention to how much pressure you apply with putty knives and scrapers. Drywall damage from aggressive scraping takes much longer to repair than the wallpaper removal itself.
Light, consistent pressure works better than forceful scraping. If you notice gouges forming in your drywall, stop and apply more steam to that area. Well-steamed wallpaper should come off with minimal scraping force required.
What to Avoid During Wallpaper Removal
| Don’t Do This | Why It’s Bad | Better Approach |
|---|---|---|
| Rush the steaming process | The adhesive won’t soften properly | Give steam 10-15 seconds per section |
| Use excessive scraping force | Damages the drywall surface | Apply more steam instead |
| Work without floor protection | Moisture ruins hardwood floors | Always use plastic sheeting |
| Skip electrical safety steps | Risk of shock or electrocution | Turn off the power at the breaker box |
| Try to steam huge areas at once | Steam cools before you can work | Work in 4-foot sections |
| Ignore the manufacturer’s steam safety warnings | Serious burn risk | Follow all safety guidelines |
| Pull wallpaper too fast | Tears leave residue behind | Peel slowly and steadily |
| Workaround live electrical outlets | Moisture and electricity don’t mix | Remove the covers and turn off the power |
Finishing Your Walls After Wallpaper Removal
- Fill and Repair Surface Imperfections – Fill small holes and gouges with spackling compound, then sand smooth when dry. Push old wall anchors into the wall cavity instead of pulling them out to prevent damage to the drywall.
- Apply Texture to Match Existing Walls – Use orange peel texture spray for quick results that dry fast enough to paint the same day. Practice on cardboard first and apply light, even coats, for natural-looking results.
- Prime Before Painting – Quality primer seals adhesive residue and creates a uniform paint surface. This step prevents paint adhesion problems and typically dries within an hour for same-day completion.
- Caulk Around Trim and Fixtures – Apply paintable caulk to seal gaps between walls and trim work. Use thin, even beads and smooth with your finger before the caulk sets for professional results.
Conclusion
Removing that old wallpaper can change your space from dated to fresh in just one weekend.
The steam method we covered gives you professional results without the mess of chemical strippers or wall damage from aggressive scraping. Most homeowners complete an average room in 4 to 6 hours using these techniques.
Remember the golden rule: patience during steaming saves hours of cleanup later. Taking time to score properly and let steam do the work means cleaner removal and smoother walls for your new finish.
Your newly stripped walls provide a fresh canvas for paint or new wallpaper. Ready to start your wallpaper removal project? Share your before-and-after photos in the comments below.
We love seeing conversions! Have questions about your specific wallpaper type? Drop a comment!