Water pooling where your basement wall meets the floor can turn your lower level into a nightmare. This common problem affects thousands of homeowners every year, causing costly damage and health concerns.
Most people think basement leaks are just part of owning an older home. But here’s what many don’t realize: even newer homes can develop these issues, and the problem usually gets worse over time without proper attention.
The good news? You don’t need to live with a wet basement or spend thousands on professional repairs for every leak. Many wall-to-floor leaks have simple causes that you can identify and fix yourself.
This guide will show you exactly why these leaks happen and give you proven methods to stop them for good. Let’s get your basement dry and keep it that way.
Understanding the Cove Joint
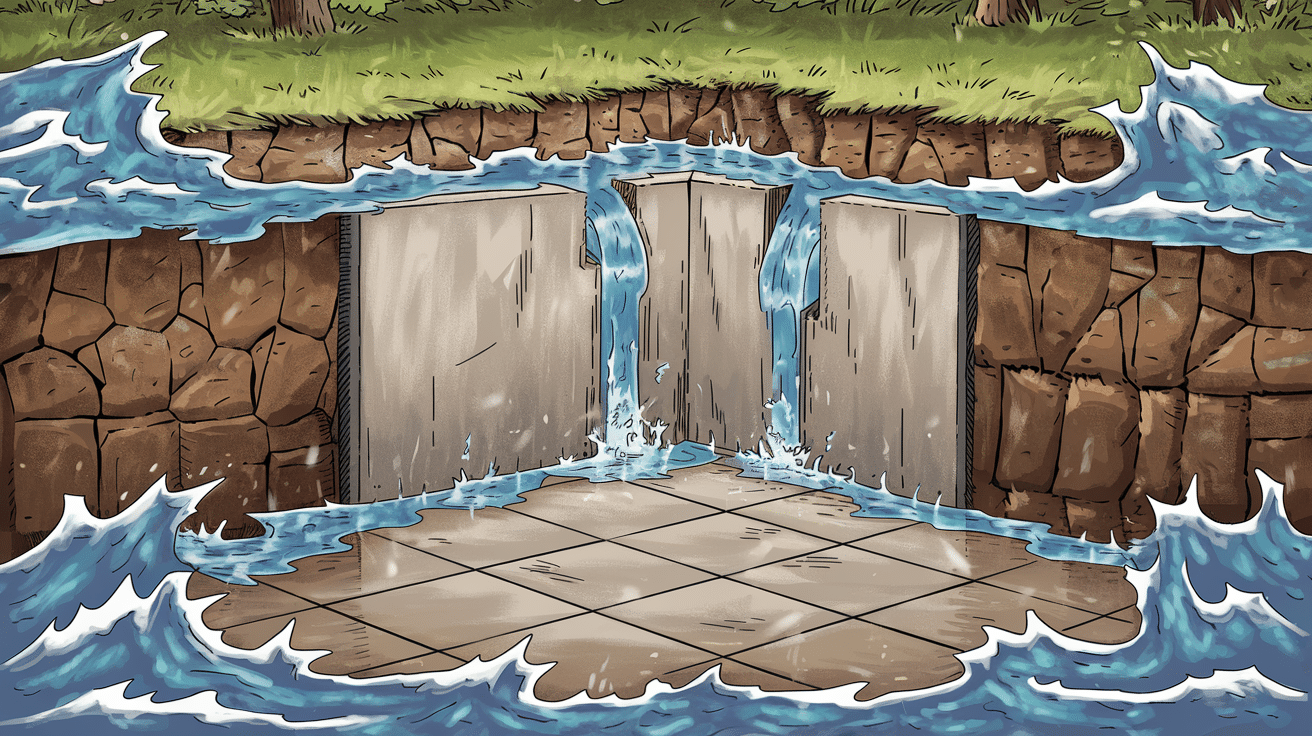
The cove joint is the inside corner where your basement wall connects to the floor slab, creating an L-shaped junction that runs along the perimeter of your basement.
During construction, builders typically pour the concrete floor slab first, then build the foundation walls on top, which creates a natural seam at this meeting point. This construction method, while standard and cost-effective, leaves a vulnerable spot where water can enter your basement.
The cove joint acts like a funnel for groundwater, collecting moisture that builds up around your foundation and directing it into your living space.
- Natural settling causes small gaps to form between the wall and floor over time.
- Hydrostatic pressure from the surrounding soil pushes water through any available openings.
- Poor drainage around the foundation increases water pressure at this vulnerable point.
Even when builders use sealants during construction, these materials can crack, shrink, or deteriorate over the years, making the cove joint one of the most common entry points for basement water problems.
The joint’s location at the lowest point of your basement means it collects water naturally, and its horizontal-to-vertical design makes it difficult for standard waterproofing methods to create a lasting seal.
5 Signs of a Leaking Cove Joint
1. Damp Spots: Wet or moist areas along the bottom edge of basement walls, especially after rain or during spring thaw, indicating active water seepage through the joint.
2. Water Stains: Dark, discolored marks or mineral deposits (efflorescence) that appear as white, chalky residue on walls and floors near where they meet.
3. Mold Growth: Black, green, or fuzzy patches growing along the wall-floor junction, thriving in the constant moisture environment created by cove joint leaks.
4. Paint Damage: Peeling, bubbling, or cracked paint on lower portions of basement walls caused by moisture penetrating through the joint and affecting wall surfaces.
5. Musty Odors: Persistent damp, earthy smells in your basement that worsen during humid weather, indicating hidden moisture and potential mold development in the cove joint area.
Common Causes of Leaks at the Wall-Floor Joint
Several factors work together to create water problems at your basement’s most vulnerable spot.
1. Hydrostatic Pressure
Water naturally collects around your foundation from rain, snow melt, and groundwater. When soil becomes saturated, it creates hydrostatic pressure that pushes against your foundation walls and floor.
This constant pressure forces water to find the path of least resistance, which is often the cove joint where your wall meets the floor.
- Heavy rainfall or rapid snow melt saturates the soil around your foundation.
- High water table levels create continuous pressure against basement walls.
- Clay soil holds water longer, maintaining pressure for extended periods.
Remember: Hydrostatic pressure increases with water depth, so even small amounts of standing water can create significant force against your foundation.
2. Cracks in the Foundation

Foundation settling and soil movement cause stress fractures in concrete walls and floors over time. These cracks often start small but expand due to freeze-thaw cycles and continued ground movement.
When cracks reach the cove joint area, they create direct pathways for water to enter your basement.
- Natural settling occurs as your home ages and the soil compacts beneath it.
- Freeze-thaw cycles expand existing cracks during winter months.
- Tree roots can grow against foundations, creating pressure and cracking.
Remember: Even hairline cracks can allow significant water infiltration because water will always find a way through the smallest openings.
3. Poor Drainage
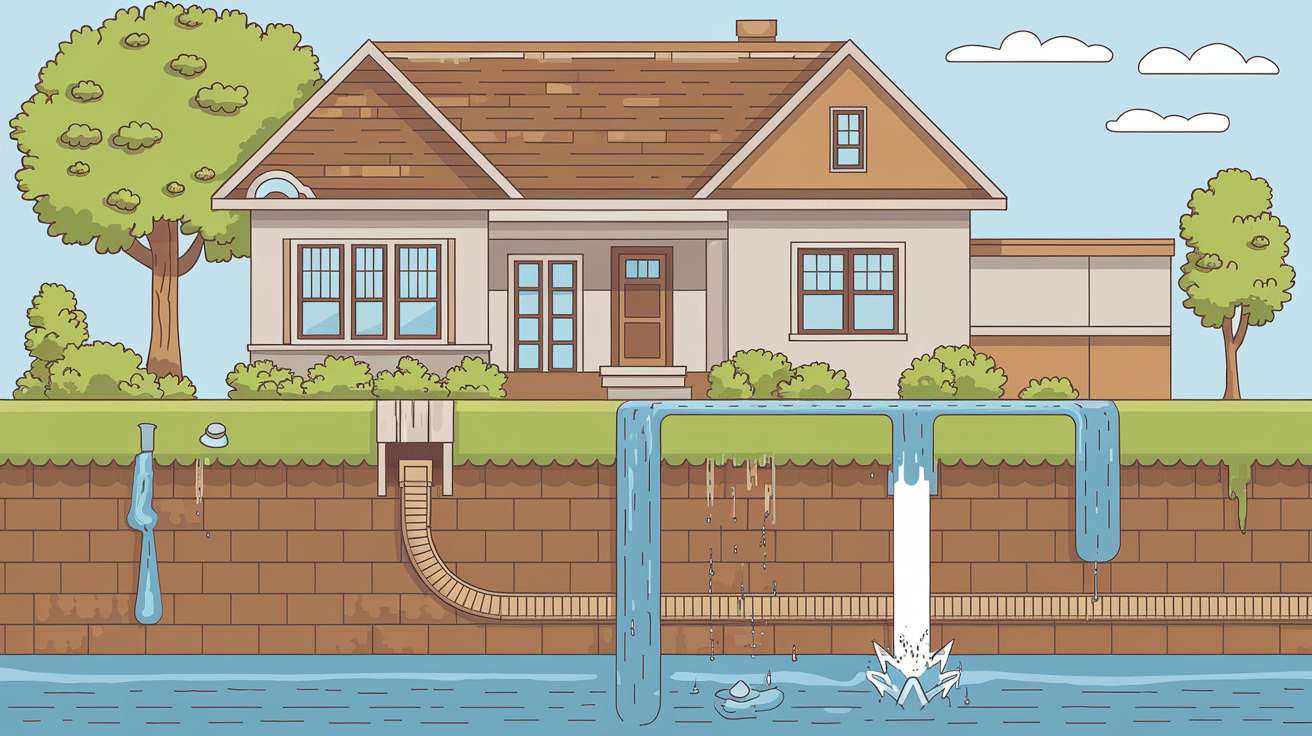
Improper grading and faulty drainage systems direct water toward your foundation instead of away from it.
When gutters overflow or downspouts dump water too close to your home, moisture accumulates around the foundation perimeter. This creates the perfect conditions for cove joint leaks to develop and worsen over time.
- An incorrect slope around your home directs surface water toward the foundation.
- Clogged gutters overflow and dump water directly against the basement walls.
- Missing or damaged downspout extensions fail to carry water away from the house.
Remember: Water should flow away from your foundation at a slope of at least 6 inches over the first 10 feet from your home’s perimeter.
4. Plumbing Leaks
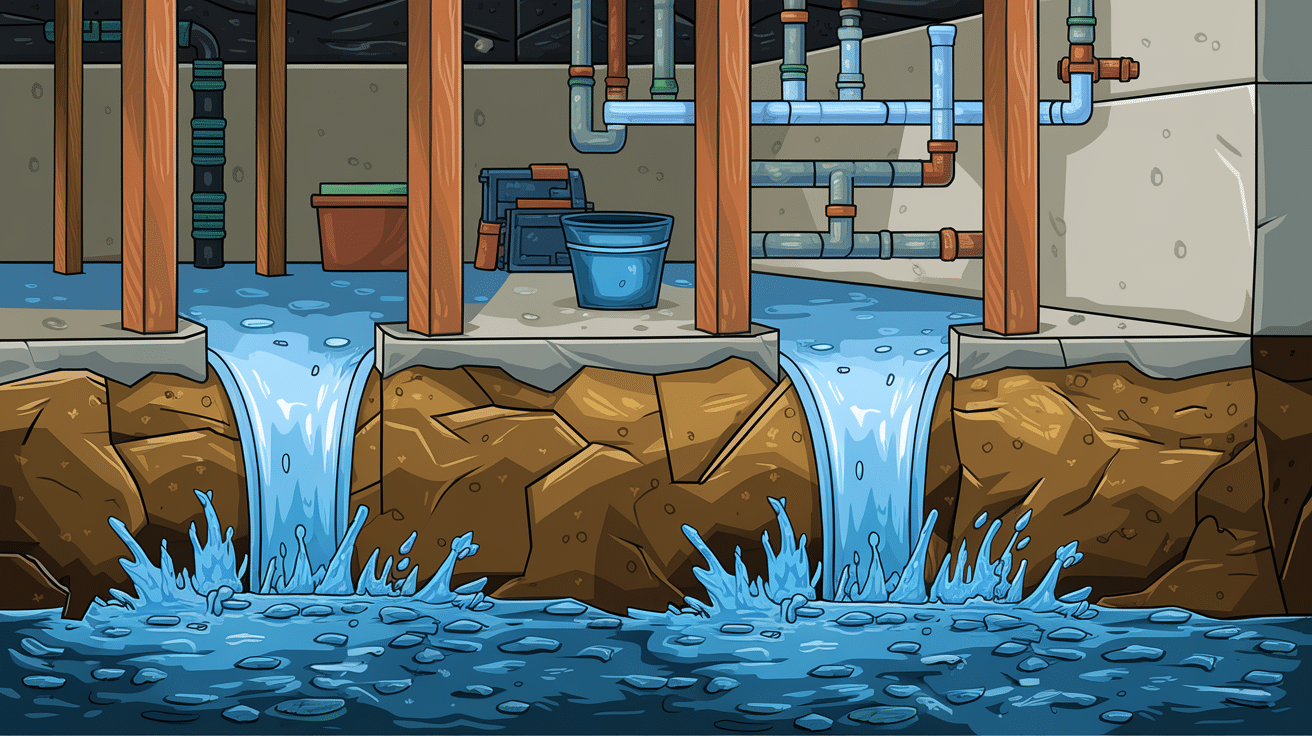
Internal plumbing problems can add extra moisture to an already vulnerable cove joint area. Leaking pipes behind walls or under floors increase humidity levels and can saturate the soil around your foundation.
This additional moisture compounds external water pressure and makes existing cove joint problems much worse.
- Leaking supply lines behind basement walls add moisture to foundation materials.
- Sewer line breaks under or near the foundation create wet conditions.
- Water heater leaks increase basement humidity and soil moisture levels.
Remember: Internal plumbing leaks often go undetected for months, allowing continuous moisture buildup that weakens cove joint seals and increases water infiltration risk.
Practical Solutions to Fix Basement Leaks
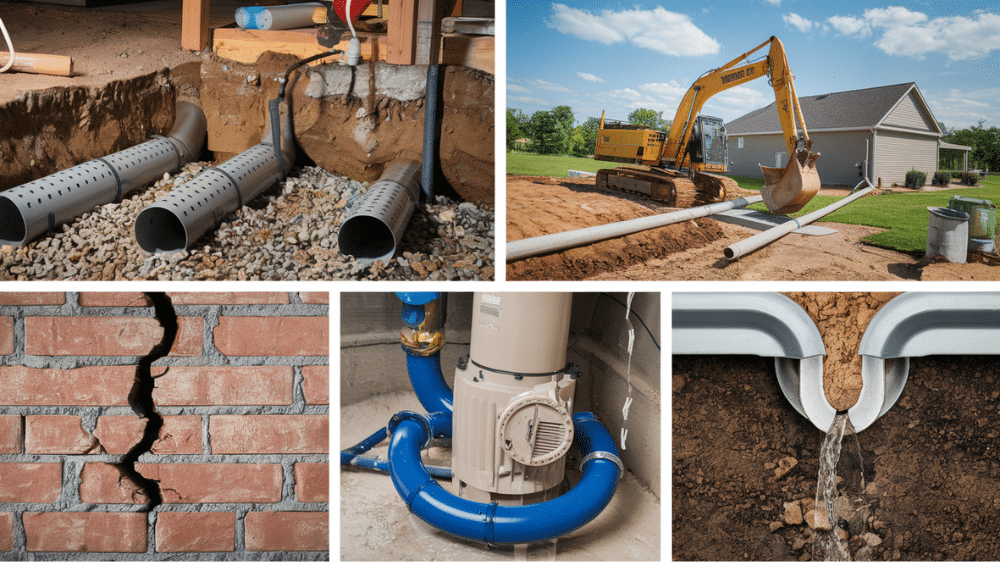
1. Interior Drain Tile System
- Installation process: Contractors cut a trench into the concrete floor along the cove joint and install perforated pipes surrounded by gravel.
- Water redirection: The system intercepts water before it enters your basement and channels it to a sump pit for removal.
- Professional timeline: A typical installation takes 2-3 days for an average basement.
- Cost range: $3,000 to $8,000, depending on basement size and complexity.
- Advantage: Works from inside your home without exterior excavation.
2. Exterior Waterproofing Membrane
- Excavation required: Complete digging around foundation perimeter to access exterior walls.
- Membrane application: Waterproof barrier applied directly to foundation walls with protective drainage boards.
- Most effective: Long-term solution that prevents water from reaching the foundation.
- Higher cost: The most expensive option, but it provides comprehensive protection.
- Yard disruption: Significant landscaping restoration needed after completion.
3. Sealing Cracks
- Hydraulic cement: Expands as it cures to create tight seals in small cracks.
- Epoxy injection: Flexible repair method for larger structural cracks.
- DIY option: Homeowners can handle small, non-structural cracks measuring less than 1/4 inch.
- Quick results: Can stop active leaks within hours of proper application.
- Temporary fix: May need reapplication over time as the foundation settles.
4. Sump Pump Installation
- Automatic operation: Activates when water levels rise in a specially constructed pit
- Backup systems: Battery backup and alarm systems protect during power outages
- Proper sizing: Must match your basement’s water infiltration rate for effective operation
- Regular maintenance: Annual testing and cleaning are required for reliable performance
- Best results: Most effective when combined with interior drainage systems
5. Improving Drainage
- Soil grading: Regrade landscape to create a 6-inch slope away from the foundation over the first 10 feet.
- Gutter maintenance: Clean gutters twice yearly and repair any damage or leaks.
- Downspout extensions: Install extensions to carry water at least 10 feet from the house.
- French drains: Add where natural drainage is poor or water accumulates.
- Cost-effective: Often the most affordable first step before expensive waterproofing.
6 Preventive Measures to Avoid Future Leaks
1. Regular Maintenance: Schedule seasonal inspections of gutters, downspouts, and sump pumps to ensure proper function, including cleaning debris, testing pump operation, and checking for clogs or damage that could redirect water toward your foundation.
2. Proper Grading: Maintain correct soil slope around your foundation perimeter, ensuring ground drops at least 6 inches over the first 10 feet from your home to direct surface water away from basement walls and prevent pooling.
3. Preventive Waterproofing: Apply basement wall and floor sealants every 3-5 years as a protective barrier against moisture infiltration, focusing on high-risk areas like the cove joint and any previously repaired cracks.
4. Early Detection Monitoring: Install moisture detectors and humidity monitors in your basement to identify water problems before they become visible, allowing you to address issues while they’re still manageable and less expensive to fix.
5. Seasonal Inspections: Conduct visual checks of your basement after heavy rains or spring thaw, looking for new water stains, damp spots, or changes in humidity levels that could indicate developing leak problems.
6. Foundation Crack Monitoring: Mark and measure any existing foundation cracks to track growth over time, addressing expanding cracks before they become major water entry points during wet weather conditions.
Conclusion
Basement leaks where your wall meets the floor don’t have to be a permanent problem. By understanding how the cove joint works and recognizing early warning signs, you can take control of your basement’s water issues. Whether you choose DIY crack sealing or professional interior drainage systems, the key is acting quickly when you spot moisture problems.
Start with simple fixes like improving drainage and maintaining your gutters. These cost-effective steps often solve minor leak issues before they become major headaches. For persistent problems, interior drain tile systems and sump pumps provide reliable long-term protection.
Remember to inspect your basement regularly and address small issues before they grow. A dry basement protects your home’s value and creates a healthier living environment for your family.
What signs of basement leaks have you noticed in your home? Share your experiences in the comments below.