That thin crack running down your living room wall isn’t going away on its own.
Most homeowners panic when they spot these hairline splits, assuming they need expensive professional repairs or indicate serious structural problems.
What if you could fix these cracks yourself using basic tools you probably already own? You can change that unsightly wall damage into a smooth, professional-looking surface in just one afternoon. No special skills required, no costly contractor visits, and no guesswork about whether the repair will last.
Stop staring at that crack and start fixing it today. This guide shows you exactly how to repair hairline cracks using simple tools and proven techniques that work every time.
Hairline Cracks: What They Mean
A hairline crack is a thin, narrow split that appears on wall surfaces. These cracks are usually less than 1/16 inch wide and often look like fine lines drawn with a pencil.
You’ll commonly find hairline cracks in:
- Drywall – especially at joints and corners
- Plaster walls – both old and new installations
- Concrete walls – interior and exterior surfaces
- Painted surfaces – where multiple paint layers exist
Most homeowners worry when they spot these thin lines on their walls.
The good news? Hairline crack wall issues are often just cosmetic problems. They rarely indicate serious structural damage.
However, don’t ignore them completely. While many hairline cracks are normal, some can signal underlying problems that need attention.
Common Causes of Hairline Cracks
Understanding why hairline crack problems happen helps you fix them properly. The main reasons walls develop these thin splits include:
| Cause | Description | Where It Happens | Prevention |
|---|---|---|---|
| Structural Movement | House settling, foundation shifts, or seasonal ground movement | Any wall, especially corners and joints | Regular foundation inspections |
| Drying Shrinkage | Plaster, drywall compound, or paint dries too quickly | New plaster walls, freshly painted surfaces | Control the room temperature and humidity |
| Water Damage | Moisture causes swelling, then shrinking as it dries | Areas near leaks, bathrooms, and basements | Fix leaks quickly, and use proper ventilation |
| Poor Construction | Bad taping, low-quality materials, or rushed installation | Drywall joints, corners, and ceiling edges | Hire experienced contractors, use quality materials |
- Structural movement is the most common cause. Every house moves slightly as soil conditions change. Clay soil is especially problematic because it expands when wet and shrinks when dry.
- Drying shrinkage often creates hairline crack issues in the walls of new homes. When plaster or joint compound dries too fast, it pulls apart and forms cracks. This is why painters recommend proper drying conditions.
- Water damage can cause immediate cracking or delayed problems. Even small leaks create cycles of swelling and shrinking that stress wall materials.
- Poor construction quality leads to recurring cracks. Rushed jobs or cheap materials rarely last long before showing problems.
Step-by-Step Guide to Fixing Hairline Cracks Yourself
Fixing a hairline crack is a simple DIY project that most homeowners can handle. Follow these six steps for a professional-looking repair.
Before you start, gather these essential items to ensure a smooth repair process:
Tools and Materials Needed
- Scraper and filling knives
- Flexible wall filler
- Sandpaper (240-grade)
- Vacuum or brush for cleaning
- Dust mask
- Primer and paint with brushes
- Clean cloth and water
Now that you have everything ready, let’s walk through the complete repair process step by step.
Step 1: Undercut the Crack
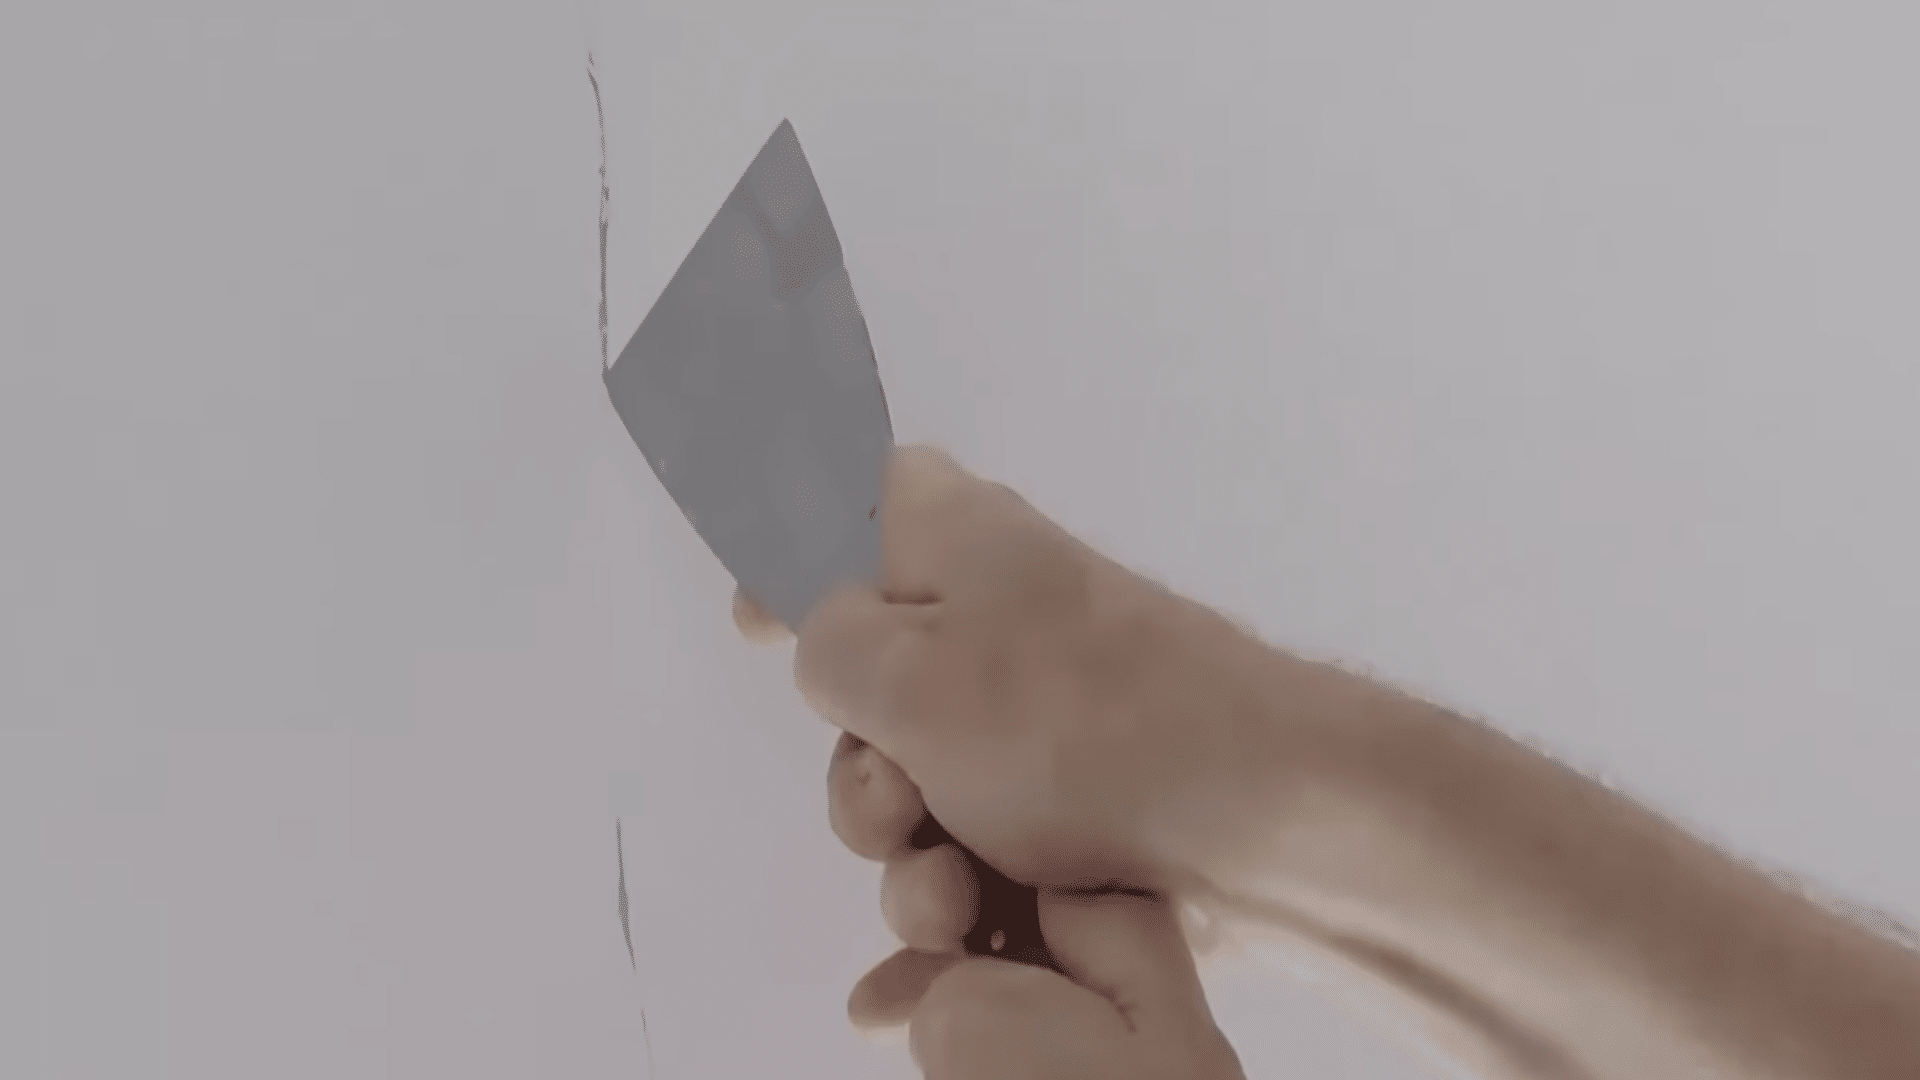
Use a sharp scraper or putty knife to widen the crack slightly. Create a wedge shape that’s wider at the back than the front.
This technique helps the filler stick better and prevents the crack from reopening.
Pro tip: Work slowly and make small cuts. It’s easier to widen the crack more than to fix one that’s too big.
Step 2: Clean the Area
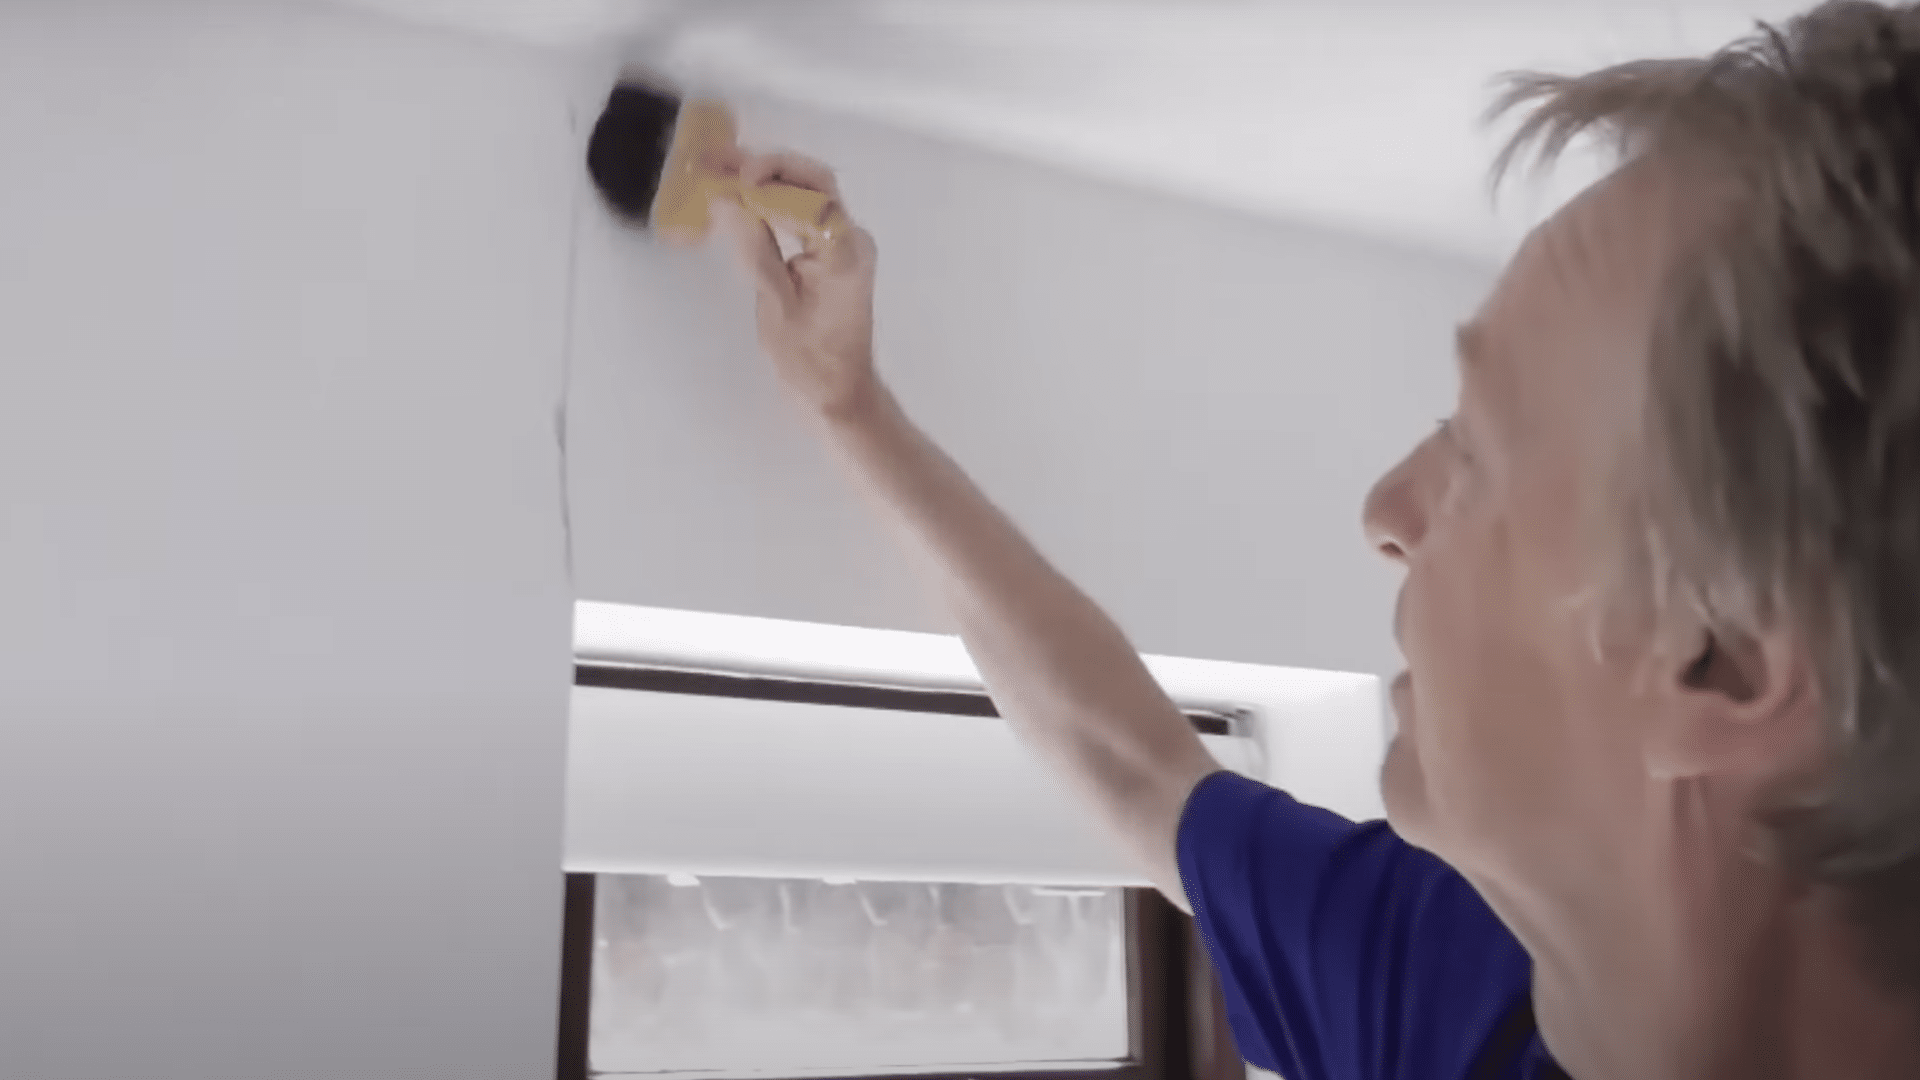
Remove all loose dust, debris, and flaking paint from the crack. Use a vacuum or brush to get everything out. Wipe the area with a damp cloth and let it dry completely.
Clean surfaces are essential for good adhesion. Any debris left behind will cause the repair to fail.
Pro tip: Use compressed air or a small brush to reach deep into the crack where vacuums can’t reach.
Step 3: Apply Filler
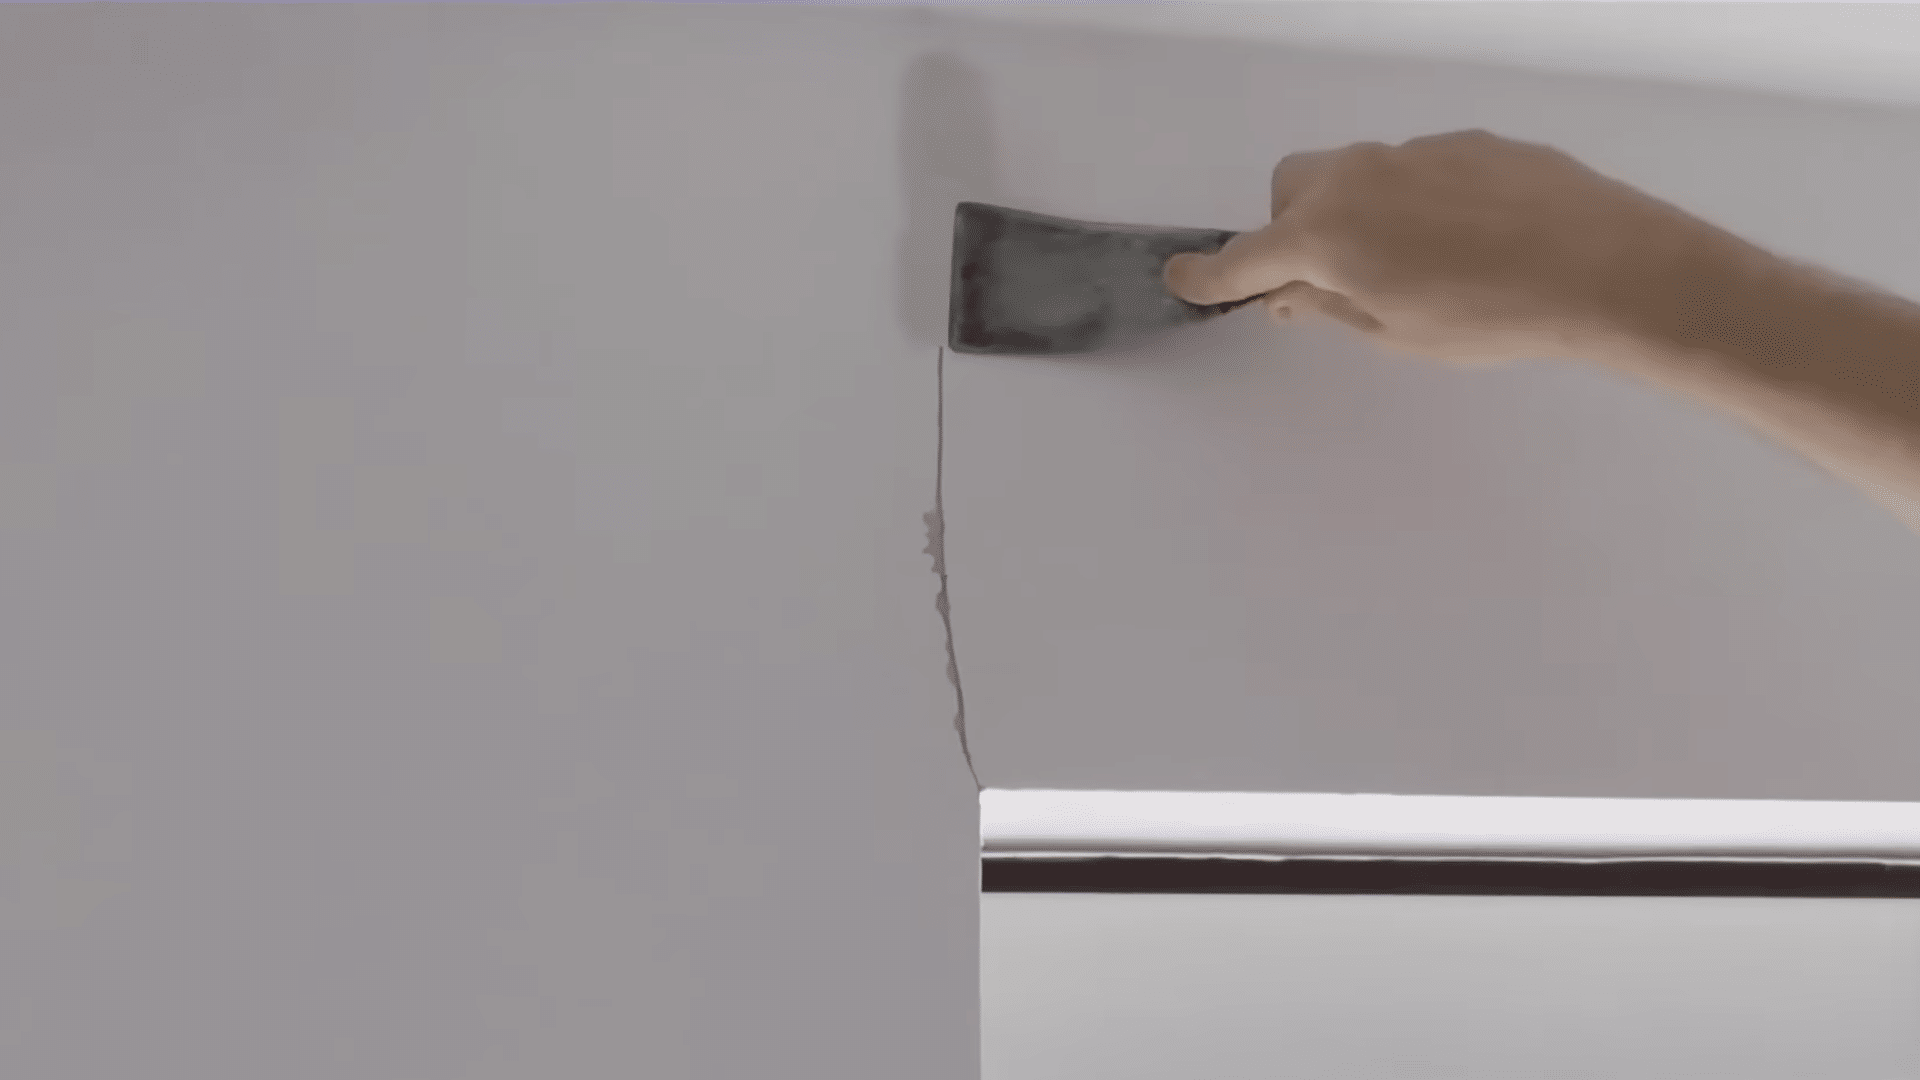
Choose a flexible filler designed for hairline crack wall repairs. Using a filling knife, press the material deep into the crack. Work from one end to the other, then smooth the surface.
Apply slightly more filler than needed. You’ll sand it smooth in the next step.
Pro tip: Hold the filling knife at a 45-degree angle and use firm pressure to force filler deep into the crack.
Step 4: Let It Dry

Wait about 30 minutes for most fillers, or follow the manufacturer’s instructions. Don’t rush this step. Wet filler that gets painted will shrink and crack again.
Check the weather too. High humidity slows drying time significantly.
Pro tip: Gently touch the surface to test dryness. It should feel firm and cool, not soft or warm.
Step 5: Sand Smooth
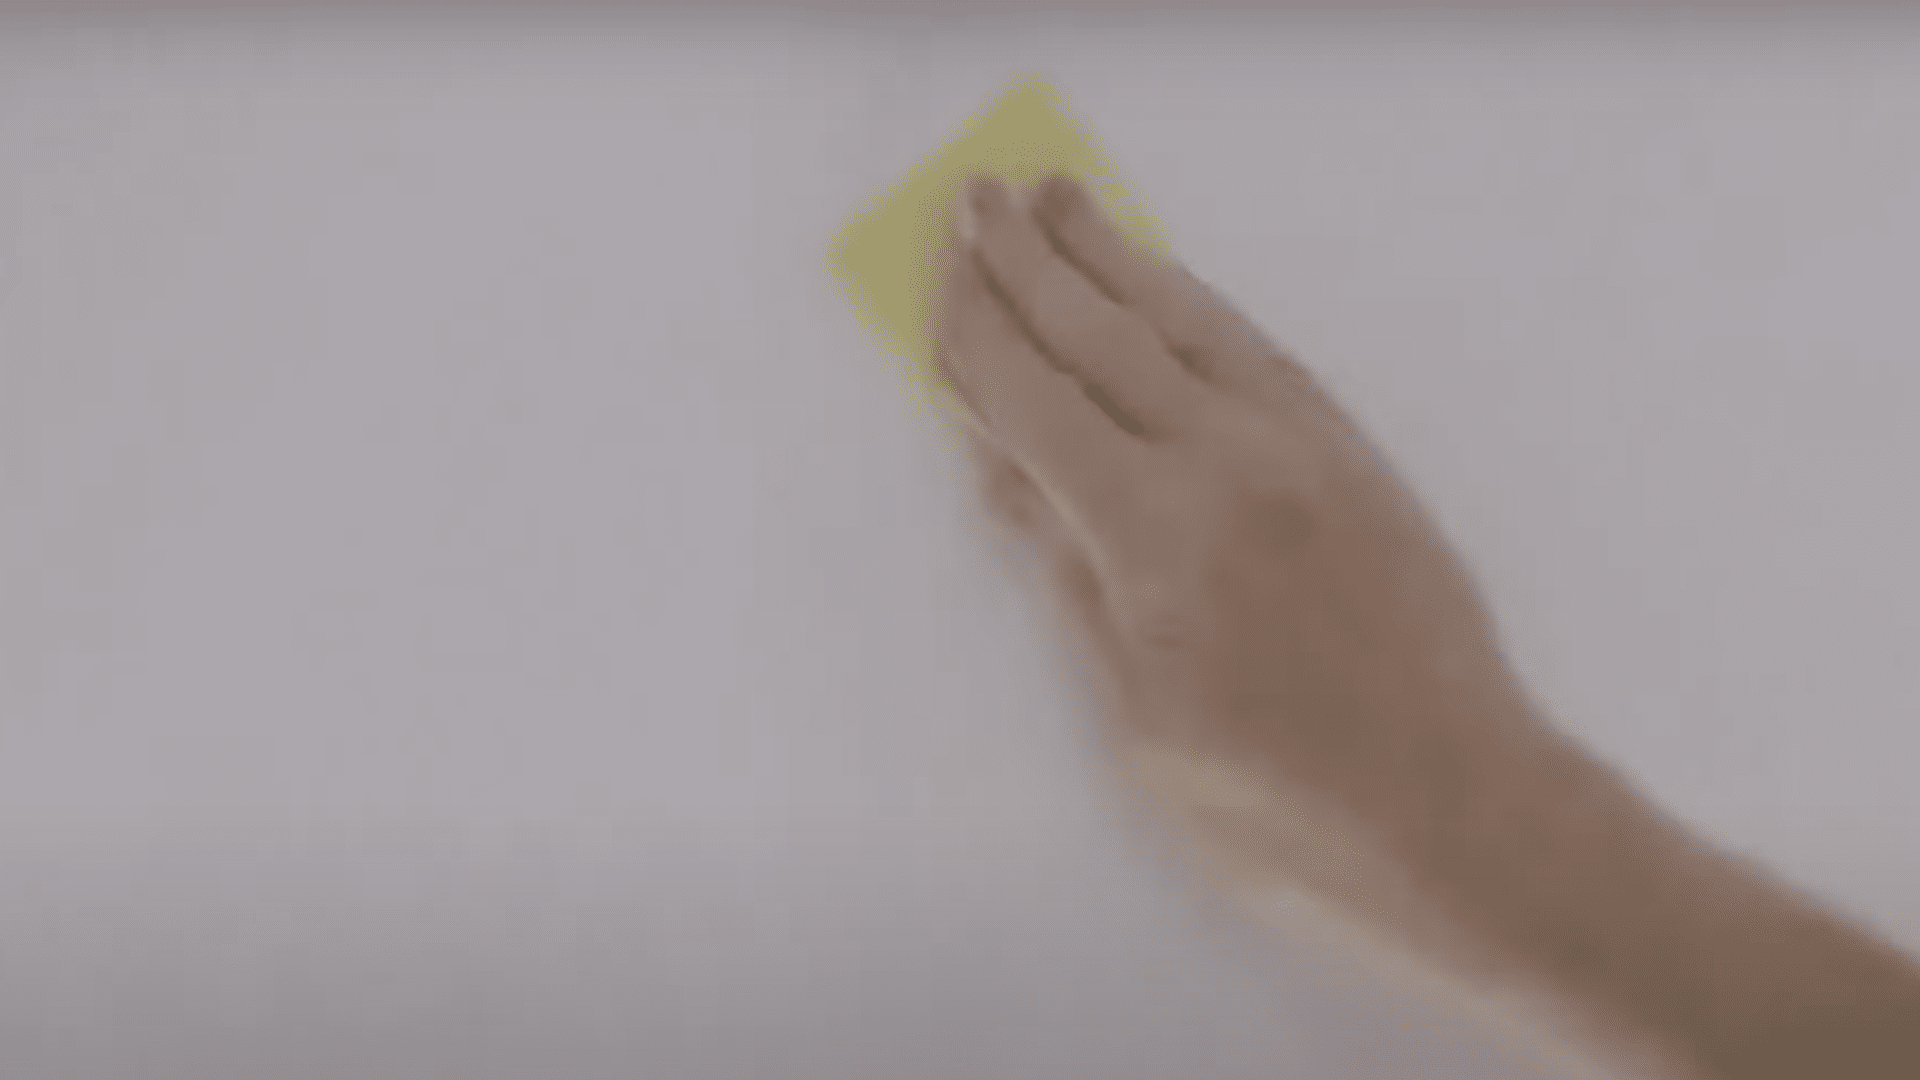
Use 240-grade aluminum oxide sandpaper to smooth the repair. Sand gently in circular motions until the filled area feels flush with the surrounding wall.
Always wear a dust mask when sanding. Fine particles can irritate the lungs.
Pro tip: Start with light pressure and gradually increase. Over-sanding can create a dip in the wall surface.
Step 6: Prime and Paint
Apply a thin coat of primer to the repaired area. This seals the filler and prevents color differences. Once dry, apply your finish paint in thin, even coats.
For best results, paint the entire wall section rather than just the repair spot.
Pro tip: Use a small brush for the primer, then switch to a roller for the final paint to match the wall texture.
Video Tutorial
I’d like to give credit to Aubrey’s Absolute Decorating for their informative video, as a reference for this guide.
7 Effective Ways to Prevent Hairline Cracks in Your Walls
Prevention is always better than repair. Here are seven proven strategies to reduce the chances of developing hairline crack problems:
1.Control Indoor Humidity Levels- Maintain a humidity level between 30% and 50% throughout the year. Use dehumidifiers in damp areas like basements and bathrooms. Add humidifiers during dry winter months. Extreme humidity changes stress wall materials and causes cracking.
2. Choose Flexible Materials- Use high-quality acrylic paints and caulks that can stretch slightly without cracking. Avoid cheap, rigid materials that break under minor movement. Flexible sealants work especially well in areas prone to settling.
3. Allow Proper Curing Time- Don’t rush drying times during construction or repairs. Let each coat of plaster or joint compound dry completely before applying the next. Cold or humid weather requires longer curing periods.
4. Maintain Your Home Regularly- Fix leaks immediately before they cause wall damage. Keep gutters clean and working properly. Address foundation drainage issues promptly. Inspect walls seasonally for early signs of problems.
5. Monitor Temperature Changes- Avoid rapid heating or cooling, as this can stress building materials. Use gradual temperature adjustments when possible. Sudden temperature swings cause materials to expand and contract quickly, leading to hairline crack issues in the wall.
6. Address Foundation Problems Early- Fix poor drainage around your home’s foundation. Watch for soil settling or shifting near the house. Address these issues promptly since foundation problems eventually show up as wall cracks.
7. Hire Experienced Professionals- Choose contractors who know proper techniques for minimizing cracking. Good professionals use quality materials and follow correct installation procedures. This investment pays off with fewer crack problems later.
Final Thoughts
You now have the tools to handle hairline crack problems with confidence. Most thin splits are harmless cosmetic issues that respond well to simple repairs. The six-step repair process works for nearly every situation you’ll encounter.
But don’t ignore the warning signs. Cracks that grow, recur, or appear with water damage need professional attention. Your home’s safety depends on making the right call.
Start by checking your walls this weekend. Look for new cracks and assess existing ones using the guidelines covered here. Address small problems now before they become expensive repairs.
Ready to fix that crack that’s been bothering you? Grab your tools and get started. Your walls will thank you for the attention, and you’ll feel great knowing you handled it yourself.