The musty smell that hits you every time you walk downstairs isn’t just unpleasant. It’s a warning sign.
Black mold in basement areas affects millions of homes and can cause serious health problems for your family. From respiratory issues to structural damage, ignoring this problem only makes it worse and more expensive to fix.
The good news? You can safely remove black mold in basement spaces using the proper methods and equipment.
With proper safety measures and systematic removal techniques, most homeowners can handle moderate mold problems without hiring expensive professionals.
This article will walk you through identifying black mold in basement areas, safely removing contaminated materials, and preventing future growth.
You’ll learn when DIY removal is appropriate and when to call professionals for larger infestations.
What Causes Black Mold in Basements?
Moisture is the primary cause of black mold in basement spaces. When water comes into contact with organic materials, such as wood, it creates the perfect breeding ground for mold growth.
The most common causes include:
- Poor ventilation: Stagnant air traps moisture and humidity
- Water leaks: From pipes, windows, or foundation cracks
- Flooding damage: Not properly dried within 24-48 hours
- High humidity: Levels above 60% create ideal conditions
- Condensation: Forms on cold surfaces like concrete walls
Signs of Black Mold in the Basement
Dark, slimy patches on walls or floors are the most obvious sign of black mold in basement spaces. But mold often grows in hidden areas first.
| Visual Signs | Smell Test | Physical Symptoms |
|---|---|---|
| Dark stains (black, green, or brown patches) on walls, ceilings, and floors | Musty, earthy odor throughout the basement | Respiratory issues – coughing, wheezing, difficulty breathing |
| Discoloration around pipes, windows, and foundation areas | Stronger smell when first entering the basement | Allergy symptoms – sneezing, runny nose, itchy eyes |
| Peeling paint or wallpaper where moisture causes separation | Odor gets stronger in humid weather | Headaches, especially when spending time in the basement |
| Warped or rotting wood on sleepers, framing, and flooring | First sign of hidden mold growth | Fatigue – feeling tired without explanation |
| White, chalky residue (efflorescence) on concrete surfaces | Skin irritation – rashes or itchy skin after basement exposure |
- The musty odor comes from microbial volatile organic compounds (MVOCs) that mold releases as it grows. Even small amounts of hidden mold can create noticeable smells.
- Children, elderly family members, and people with compromised immune systems show symptoms first and most severely.
Remove Black Mold in the Basement: Step-by-Step Guide
Removing black mold in basement areas requires careful planning and the use of proper safety equipment. Rushing the process can spread spores throughout your home and put your health at risk.
Materials and Tools Needed
Before you begin any mold removal work, gather all necessary materials and tools. Having everything ready prevents dangerous trips in and out of contaminated areas once you start the process.
| Category | Items |
|---|---|
| Safety Equipment | Disposable coveralls, HEPA-filtered respirator, Nitrile gloves, Safety goggles, Boot covers |
| Containment Materials | 6-mil polyethylene sheeting, Duct tape, Heavy plastic bags |
| Cleaning Tools | HEPA vacuum, Disposable rags, Spray bottles, Utility knife |
| Treatment Products | Hydrogen peroxide-based cleaner, Antimicrobial solution, Penetrating concrete sealant |
Once you have all materials assembled, follow these steps in order. Skipping steps or changing the sequence can compromise your safety and the effectiveness of the removal process.
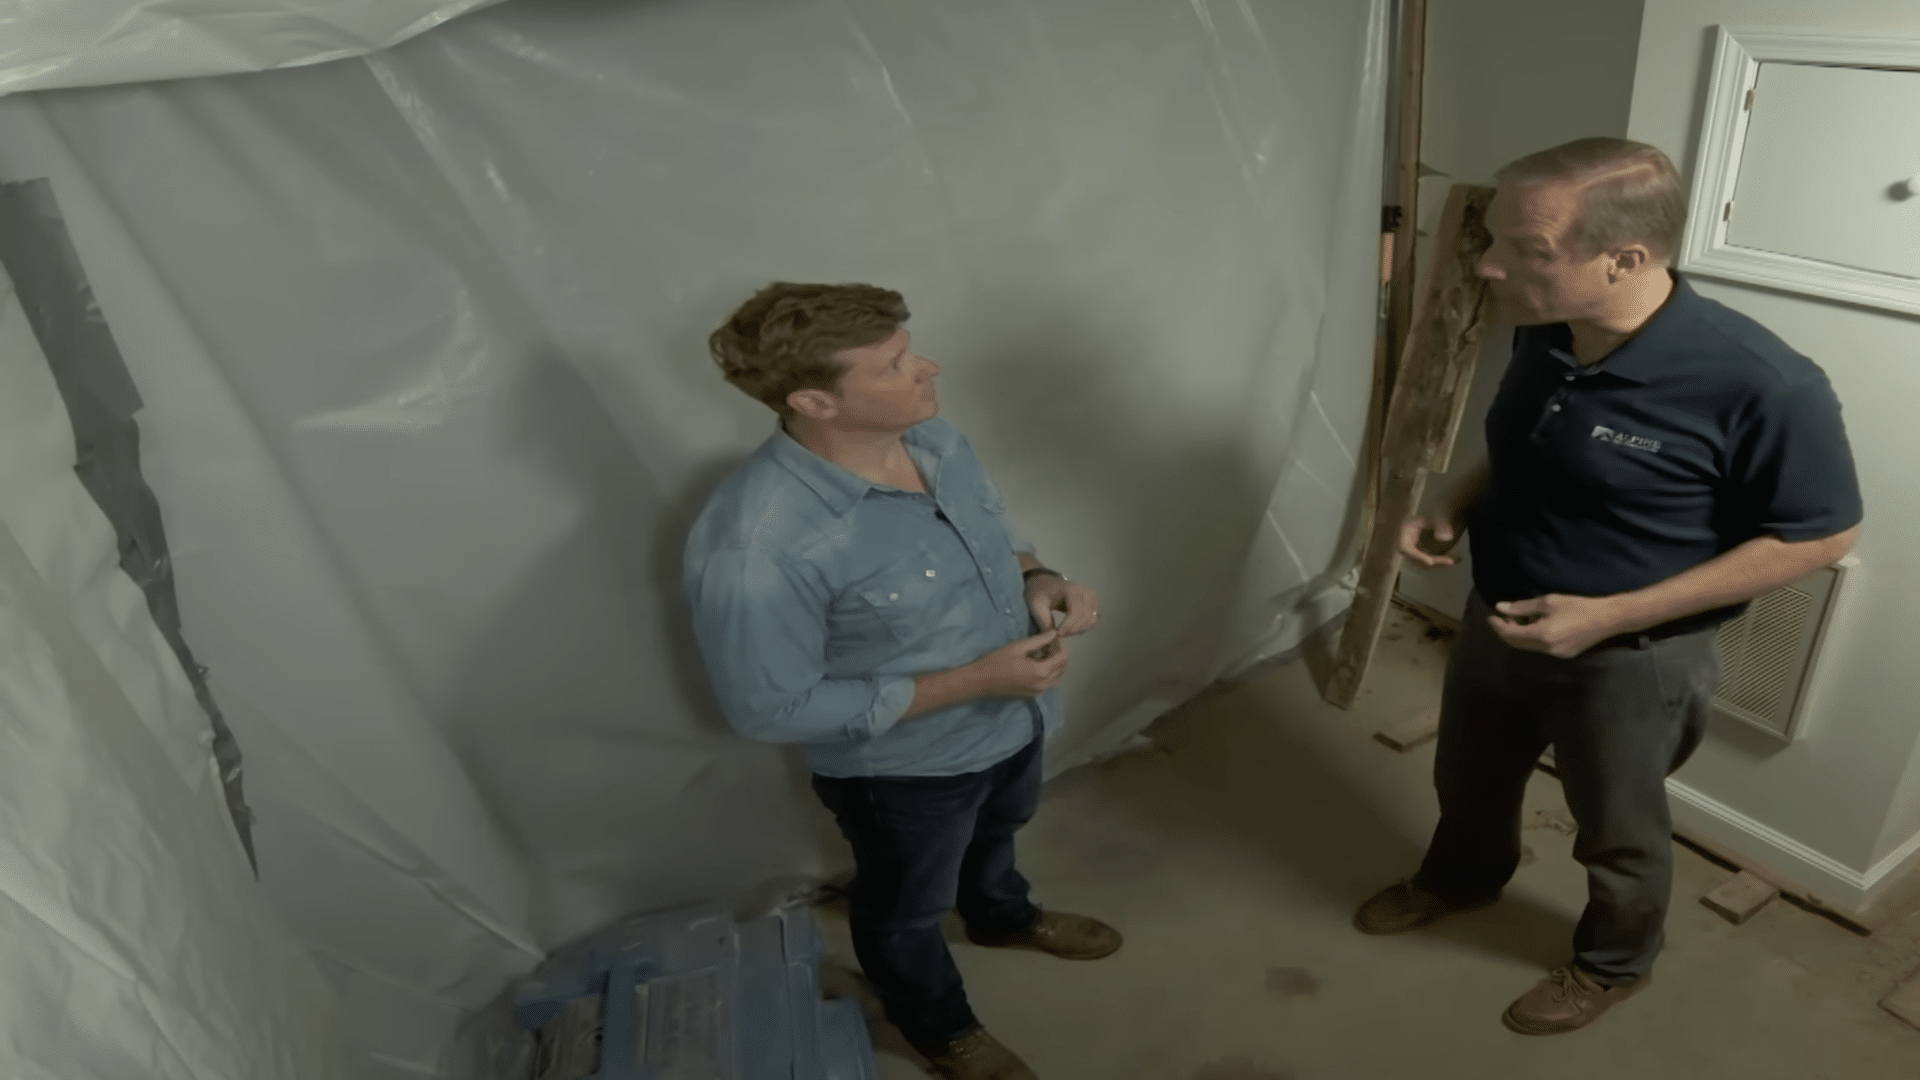
Step 1: Understanding the Problem
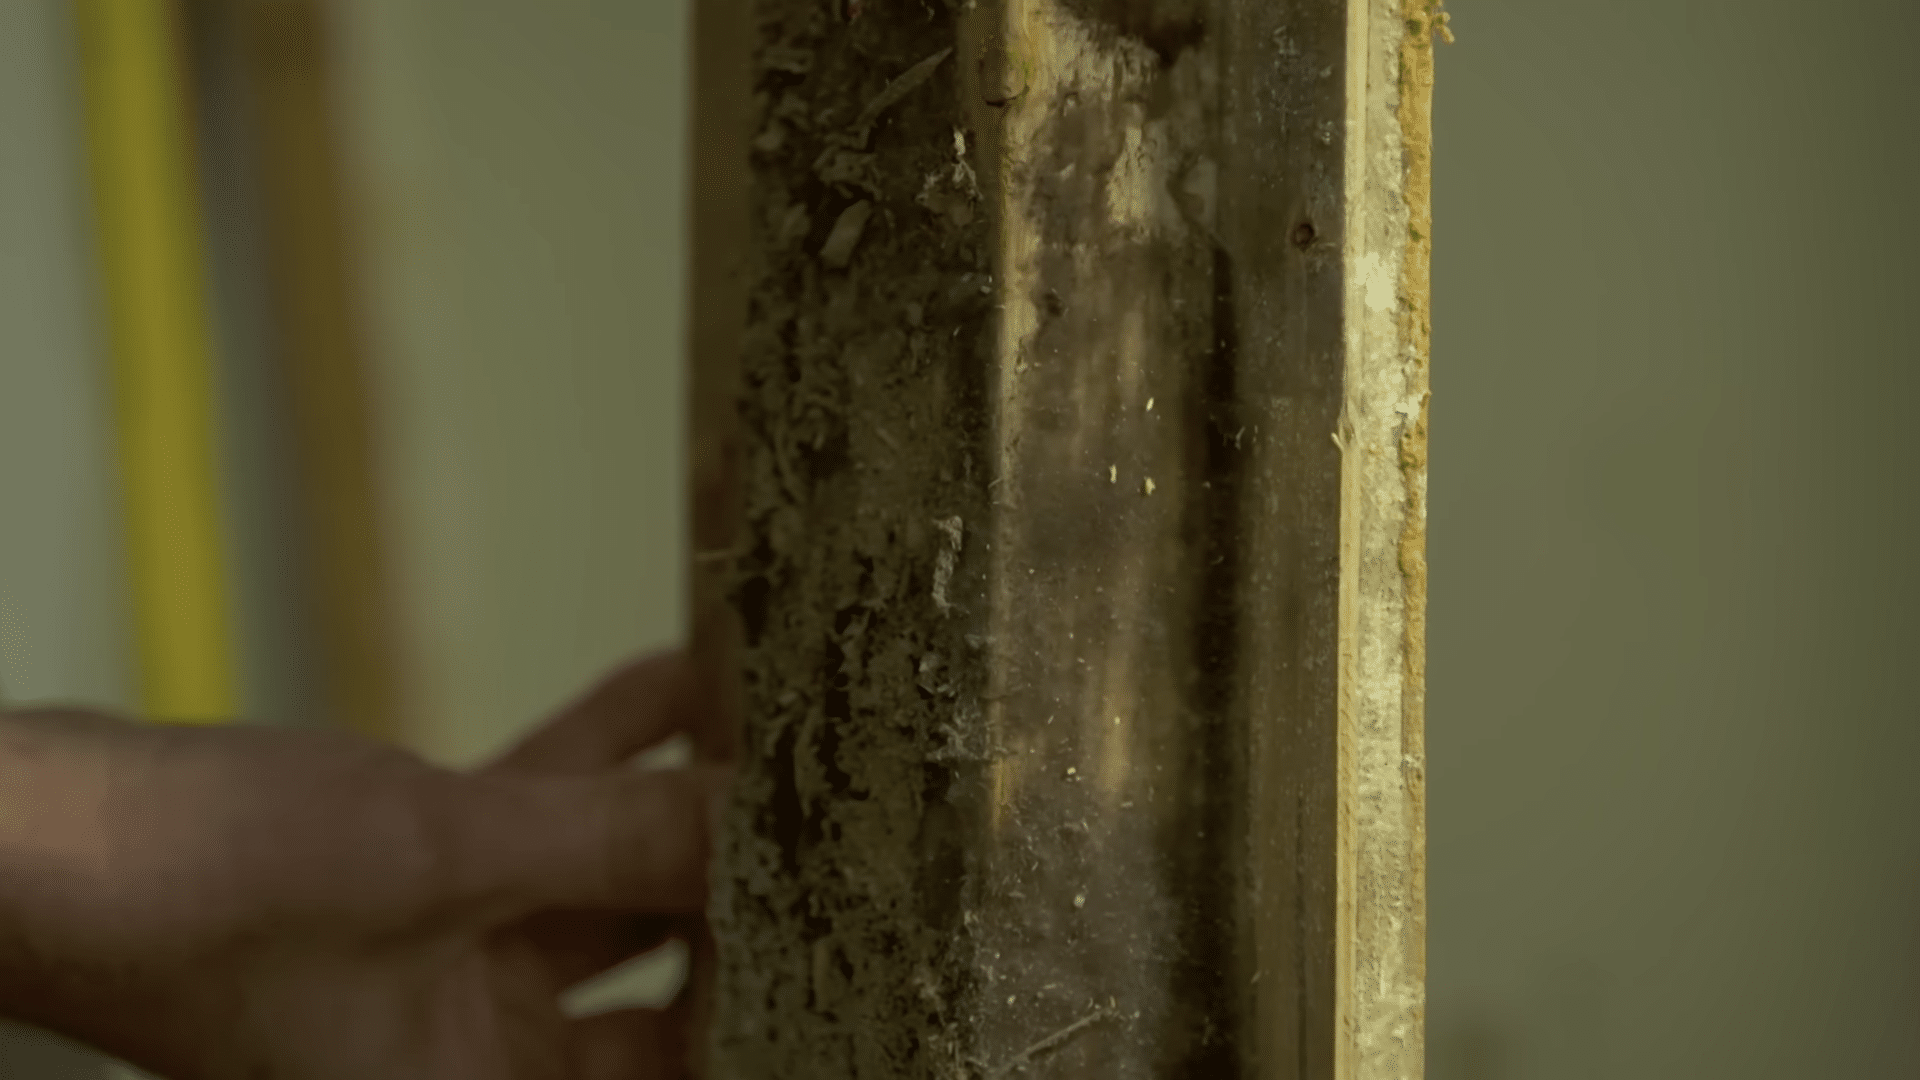
Black mold develops when moisture, organic material, and oxygen combine. Wooden sleepers placed directly on concrete without vapor barriers create ideal conditions.
Ground moisture wicks through the concrete into the wood, providing a constant level of dampness. The mold digests wood as a food source, eventually reducing structural materials to dirt.
Step 2: Gather Materials and Set Up Containment
Create a sealed work zone using plastic sheeting and duct tape to prevent mold spores from spreading throughout your home.
Cover all vents, seal doorways, and create a small entry point. Install a negative air machine to pull contaminated air through filters and exhaust it outside through a window or door.
Step 3: Safety Equipment and Preparation
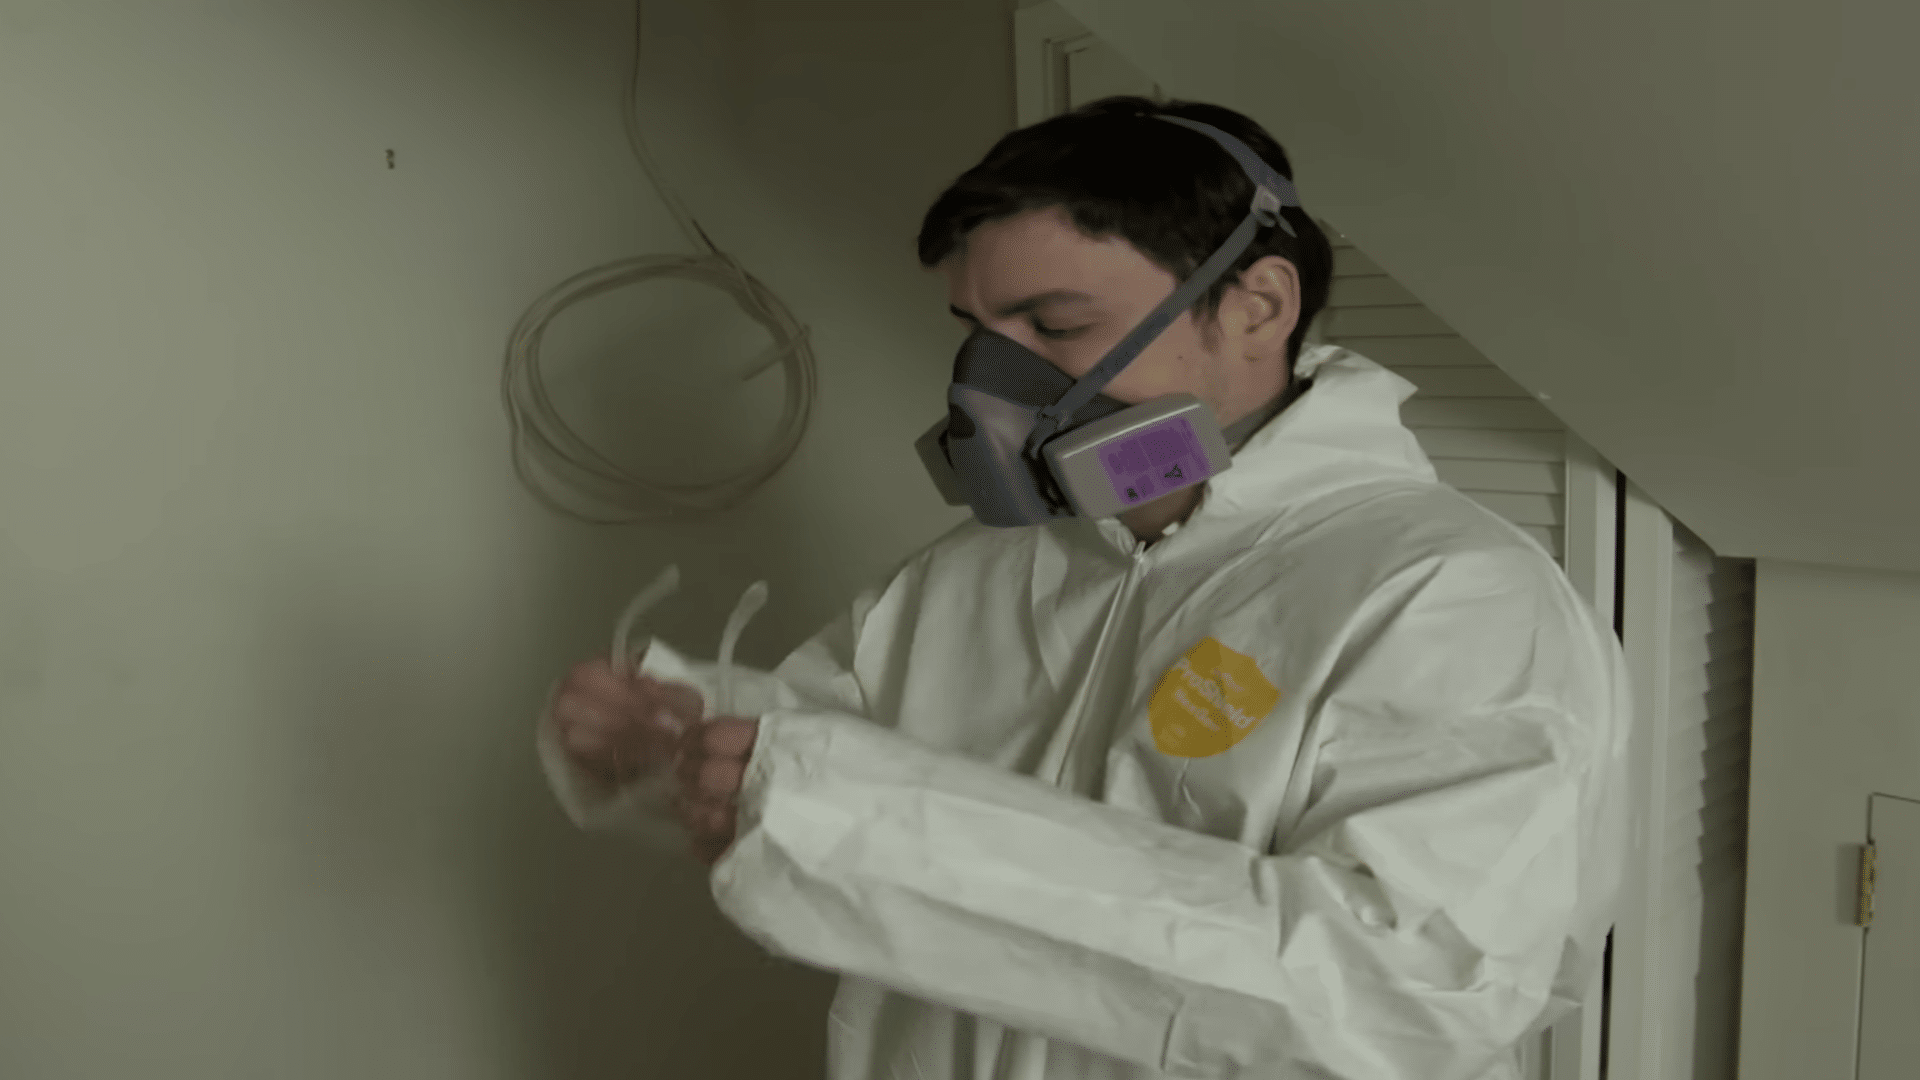
Wear full protective equipment, including disposable coveralls, filtered respirators, nitrile gloves, safety goggles, and boot covers. Never use simple dust masks for mold work.
Check respirator fit before entering the contaminated area and dispose of all equipment after leaving the work zone.
Step 4: Remove Contaminated Materials
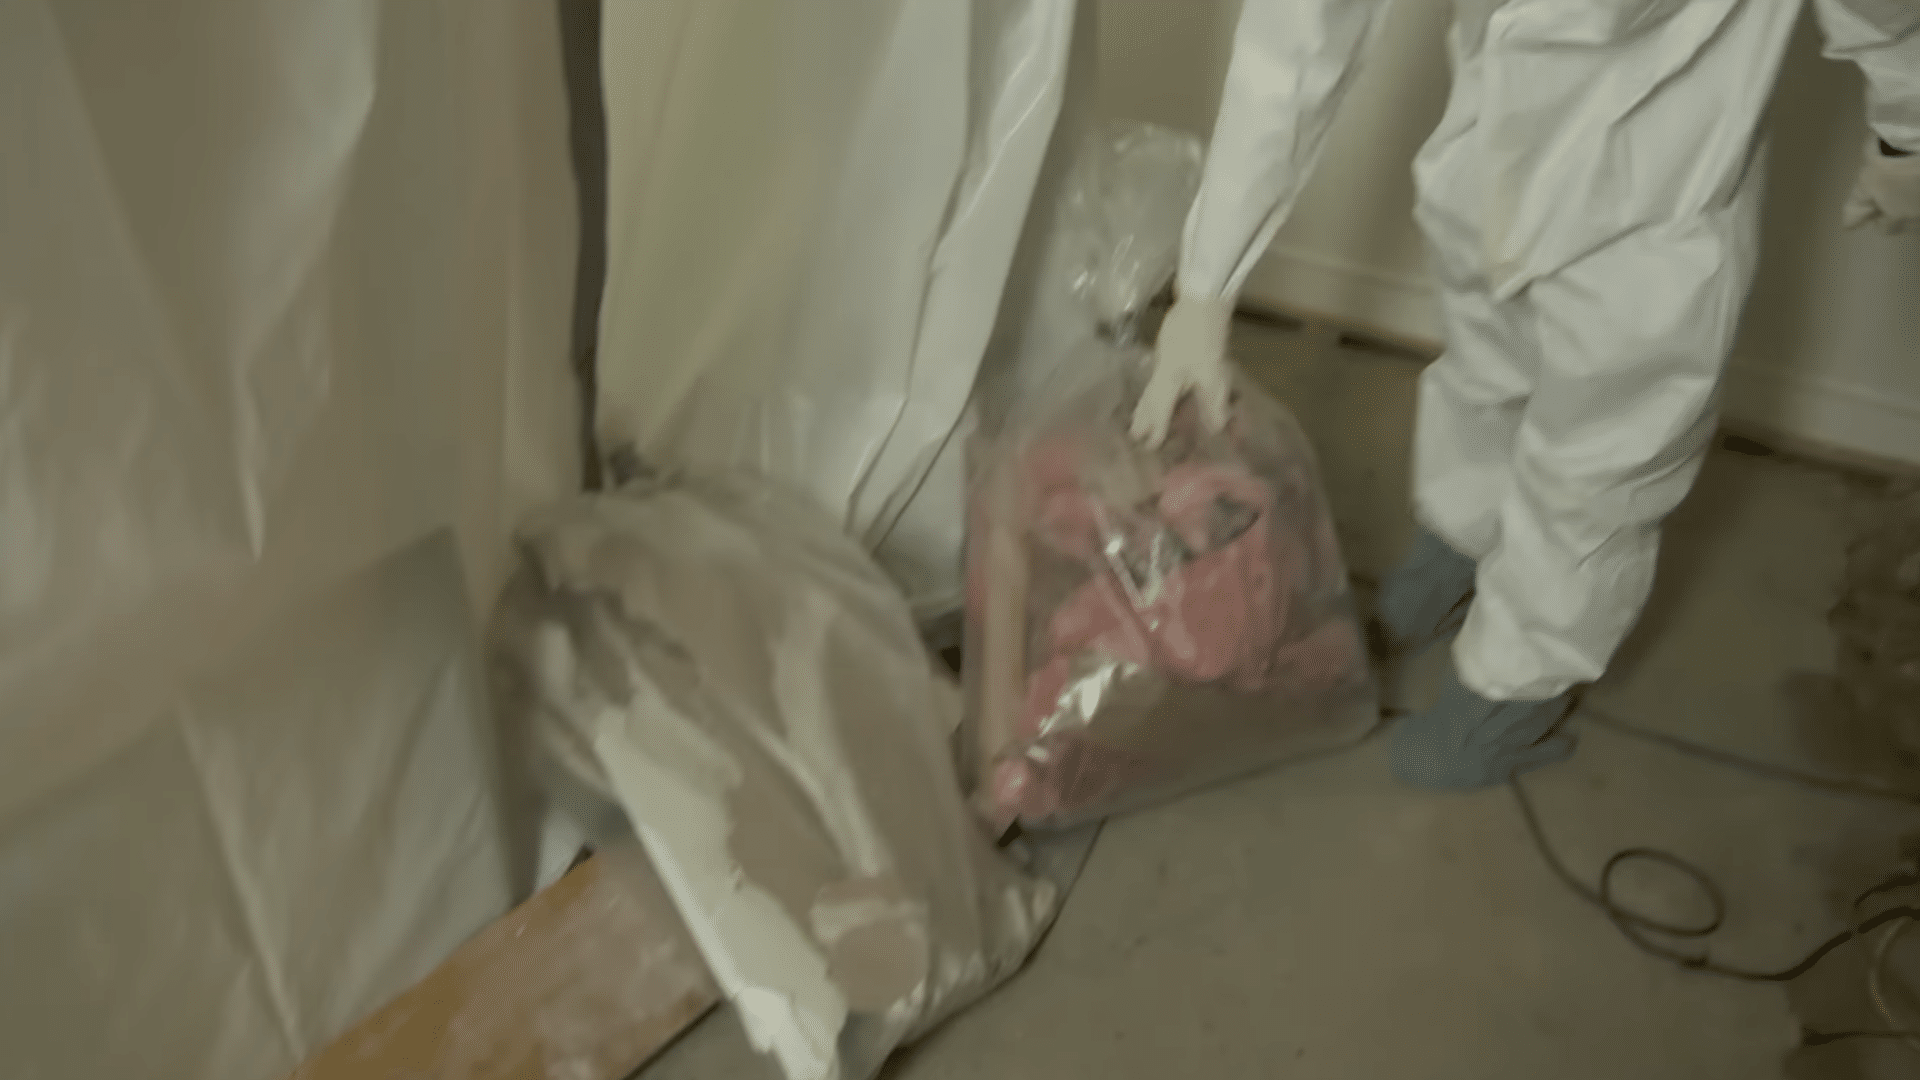
Remove all contaminated materials, including flooring, sleepers, drywall, and insulation. Cut drywall sections two feet beyond visible mold. Work from ceiling to floor, placing materials immediately into sealed plastic bags.
Never attempt to clean moldy porous materials like wood or drywall.
Step 5: Clean and Treat Surfaces
Vacuum all remaining surfaces, including framing, concrete, and plastic barriers, using overlapping passes. Follow with hydrogen peroxide cleaner to kill residual spores and remove organic matter.
Allow proper contact time before wiping surfaces clean with disposable rags.
Step 6: Address Moisture Issues
Never rebuild until moisture problems are resolved. Apply concrete sealant or install new slabs with vapor barriers. Without proper moisture control, mold returns within weeks.
Allow the area to dry completely before starting any reconstruction work.
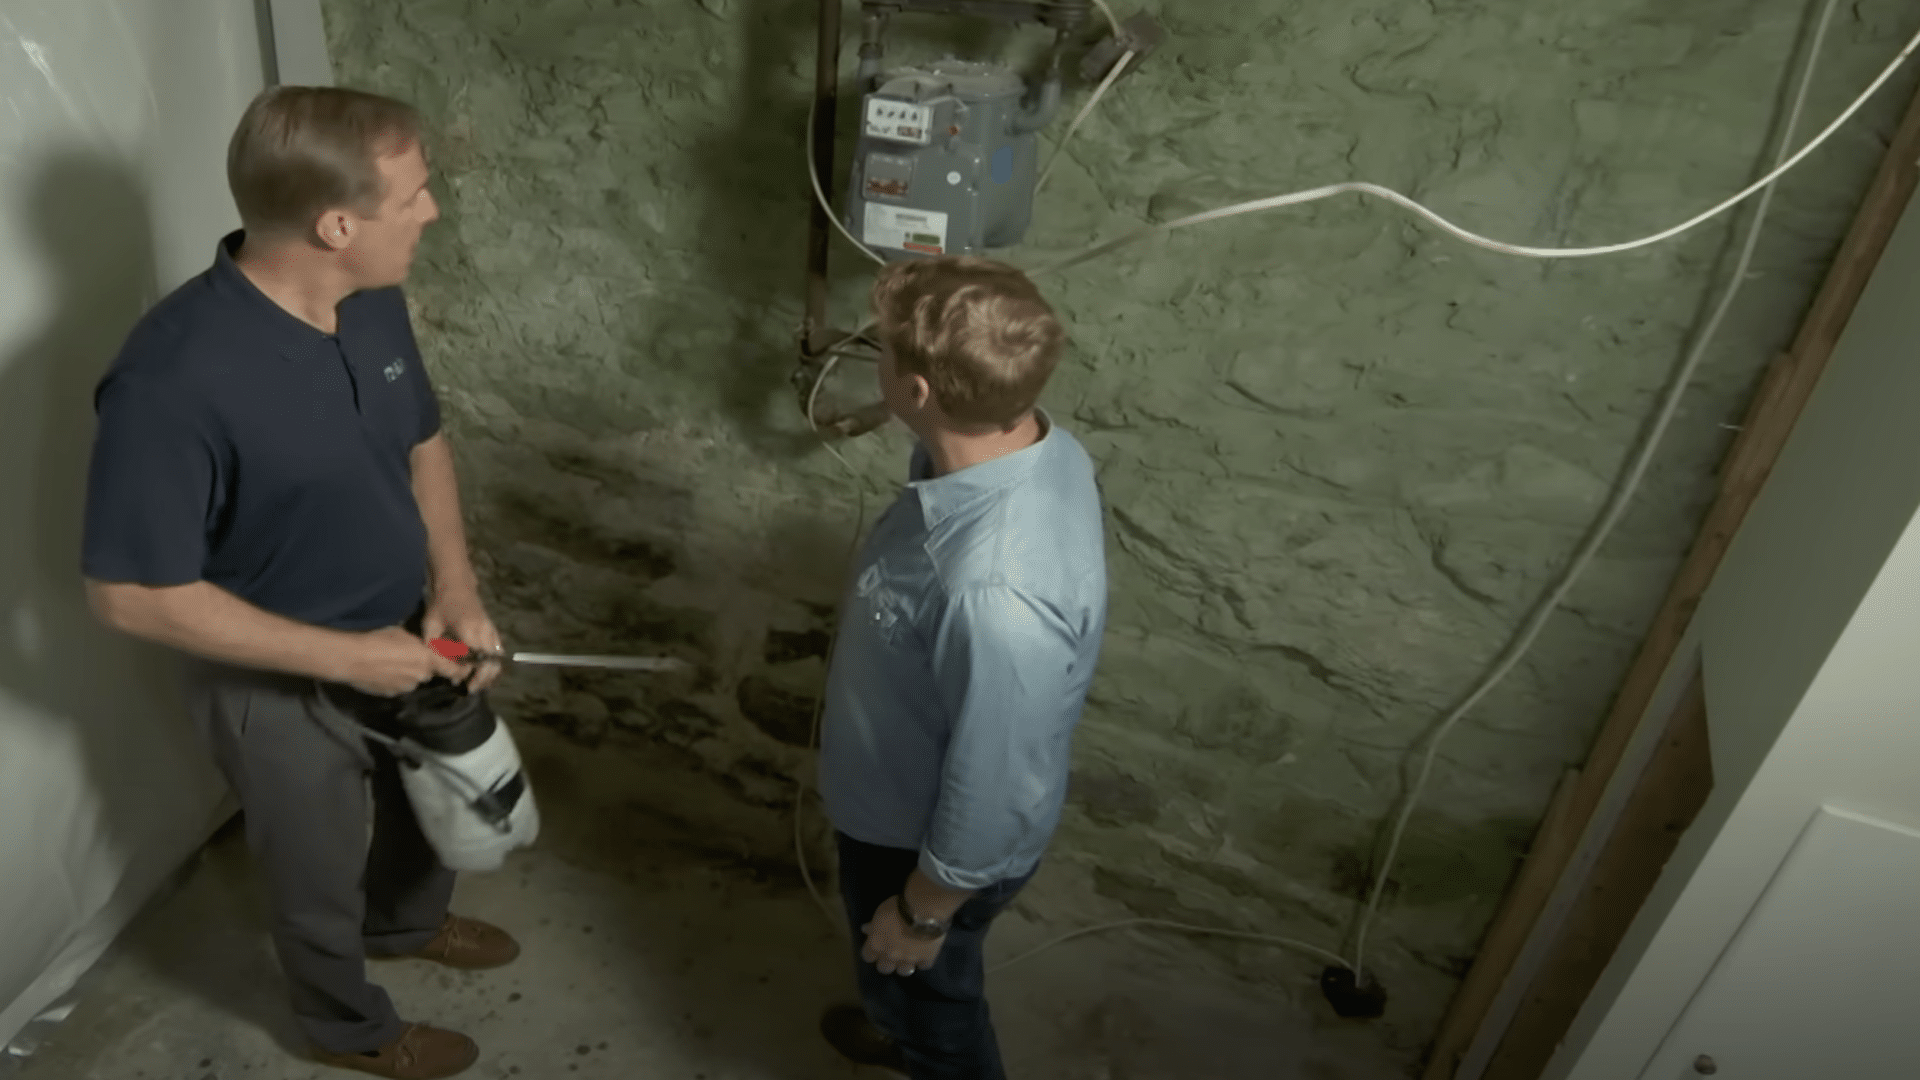
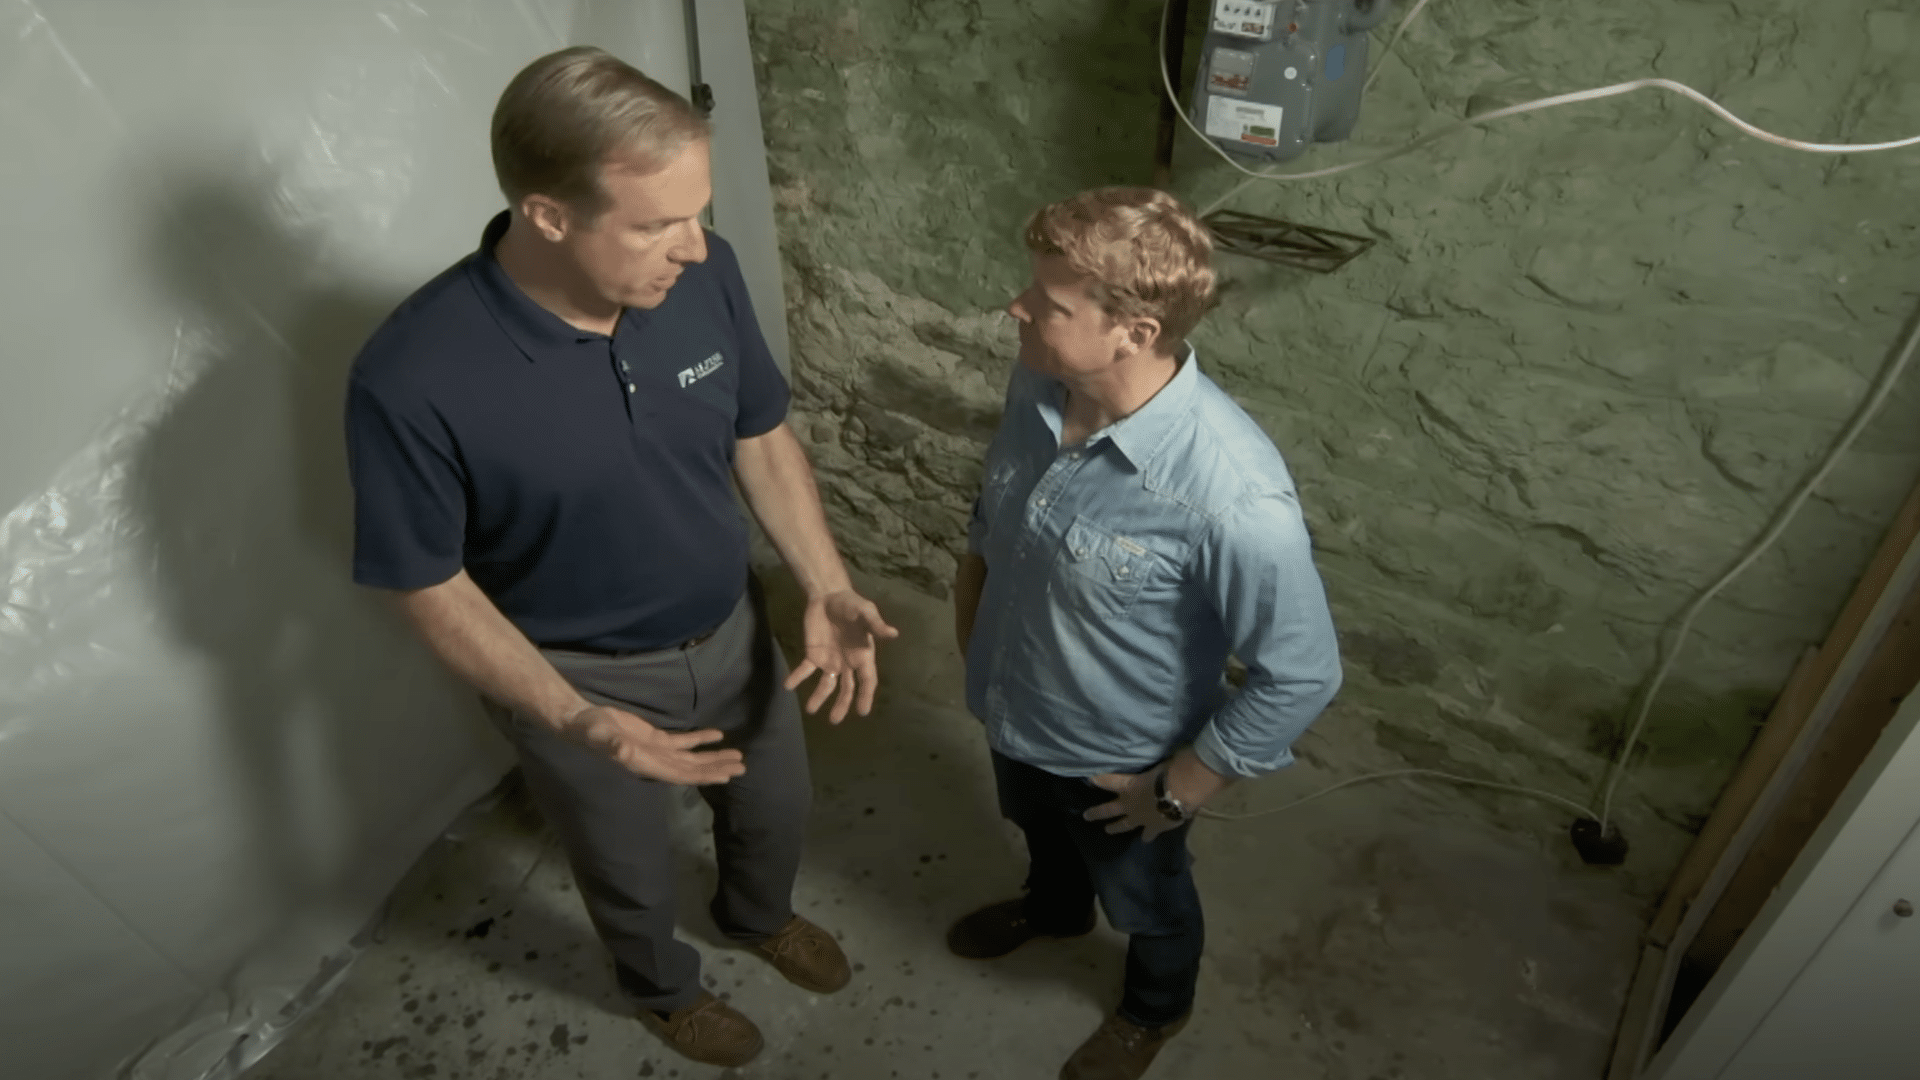
Video Tutorial
I’d like to give credit to This Old House for their informative video, as a reference for this guide.
Keep Your Basement Mold-Free: Top Prevention Tips
Taking proactive measures to control moisture and humidity levels in your basement can significantly reduce the risk of black mold growth.
1. Control Moisture with Dehumidifiers- Install a basement dehumidifier rated for your square footage. Keep humidity levels between 30-50% to prevent mold growth. Empty the water tank daily or connect a drain hose for automatic drainage.
2. Fix Water Leaks and Improve Drainage- Address leaks from pipes, windows, or foundation cracks immediately. Grade the soil away from your foundation so water flows away from the building. Clean gutters twice yearly to ensure proper drainage.
3. Improve Ventilation- Install exhaust fans or air circulation systems. Stagnant air allows moisture to accumulate, creating ideal conditions for mold growth.
4. Apply Concrete Sealant and Vapor Barriers- Seal bare concrete floors and walls to prevent moisture from wicking through porous surfaces. Install proper vapor barriers before adding wooden sleepers, framing, or finished materials.
5. Use Mold-Resistant Materials- Choose mold-resistant drywall, closed-cell foam insulation, vinyl or ceramic tile flooring, and pressure-treated lumber for basement projects.
6. Conduct Monthly Inspections- Check for water stains, pipe leaks, standing water in window wells, and monitor humidity levels with a digital hygrometer.
7. Schedule Professional Inspections- Have professionals inspect your basement every 2-3 years, especially if you’ve had previous mold problems. Early detection saves thousands in remediation costs.
Remember: Preventing black mold in basement areas requires ongoing attention to moisture control. A few preventive measures now can save you from major health risks and expensive remediation work later.
When to Hire a Professional
DIY mold removal has limits. Call professionals if mold covers more than 10 square feet, grows in HVAC systems, causes structural damage, or if family members have serious health concerns.
Look for IICRC certification and request detailed estimates that include containment procedures, removal methods, and post-remediation testing.
Professional remediation typically costs $500-$6,000 but includes proper safety procedures, specialized equipment, and guarantees that protect your family’s health and your home’s value.
Final Thoughts
Black mold in your basement won’t go away on its own. Every day you wait, the problem grows larger and more expensive to fix. The health risks to your family increase with continued exposure.
You now have the knowledge to tackle moderate mold problems safely. Follow the step-by-step removal process, use proper safety equipment, and address moisture sources completely. Remember to call professionals for large infestations over 10 square feet.
Start your mold prevention plan today. Install a dehumidifier, fix water leaks, and check your basement monthly. These simple steps protect your family’s health and save thousands in future remediation costs.
Don’t let that musty smell become a bigger problem. Take action now.