Ever wondered why some deck stairs feel solid and safe while others wobble with every step?
Building proper deck stairs isn’t just about connecting your deck to the ground; it’s about creating a safe, durable structure that lasts for years.
Many homeowners face the challenge of replacing old, deteriorating stairs. Common problems include rotted stringers, loose treads, and missing landings that make stairs unsafe and unstable.
The good thing for you is that with the right knowledge, tools, and materials, you can build stairs that meet code requirements and stand the test of time. This guide will walk you through each step of the process.
From calculating proper measurements to selecting the best materials, I’ll share proven techniques that ensure your deck stairs are both functional and long-lasting.
Why Are Deck Stairs So Important?
Deck stairs serve as the primary connection between your outdoor living space and the ground level. They provide safe access while supporting significant weight loads from daily use.
Poorly built stairs create serious safety hazards. Loose treads can cause falls, while inadequate support can lead to structural failure. Code violations also create liability issues for homeowners.
Key functions of well-built deck stairs include:
- Safety compliance – Meeting building codes prevents accidents and legal issues.
- Structural integrity – Proper support handles weight loads without sagging or bouncing.
- Weather resistance – Quality materials and construction withstand outdoor elements.
- Property value – Professional-looking stairs enhance your home’s curb appeal.
- Longevity – Correct installation techniques ensure decades of reliable use.
What Makes Deck Stair Construction Challenging?
Building deck stairs presents unique difficulties that separate this project from basic carpentry tasks. Unlike simple indoor construction, outdoor stairs must withstand weather extremes while meeting strict safety standards.
1. Precise Measurements Required
Building codes demand exact rise and run calculations with zero margin for error. Each step must be identical in height and depth to prevent tripping hazards. Even small measurement mistakes can create code violations that require complete reconstruction.
2. Complex Structural Requirements
Stringers need specific spacing, support, and attachment methods to handle weight loads safely. Proper connections to the deck frame require specialized hardware and techniques. Understanding load distribution prevents bouncing and structural failure over time.
3. Weather Resistance Demands
Constant exposure to rain, snow, and temperature changes requires special materials and techniques. Moisture protection becomes critical at connection points where water can collect. Material selection must account for expansion and contraction cycles.
4. Code Compliance Complexity
Multiple regulations govern dimensions, openings, handrails, and structural connections. Local building codes may have additional requirements beyond national standards. Inspections ensure safety but add complexity to the construction process.
Tools and Materials You’ll Need
Proper tools and quality materials are crucial for building stairs that meet code requirements and last for years. This list covers a standard 36-inch wide staircase with 4-6 steps.
| Tools | Materials |
|---|---|
| Tape measure | 3 stringers (2×12 treated wood) |
| Square | Treads (2×10 boards) |
| Circular saw | Risers (1×8 boards) |
| Drill with bits | Stringer hangers |
| Hammer | Stainless steel screws |
| Level | Joist tape |
| Safety glasses | Concrete blocks |
| Work gloves | Post sleeves |
| Wood stain or sealer |
Pro Tip: Choose straight boards without large knots or splits. Southern yellow pine offers excellent strength for stringers, while western red cedar provides natural rot resistance for treads.
Step-By-Step Guide: Building Deck Stairs
Follow these steps to build safe, code-compliant deck stairs that will last for years. Each step builds on the previous one, so complete them in order for the best results.
Step 1: Assess and Remove Old Stairs (if Replacing)
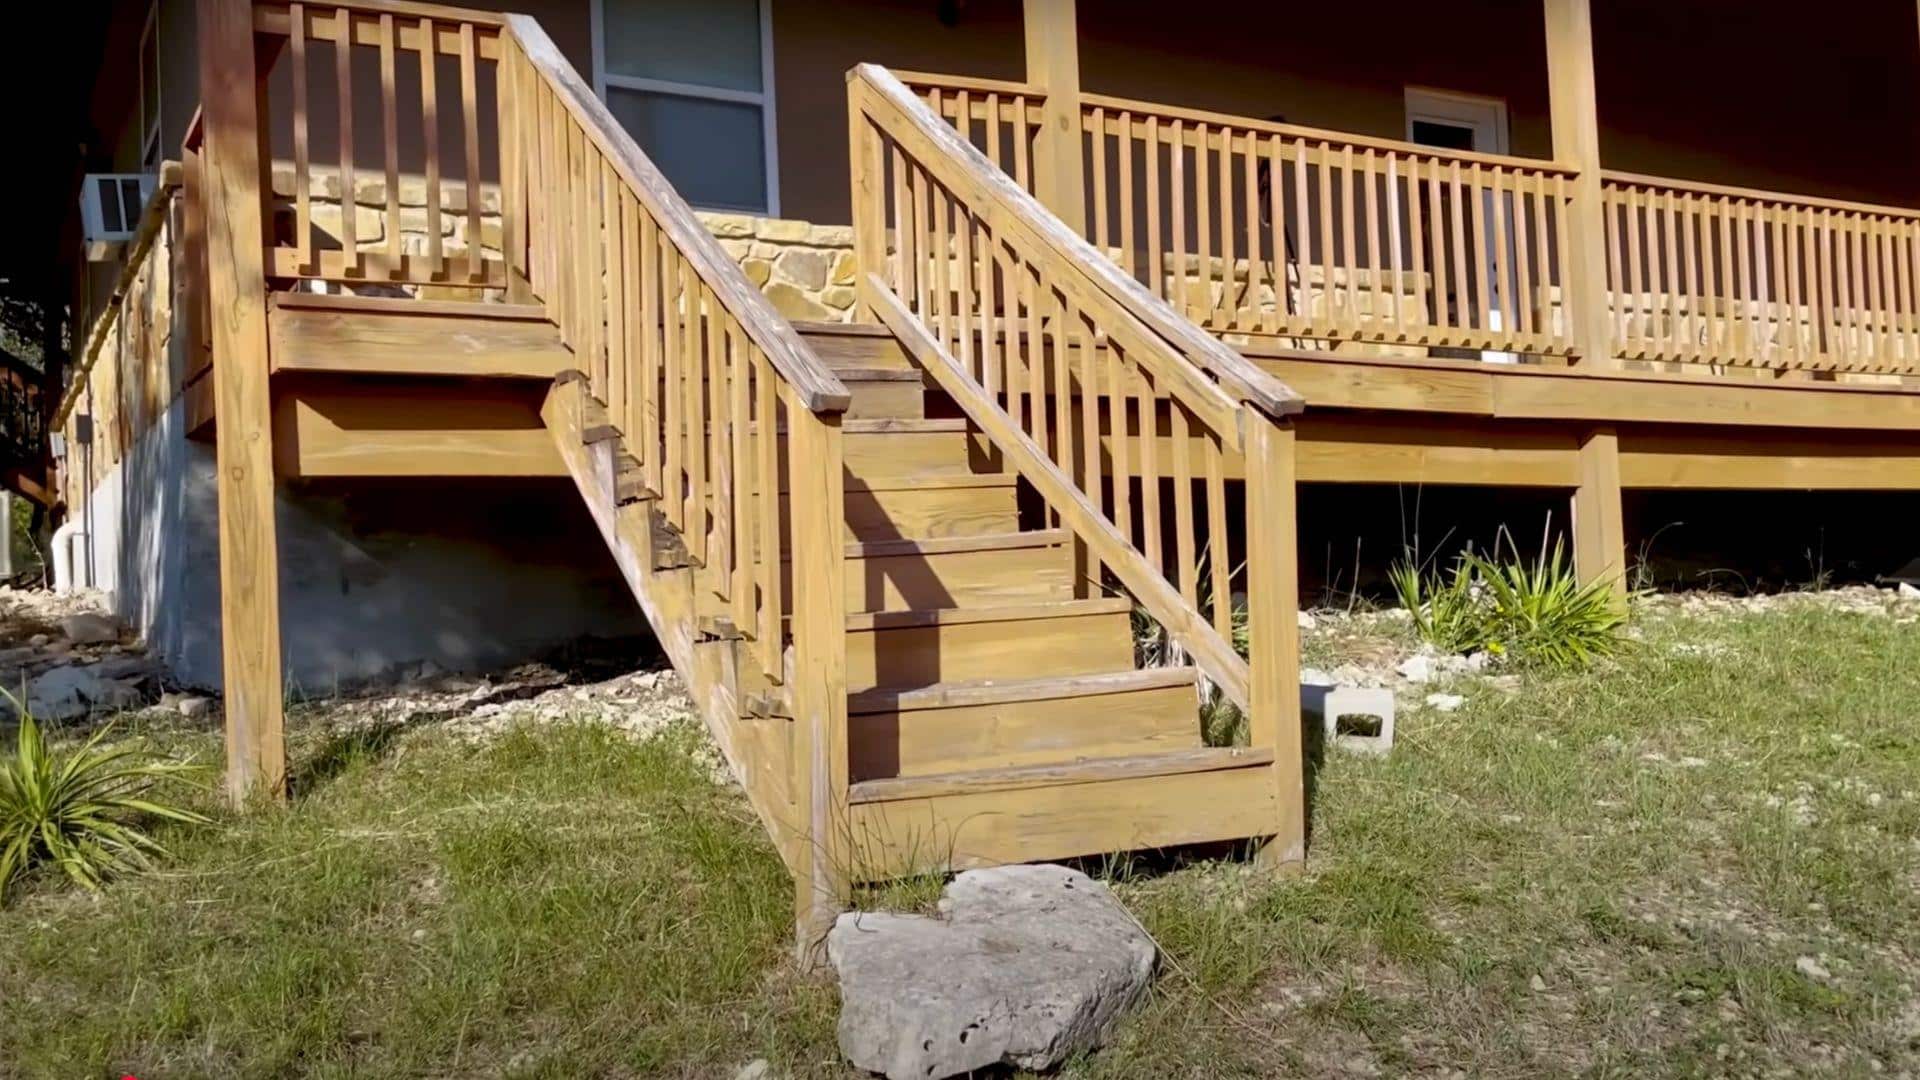
If you’re replacing existing stairs, start by checking what’s wrong with the current structure. Look for rotted wood, loose boards, wobbly stringers, or missing landing areas.
Remove old stairs carefully by taking off treads first, then risers, and finally disconnecting stringers from the deck. This helps you see what mistakes to avoid and plan your new construction better.
Step 2: Prepare the Landing Area
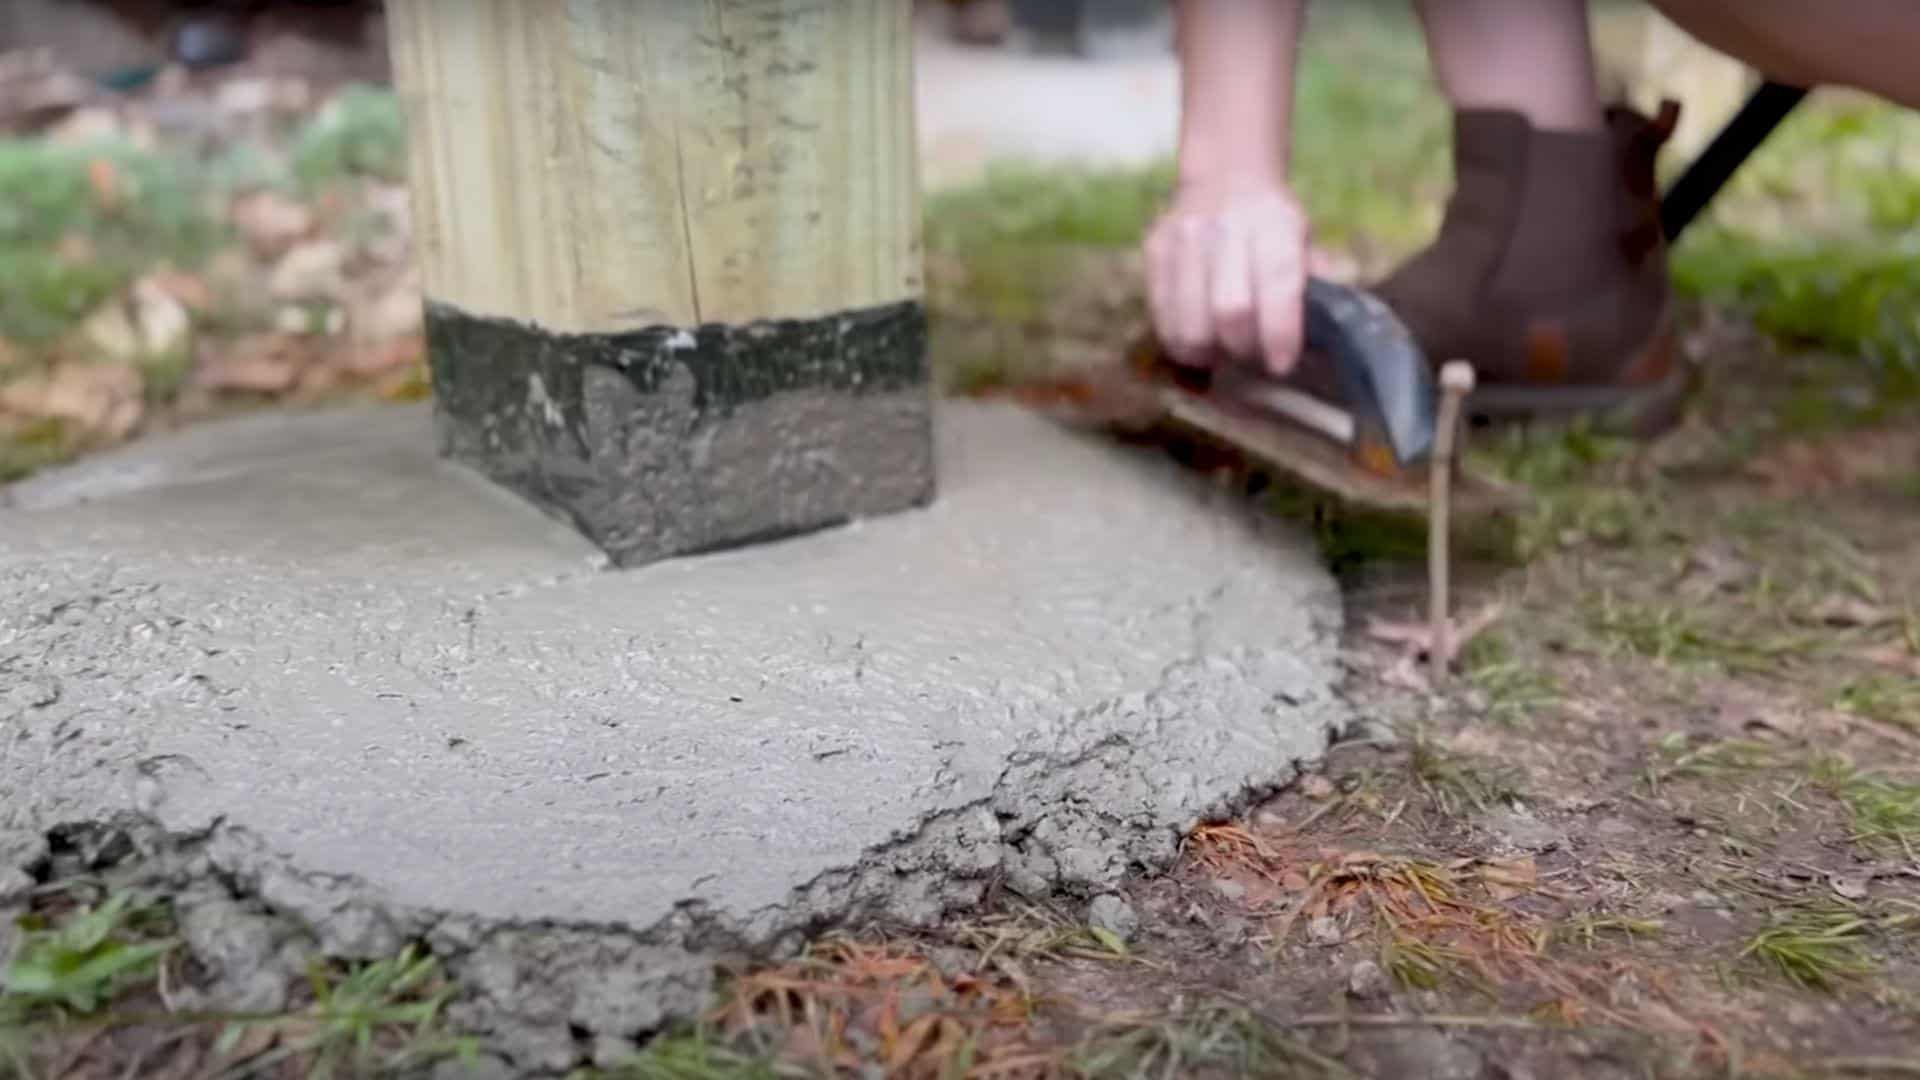
Create a solid, level foundation for your stairs. The landing must extend at least 3 feet beyond the bottom step to meet code requirements.
For concrete footings, slope the surface away from posts to prevent water pooling. This simple step prevents the rot issues that plague many deck stairs.
Ensure all wooden components are protected against moisture to prevent rot.
Step 3: Calculate Rise and Run
Measure the total height from your deck surface to the finished ground level. This measurement determines how many steps you’ll need.
Divide the total height by your desired riser height (maximum 7¾ inches) to find the number of steps needed. Adjust measurements to ensure each riser is of equal height.
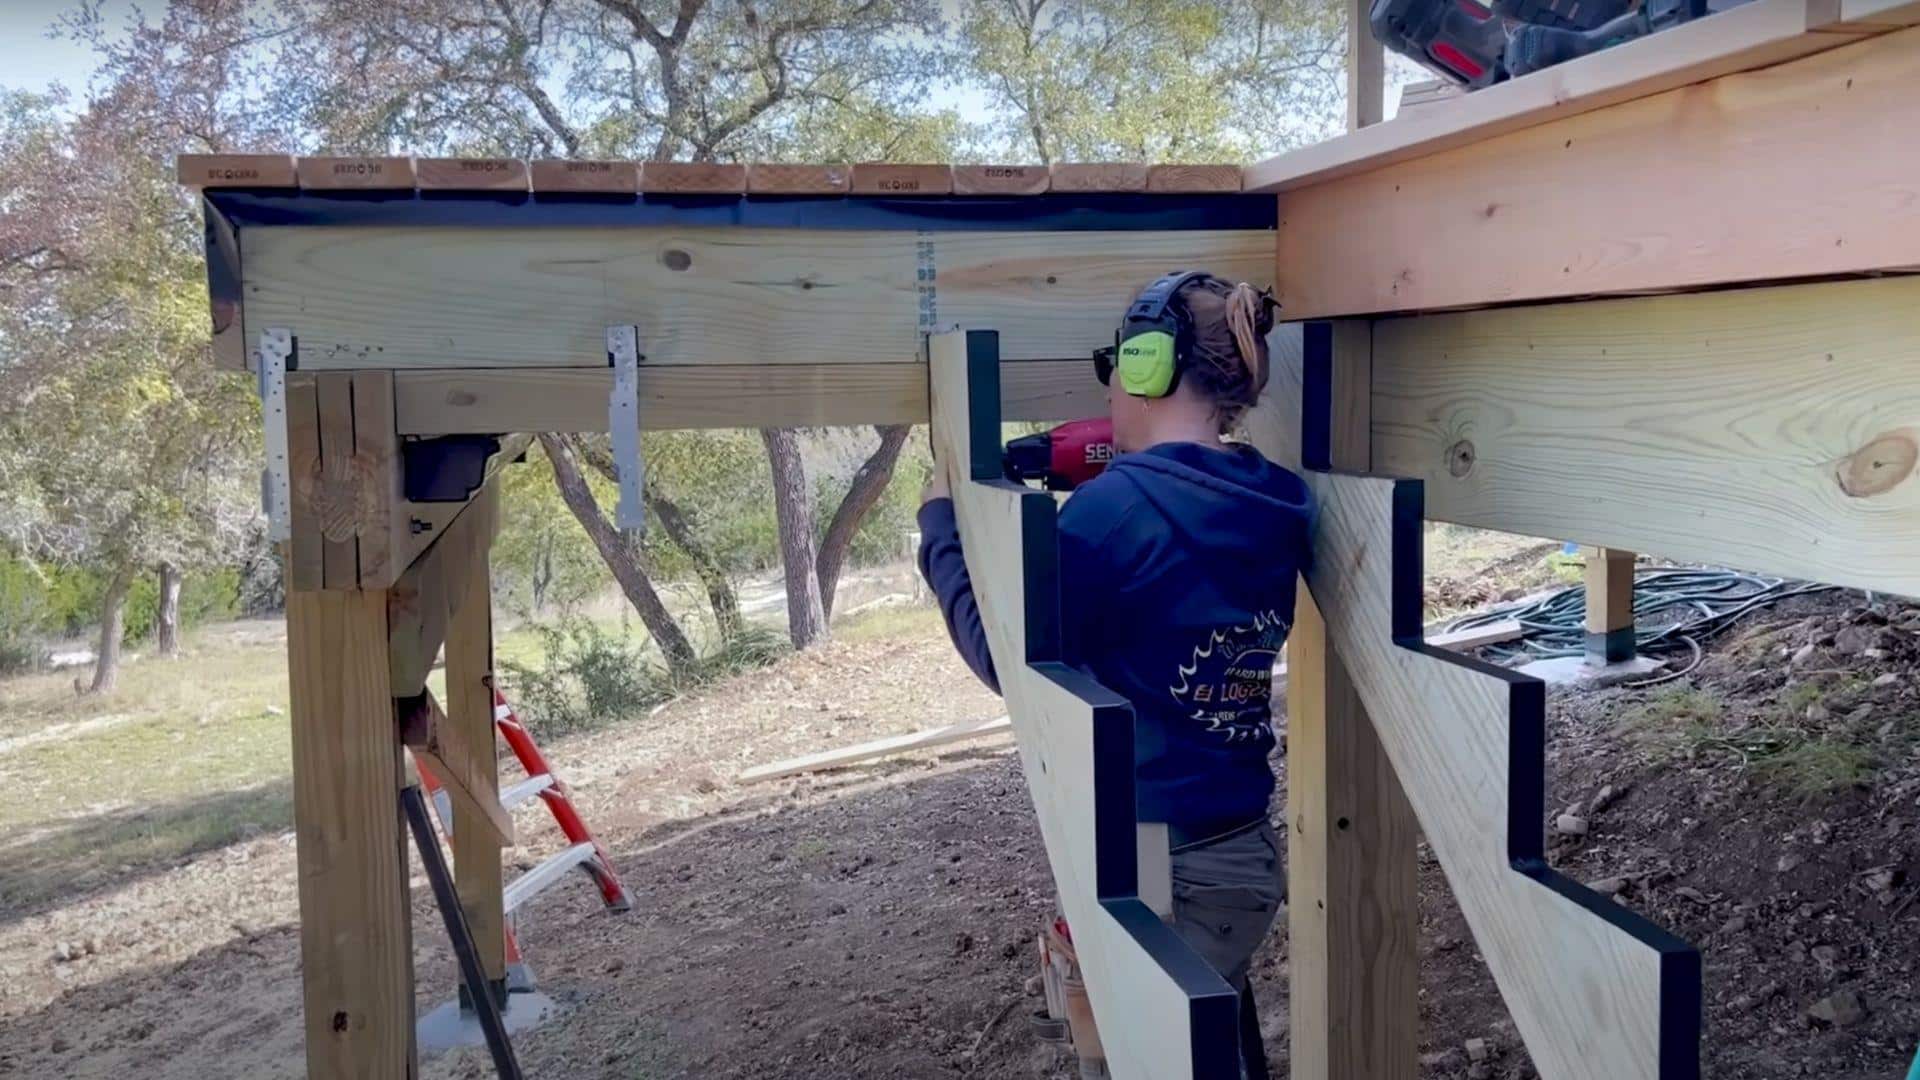
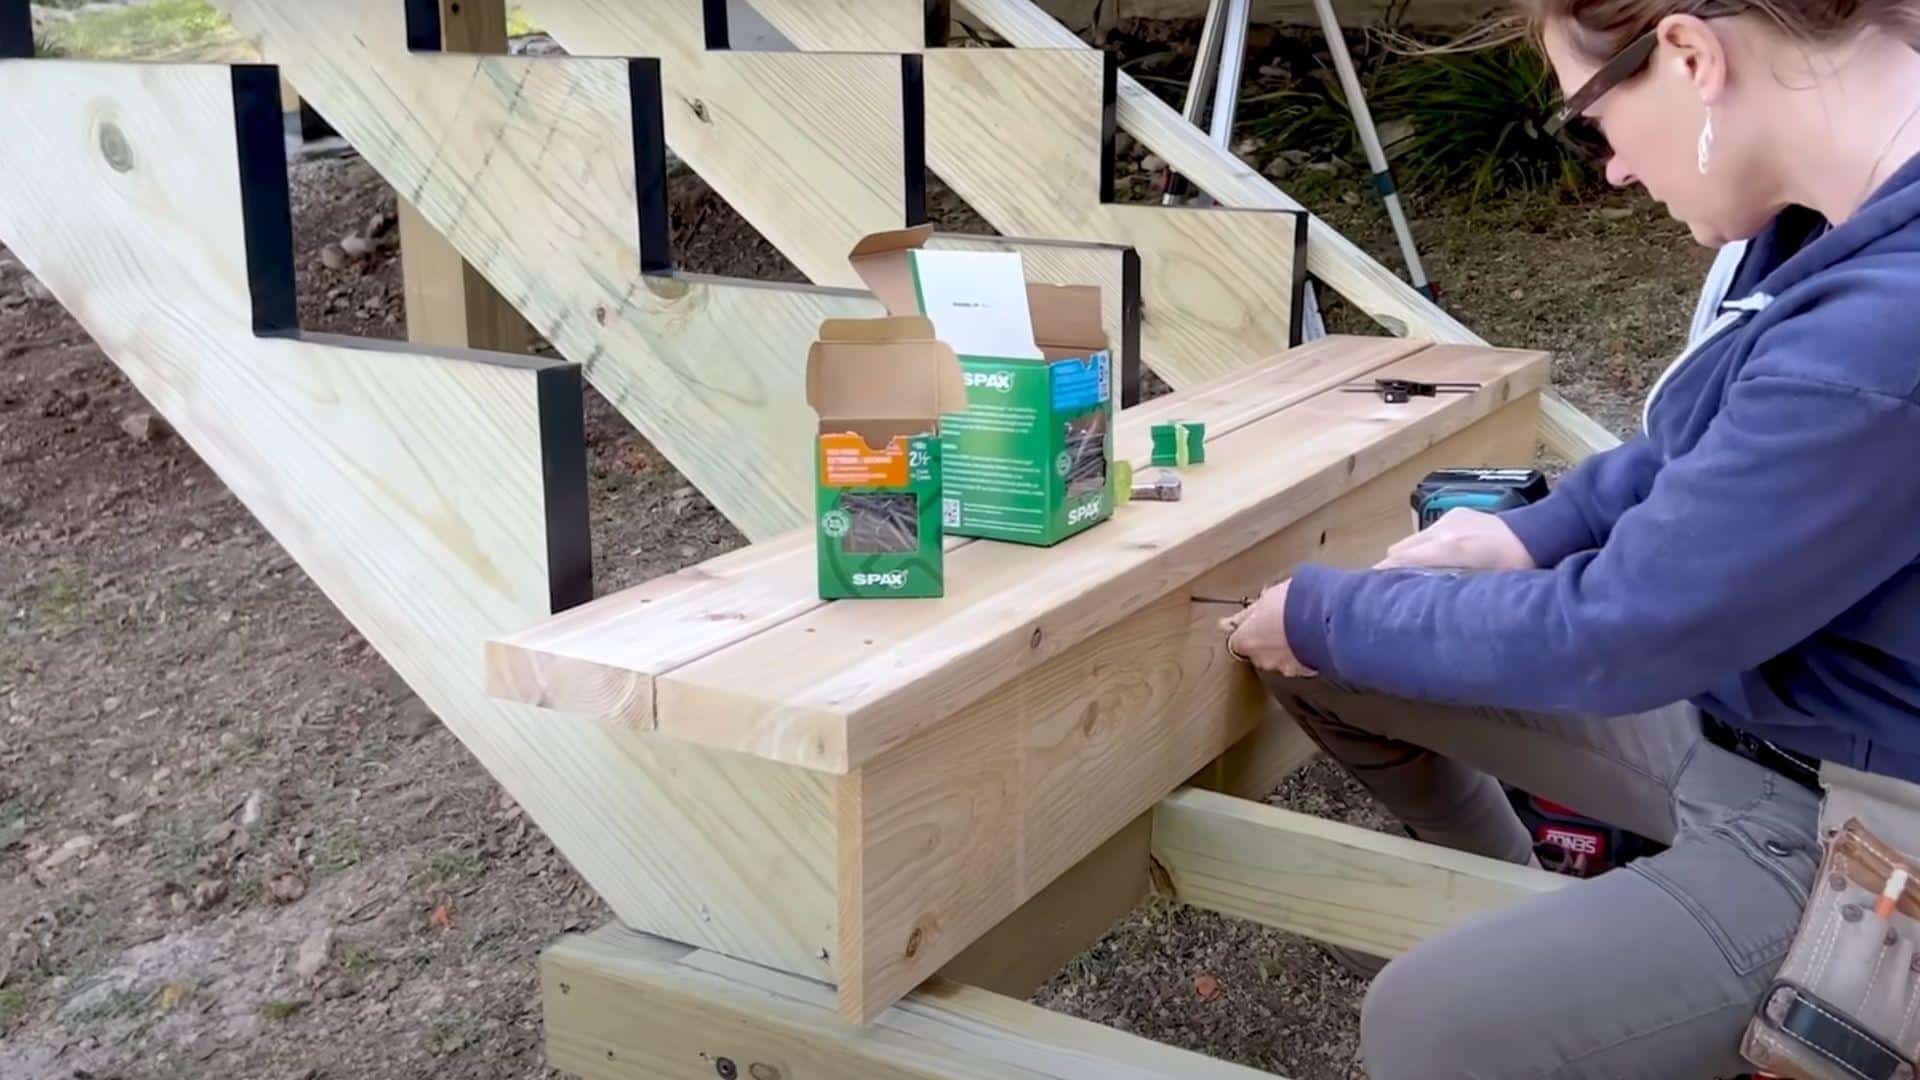
Step 4: Cut and Install Stringers
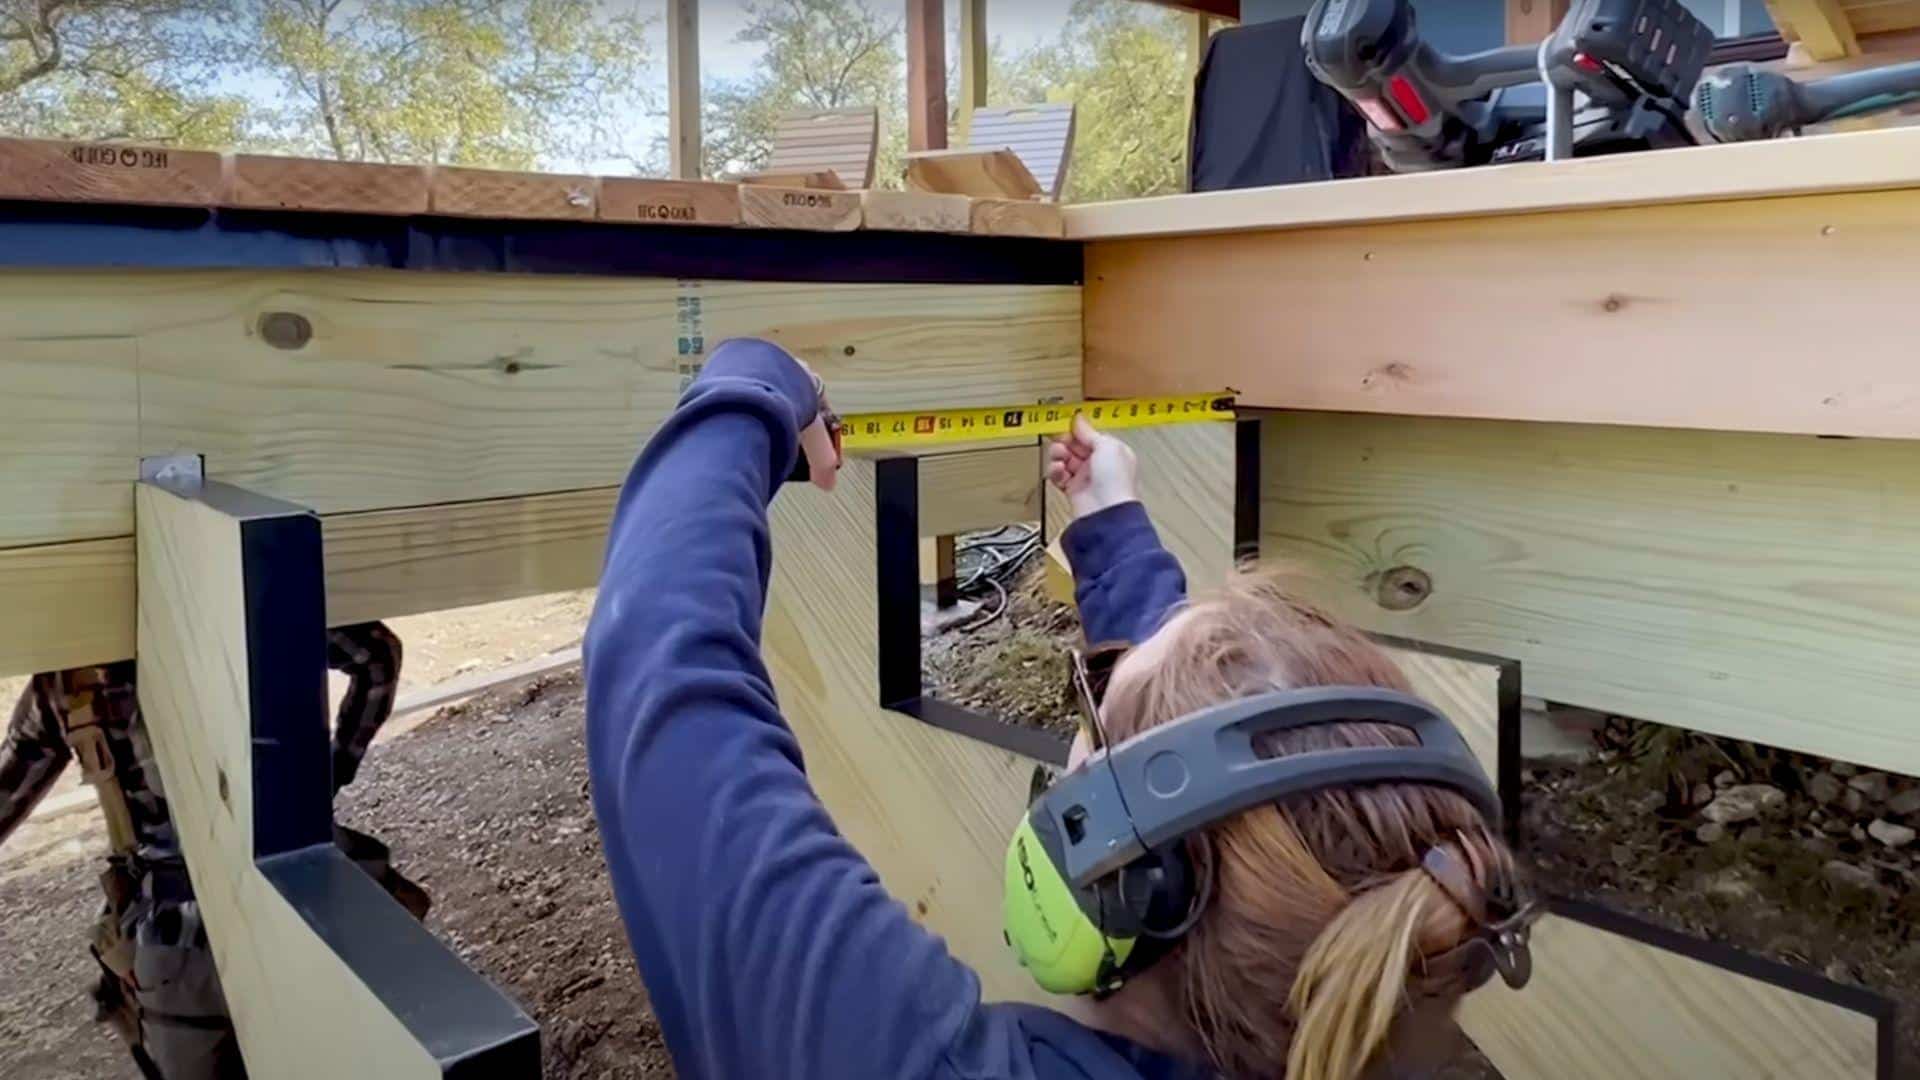
Mark and cut stringers using a framing square for accuracy. Maintain at least 5 inches of uncut material at the narrowest point to ensure structural integrity.
Space stringers no more than 18 inches apart. For wider stairs, add extra stringers to prevent bouncing. A 36-inch-wide staircase needs three stringers minimum.
Material tip: Pre-cut stringers save time and reduce waste if you’re not confident in your cutting skills. They’re available in sizes from 2 to 8 steps.
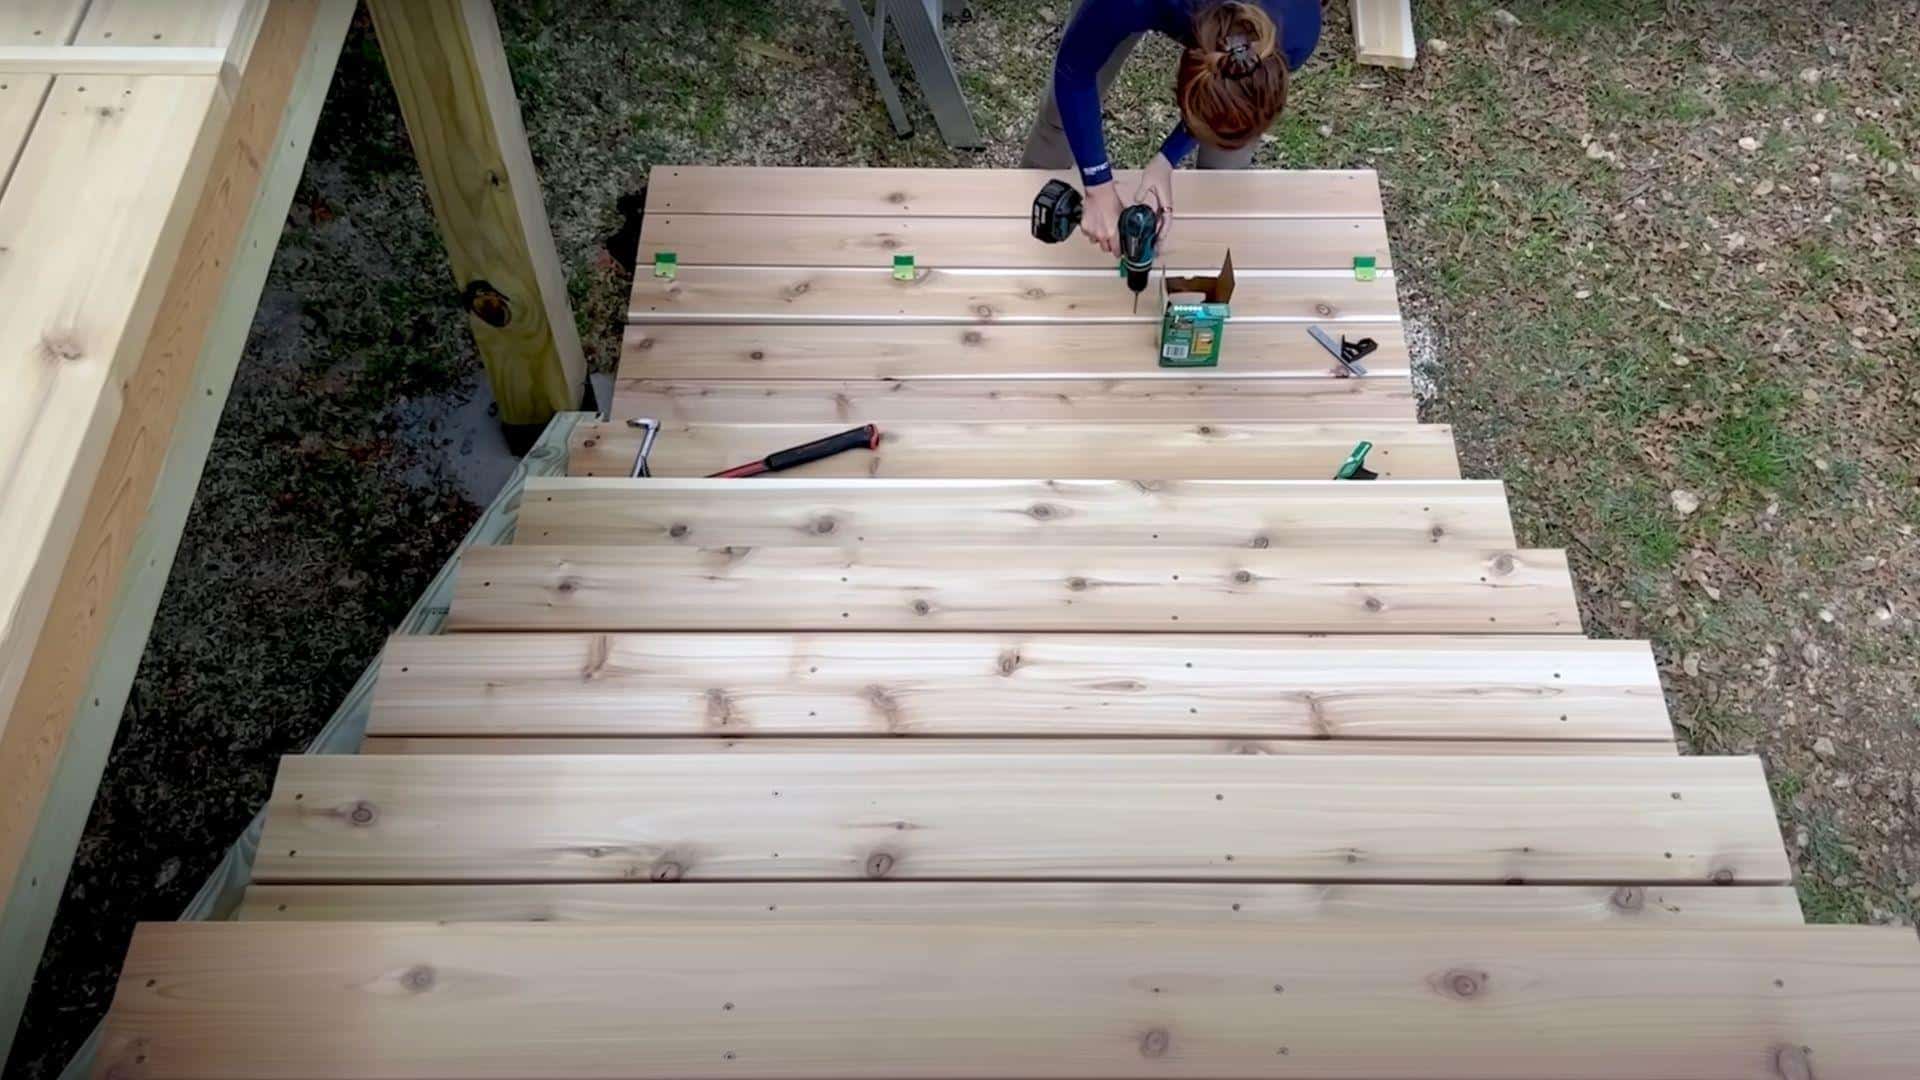
Step 5: Install Treads and Risers
Attach risers first to close vertical gaps between treads. Code requires that openings cannot exceed 4 inches to prevent entrapment hazards.
Install treads with a proper nosing overhang of ¾ to 1¼ inches. This prevents toe-stubbing while climbing stairs and creates a professional appearance.
Important note: Avoid using regular nails – wood movement will eventually push them out, causing loose treads and safety hazards.
Step 6: Final Touches
Check that all overhangs are consistent using a combination square. Test each step for stability and tighten any loose connections.
Clean up the work area and apply wood stain or sealer if desired. Install any required railings and check that everything meets local building codes.
Video Tutorial
Check out the video that inspired this guide for more insights! Watch a step-by-step demonstration of how to build steps on a deck, including real examples of common mistakes and professional solutions.
By – April Wilkerson
Maintenance Tips for The Longevity of Deck Stairs
Proper maintenance extends the life of your deck stairs and prevents costly repairs. Regular attention to key areas keeps stairs safe and functional for decades.
1. Regular Inspections
Check stairs seasonally for signs of wear, rot, or loose components. Look for popped fasteners, cracked boards, or water damage around connection points. Tighten or replace compromised fasteners immediately, as small problems become major safety hazards when ignored.
2. Cleaning and Sealing
Clean stairs periodically to remove debris and prevent mold growth. Use appropriate cleaners for your decking material, avoiding harsh chemicals that might damage the finish. Apply protective sealant or stain every 2-3 years to guard against moisture and UV damage.
3. Preventative Measures
Install anti-slip treads or grip tape for improved safety, especially in wet conditions. Ensure proper drainage around the staircase to prevent water accumulation that leads to rot. Protect posts from string trimmer damage using post guards to maintain appearance and avoid costly repairs.
Common Mistakes to Avoid
Learning from common errors saves time, money, and ensures code compliance. Here are the most frequent mistakes in deck stair construction.
- Inadequate foundation – Skipping proper footings leads to settling and instability.
- Incorrect measurements – Violating the rise/run ratios creates code violations and safety hazards.
- Poor fastening – Using regular nails instead of screws causes loose treads.
- Missing risers – Open risers create entrapment hazards and code violations.
- Inadequate support – Too few stringers cause bouncing and structural failure.
- Water damage – Failing to slope concrete allows water pooling and rot.
- Wrong materials – Using non-treated lumber in ground contact accelerates decay.
Conclusion
Building deck stairs requires attention to detail, proper materials, and adherence to building codes. The techniques covered in this guide help create stairs that remain safe and functional for decades.
Quality construction starts with proper planning and measurement. Taking time to calculate rise and run correctly prevents costly mistakes and ensures code compliance.
Material selection makes a significant difference in longevity. Choosing treated lumber, corrosion-resistant fasteners, and proper protective measures protects your investment and enhances property value.
What’s your experience with deck stair projects? Share your thoughts or questions in the comments below – I’d love to hear about your successes or challenges with this type of construction work.
Frequently Asked Questions
How Deep Should Steps Be on A Deck?
Deck stair treads must be at least 10 inches deep with a rise between 4-7.75 inches for safety and code compliance.
How to Calculate Steps for A Deck?
Measure total deck height and divide by 7 inches per step. Adjust numbers to keep rise within 5.75-7.875 inch limits.
Should Deck Stairs Be Sloped?
Yes, outdoor stair treads need a slight slope to shed rainwater, preventing slippery surfaces and water damage over time.