Painting stair treads might seem intimidating, especially with daily foot traffic, kids running up and down, and pets scratching the surface. The fear of making a mistake and having to redo the entire job is real.
But don’t worry—painting your stairs like a pro is entirely possible with the right steps. No advanced skills are are required, just good planning and a weekend of work.
This guide covers all the essentials, from choosing the right paint and tools to tackling common issues. You’ll learn how to prep, prime, and paint your stairs for long-lasting results.
By the end, your stairs will look fresh, clean, and durable, ready to handle daily use—even with big dogs who seem to scratch everything in sight! It’s an easy and affordable way to give your home a stylish upgrade.
Benefits of Painting Your Stairs
Painting your stairs can completely transform the look of your home, adding both aesthetic appeal and long-term durability. It’s a simple and cost-effective way to refresh your staircase, giving it a clean, polished look without the need for major renovations.
- Improved Aesthetic Appeal: A painted staircase can enhance the overall look of your home, making it feel more modern or polished.
-
Cost-Effective Upgrade: Compared to replacing or remodeling stairs, painting is an affordable way to refresh your space.
-
Increased Durability: Paint adds an extra layer of protection to wood, helping your stairs endure heavy foot traffic and reducing wear and tear.
-
Customization: Painting allows you to choose from various colors and finishes to match your home’s decor, creating a personalized style.
Essential Steps for Painting Stair Treads
Tools Required for Painting Stair Treads
| Tool | Quantity | Purpose |
|---|---|---|
| 120-grit sandpaper | 1 pack | For smoothing and preparing the surface |
| 220-grit sandpaper | 1 pack | For final sanding and preparing a smooth surface |
| Vacuum cleaner | 1 | To clean up dust and debris from sanding |
| Drop cloths for floor protection | 2-3 | To protect floors from paint splatters |
| Paint brushes | 2-3 quality brushes | For the smooth application of paint on handrails and treads |
| Painter’s tape | 1 roll | For creating clean, straight paint lines |
| Socks | 1 pair | To protect the paint from damage when walking on drying paint |
Materials Required for Painting Stair Treads
| Material | Quantity | Purpose |
|---|---|---|
| Oil-based primer | 1 can | For priming wood before painting |
| White high-gloss paint for stairs/treads | 1 can | For painting the stairs and treads with a durable finish |
| White paint for handrails and newel posts | 1 can | For painting handrails and newel posts |
| Paint thinner | 1 container | For cleaning brushes and tools used with oil-based paint |
| Warm soapy water | 1 container | For cleaning tools used with water-based paint |
Step 1: Assess the Current Condition
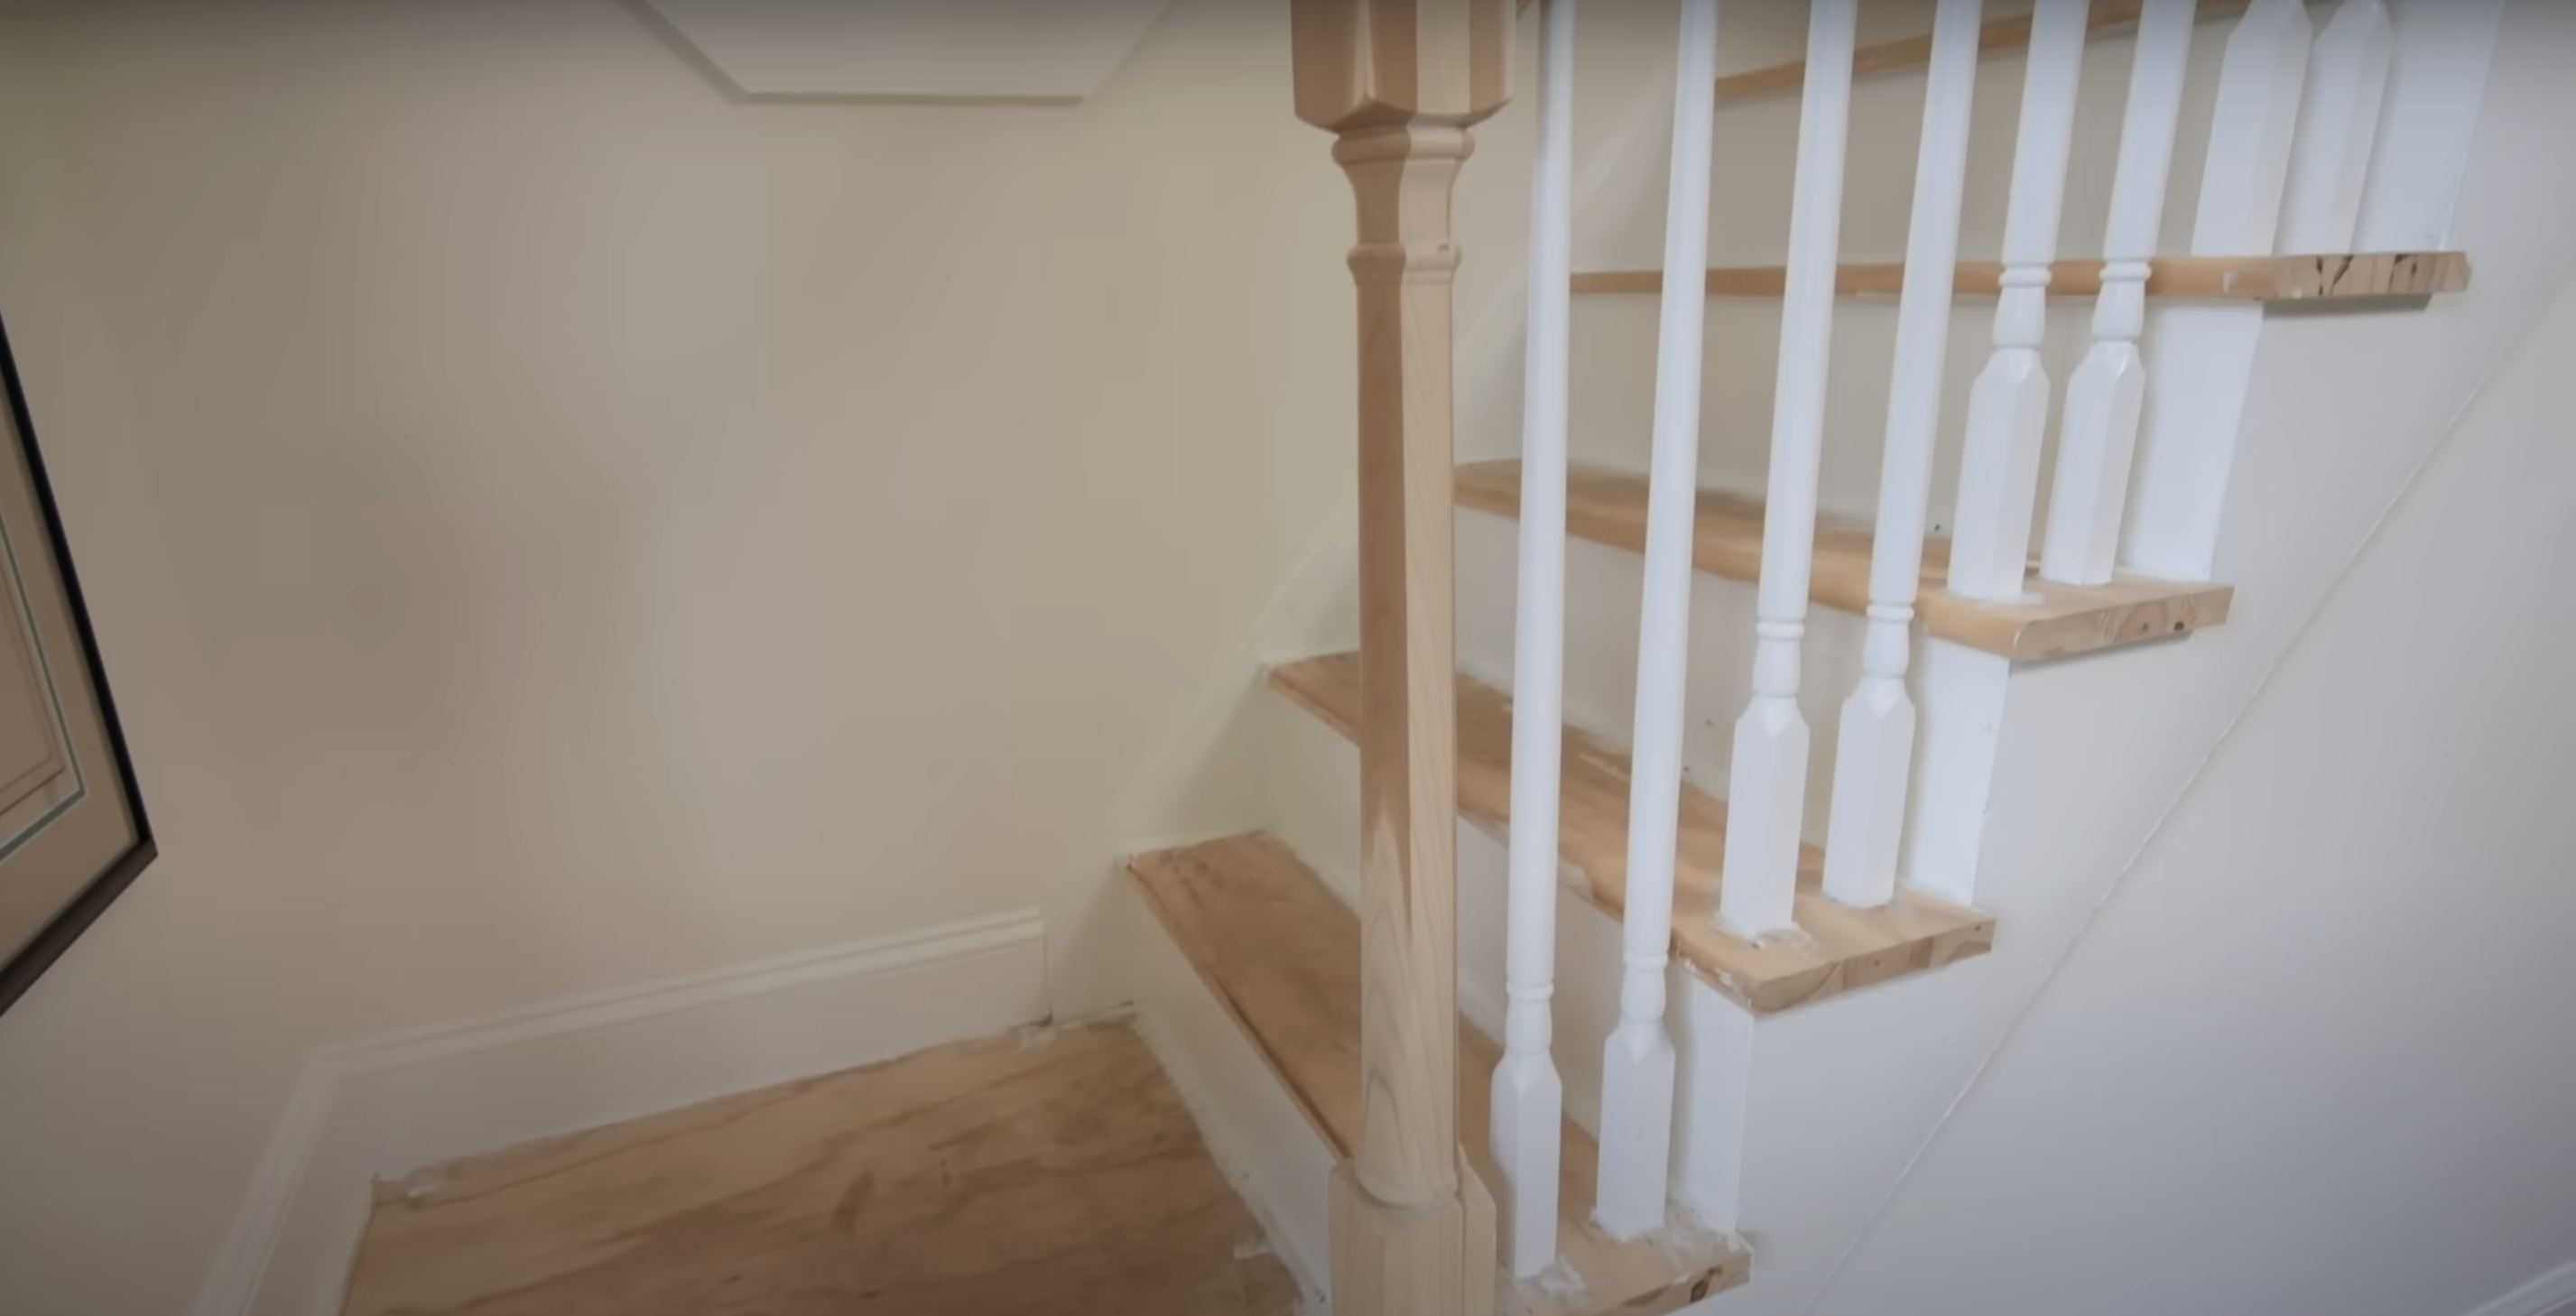
Look at your stairs carefully. Notice any scratches, worn areas, or damage. This helps you understand how much work is needed for proper preparation.
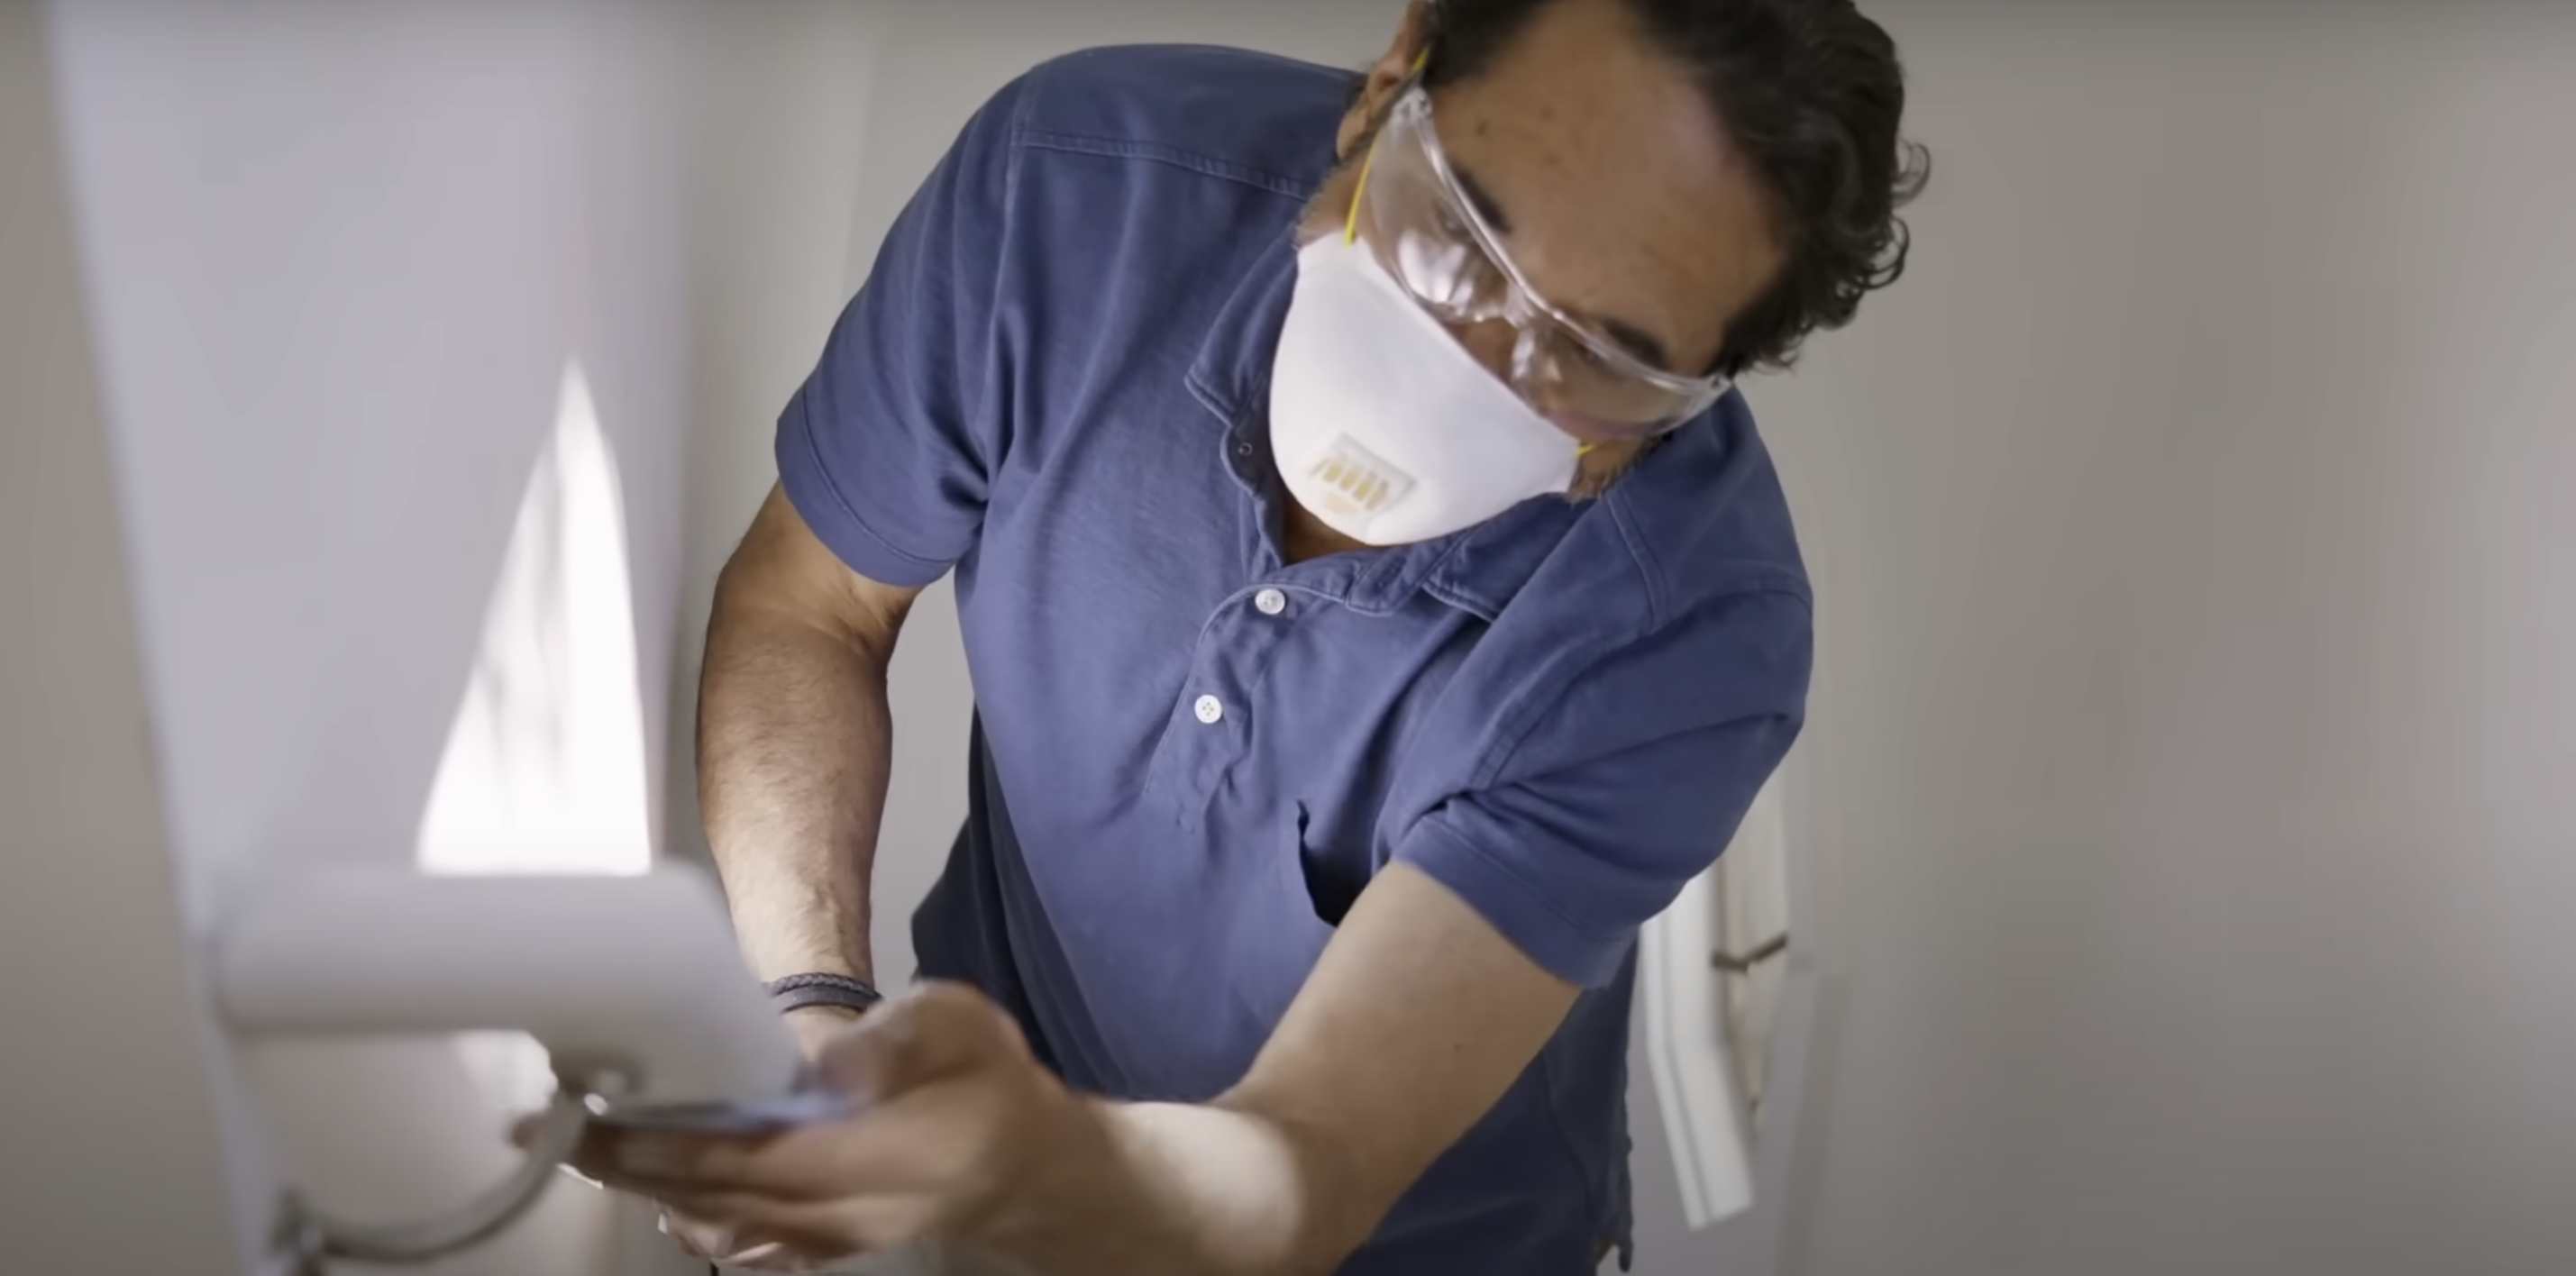
Step 2: Sand Handrails and Posts
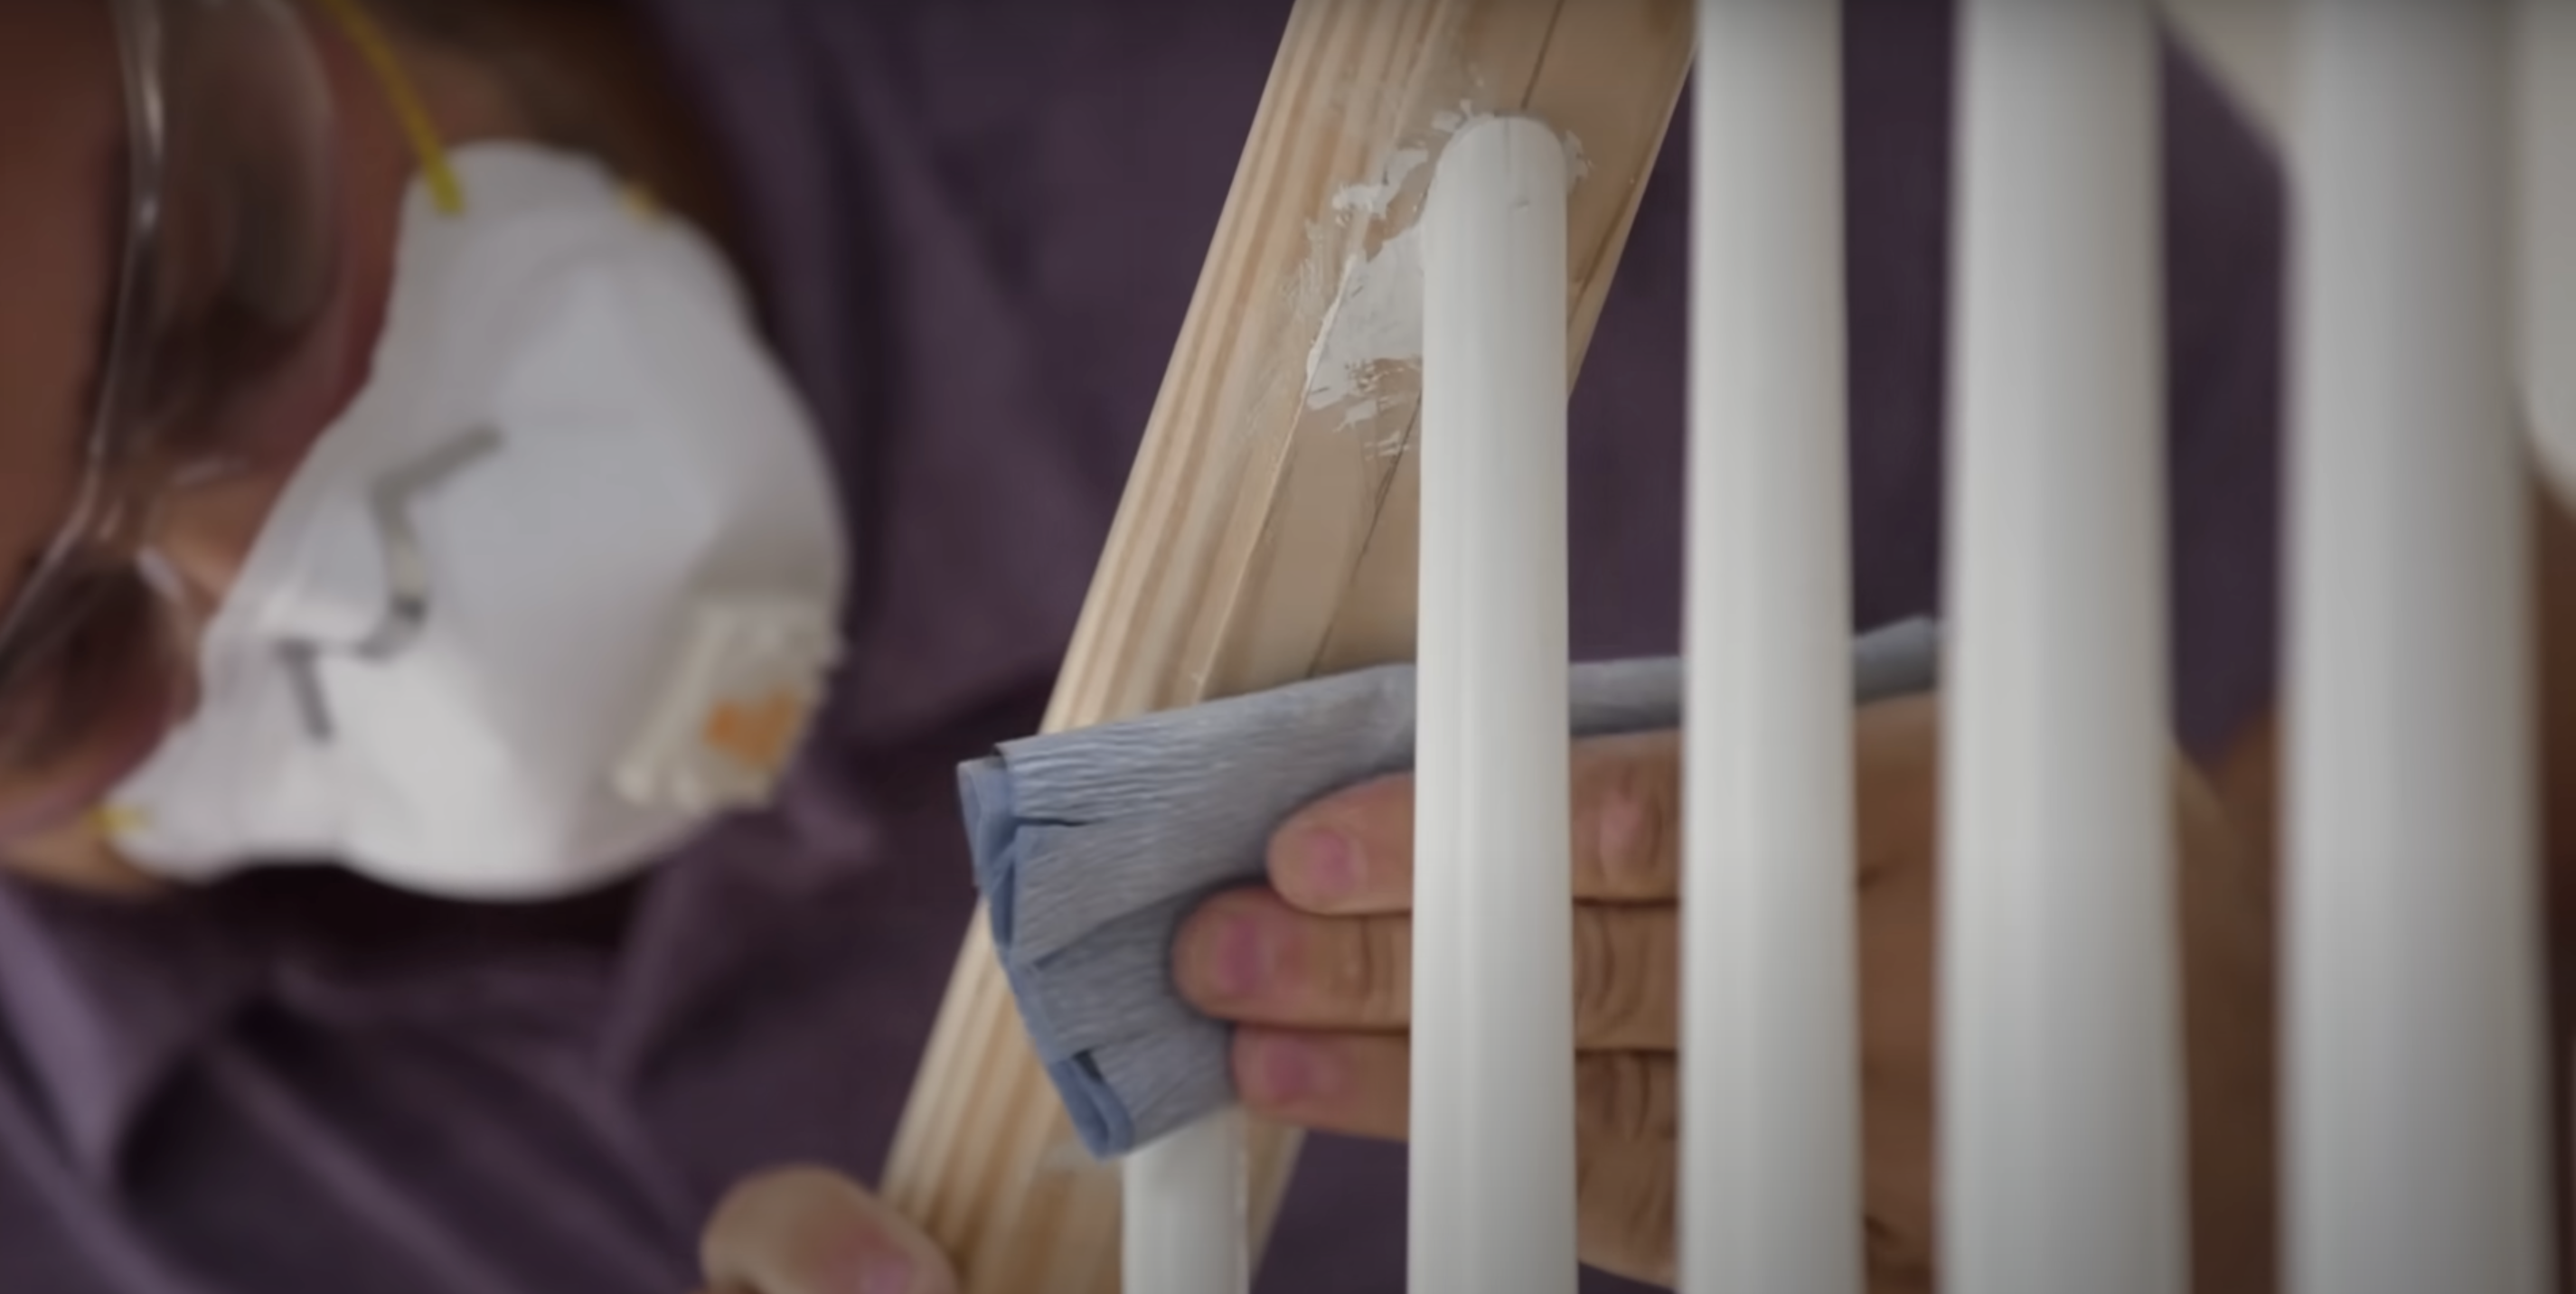
Use 220-grit sandpaper on handrails and newel posts. This cleans the surface and opens the wood grain for a better primer grip. Thoroughly focus on edges and corners.
Step 3: Sand Stair Treads

Begin with 120-grit sandpaper on stair treads. Move from the top steps to the bottom. Follow with 220-grit for a smoother finish. This creates an ideal surface for paint bonding.
Step 4: Clean All Surfaces
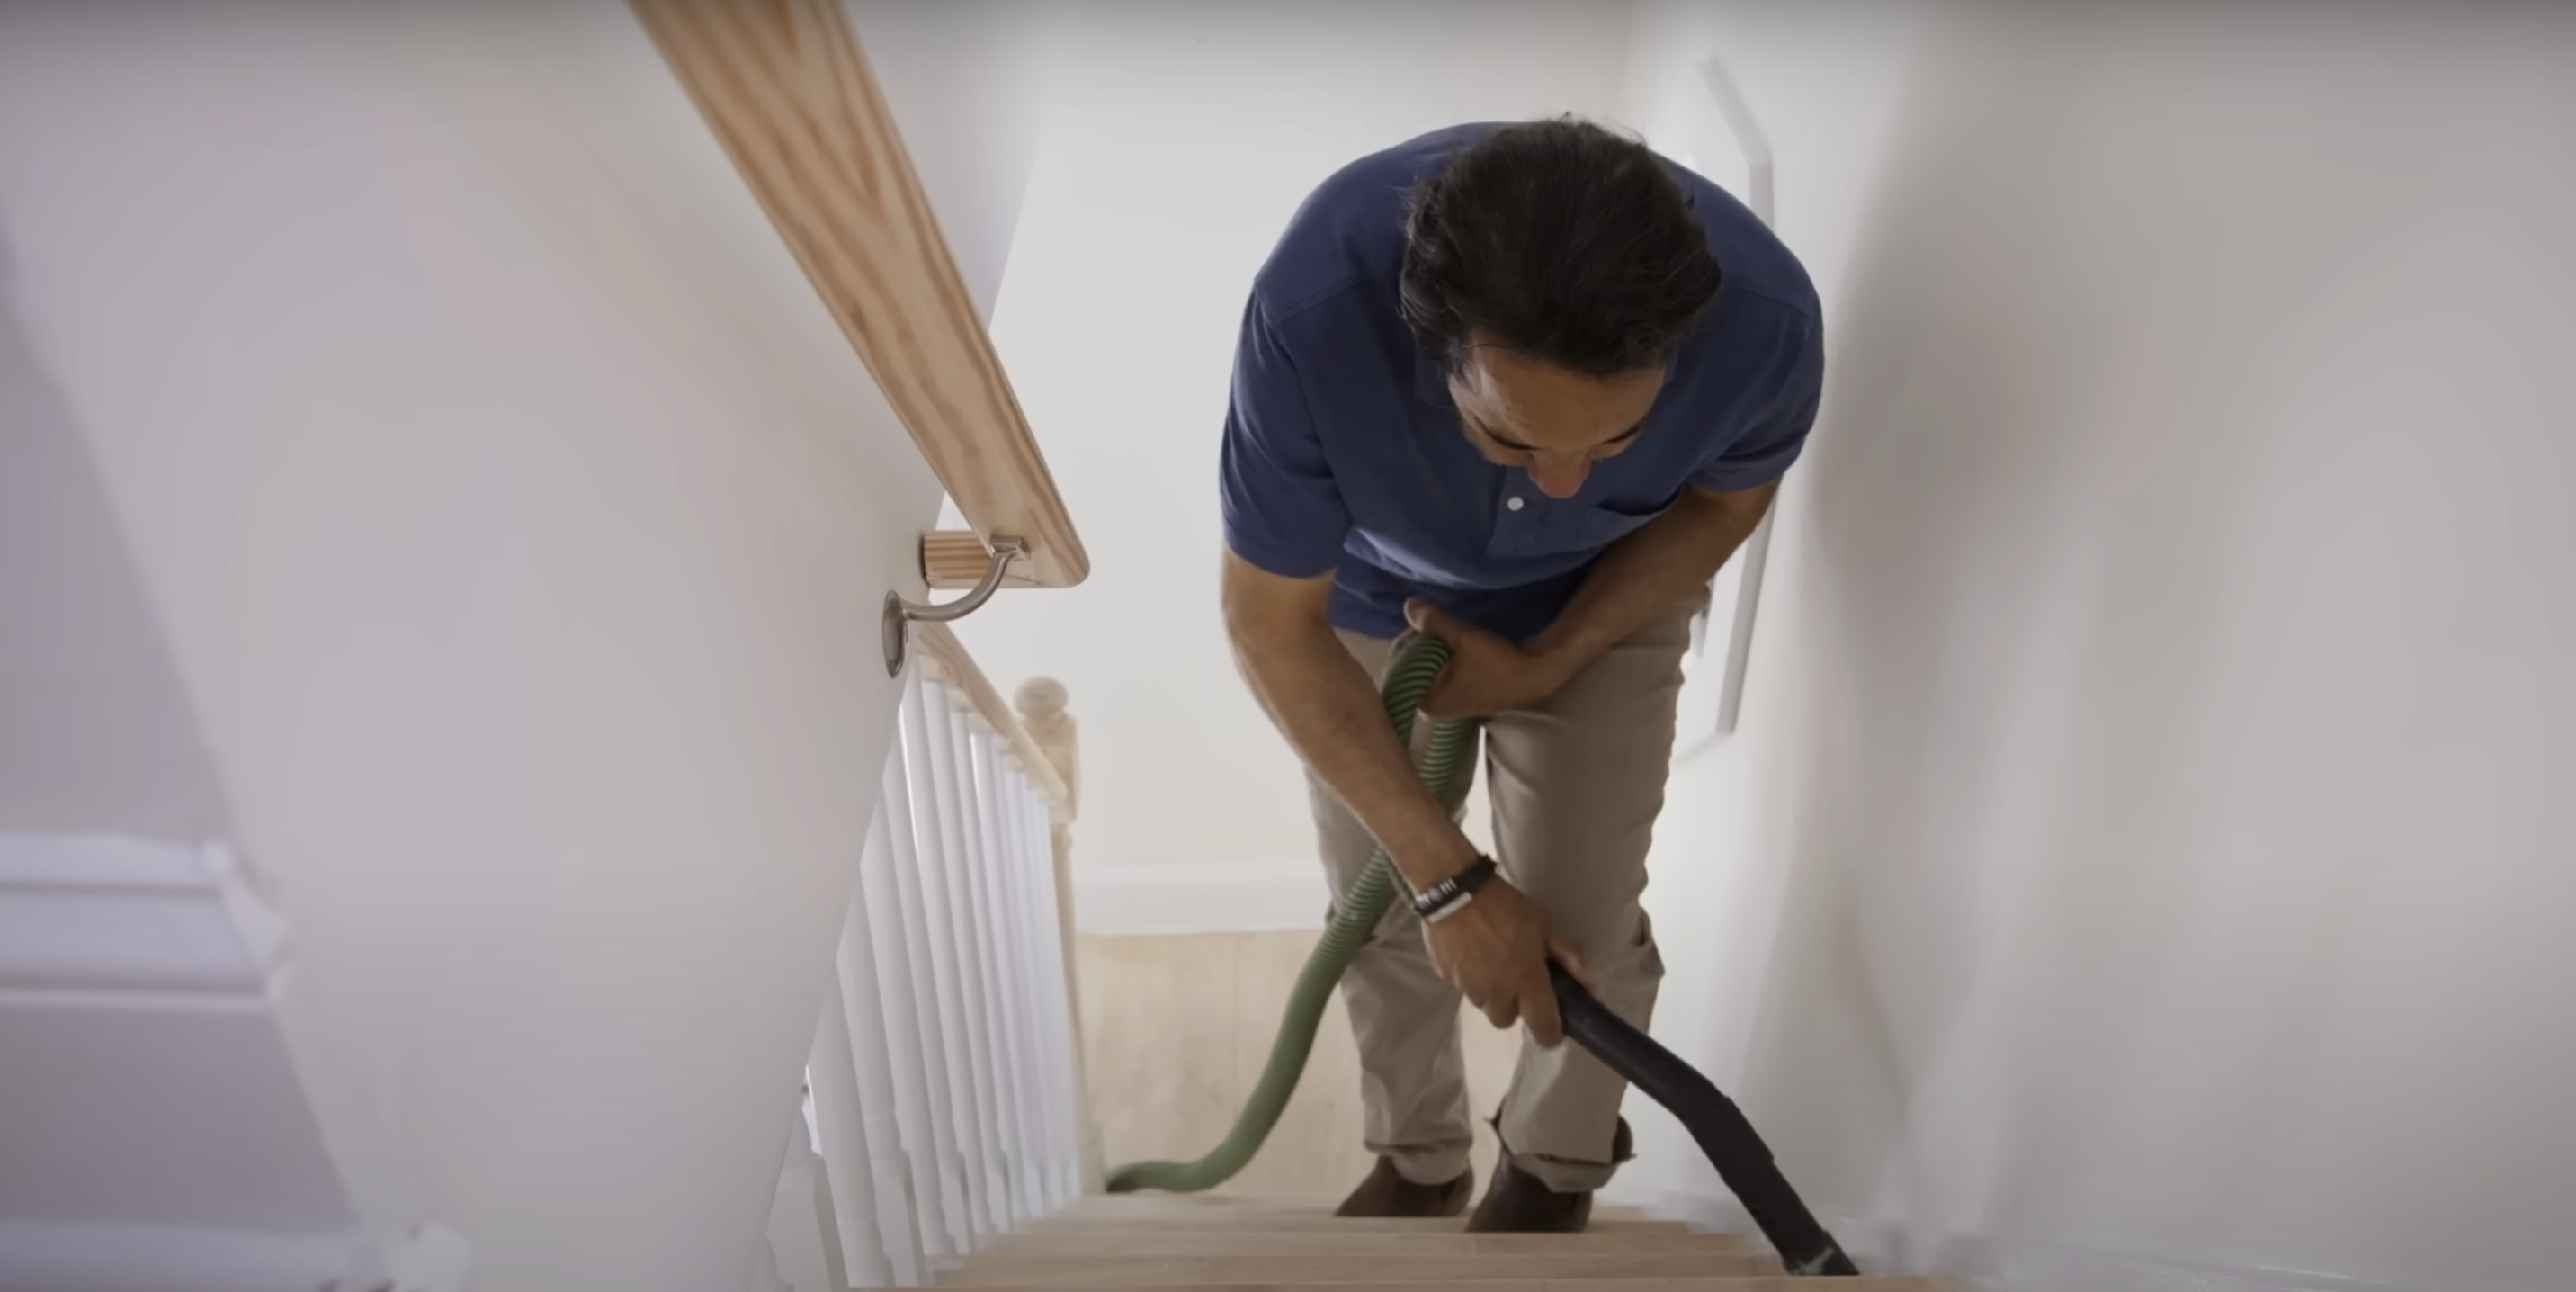
Vacuum all areas completely to remove dust and debris. Protect surrounding floors with drop cloths. Clean surfaces ensure proper paint adhesion and smooth results.
Step 5: Apply Oil-Based Primer
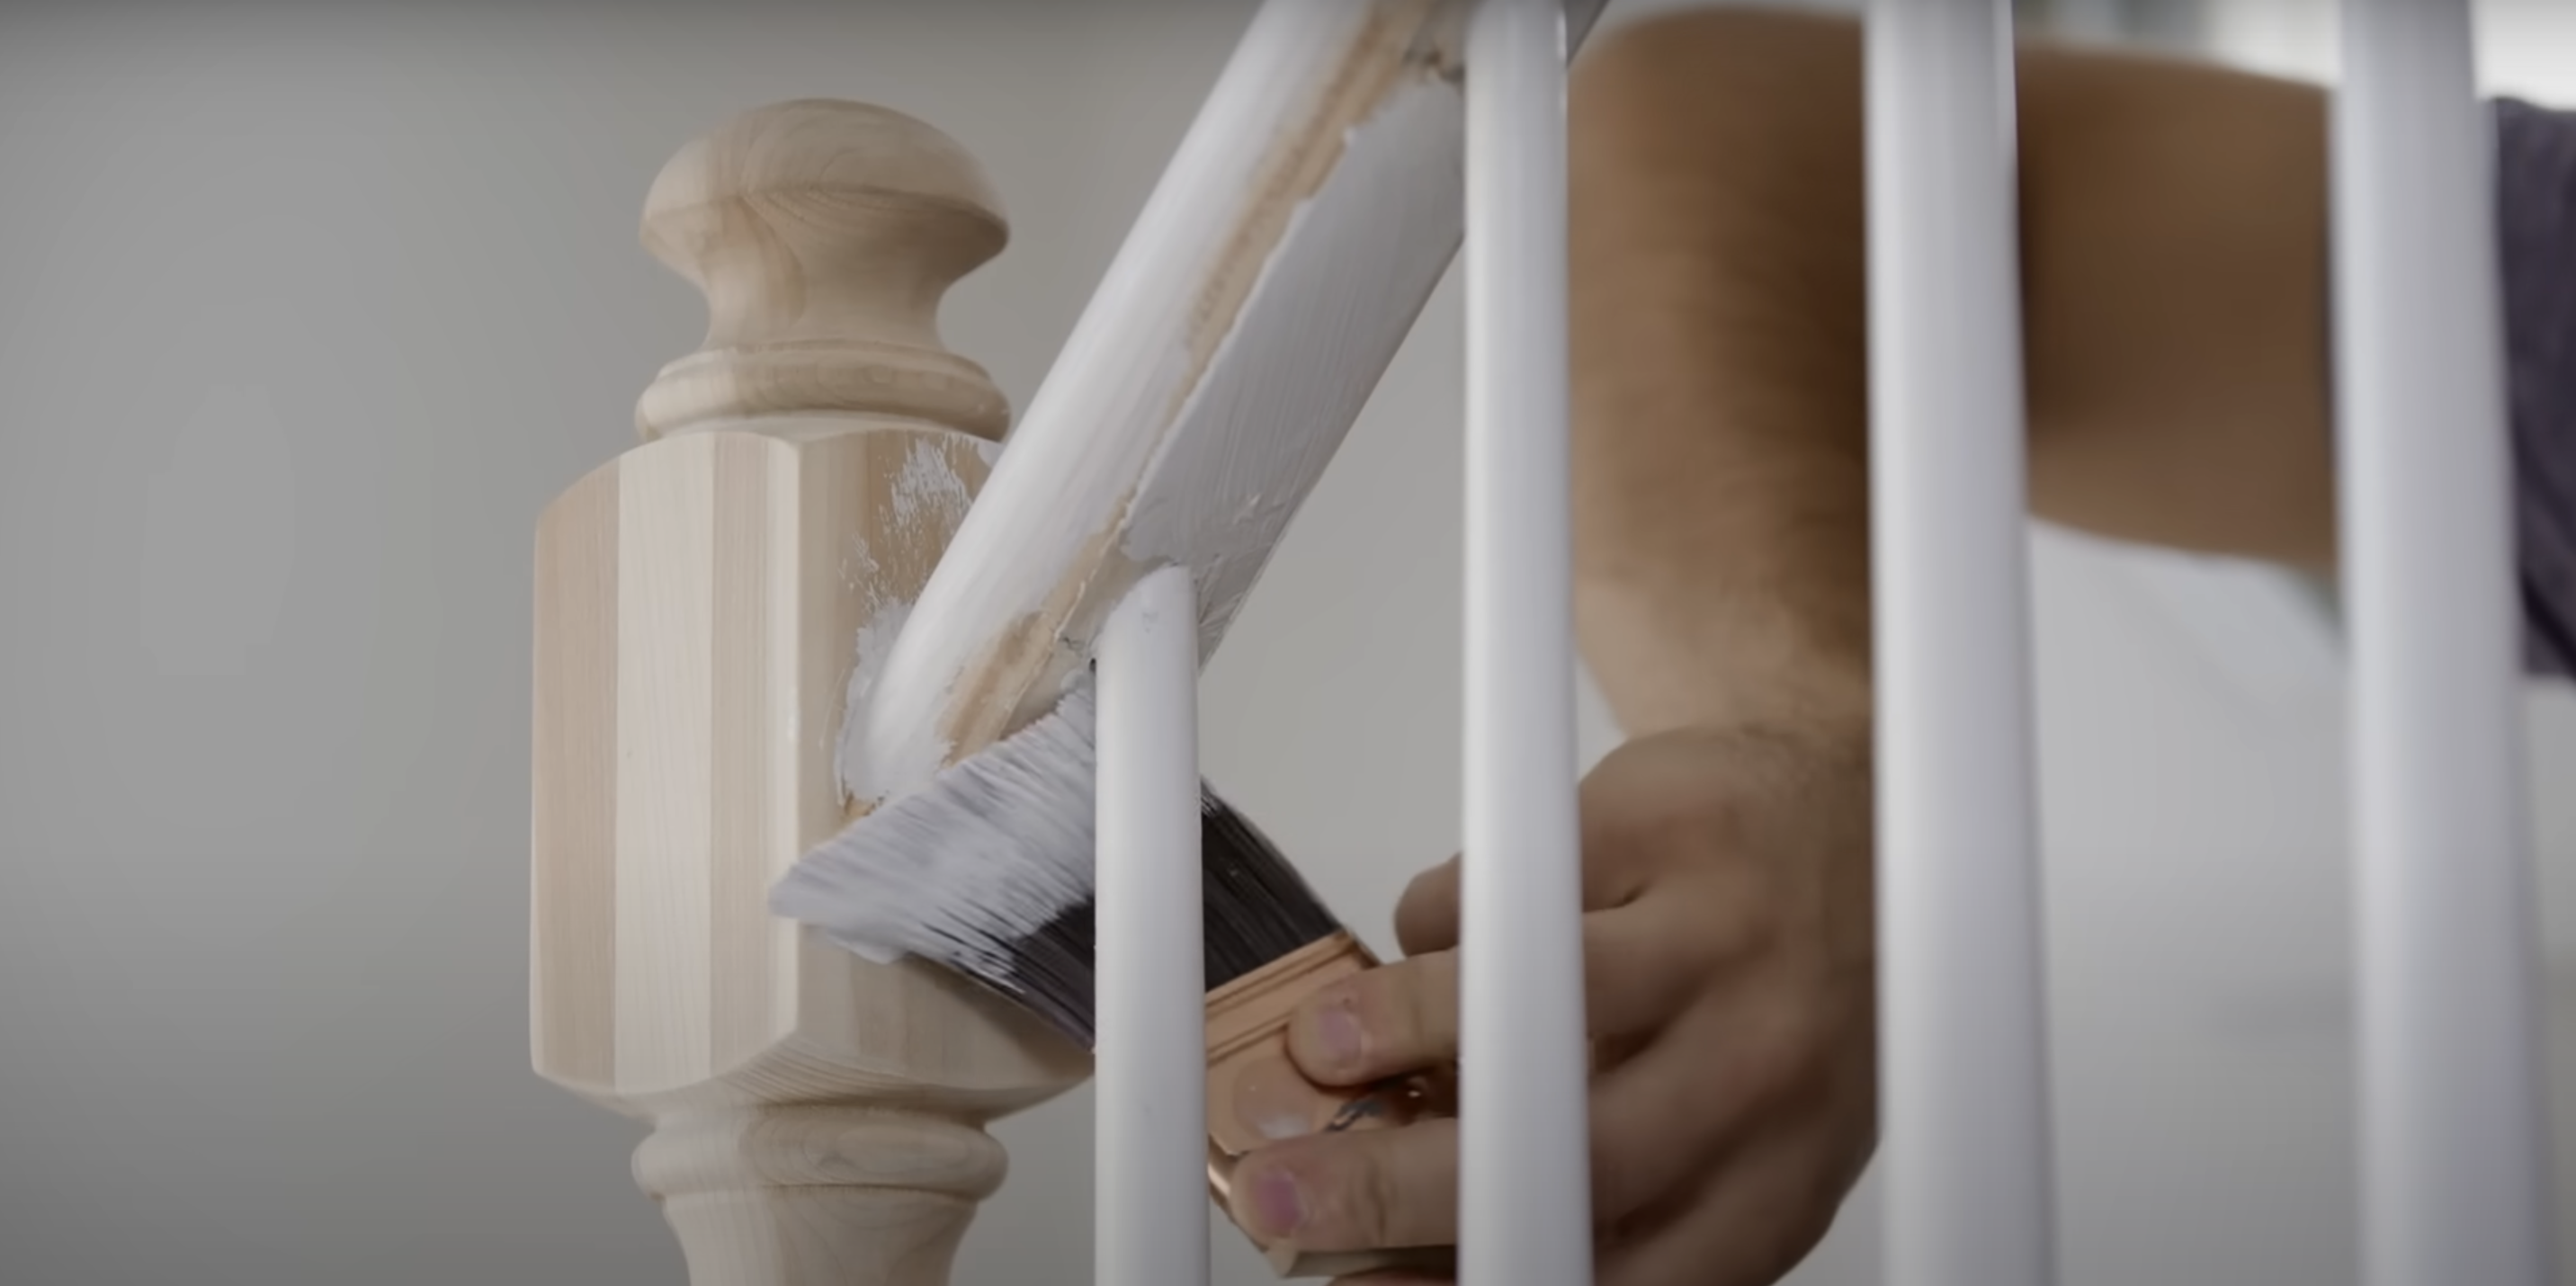
Start with handrails, working from top to bottom. Then move to stair treads. Use quality brushes for even application. Allow primer to dry for about one hour.
Step 6: Sand Primed Surfaces Lightly
Once the primer is dry, lightly sand all surfaces again. This creates the perfect foundation for the paint to stick. Vacuum thoroughly after sanding.
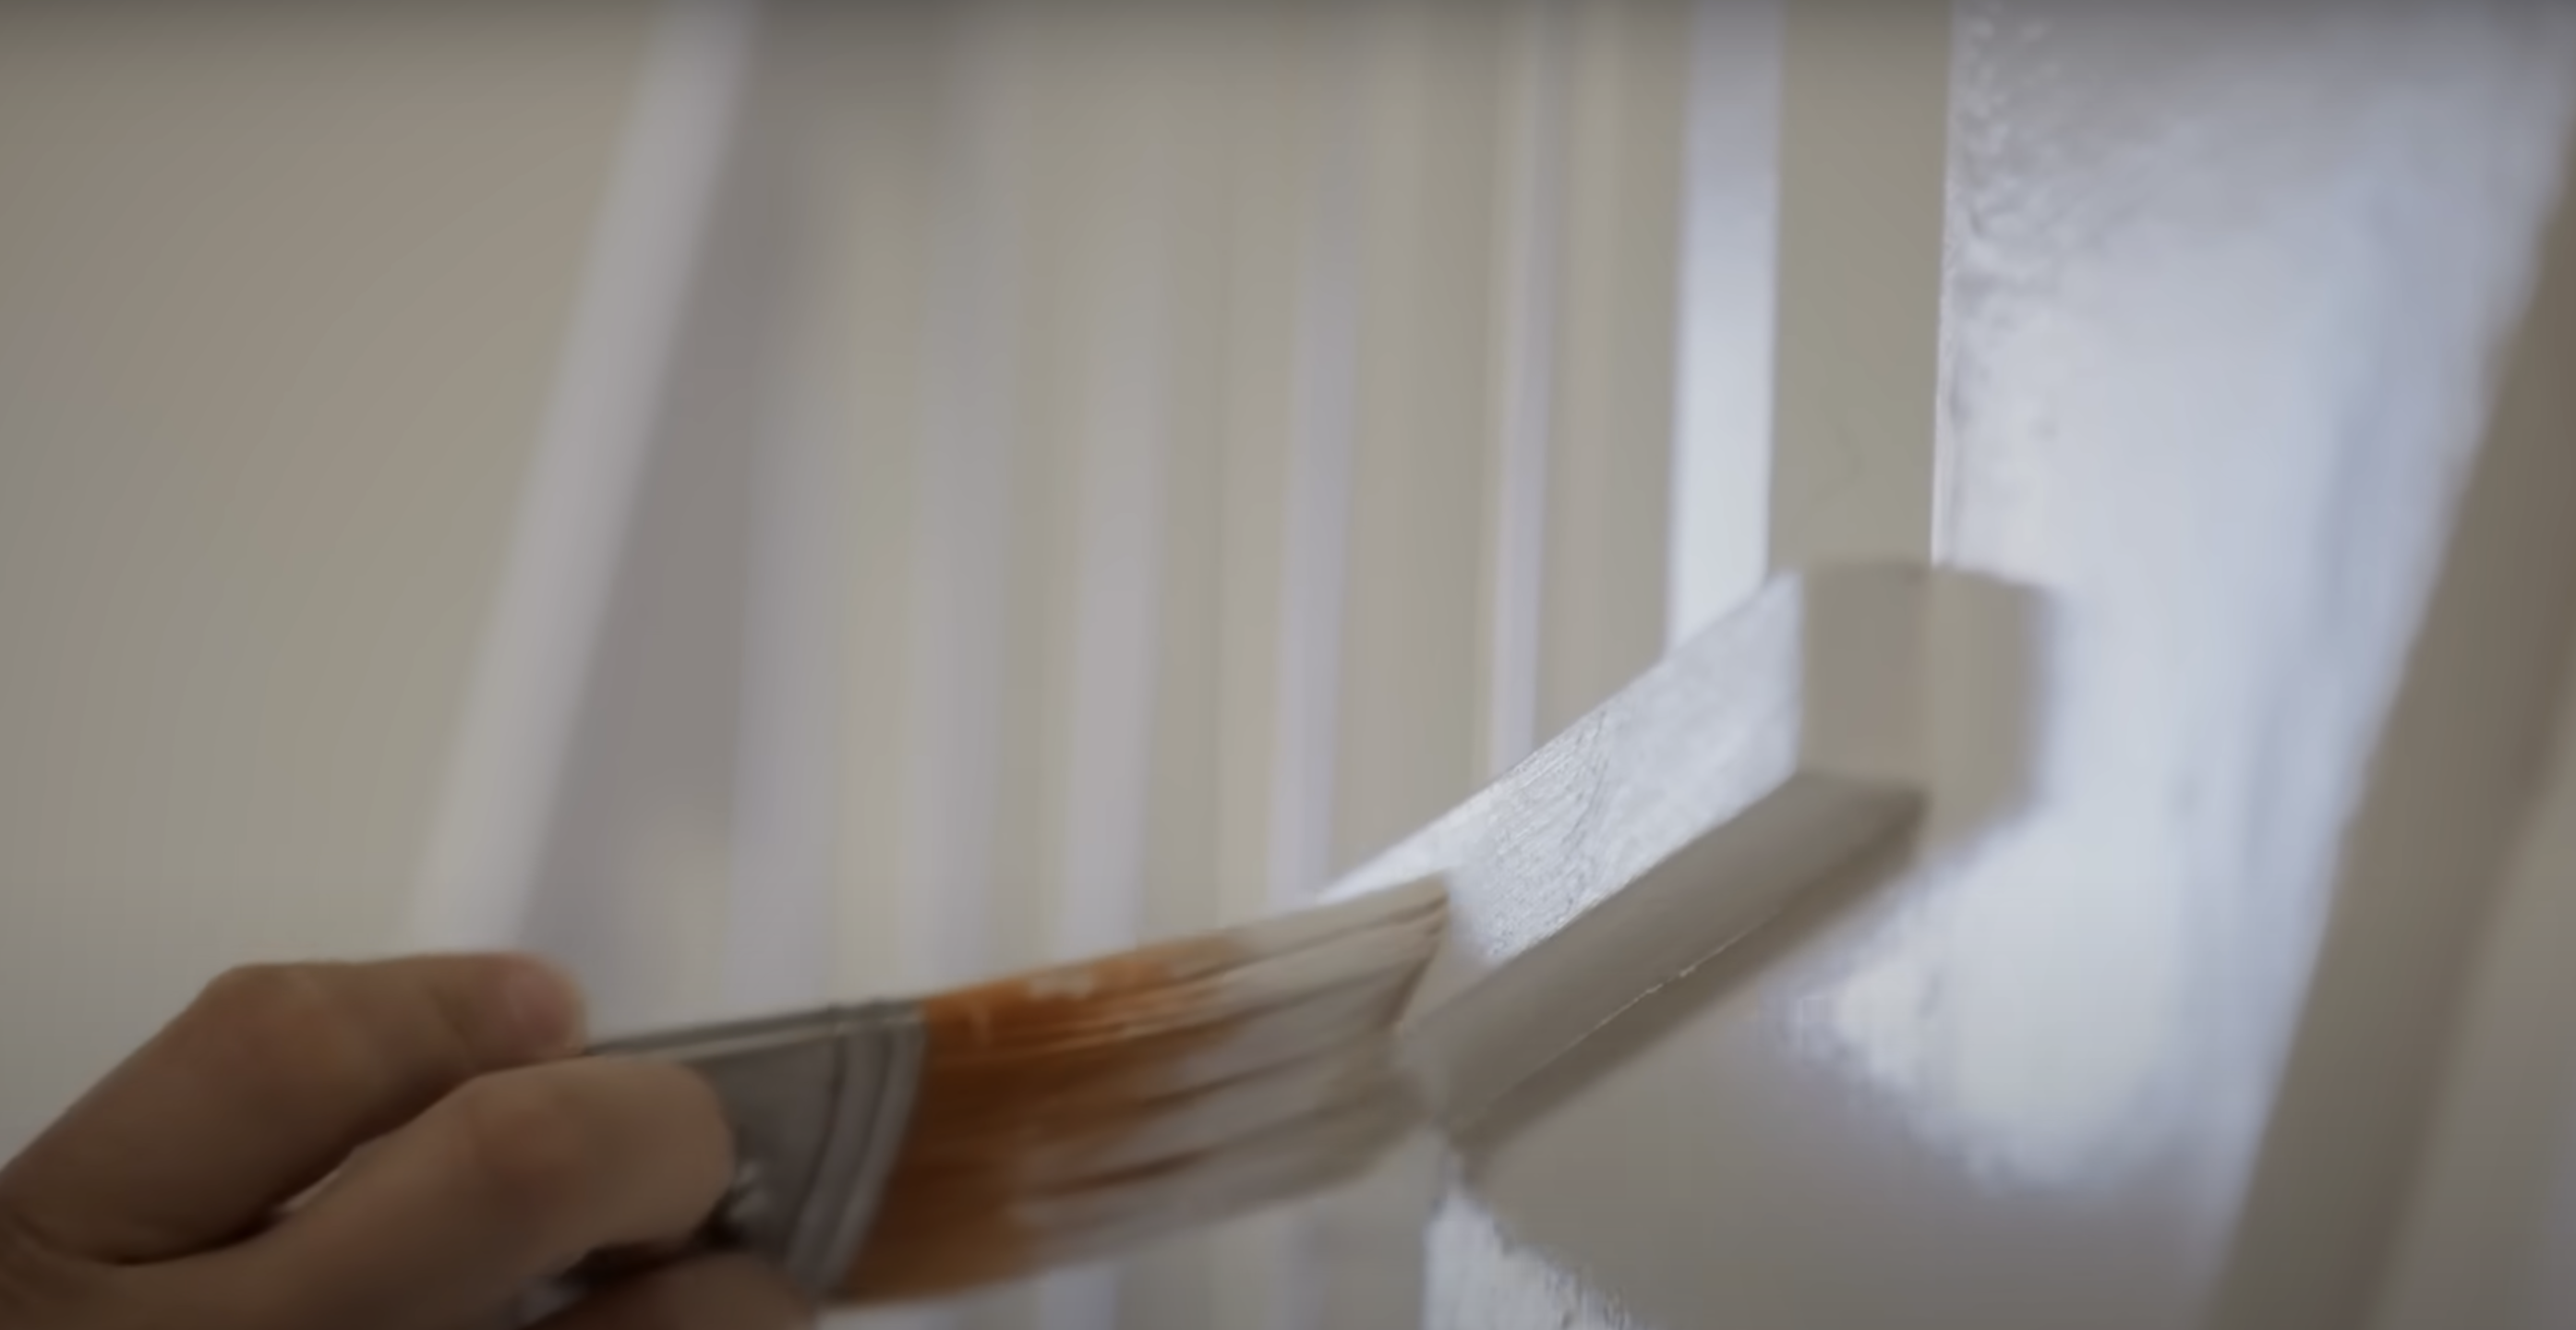
Step 7: Paint Handrails and Posts
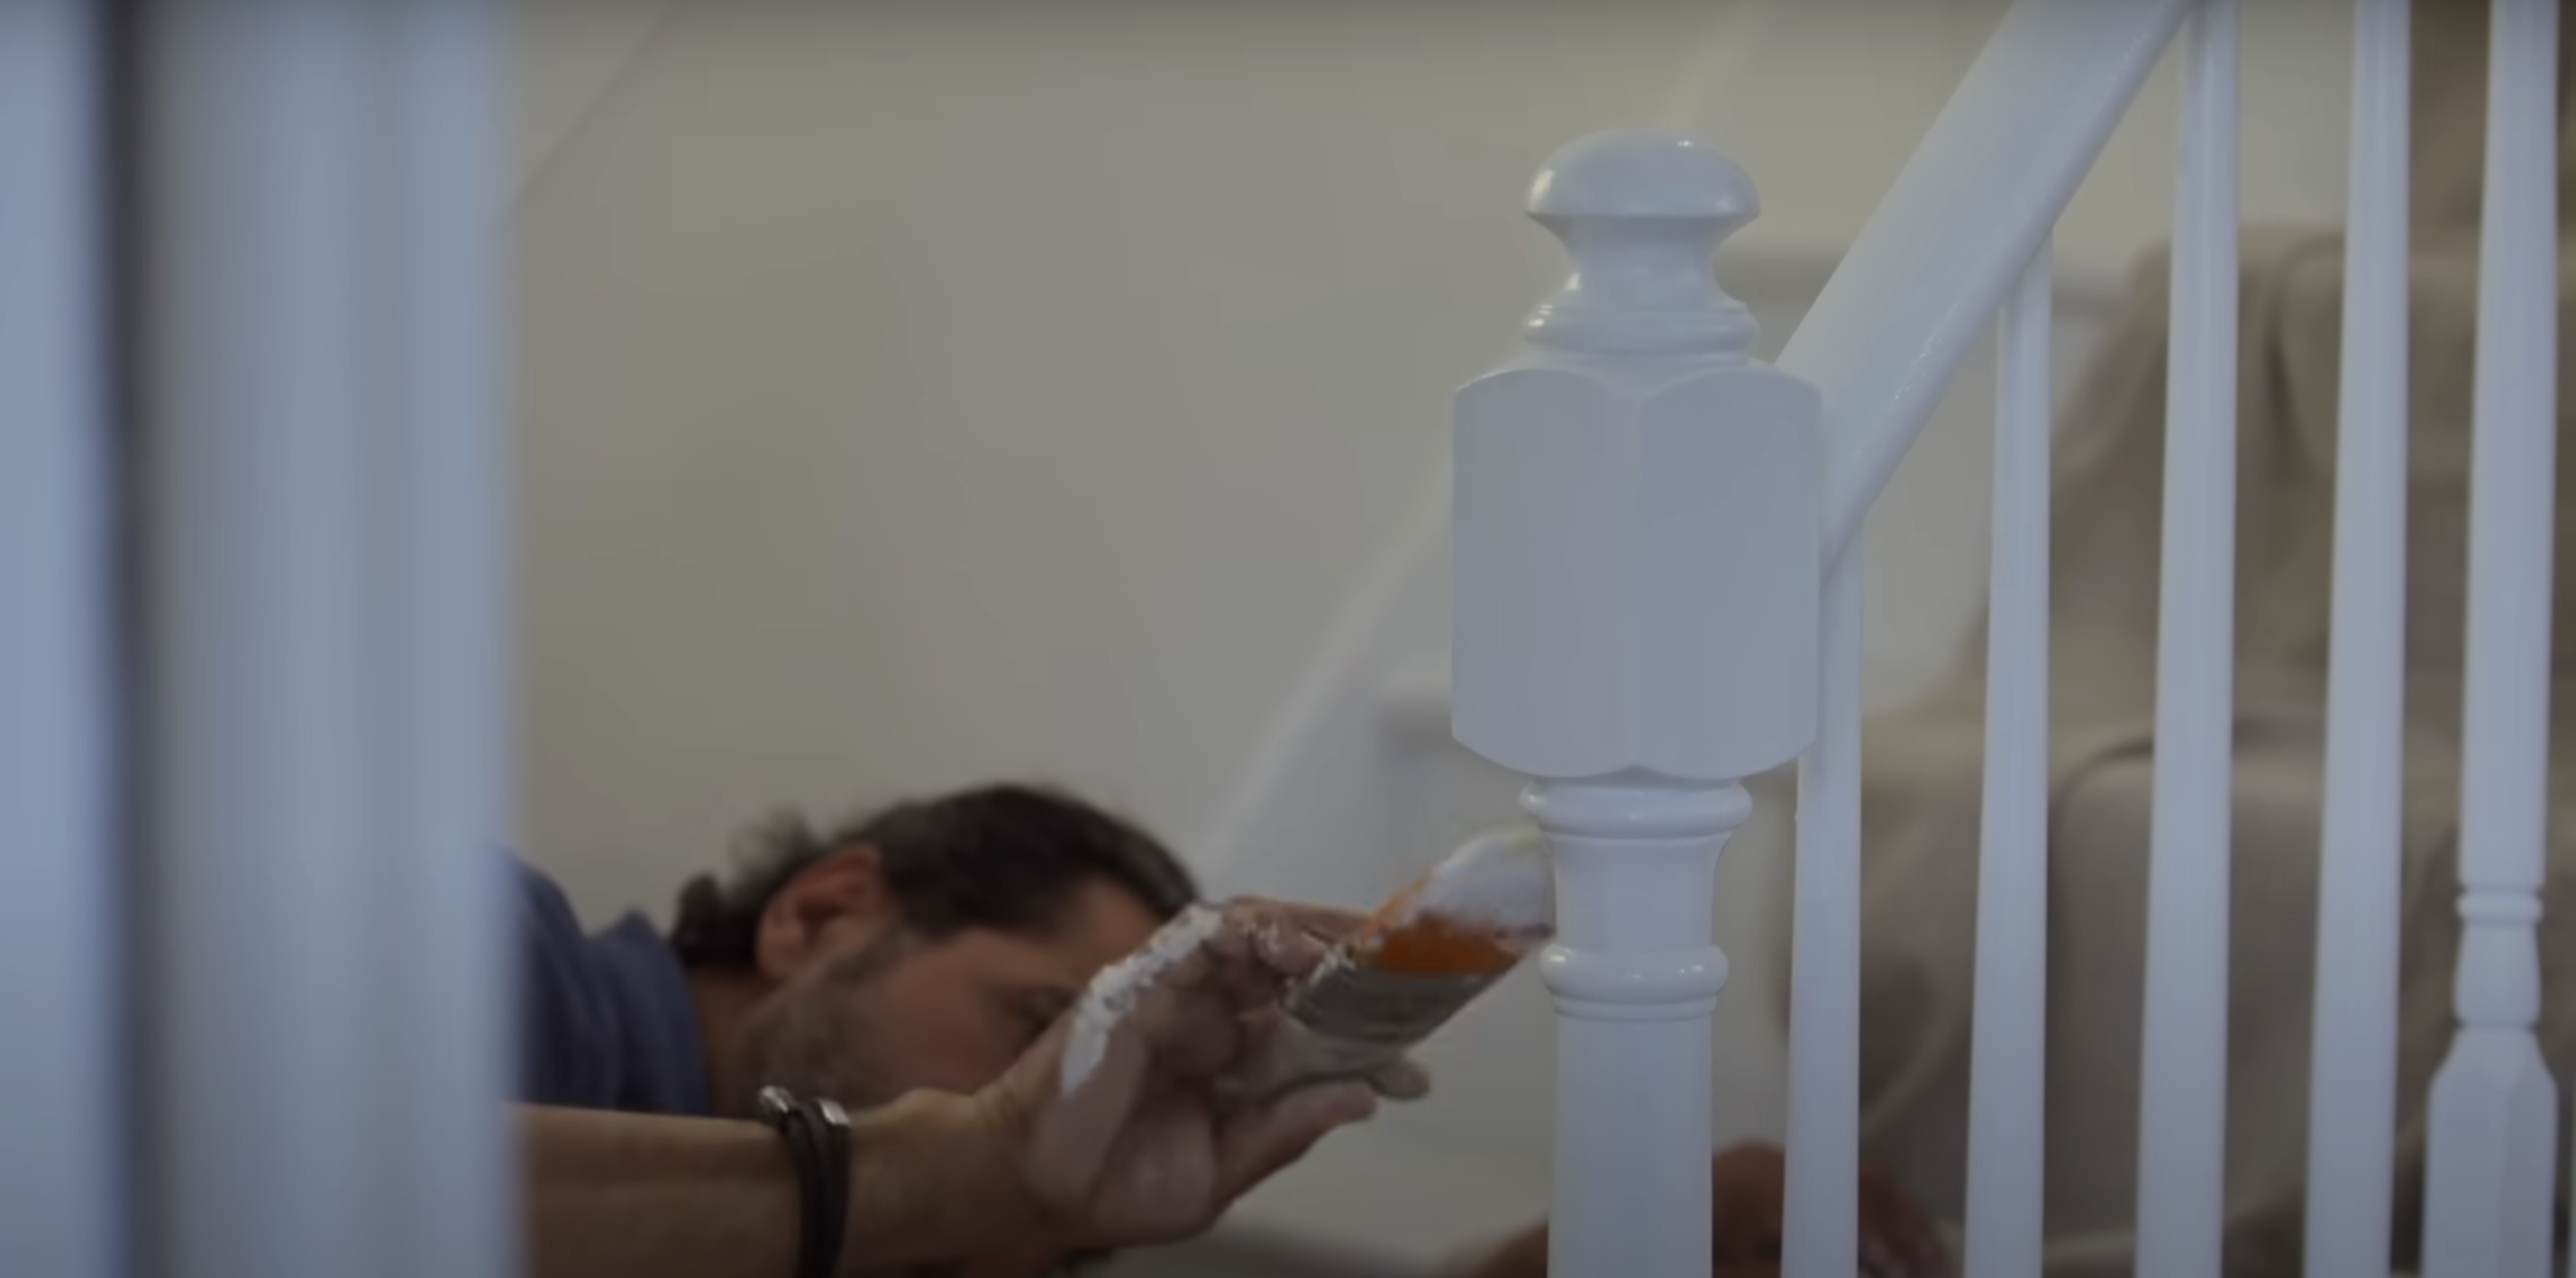
Apply special paint made for high-traffic areas like handrails. This durable finish withstands constant hand contact. Work from top to bottom with smooth strokes.
Step 8: Paint Stair Treads
Use floor-specific paint for treads. Apply a thick first coat with brush strokes, creating stability and durability. Work from the top steps to the bottom.
Step 9: Allow First Coat to Dry
Let the first coat dry completely, but remember that it’s not fully cured. Wear socks if you must use the stairs, and keep pets away to avoid paw prints or scratches.
Step 10: Apply Final Coat
Lightly sand all surfaces again and vacuum. Apply the final coat using the same techniques. This completes the finishing process for a beautiful, lasting result.
Video Tutorial
Check out this YouTube video for detailed step-by-step guidance on how to Paint Stair Treads.
Understanding Potential Risks
1. Safety Concerns
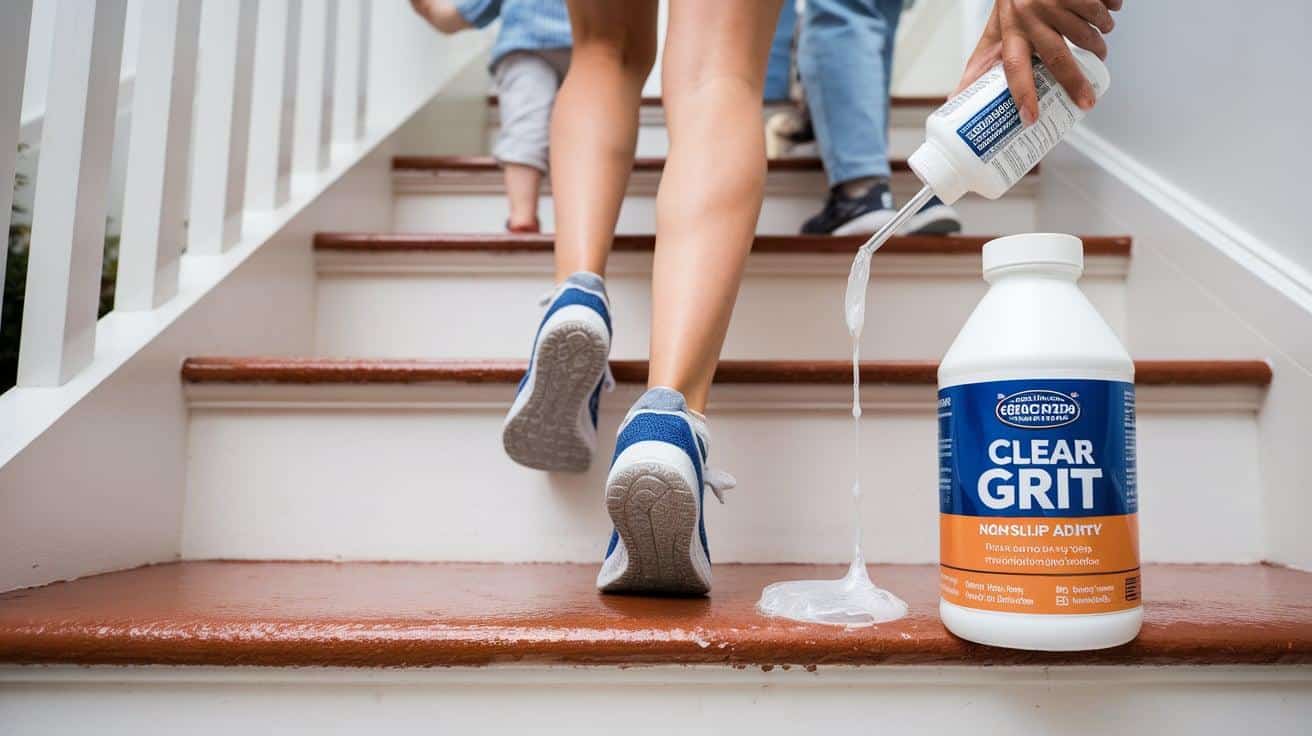
Painted stairs can become slippery, especially with high-gloss finishes. Consider adding non-slip additives to the paint for better foot grip. This is particularly important in homes with children or older adults.
Even a small slip can cause big injuries on stairs. Some paint stores sell clear grit that mixes into paint without changing its look. This small addition can prevent painful falls and hospital visits.
2. Timing Issues

Poor planning can leave your household without stair access. Allow at least 24-48 hours for the project to be completed. Plan alternative routes or sleeping arrangements if needed.
If you have a one-story home, this might mean sleeping on the couch for a night. Two-story homes present bigger problems you might need to stay somewhere else until the stairs are ready for walking.
Kids and guests need clear warnings about wet paint.
3. Inadequate Preparation
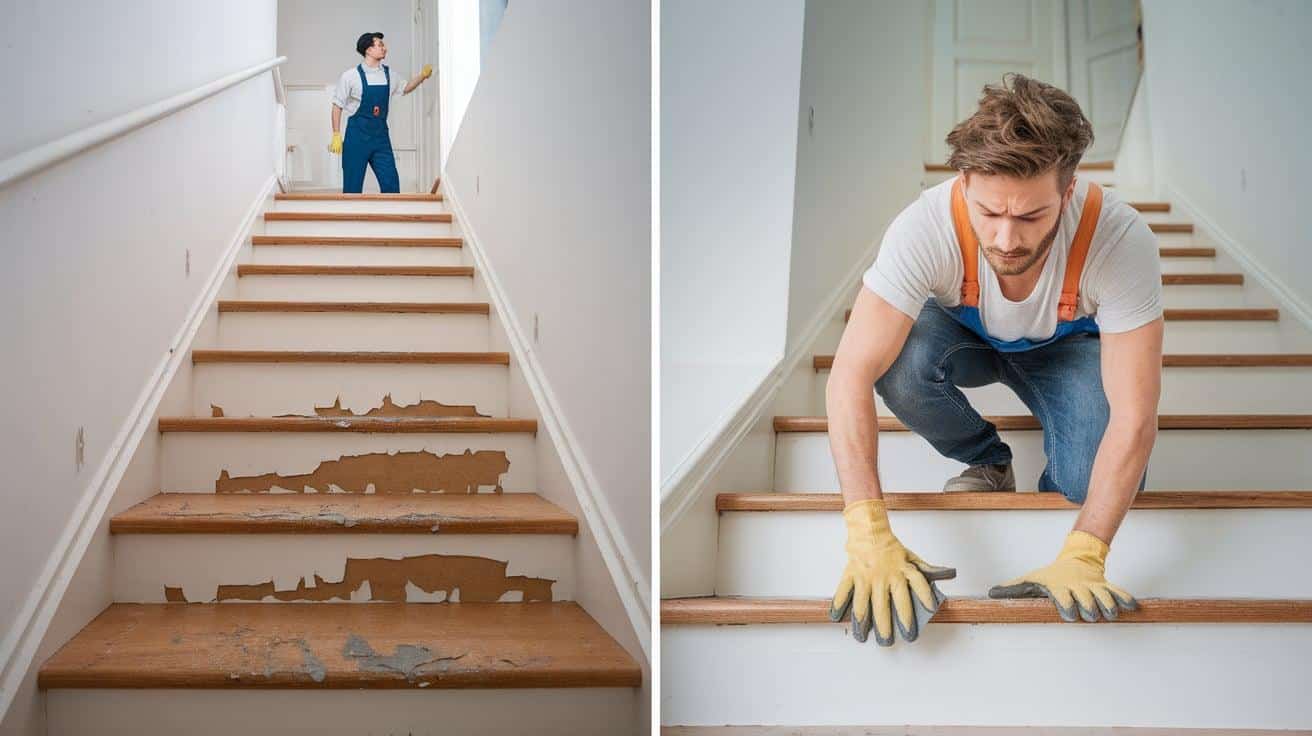
Skipping proper sanding or cleaning leads to peeling paint, which wastes time and money when the work needs to be redone. Thorough prep prevents most future problems.
Many people rush through prep to get to the painting part. Six months later, they watch paint chips fall off with each footstep. Good prep takes time but saves headaches.
Wood must be clean, smooth, and ready before the first drop of primer touches it.
4. Paint Selection Mistakes
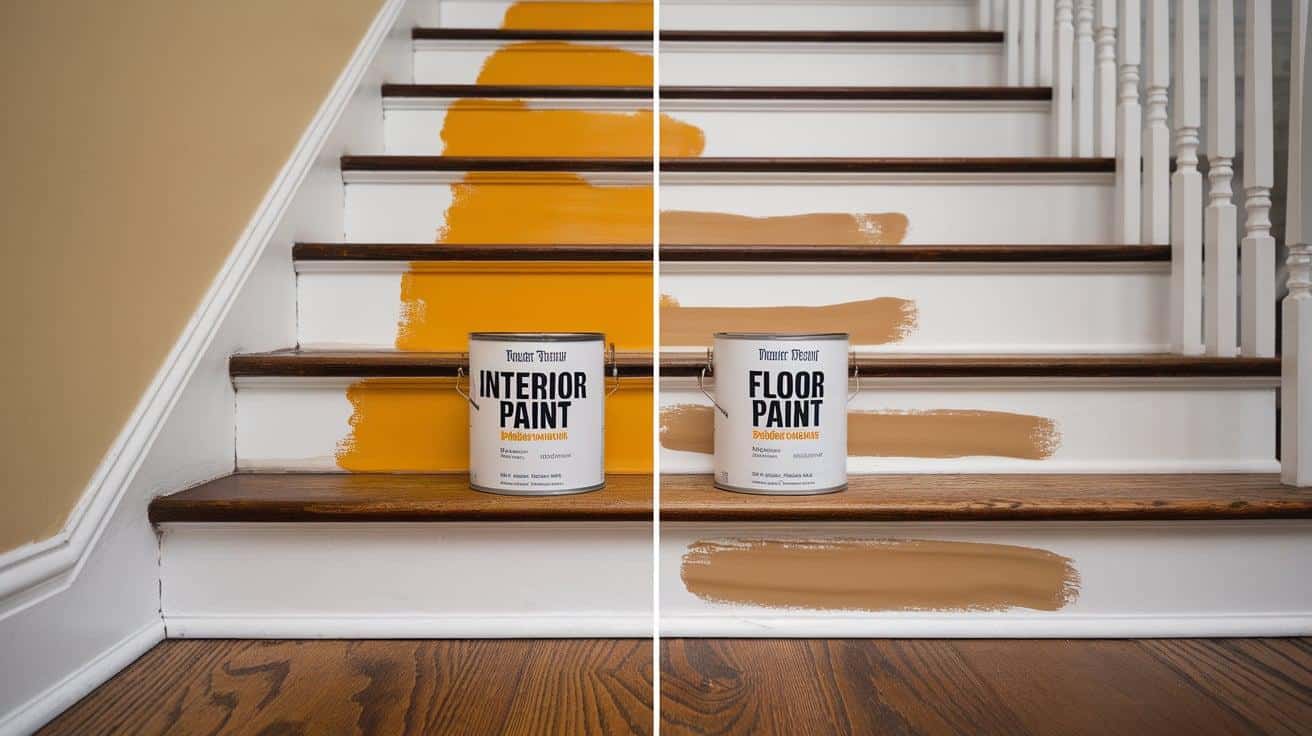
Using interior paint not made for floors can wear quickly. Stairs need specific floor or porch paint formulations that resist scuffing and daily shoe wear.
Floor paint costs more than wall paint, and for good reason: It contains harder resins that withstand foot traffic. Cutting corners on paint quality means redoing the whole job sooner.
Most floor paints also dry harder than regular paint, giving you years instead of months of good looks.
5. Temperature Factors
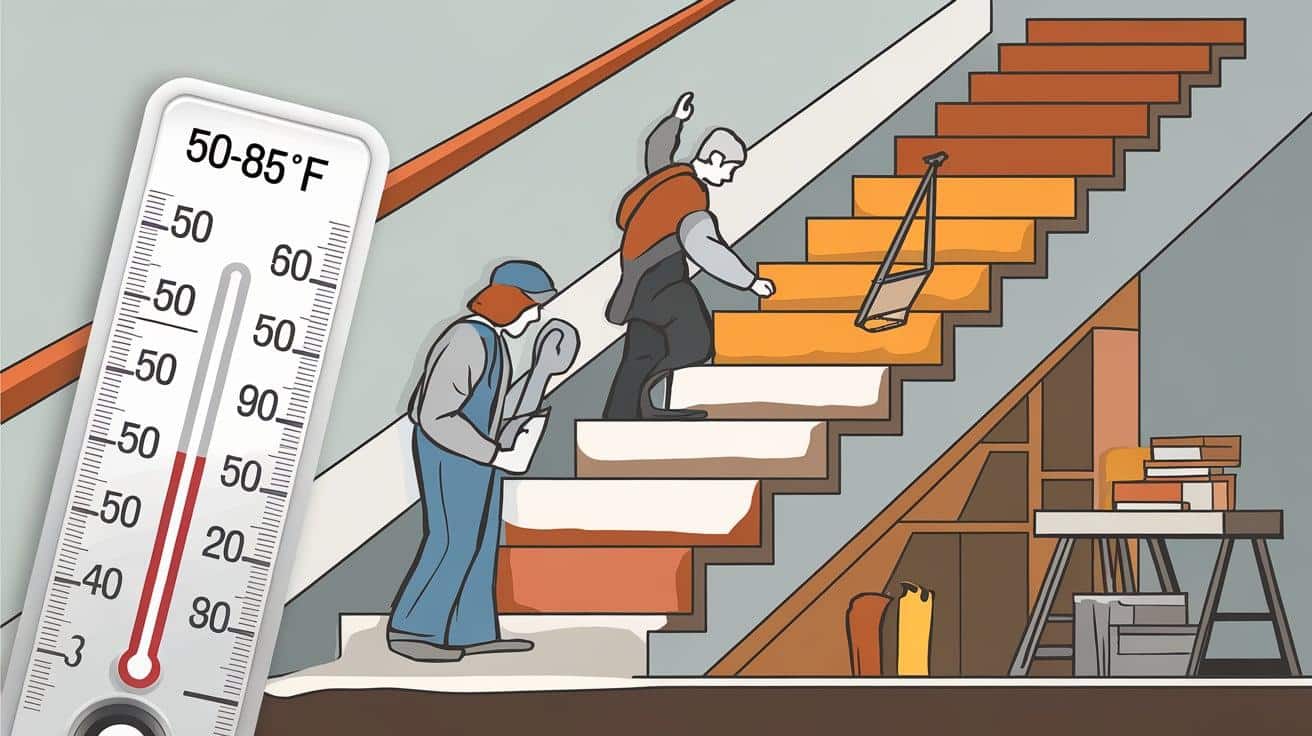
Painting in very cold or hot conditions affects drying time and finish quality. For best results, the ideal painting temperature ranges from 50-85°F with moderate humidity. Cold paint flows poorly and takes forever to dry.
Hot conditions make paint dry too fast, leaving brush marks and poor adhesion. Check the actual stairs with a thermometer. Basement stairs often stay cooler than the rest of your house. Paint cans list ideal temperature ranges for a good reason.
How to Achieve a Long-Lasting Shine?
Quality matters when painting stairs. Use floor-specific paints that stand up to daily foot traffic. Cheap paint looks good for weeks, not years.
Take time with prep work. Fill holes, sand thoroughly, and apply good primer. The shine only looks as good as what’s underneath it.
Apply thin, even coats with quality brushes. Thick paint creates drips and takes longer to harden properly. Two thin coats beat one thick jacket every time.
Respect the full curing time, which takes 7-30 days, depending on the product. Light use during curing can permanently dull the finish.
Clean with mild soap solutions only. Harsh cleaners strip the shine over time. Use soft cloths for dusting to prevent tiny scratches that dull the surface.
Add a clear top coat for extra protection in busy homes. This gives another layer of defense against scuffs and scratches.
How to Control Moisture While Refinishing?
1. Pre-Project Moisture Assessment
Before starting your stair project, check the wood with a moisture meter. Readings above 12% indicate wood that is too wet for painting. Wait for drier conditions or use heating methods to dry the wood.
Water trapped in wood causes bubbling paint and poor adhesion later. Older homes often have stairs with a higher moisture content. Due to ground moisture, basement stairs need special attention.
Test multiple spots on different stairs to get an accurate reading. This small step prevents major headaches and repair costs down the road.
2. Creating the Ideal Indoor Environment
Run dehumidifiers in the stairwell area for 1-2 days before beginning work. Set your home’s humidity level between 30% and 50% for optimal painting conditions.
Use air conditioning in the summer months to pull moisture from the air—close windows and doors during humid outdoor conditions.
Place fans strategically to move air without pulling in outside humidity. Monitor indoor humidity with an inexpensive gauge from a hardware store. Consistent low moisture creates the perfect setting for paint to bond and cure properly.
3. Timing Your Project Around Weather Patterns
Plan your stair refinishing during the least humid season in your region. Check weekly weather forecasts before purchasing supplies or beginning prep work.
Avoid rainy weeks when humidity remains high both day and night. Begin painting in the early morning hours when humidity tends to be lowest.
Allow maximum daylight hours for initial drying before night humidity rises. Weekend projects should start Friday morning rather than Saturday for extra drying time. Weather timing often matters more than your schedule for successful results.
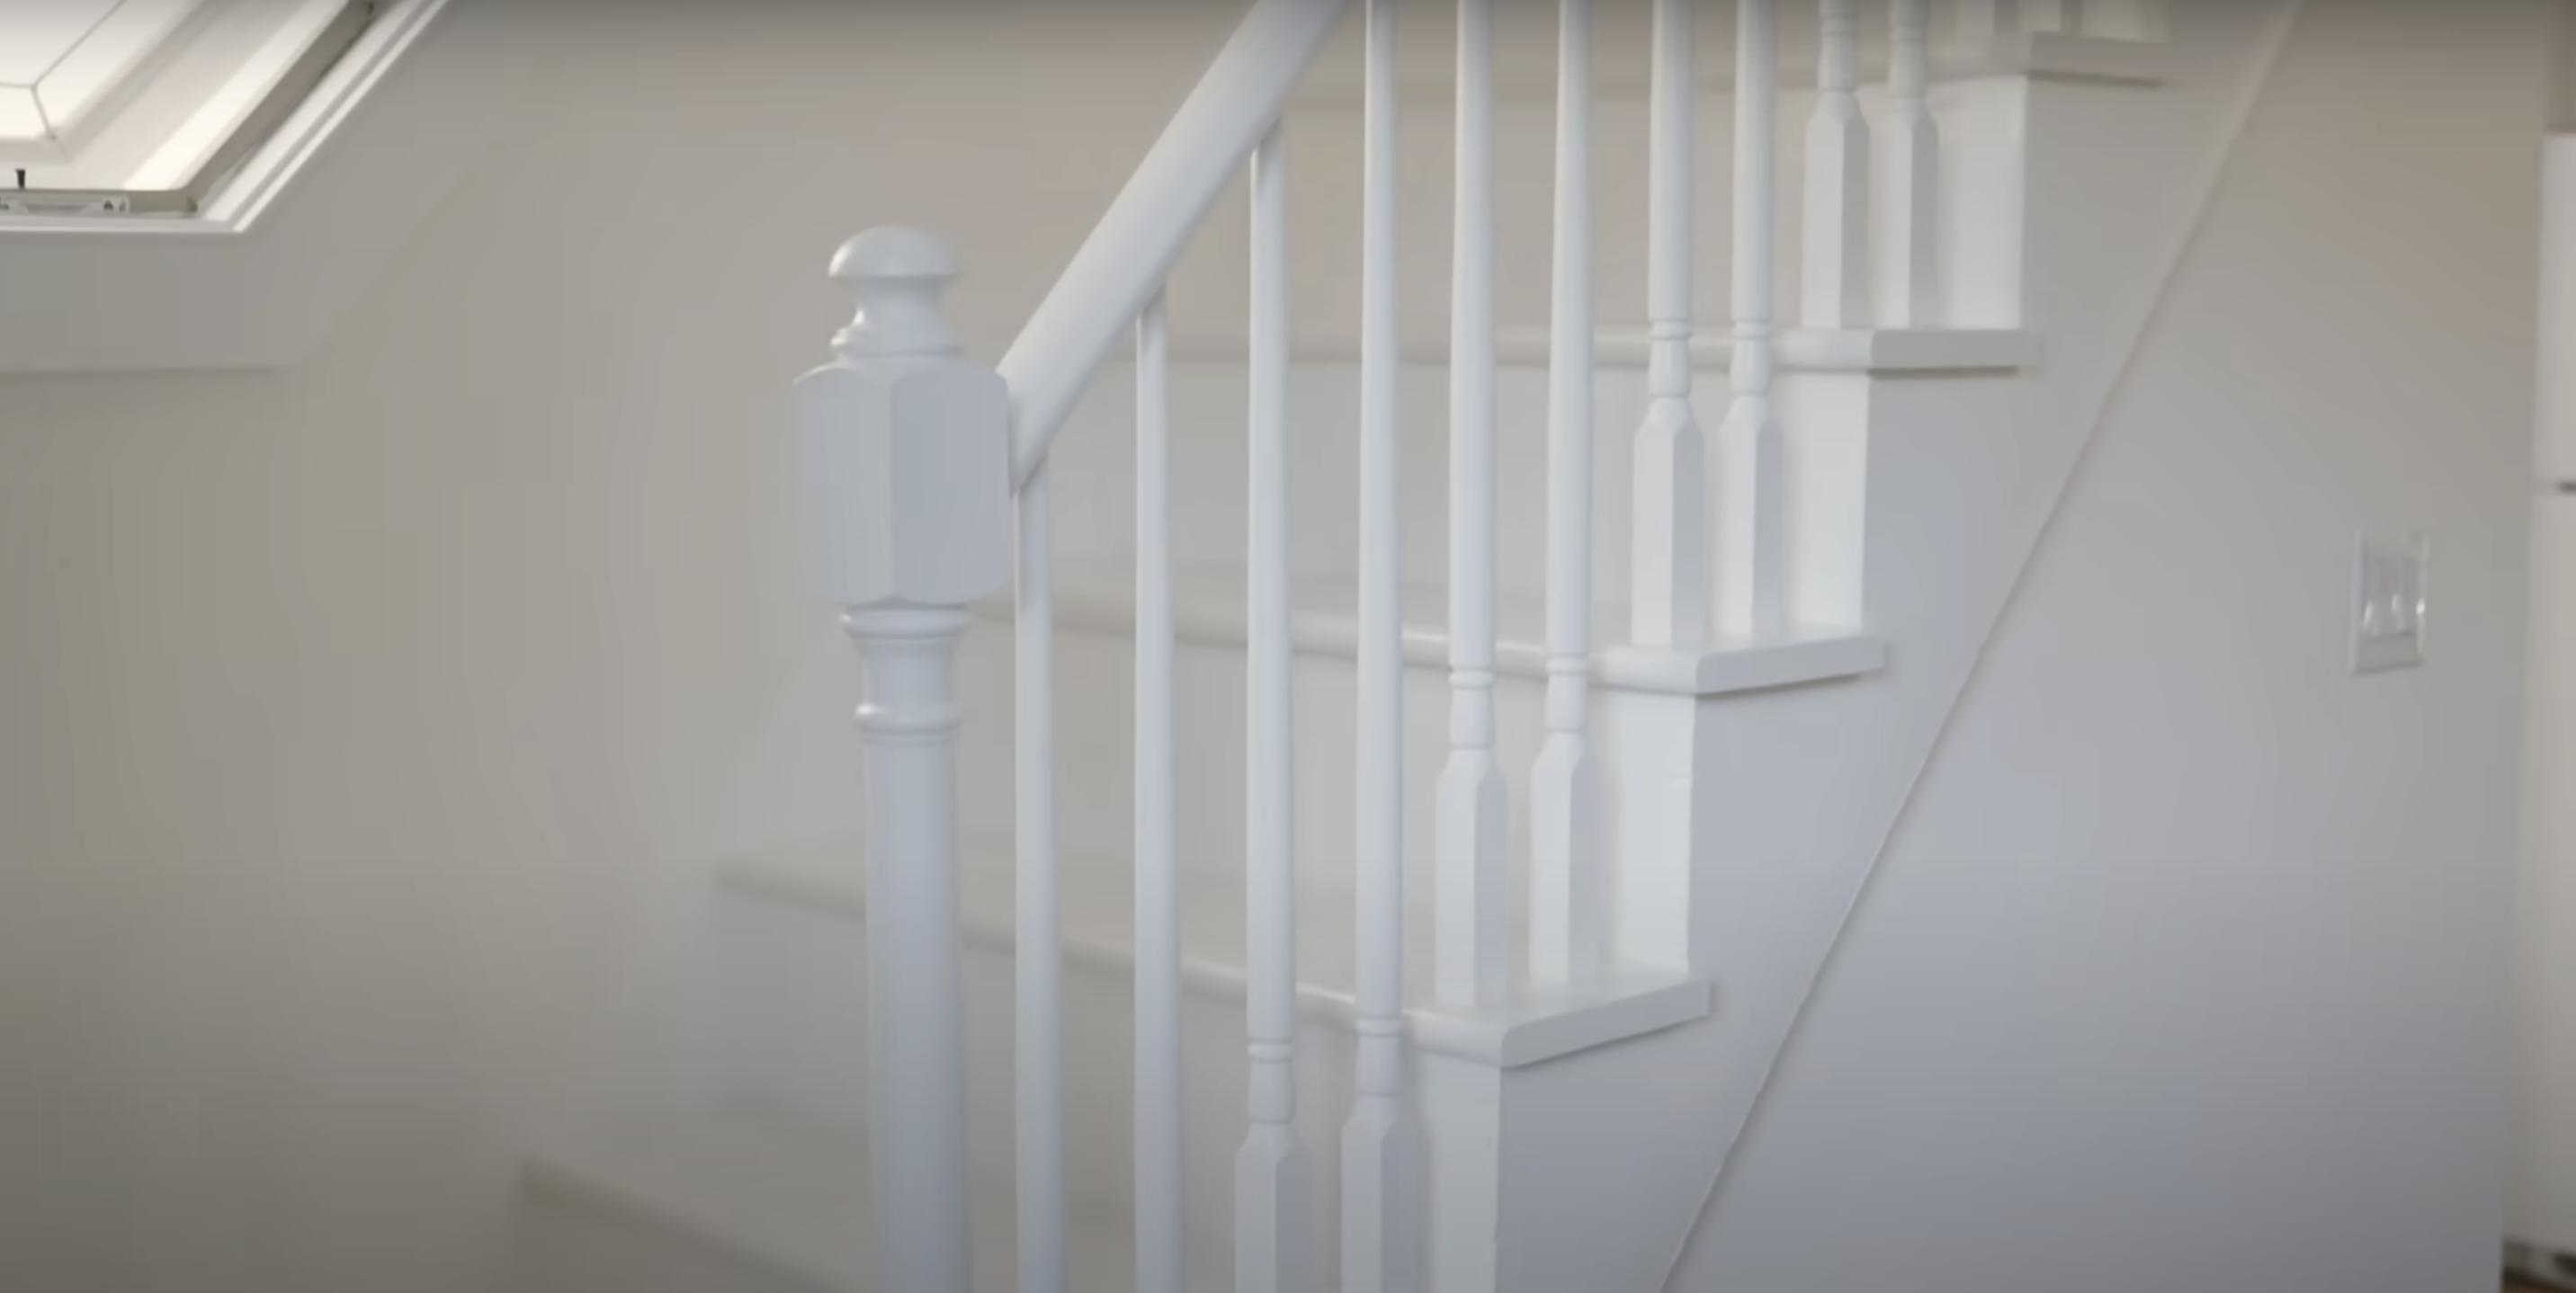
Conclusion
Painting stair treads takes time, but adds big value to your home. The key steps, sanding, priming, using quality floor paint, and proper drying, make all the difference between success and failure.
Remember what we covered: choosing the right paint, working with humidity, understanding risks, and planning for pets and family during the process.
The details matter most. Take your time with the prep work. Use thin coats rather than thick ones. Let each layer dry fully.
Your stairs connect the parts of your home. When painted well, they add beauty and function that lasts for years. The effort you put in now pays off every day when you walk up and down stairs that look clean, fresh, and well-maintained.
Frequently Asked Questions
1. What is the 27 Rule for Stairs?
The 27 Rule states that the sum of each stair tread depth and twice the riser height should equal 27 inches for comfortable walking.
2. Is Painting Stair Treads a Good Idea?
Painting stair treads works well with proper preparation and durable paint. Add non-slip additives to prevent falls on slick surfaces.
3. Can you Paint Wood Stairs without Sanding?
You can use a bonding primer instead of sanding. However, light sanding improves paint adhesion and leads to a longer-lasting finish.