Looking at your concrete floors and wondering about those dark spots creeping into corners?
You’re not alone – thousands of homeowners face mold growth on their concrete surfaces every year, often without realizing it until the problem becomes serious.
Here’s what most people don’t know: concrete’s porous nature makes it a perfect breeding ground for mold when moisture and organic matter combine. This creates health risks for your family and costly damage to your property. The musty smells, respiratory issues, and expensive remediation bills can all be avoided.
But there’s good news. You can stop mold before it starts with six simple prevention methods that cost far less than professional cleanup. These proven techniques will protect your basement, garage, and outdoor concrete surfaces year-round.
Ready to learn how to keep your concrete mold-free? Let’s get started.
Can Mold Grow on Concrete?
Yes, mold can definitely grow on concrete. This surprises many people because concrete seems like a hard, clean surface that can’t support life. However, mold doesn’t need to eat the concrete itself to survive and spread.
Concrete is naturally porous with tiny holes that trap water and organic materials. When moisture combines with dust, dirt, dead skin cells, and other debris, it creates the perfect food source for mold spores.
How does mold grow?
Mold requires three basic conditions:
- Moisture – the most critical factor
- Organic matter – for food and nutrients
- Warm temperatures – to speed growth
Common Problem Areas
You’ll typically find mold on concrete in:
- Basements – high humidity and poor airflow
- Garage floors – wet vehicles bring moisture
- Bathroom floors – constant steam exposure
- Outdoor patios – rain and organic debris
The key truth: Mold grows ON concrete surfaces, not IN the concrete itself. It feeds on organic matter that sits on top, making removal challenging once established.
How to Identify Mold on Concrete?
Spotting mold on concrete surfaces requires knowing what to look for. Mold often hides in plain sight, disguised as simple stains or discoloration.
1. Visual Signs: Look for unusual colors on your concrete. Black spots or patches are the most common signs. You may also notice green, fuzzy growth; white, powdery substances; or dark stains that spread over time. These marks often appear in corners, along walls, or near water sources.
2. Texture Changes: Run your hand over suspicious areas. Mold feels different from regular concrete. Fuzzy or slimy textures indicate active growth. Rough, raised spots might show where mold has been growing for weeks.
3. Smell Test: Musty, earthy odors are strong indicators of mold presence. This smell gets stronger in enclosed spaces like basements or closets. If you notice a damp, stale scent, check concrete surfaces nearby.
4. Location Patterns: Mold typically appears in high-moisture areas. Check the concrete near water heaters, washing machines, bathrooms, and exterior walls. Corners and cracks collect more moisture and organic matter.
Professional testing kits can confirm mold presence when visual signs aren’t clear.
Why Mold on Concrete Is a Problem?
1. Health Effects Put Your Family at Risk
Mold on concrete creates serious health problems for everyone in your home. The most common issues include respiratory problems like coughing, sneezing, throat irritation, and asthma attacks.
2. Property Damage Costs You Money
Mold causes real damage to your concrete and other materials. It creates permanent stains and weakens the concrete surface over time.
3. Indoor Air Quality Gets Worse
Mold releases tiny spores that float through your home’s air. These microscopic particles circulate through your HVAC system and spread to other rooms. You’ll notice persistent musty odors that make your home less comfortable.
4. Financial Impact Adds Up Fast
The cost of mold problems keeps growing the longer you wait. Professional removal and treatment services are expensive.
5. Living Conditions Become Uncomfortable
Mold makes your home less pleasant and safe for daily activities. The musty smell and visible growth create an unpleasant environment.
Step-by-Step Guide to Remove Mold from Concrete
Removing mold from concrete requires the right approach and safety measures. Follow these six simple steps to clean mold safely and prevent it from coming back.
Tools Needed:
| Tool | Purpose |
|---|---|
| 2-Gallon Sprayer | Applies borax solution evenly across large areas |
| Stiff Brush | Scrubs dead mold and grime off concrete surface |
| Old Toothbrush | Cleans detailed areas like cracks and corners |
| Dehumidifiers | Reduces moisture levels to prevent mold regrowth |
| Fans | Speeds up drying process and improves air circulation |
| Garden Hose (Optional) | Provides water pressure for effective rinsing |
Materials Required:
| Material | Purpose |
|---|---|
| Respirator Mask (N95/P100) | Protects lungs from breathing mold spores |
| Gloves | Prevents skin contact with mold and cleaning solution |
| Old Clothes | Disposable clothing to avoid contaminating clean items |
| Borax Powder | Kills mold and prevents regrowth naturally |
| Warm Water | Dissolves borax better and improves cleaning power |
| Clean Water | Removes dead mold particles and borax residue |
Step 1: Mix Borax Solution
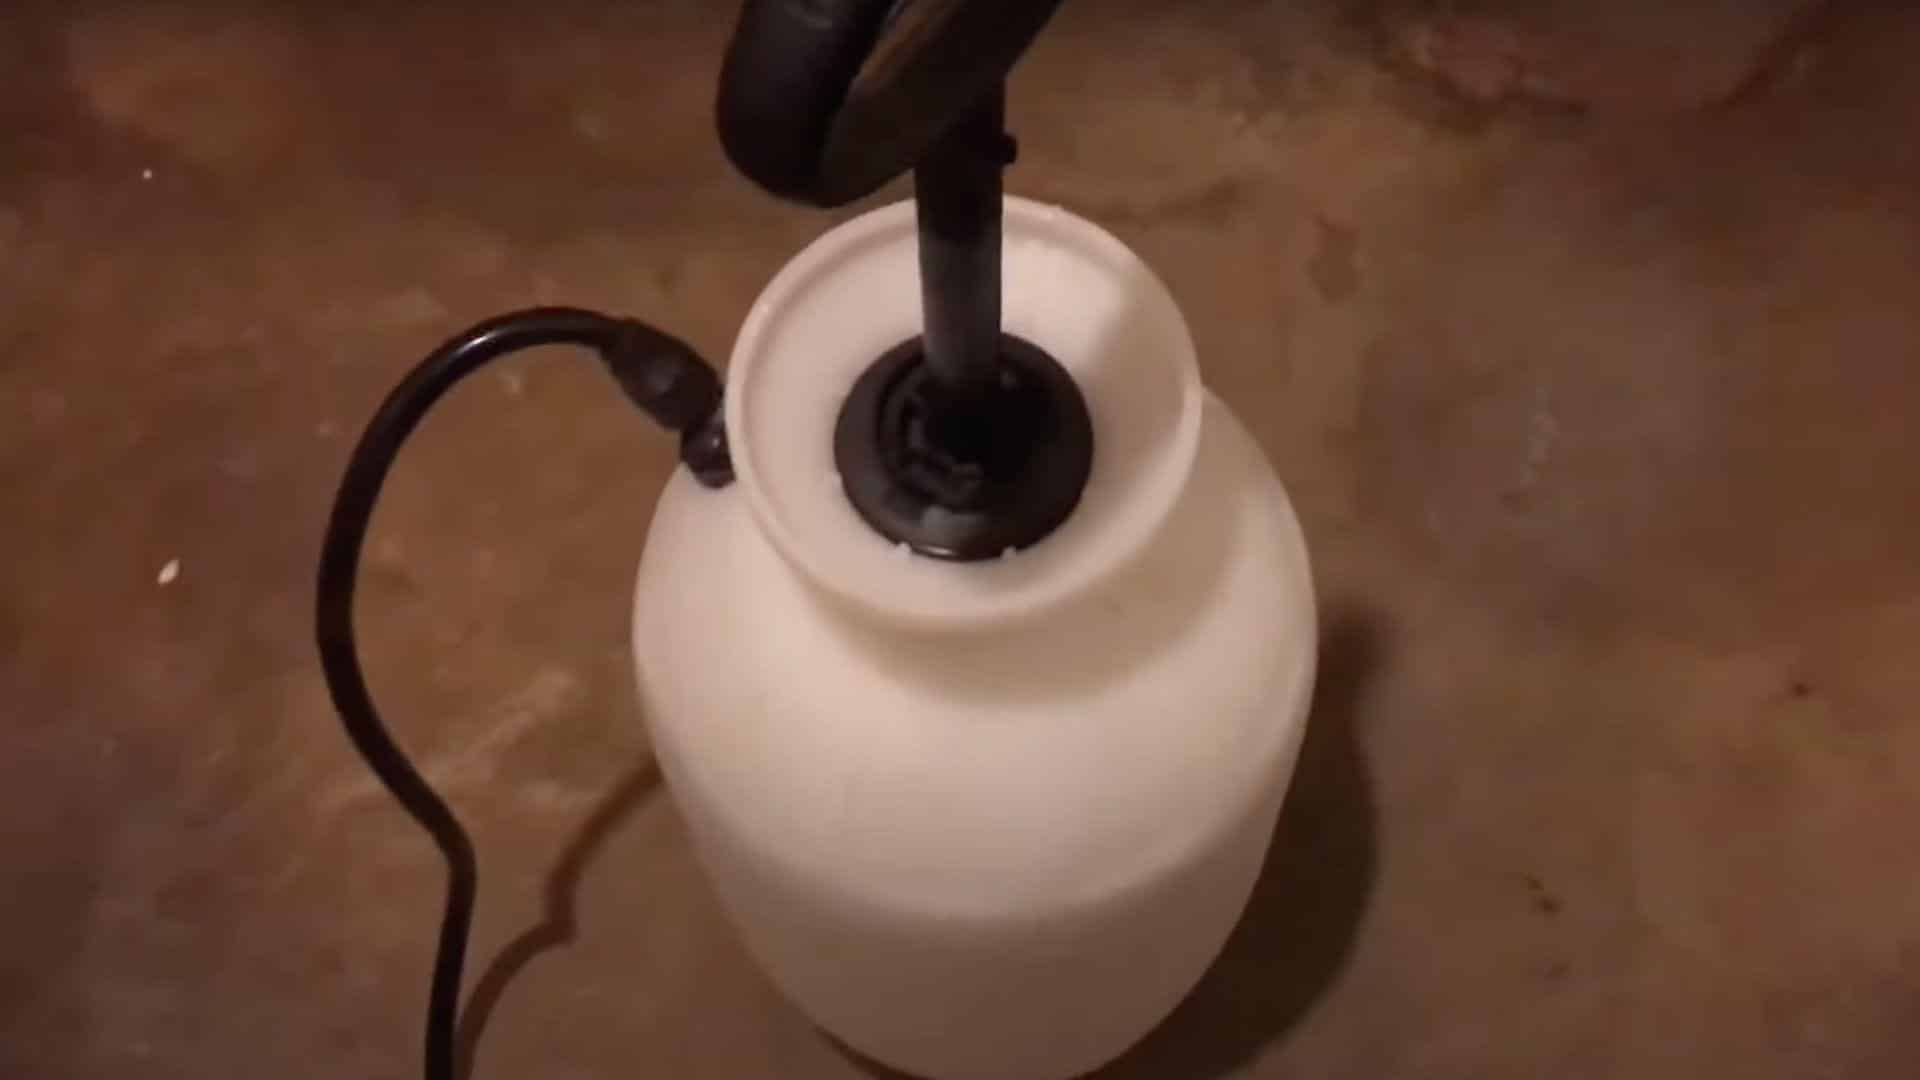
Prepare your cleaning solution by mixing one cup of borax with one gallon of warm water. For larger areas, use a two-gallon sprayer with two cups of borax.
Warm water helps borax dissolve better and makes the solution more effective. Mix thoroughly until all the borax powder has completely dissolved in the water.
Pro Tip: Test the solution on a small hidden area first to ensure it won’t damage your concrete surface.
Step 2: Spray the Moldy Area
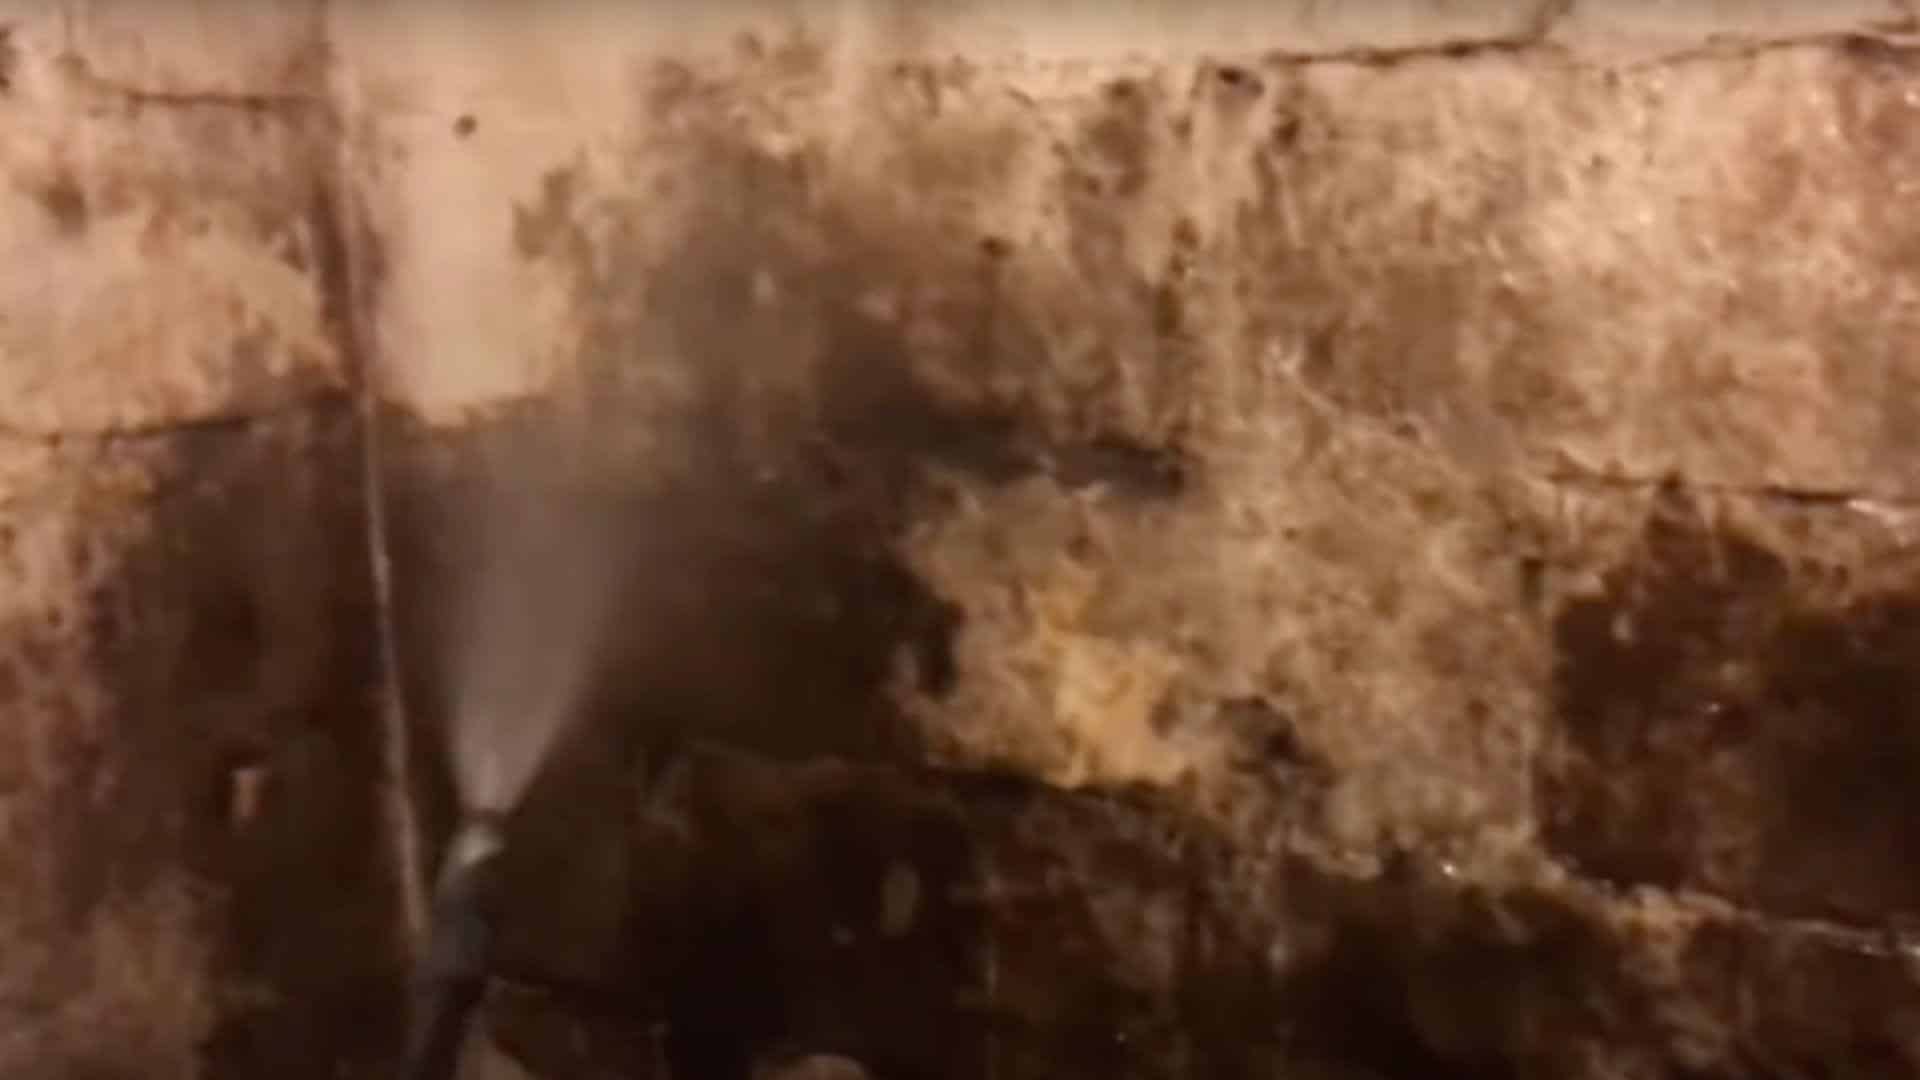
Fill your sprayer with the borax solution and pump it up. Spray the entire moldy area until it’s completely wet.
Don’t worry about adding moisture; the borax will kill the mold while you work. Make sure to cover all visible mold spots and extend slightly beyond the affected area to catch hidden growth.
Pro Tip: Work in sections if treating large areas to prevent the solution from drying before you can scrub.
Step 3: Scrub Thoroughly
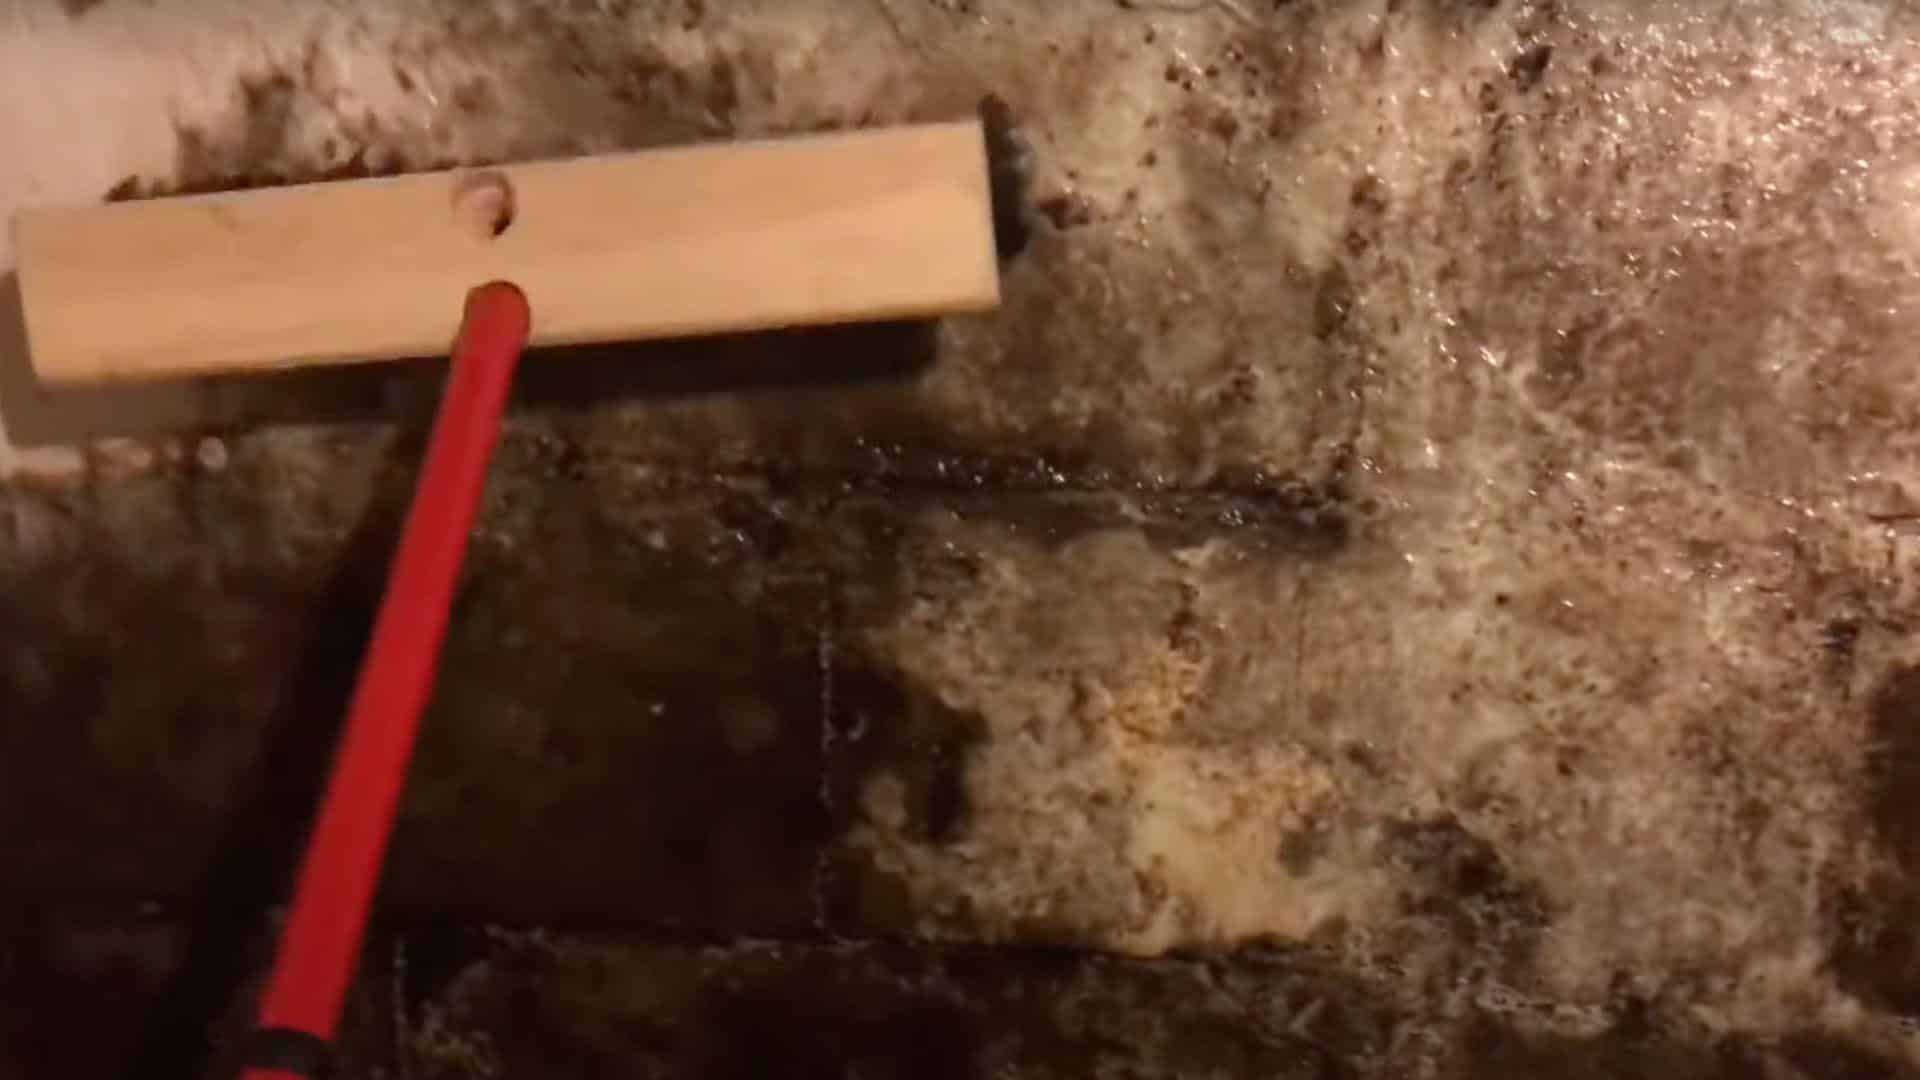
Use a stiff brush to scrub the treated area. Work in circular motions to remove dead mold and built-up grime. The borax solution kills the mold, making it easier to remove with scrubbing.
You’ll see dirt, grime, and dead mold coming off the surface. Keep scrubbing until the surface looks clean.
Pro Tip: Use an old toothbrush for detailed work in cracks and crevices where mold likes to hide.
Step 4: Rinse with Clean Water
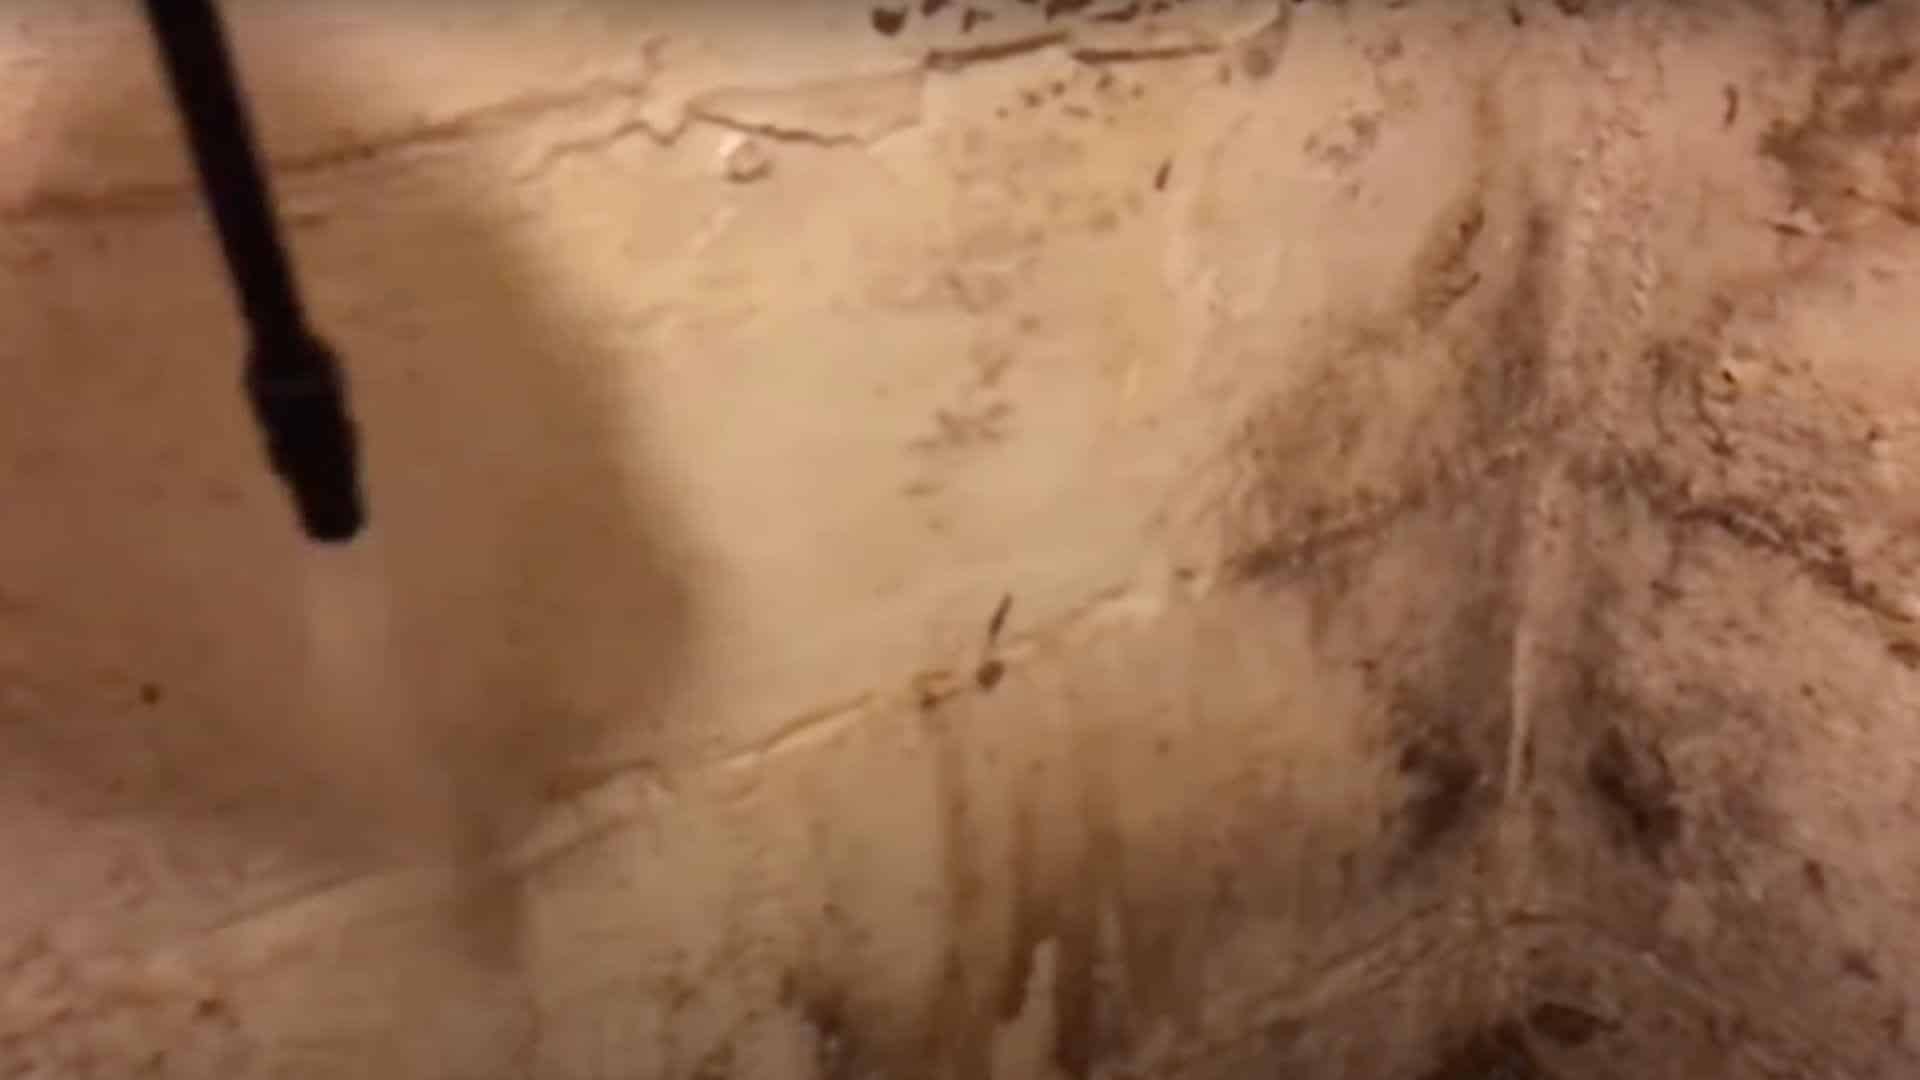
Refill your sprayer with clean water and rinse the scrubbed area thoroughly. This removes dead mold particles and leftover borax residue.
Watch the dirty water run off – this shows the cleaning process is working. Continue rinsing until the water runs clear and no soap or debris remains on the surface.
Pro Tip: Use a garden hose if available – the water pressure helps remove stubborn mold particles more effectively.
Video Tutorial
I’d like to give credit to How To Video Channel for their informative video, which served as a reference for this guide.
Remediation Techniques for Mold on Concrete
Effective mold removal from concrete. These proven techniques range from simple household solutions to professional interventions for extensive damage.
| Remediation Technique | Method | Best Applications |
|---|---|---|
| Surface Cleaning Methods | Use soap and water, hydrogen peroxide, or diluted bleach for surface mold removal. | Light surface mold on interior and exterior concrete |
| Deep Cleaning Solutions | Application of commercial fungicides or mold-killing solutions for more stubborn infestations | Persistent mold growth that resists basic cleaning |
| Pressure Washing | High-pressure water application to remove mold from concrete surfaces | Outdoor concrete including sidewalks and patios |
| Abrasive Methods | Sandblasting or grinding for extensive mold damage, followed by resealing | Severe mold damage with deep penetration |
| Professional Mold Remediation Services | Expert assessment and treatment by certified professionals | Widespread mold growth affects indoor air quality |
Offer the most accessible approach for homeowners dealing with minor mold issues. These basic solutions work effectively on fresh growth before it penetrates deep into concrete pores.
Conclusion
Mold prevention on concrete doesn’t have to be complicated or expensive. The strategies we covered – from humidity control to proper sealing – work because they target the root causes before problems develop.
Why does this matter? Simple prevention saves you from spending thousands on professional mold removal while protecting your family’s health. Those small steps you take today prevent major headaches tomorrow.
So what’s your next move? Start with a humidity check in your most vulnerable areas, like basements and garages. If levels sit above 60%, install a dehumidifier immediately. Then work through our other prevention methods one by one.
Don’t wait for mold to appear – it’s always harder to remove than prevent. Take action this weekend and give your concrete surfaces the protection they need.
What area of your home will you tackle first?
Frequently Asked Questions
Is Bleach or Vinegar Better to Kill Mold on Concrete?
Vinegar is better for concrete. It penetrates porous surfaces to kill mold roots, while bleach only cleans the surface. Vinegar also won’t damage concrete long-term.
Does Dawn Dish Soap Kill Black Mold?
Dawn soap helps remove mold but doesn’t kill it. It breaks down oils and grime that mold feeds on. Combine with vinegar for better results.
What to Put on Concrete to Stop Mold?
Apply mold-resistant sealers like concrete sealer or anti-microbial coating. Clean first, then seal annually. Keep humidity below 60% and ensure good drainage around surfaces.