Looking to add structure and style to your garden without breaking the bank? Paver edging might be the perfect solution you’ve been searching for.
Many homeowners struggle with messy garden borders where grass creeps into flower beds and mulch spills onto walkways. These unclear boundaries make even well-maintained yards look unfinished and chaotic.
But here’s the good news: installing paver edging is a manageable weekend project that delivers professional-looking results. With basic tools and quality materials, you can create clean, defined borders that organize your outdoor space beautifully.
This guide will walk you through every step of the process, from planning your layout to applying the finishing touches. You’ll learn how to build stable, attractive edging that keeps your landscape looking neat and polished for years to come.
Why Choose Paver Edging?
Paver edging is more than just a decorative touch it’s a smart, long-lasting solution for defining and organizing your outdoor space.
Unlike flimsy plastic or metal options, paver edging offers genuine durability and a polished, professional finish that improves the overall appearance of your landscape.
One of its greatest strengths is stability. When installed properly, especially in a staggered two-row design, paver edging can support significant weight and resist shifting from weather, foot traffic, or garden activity.
It also helps prevent grass from creeping into flower beds and keeps mulch, gravel, or soil neatly contained.
From a design perspective, pavers add texture and character. Whether you want a rustic cottage feel or a clean, modern border, paver stones come in a variety of colors and finishes to complement your yard.
They create crisp lines between areas like lawns, garden beds, and walkways, bringing structure and flow to your landscape.
For DIYers, paver edging strikes a perfect balance between aesthetics and function. It’s a rewarding weekend project that delivers lasting results with minimal upkeep.
Smart Planning Tips Before You Start Edging
- Measure the total length of your edging area
- Mark the layout with stakes and string (helpful for curves and corners)
- Calculate needed materials:
- Pavers: total linear feet × 2.5 (for two rows) + 10–15% extra
- Paver base: ~0.5 cubic feet per linear foot
- Adhesive: 1 tube per 10–12 linear feet
- Set a project budget ($200–$300 for 50 feet on average)
- Break the project into 2–3 days for manageable pacing
- Check the weather forecast—work in dry, mild conditions
- Gather all tools and materials before starting
- Contact local utility services before digging (e.g., 811 in the U.S)
Paver Edging Installation: Step-by-Step Guide
Learn how to install paver edging with this clear, step-by-step guide. From preparing the base to setting each stone, this walkthrough ensures a clean, durable border that improves your landscape design and keeps garden beds, walkways, or patios neatly defined.
Tools and Materials Needed
| Tools | Materials |
|---|---|
| Edger/Shovel | Tumbled Pavers |
| Level | Paver Base (Sand/Stone Mixture) |
| Rubber Mallet | Stakes |
| Measuring Tape | String |
| Gloves | Landscape Adhesive |
| Wheelbarrow | Construction Adhesive |
| Rake | Optional: Rental Equipment for Trench Cutting |
Step 1: Remove Existing Edging
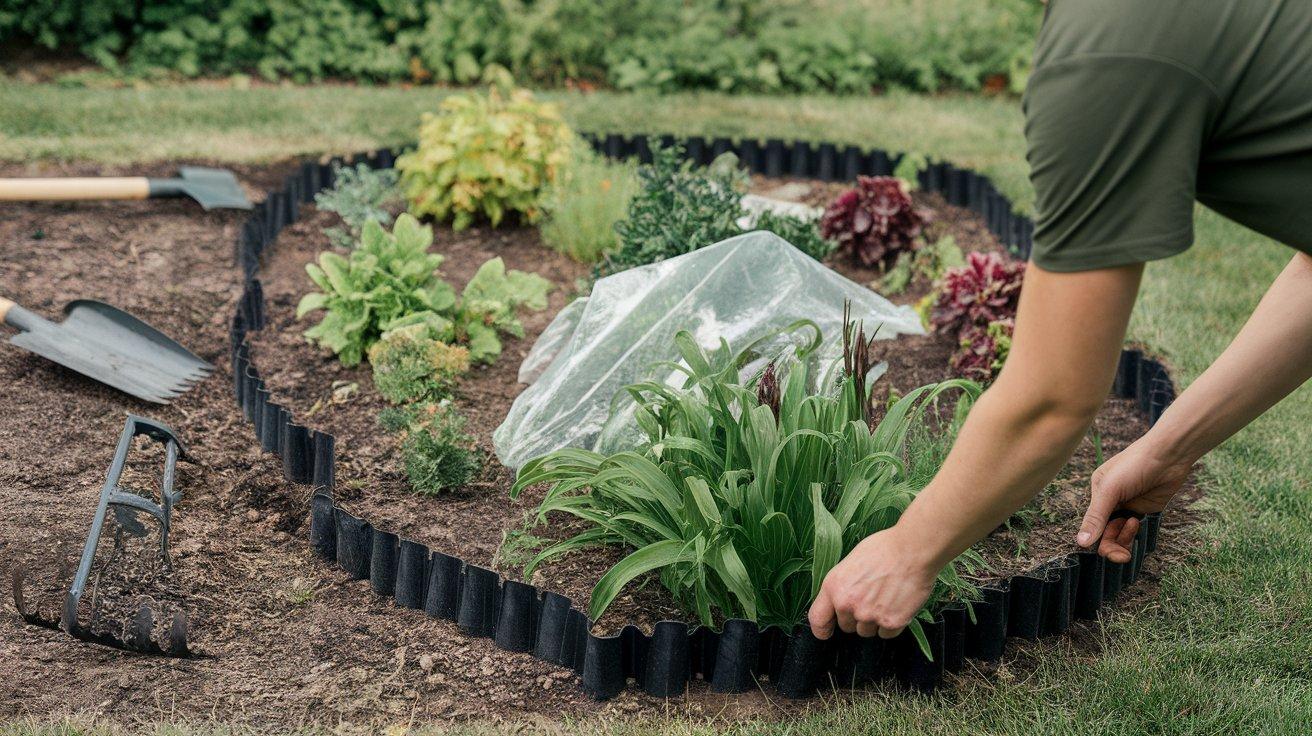
Begin by removing any existing edging materials from your garden border. The video shows the removal of black plastic edging that was previously installed.
This step creates a clean slate for your new paver edging. Work your way along the entire length of your planned edging area, pulling out the old material completely.
During this process, take care not to damage any nearby plants or irrigation systems. This initial preparation ensures you have a clean workspace to begin your new installation.
Step 2: Plan Your Layout
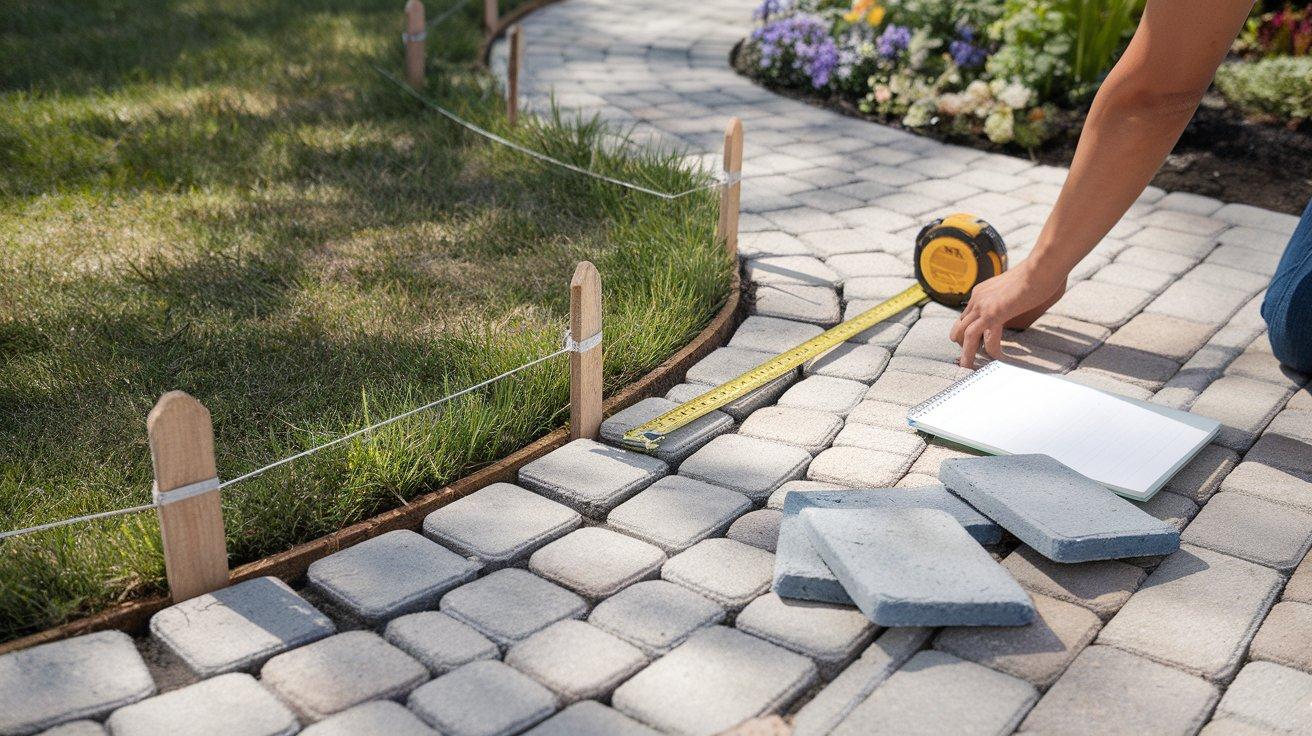
Before digging, plan your edging path carefully. Measure the total length needed (in this case, approximately 45 feet) and determine how many pavers you’ll need based on their dimensions.
Consider the pattern you want to create. The example shows a staggered two-row design using tumbled stones. Mark the beginning and end points of your edging with stakes to visualize the finished project.
Planning helps ensure you purchase enough materials and prevents mistakes that could cost time and money later.
Step 3: Dig the Trench
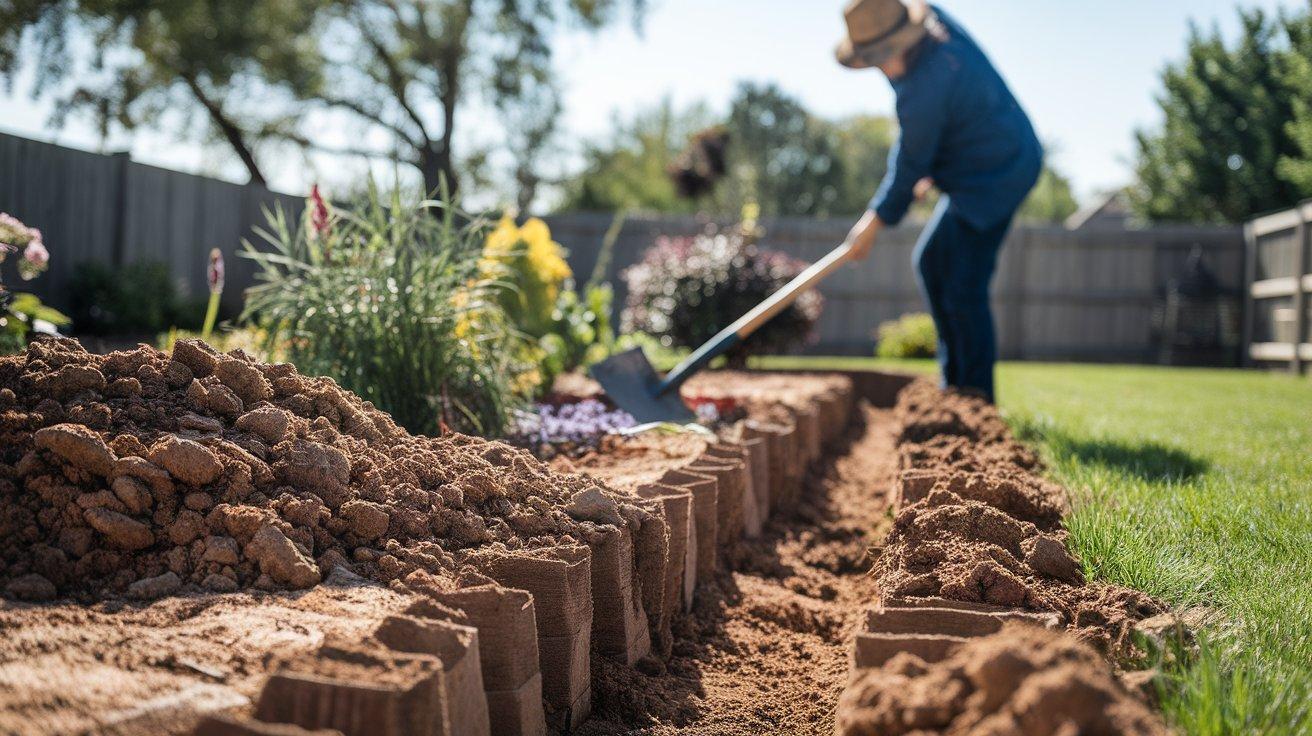
Using an edger or shovel, dig a trench along your planned edging line. The trench should be approximately 6 inches deep to accommodate both the paver base and the first row of stones.
Work in small sections, stepping on the shovel every 6 inches to maintain a consistent trench width. Take your time with this step, it’s crucial for creating a level foundation.
The video demonstrates using a hand edger, but mentions renting equipment for longer stretches to save time and reduce physical strain.
Step 4: Create a String Line
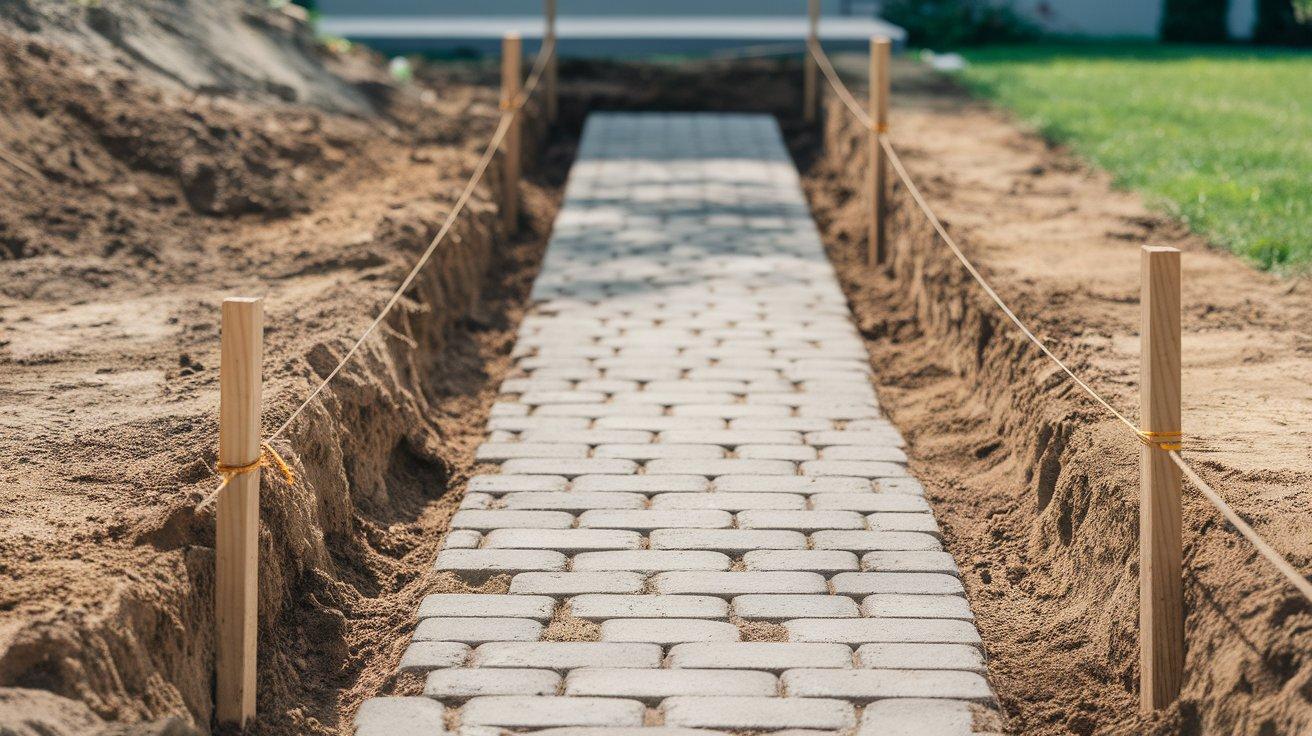
Install stakes at both ends and in the middle of your trench, then tie a string between them to create a straight reference line.
This string line will guide your installation and help ensure your edging stays straight throughout the entire length. If your property has any slope, check the string for level.
The video notes that the ground was relatively level in this project, making the process easier, but emphasizes the importance of keeping everything aligned over the 45-foot stretch.
Step 5: Add the Paver Base
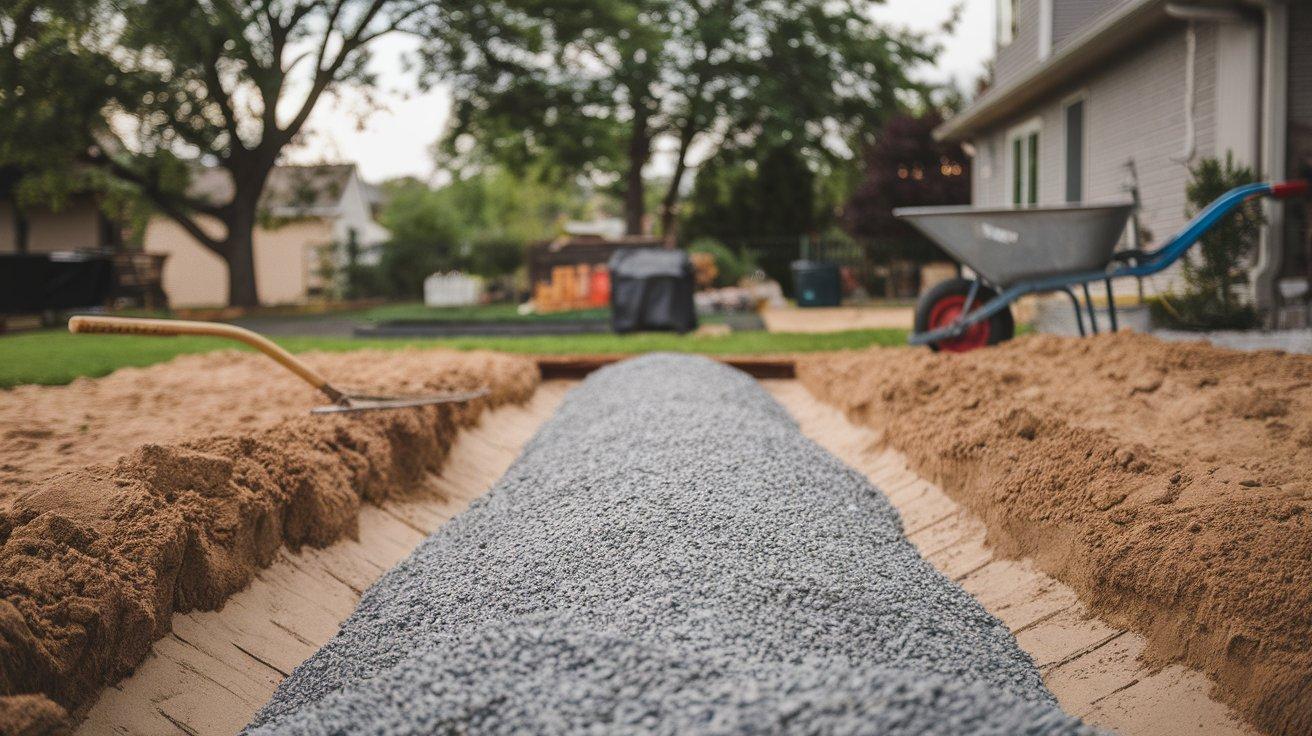
Pour your paver base material (the sand and stone mixture) into the trench to create a stable foundation. Spread it evenly to a depth of about 4 inches, leaving room for the pavers to sit partially below ground level.
The paver base provides drainage and prevents shifting over time. The transcript mentions that the textured sides of the tumbled stones work well with this base, as the material gets into the nooks and crannies to create stability.
Step 6: Install the First Row
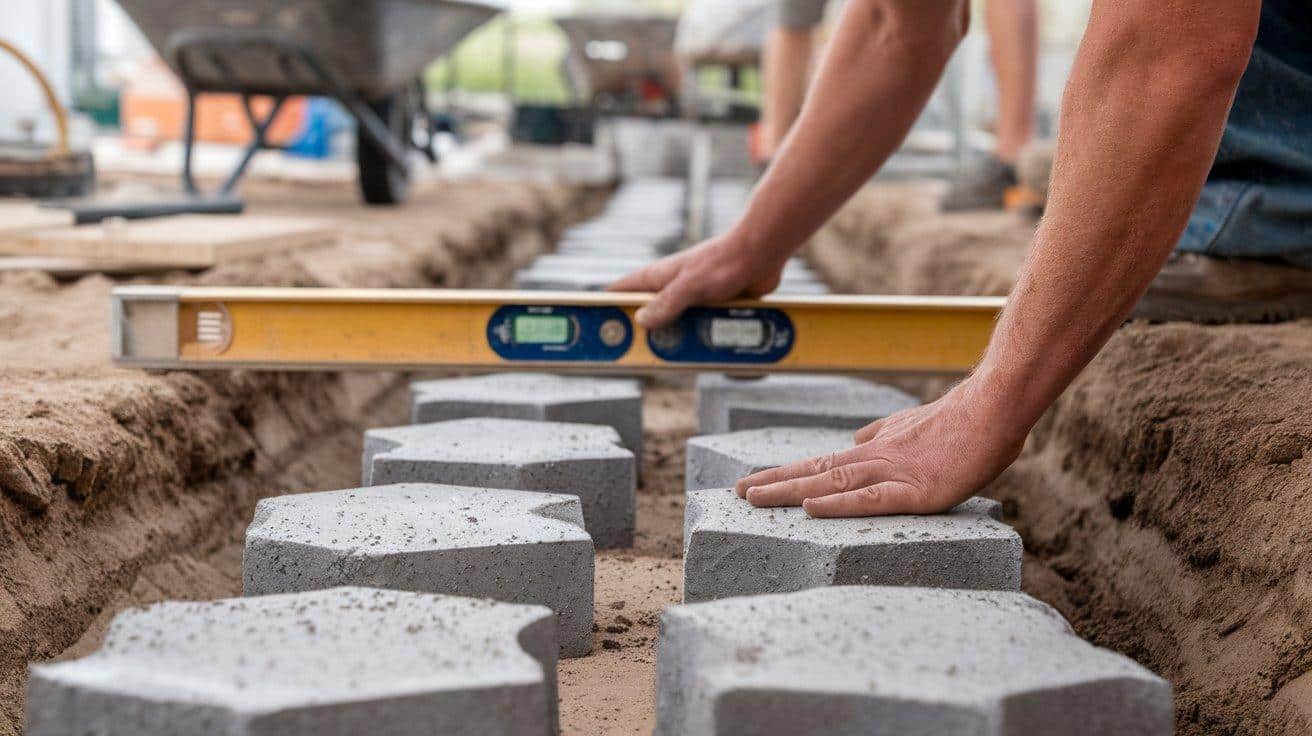
Place your first row of pavers into the trench on top of the base material. Position each stone tightly against the next, checking frequently with your level to ensure they remain even.
The video shows installing the stones so that the first two inches of the four-inch-tall stones sit below grade, providing excellent stability.
This below-grade placement helps anchor the edging in place and prevents movement from freeze/thaw cycles or garden activities.
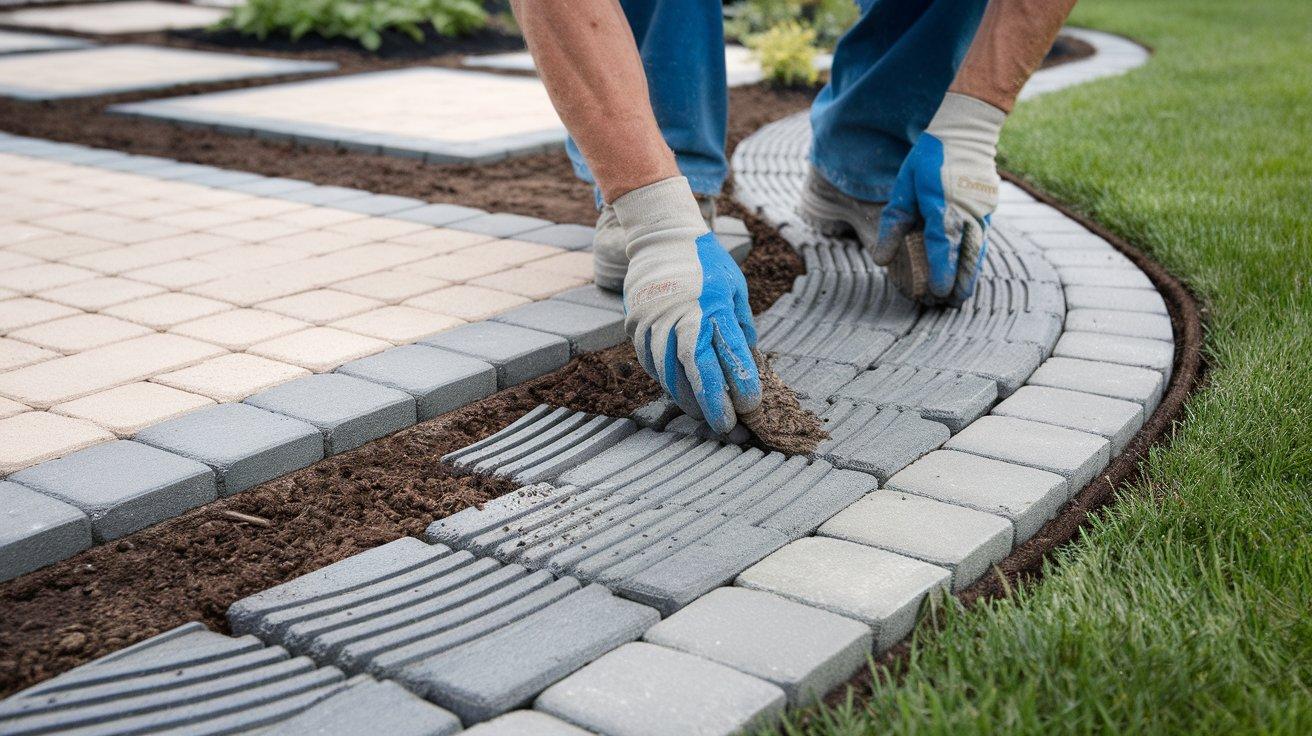
Step 7: Position the Second Row

Once your first row is complete and level, begin laying out your second row of pavers directly on top.
Take time to arrange them in a visually appealing pattern, staggering the joints between the first and second rows for maximum strength.
The video shows carefully selecting the order of stones to hide any broken pieces and create the most attractive appearance. This attention to detail makes a significant difference in the final look of your paver edging.
Step 8: Apply Adhesive and Stack
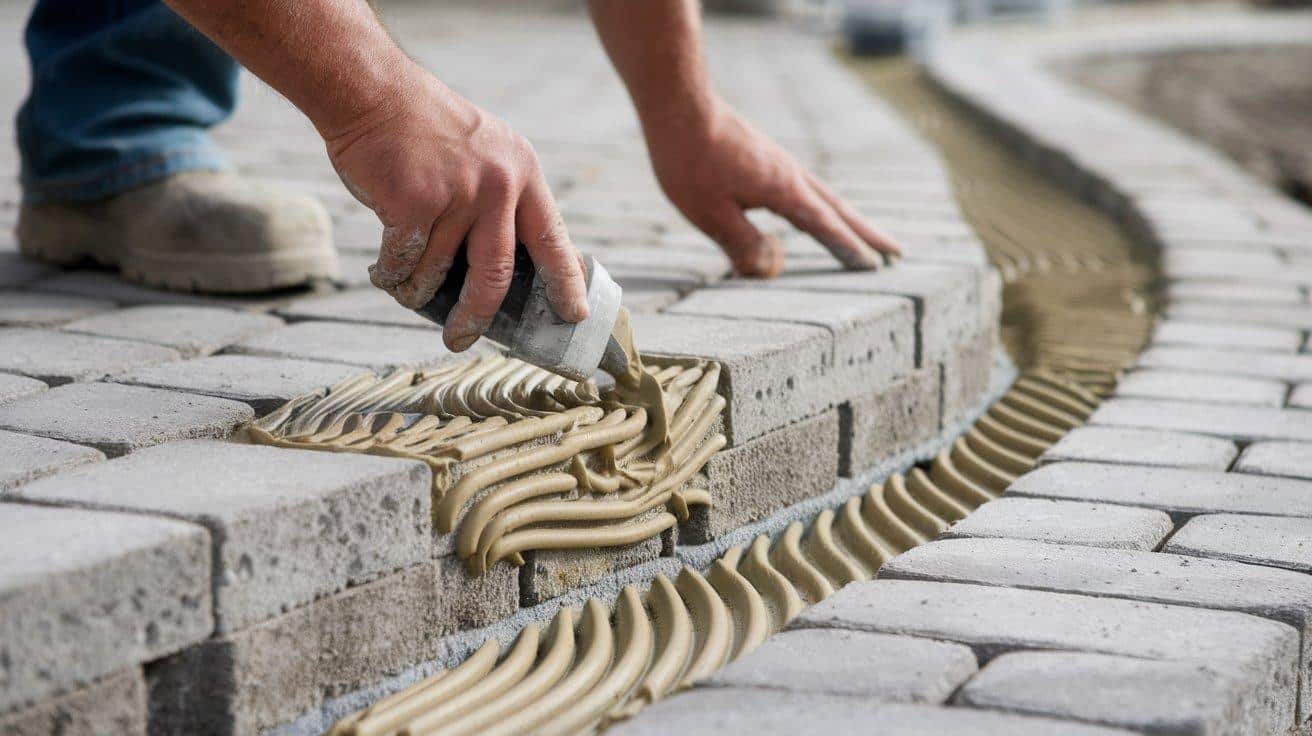
Apply construction adhesive to the top of your first row of pavers, then carefully place the second row on top. Press down firmly to ensure good contact between the layers.
The transcript mentions that the adhesive takes about a week to cure fully, giving you time to make minor adjustments if needed.
The combined weight of the stones (approximately 30 pounds per linear foot) plus the adhesive creates a remarkably stable border that can withstand weather and time.
Step 9: Clean Up and Final Touches
Once all pavers are installed, clean up any excess adhesive and fill in around the edging with soil or mulch as desired.
Step back and admire your work! This final step completes the transformation of your garden border.
The video concludes with several “beauty shots” showing how the finished paver edging connects different areas of the yard, creating a cohesive landscape design that enhances the overall appearance of the property.
Video Tutorial
I want to give credit to TDSheridan Lab for their informative video, which served as a reference for this guide.
Common Errors in Paver Installation
| Common Mistakes | Why It’s Problematic |
|---|---|
| Skipping the String Line | Results in crooked, unprofessional edging |
| Insufficient Trench Depth | Leads to unstable pavers that shift over time |
| Using Too Little Adhesive | Causes separation between rows as seasons change |
| Mixing Different Paver Types | Creates an inconsistent, disjointed appearance |
| Placing Edging Too Close to Lawn Mowers | The edge can be damaged during routine lawn maintenance |
| Ignoring Ground Slope | Can cause water pooling and undermining of the base |
| Rushing the Installation | Compromises the quality and longevity of the edging |
Top Paver Edging Designs to Upgrade Your Landscape
Improve the beauty and structure of your garden, walkway, or patio with these creative paver edging designs. From sleek modern lines to rustic borders, discover five inspiring ideas to add both charm and definition to your outdoor areas.
1. Curved Garden Bed Borders
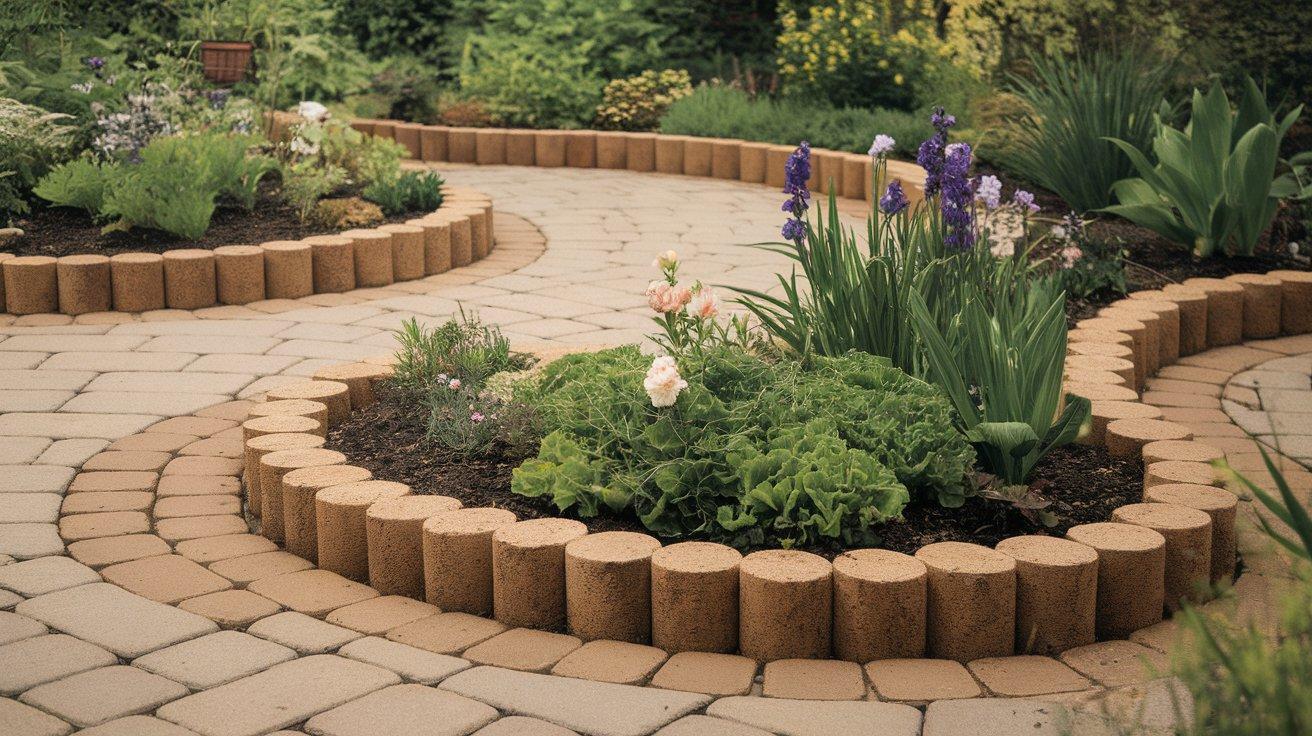
Use flexible string lines to outline soft, flowing curves around flower beds or shrubs. Curved paver edging creates a natural, organic feel and works beautifully in cottage or woodland-style gardens.
2. Tree Ring Edging

Build a circular paver edge around trees to protect the trunk area and create a tidy mulch ring. This adds structure, prevents mower or trimmer damage, and gives trees a clean, finished look.
3. Driveway or Walkway Framing
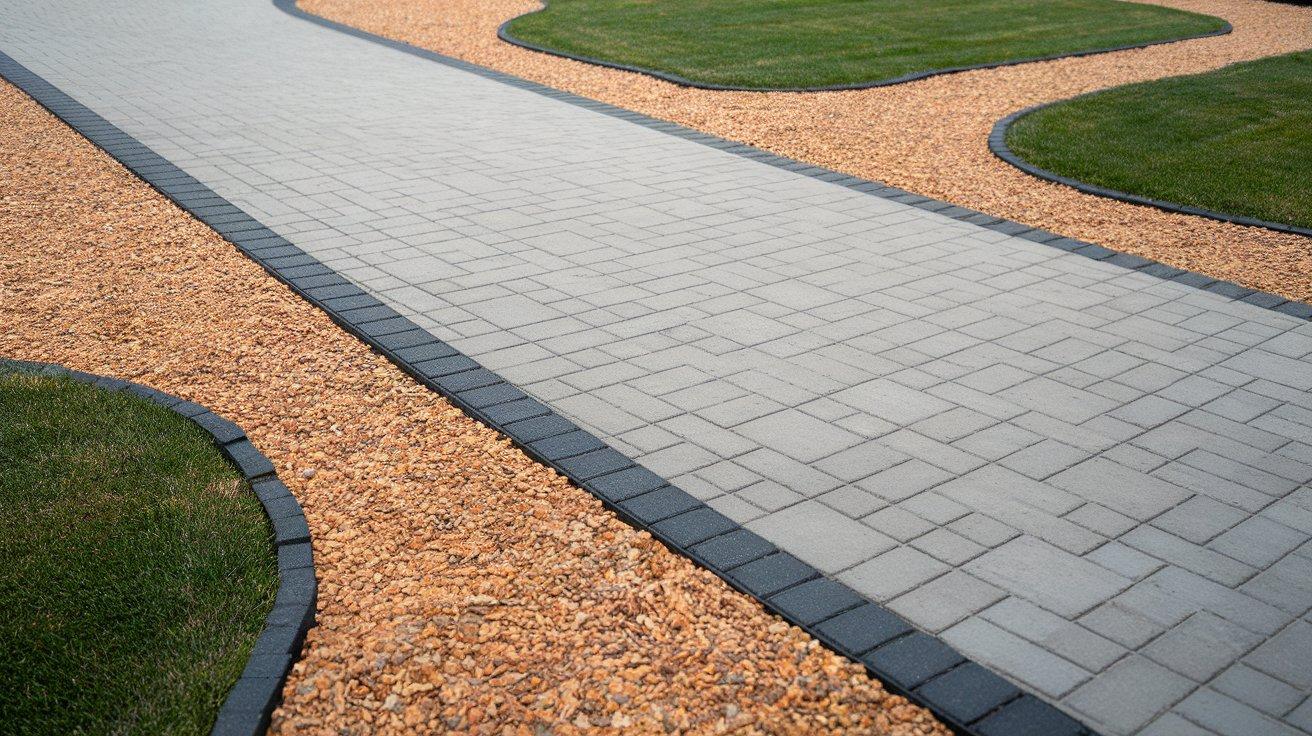
Line the sides of your driveway or main walkway with pavers to define the edges and prevent gravel or lawn from spilling over. Choose contrasting stone colors to make the path stand out.
4. Raised Bed Accent
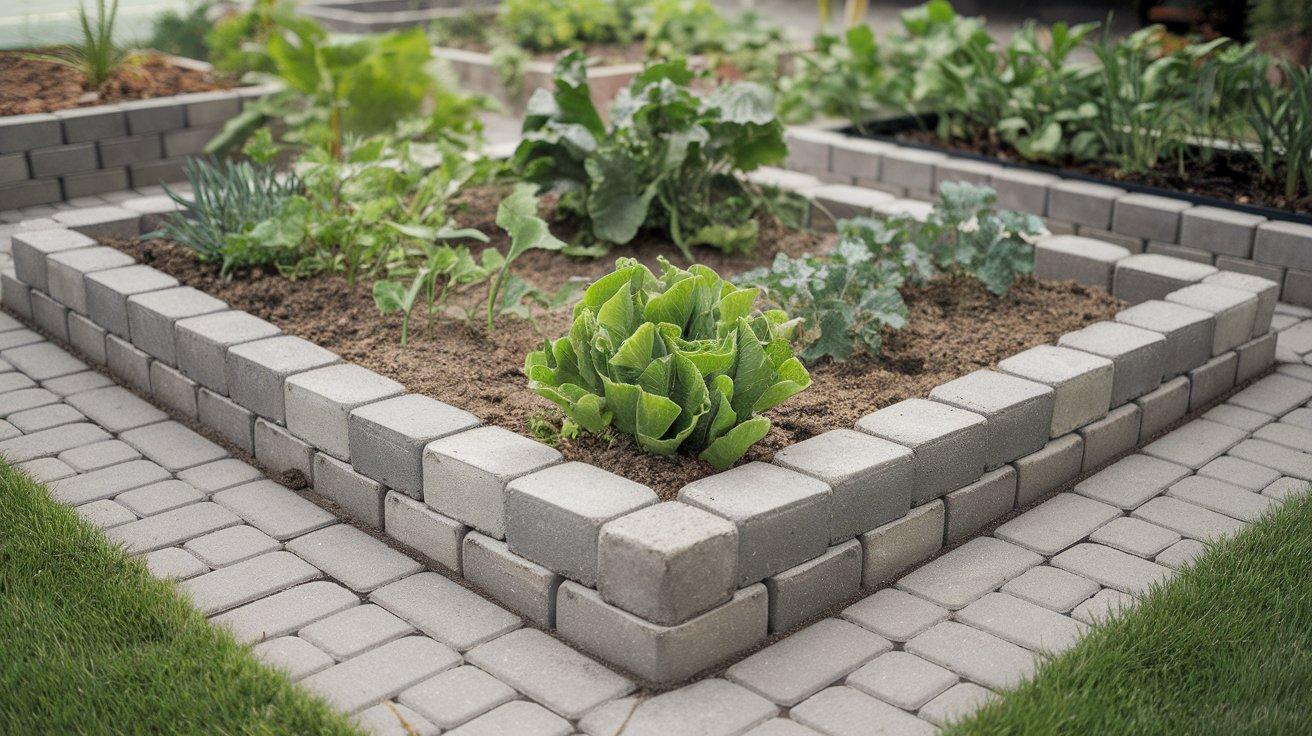
Use pavers to outline raised garden beds or vegetable plots. This makes your layout feel intentional and helps contain soil, mulch, or plants that might otherwise spread.
5. Fire Pit or Patio Perimeter
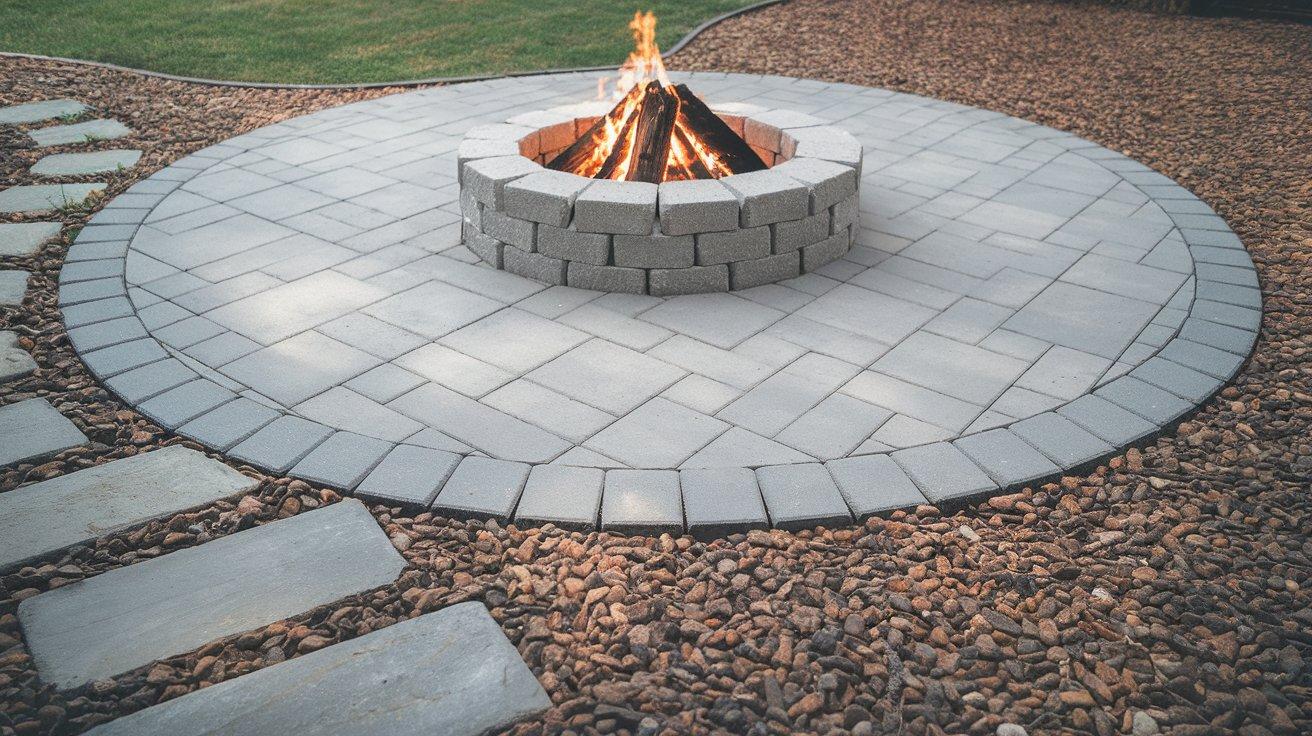
Edge around a backyard fire pit or patio space to separate it from the lawn or gravel area. It gives a polished, finished transition between hardscape zones and helps maintain clean boundaries.
If you're looking for even more creative ways to advance your landscape, be sure to explore the below blog for additional inspiration -Bold Paver Edges, Beautiful Details: 17 Ideas That Wow
Paver Edging Maintenance Tips
- Winter Care: Apply a penetrating sealer before the first frost to prevent water damage. Skip harsh de-icers and use sand instead for traction.
- Cleaning: Scrub twice a year with mild soap and a stiff brush. For tough stains, use vinegar. To protect the base, avoid pressure washing directly on the edging.
- Weed Control: Check for weeds regularly. In spring, use pre-emergent herbicides or natural methods like boiling water or vinegar to keep them at bay.
- Repairs: Reapply adhesive to fix loose pavers. Replace broken ones with spares from your original batch to maintain a consistent look.
- Seasonal Checks: Inspect monthly: relevel after frost, watch for summer shifts, and clear fall debris. Staying proactive keeps your edging in top shape all year.
Conclusion
Installing paver edging changes your garden by creating defined, graceful borders that connect different landscape elements.
This weekend project offers a significant visual impact while providing a durable solution that stands the test of time. By following these steps carefully, you can achieve professional results even as a DIY enthusiast.
The combination of proper preparation, quality materials, and attention to detail ensures your paver edging will improve your outdoor space for years to come.
Remember that patience during installation pays off with a beautiful, long-lasting garden feature that requires minimal maintenance while continuously improving your property’s appearance and value.
Ready to change your yard? Gather your tools, pick your favorite design, and start building your dream garden border today. You’ve got this one paver at a time!
Frequently Asked Questions
How Do You Hold Paver Edges in Place?
To hold paver edges in place, use construction adhesive between the rows, secure them with landscape edging spikes or metal brackets, and ensure the base is properly compacted to prevent shifting.
What Is the Best Way to Install Landscape Edging?
The best way to install landscape edging is to first mark the desired layout, dig a trench to the proper depth, secure the edging with spikes or anchors, and then backfill with soil or mulch to keep it in place.
What Do Professional Landscapers Use for Edging?
Professional landscapers typically use materials like metal, plastic, stone, or brick for edging, as these are durable, provide a clean look, and effectively define borders. For a more natural look, they may also use wood or concrete curbing.