Change your outdoor space with a clever 2-in-1 design that will wow your guests! This ingenious bench-to-picnic-table combo offers the ultimate solution for patios, gardens, and small yards.
With just eleven 8-foot 2x4s and basic tools, you can create a conversation piece that quickly converts from comfortable seating to a dining table.
Originally designed in Australia, these plans deliver a space-saving marvel that’s as practical as it is impressive. Perfect for outdoor gatherings, family meals, or peaceful morning coffee breaks, this adaptable furniture piece maximizes functionality without sacrificing style.
Ready to build something that combines smart engineering with everyday usefulness? This weekend project delivers twice the value while showcasing your woodworking prowess.
Let’s convert ordinary lumber into extraordinary outdoor furniture!
The Ingenious Convertible Bench-Table for Outdoor Spaces
The convertible bench-table hits the sweet spot between practical craftsmanship and clever engineering. While many woodworking projects serve as static showpieces, this design adds dynamic functionality to your outdoor living area.
What appears to be an ordinary bench holds a mechanical secret—with a simple pivot motion, it transforms before your guests’ eyes.
What makes this project particularly satisfying is the “aha” moment when all the angled cuts and careful measurements come together in a smooth motion.
Though it might look complex at first glance, the construction relies on straightforward techniques accessible to woodworkers with basic skills.
The design cleverly distributes weight in both configurations, ensuring stability whether used as seating or dining space—a thoughtful engineering detail often missing from commercial alternatives.
Tools and Materials Needed
| Materials | Tools |
|---|---|
| 11 pieces of 8-foot 2×4 lumber | Chop saw or miter saw |
| Exterior wood screws (2.5-3 inches) | Drill with various-sized drill bits |
| Weather-resistant wood finish or paint | Screwdriver or impact driver |
| Sandpaper (medium and fine grit) | Measuring tape (at least 8 feet) |
| Wood glue (exterior grade) | Speed square and combination square |
| Wood plugs or filler (for hiding screw heads) | Pencil and carpenter’s pencil for marking |
| Waterproof wood sealer | Orbital or palm sander |
| Tung oil or linseed oil (alternative finish option) | Saw horses or work table |
| Clear polyurethane (for added protection) | Safety equipment (eye protection, hearing protection, gloves) |
| Rubber feet or furniture pads (to protect surfaces) | Clamps (4-6 of various sizes) |
Step-by-Step Guide for Folding Picnic Table
Step 1: Prepare Your Plans and Workspace
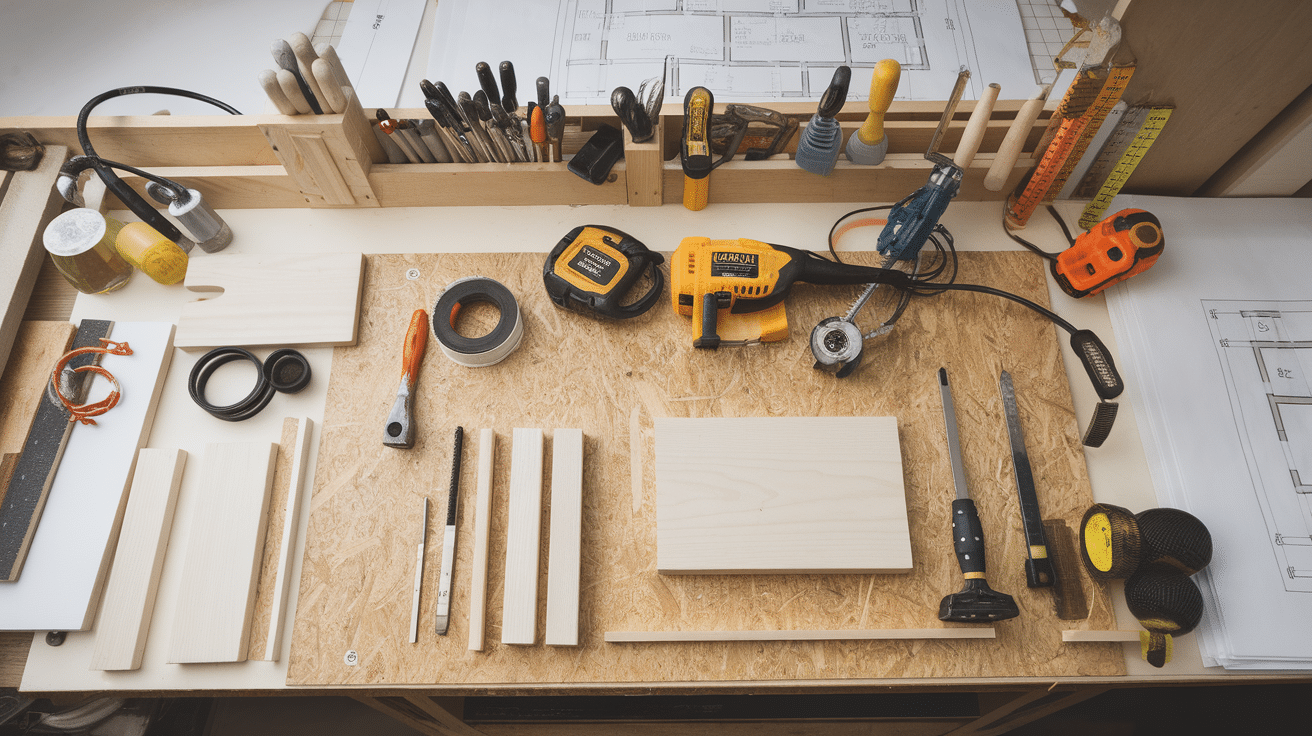
Begin by setting up your workspace with all tools and materials within reach. The original plans use metric measurements, so you may need to convert them to imperial measurements.
Take time to study the plans carefully, as the geometry can be tricky to visualize. Note that both bench sides will be slightly different from each other due to the transformation mechanism. Clear a large, flat area where you can lay out all your pieces as you cut them.
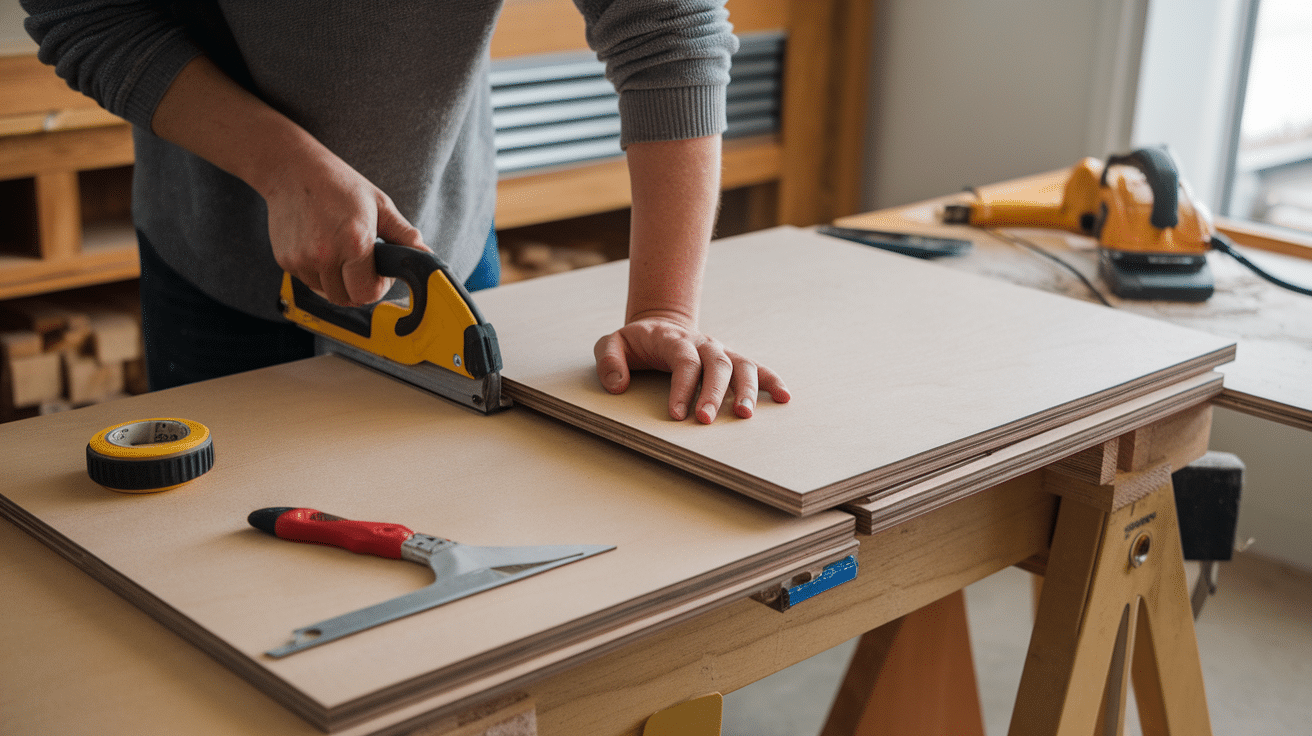
Step 2: Cut All Your 2×4 Pieces
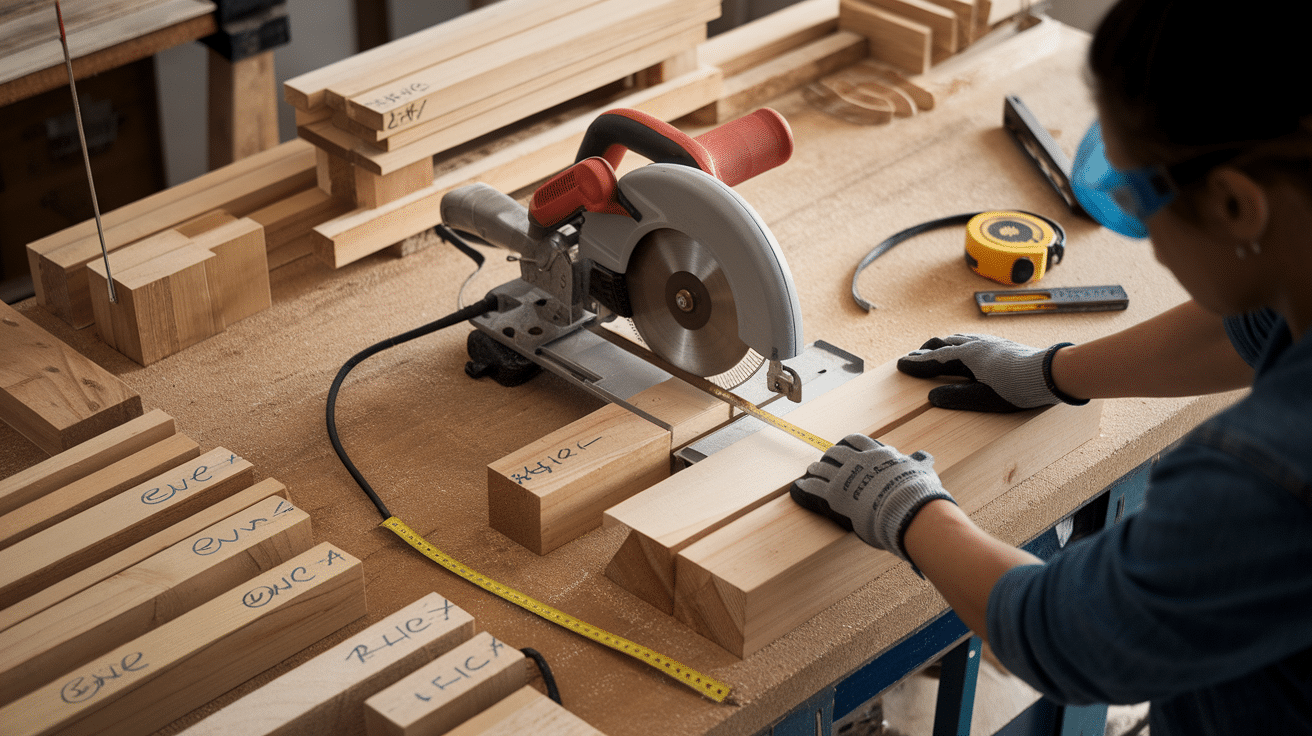
Using your chop saw, cut all the required pieces from your eleven 2x4s. Most pieces will be similar in size and shape, but pay special attention to the angles needed for proper movement. Label each piece as you cut it to avoid confusion later.
The chop saw makes cutting the angles relatively straightforward, but measure twice before each cut. This project requires precision, so take your time to ensure accurate cuts, especially with the angled pieces that allow the bench to transform.
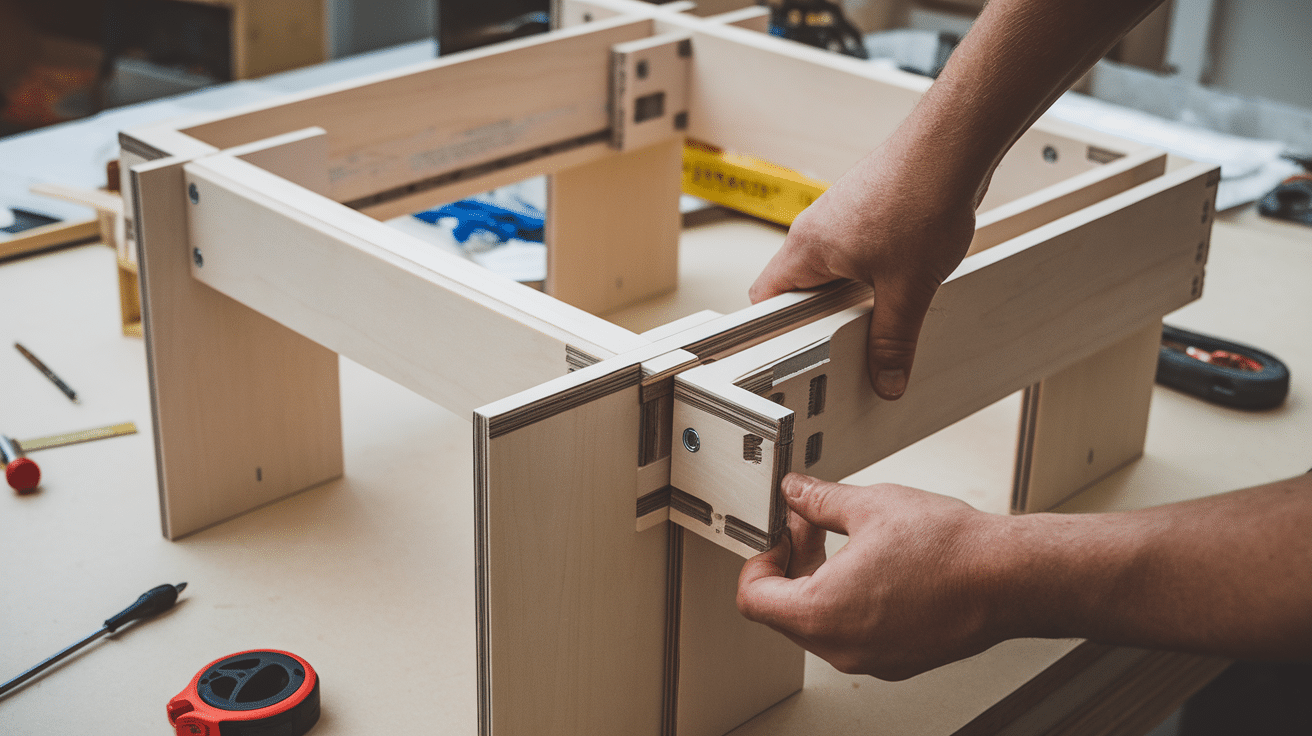
Step 3: Create the First Bench Side
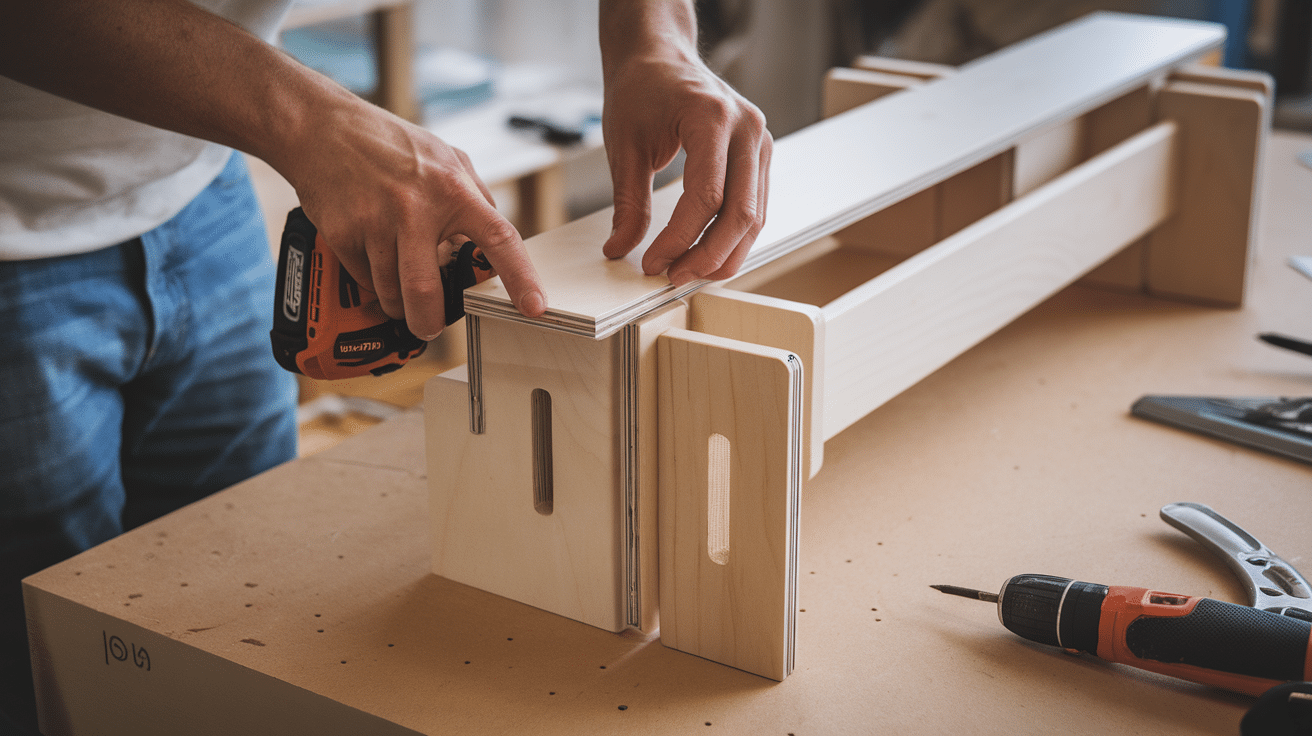
Lay out the appropriate pieces according to the plans to assemble the first bench side. This side will have specific geometry to accommodate the transformation mechanism. Begin by connecting the seat supports to the leg pieces, ensuring everything is square and properly aligned.
Drive screws through pre-drilled holes to prevent the wood from splitting. This bench side forms the foundation of your transformable furniture, so make sure all connections are secure and angles match your plans.
Step 4: Build the Second Bench Side
The second bench side will differ slightly from the first due to the mechanics of the transformation. Follow the plans carefully to ensure the differences are accurately incorporated. Again, pre-drill all screw holes to prevent splitting the wood.
These differences between the two sides allow the smooth transformation from bench to table, so precision is key. Test the movement of the pieces before the final assembly to ensure everything will work correctly.
Step 5: Create the Table Surface Pieces
Cut and prepare the boards that will serve as the table surface when the piece is in picnic table mode. These pieces need to attach correctly to both bench sides while allowing for the transformation movement.
Sand all edges thoroughly to prevent splinters and create a smooth finish. The table surface pieces are what tie the two bench sides together, so they need to be precisely measured and cut to ensure proper function.
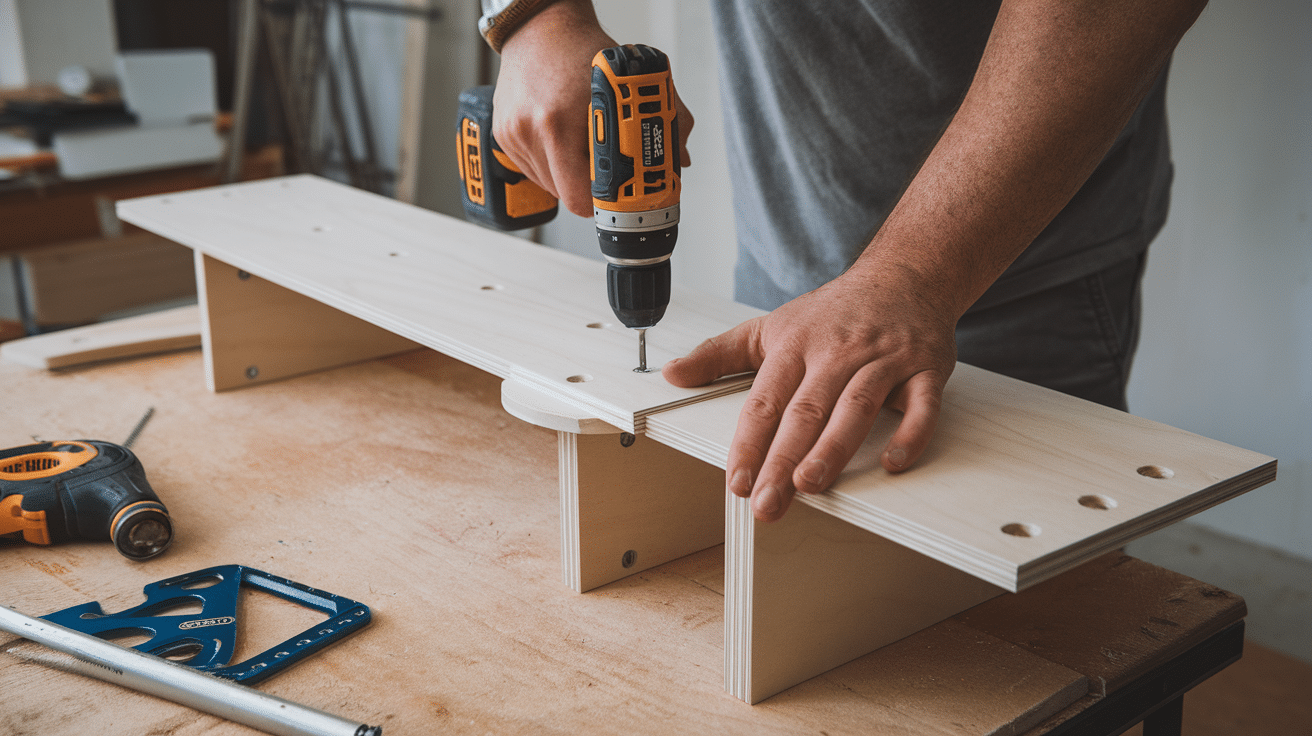
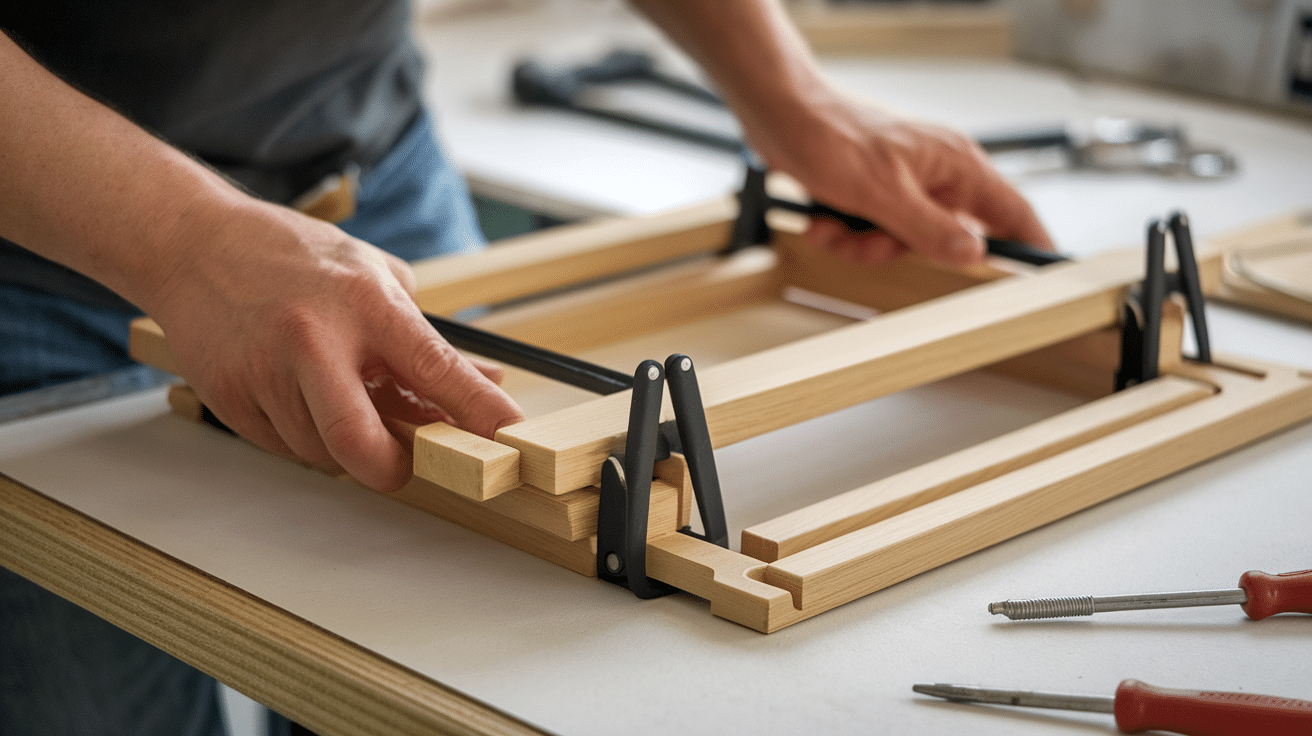
Step 6: Assemble the Structure Upside Down
Flip everything upside down for final assembly, which makes it easier to hide screws and create a cleaner finish. Connect the two bench sides with the table surface pieces, ensuring all moving parts can pivot freely without binding.
This upside-down assembly method allows you to access connection points more easily and helps ensure the finished product sits level when upright. Take your time with this step to ensure everything lines up correctly.
Step 7: Sand and Finish All Surfaces
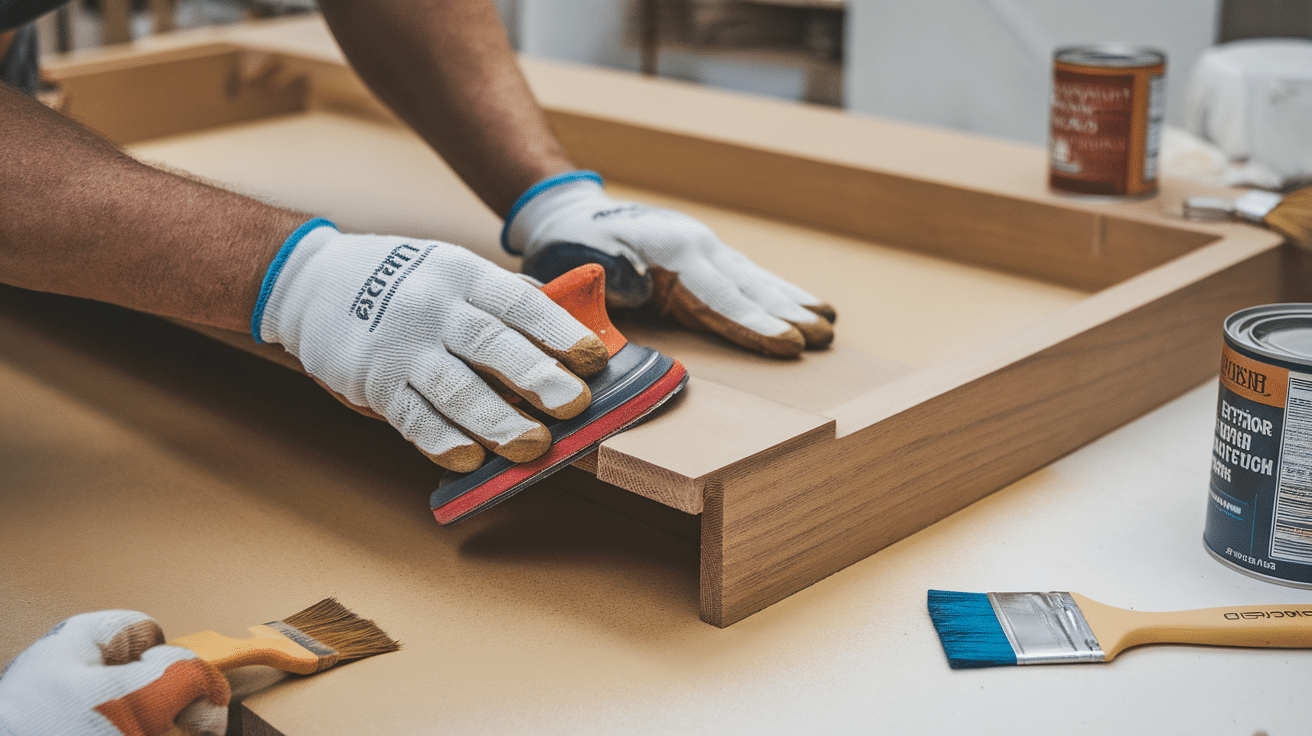
Once the basic structure is assembled, sand all surfaces thoroughly, starting with medium-grit sandpaper and finishing with fine-grit for a smooth result. Pay special attention to edges and corners where people might come into contact with the furniture.
Apply your chosen exterior finish according to the manufacturer’s instructions, covering all surfaces for weather protection. Multiple thin coats typically provide better protection than a single thick coat.
Step 8: Test the Mechanism
After the finish has dried completely, test the transformation mechanism by moving the piece from bench to table position and back again. The movement should be smooth and free of binding or resistance.
If you encounter any issues, check for tight spots or misalignments and make adjustments as needed. Practice the transformation a few times to ensure everything works properly and to familiarize yourself with how the mechanism functions.
Step 9: Position and Enjoy Your New Furniture
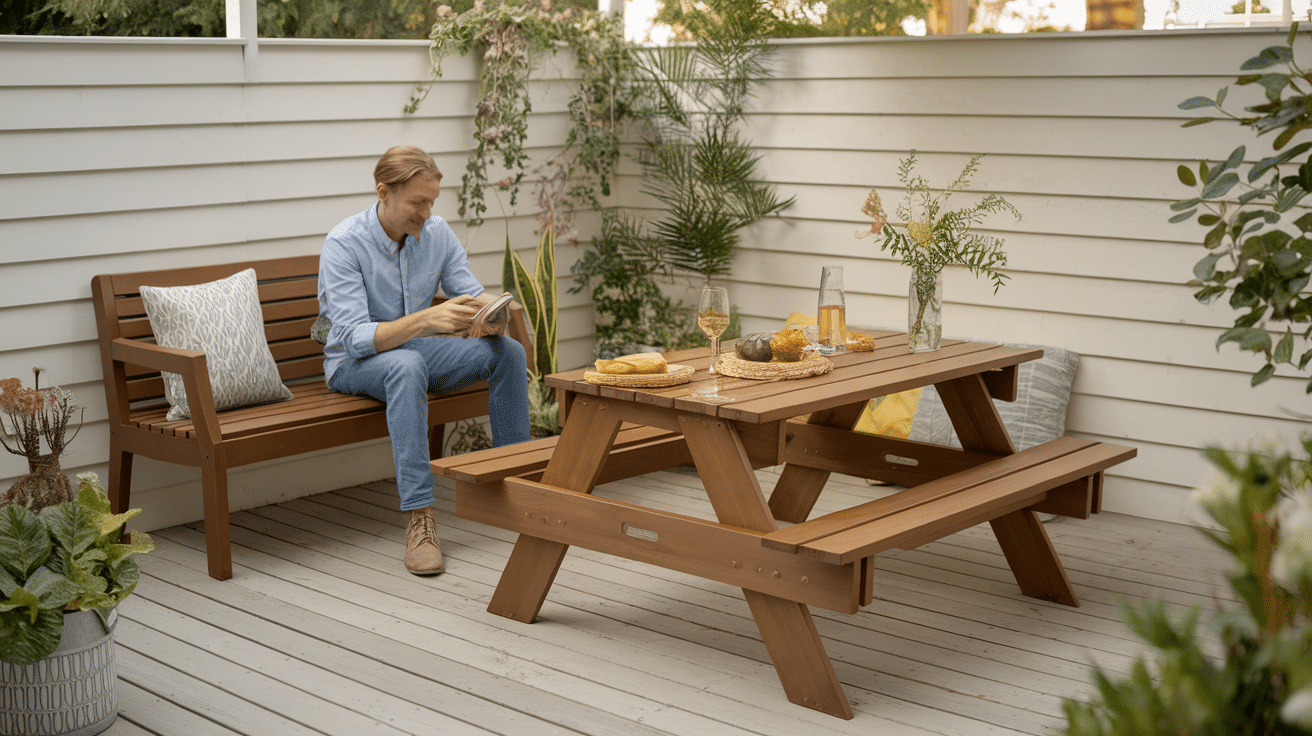
Place your completed bench-to-table in your desired location. The transformation should be quick and easy, requiring just a simple pivot of the table surface. When in bench mode, it provides comfortable seating for two adults.
When converted to picnic table mode, it offers seating and table space for a small gathering. This piece’s versatility makes it perfect for patios, decks, or gardens where space may be limited but functionality is desired.
Video Tutorial
Check out this YouTube video for a detailed step-by-step Tutorial by West Hills Wood.
Maintenance and Care for Convertible Picnic Table
1. Weather Protection
Apply a high-quality exterior wood sealer or outdoor paint annually and whenever the finish looks worn. Pay special attention to end grain and joints where water penetrates easily. Consider using marine-grade finishes for maximum protection. Adding rubber or plastic feet prevents moisture absorption from the ground.
2. Pivot Point Maintenance
Inspect pivot points every few months and apply exterior-grade lubricant to maintain smooth operation. Watch for wear around pivot holes and repair them before problems develop. Avoid over-tightening screws at pivot points. If transformation becomes difficult, check for debris or warping that might cause binding.
3. Cleaning Procedures
Regularly clean with a soft brush to remove debris, followed by washing with a mild soap solution. Avoid harsh chemicals and pressure washing, which can damage wood fibers. Allow the furniture to dry completely after cleaning before applying any finishes. For stubborn stains, use a diluted bleach solution (1:10) after testing in an inconspicuous area.
4. Seasonal Storage
If possible, store furniture in a protected area during extreme weather. If outdoor storage is necessary, use a breathable furniture cover that protects from precipitation while allowing air circulation. Ensure wood is completely dry before covering for extended periods. In cold climates, elevate furniture off the ground during winter to prevent ice damage.
5. Structural Inspections
Check all screw connections quarterly and tighten any loose ones. Inspect for wood splitting, especially around screw holes and pivot points where stress concentrates. Look for warping that might affect the transformation mechanism. Pay attention to ground contact points where rot typically begins. Replace damaged parts promptly to maintain safety.
Common Issues and Solutions for a Convertible Bench-Table
| Issue to Avoid | Consequence | Prevention |
|---|---|---|
| Skipping pre-drilling | Wood splitting around screws | Always pre-drill holes for screws, especially near edges |
| Using indoor lumber | Rapid deterioration when exposed to the elements | Use pressure-treated or naturally rot-resistant wood |
| Improper angle cuts | The transformation mechanism fails to work | Measure twice, cut once, and test fit before final assembly |
| Over-tightening pivot points | Restricted movement or broken parts | Allow sufficient play at pivot points for smooth operation |
| Ignoring annual maintenance | Reduced lifespan and functionality | Set a calendar reminder for yearly inspection and refinishing |
| Forcing the transformation | Broken components or misalignment | Move slowly and identify binding points rather than forcing |
| Uneven ground placement | Wobbling and stress on joints | Ensure level placement or use adjustable feet for stability |
| Exceeding weight capacity | Structural failure or broken components | Limit to recommended weight (typically two adults per side) |
Conclusion
Change your outdoor space with this ingenious bench-to-table design! With minimal materials and basic tools, you’ve created a conversation piece that works twice as hard for you.
This space-saving marvel adapts to your needs in seconds—comfortable seating one moment, functional dining space the next.
Your craftsmanship shines through in every smooth modification while your guests wonder at the clever mechanics.
Beyond its practicality, this project represents outdoor living at its most efficient and enjoyable. Whether hosting backyard gatherings or seeking peaceful moments outdoors, your convertible furniture piece stands ready to serve.
This remarkable weekend project combines the beauty of woodworking with the brilliance of design, proving that great things can be created from simple materials when creativity guides the process.
Frequently Asked Questions
How Do You Fold a Folding Picnic Table?
Lift the tabletop and fold it in half, then collapse the legs for storage.
How High Must Legs Be on A Table?
Table legs should be around 28-30 inches high.
What Is a Good Height for A Picnic Table?
A good height for a picnic table is 28-30 inches for the tabletop.