Most DIY spray paint jobs on metal end up looking streaky, bumpy, or start peeling within months. Sound familiar?
The difference between a professional-looking finish and a messy disaster often comes down to just a few simple prep steps that most people skip. You don’t need expensive equipment or years of experience to get smooth, durable results that rival what you’d pay a pro to do.
You’ll learn which products work best, how to avoid common mistakes, and the timing tricks that make all the difference. From rusty garden furniture to kitchen appliances, these techniques work on any metal project.
Let’s get started with the step-by-step method that turns beginners into confident spray painters.
How to Spray Paint Metal: What to Know Before You Start
Before you pick up that spray can, take a few minutes to plan your project properly.
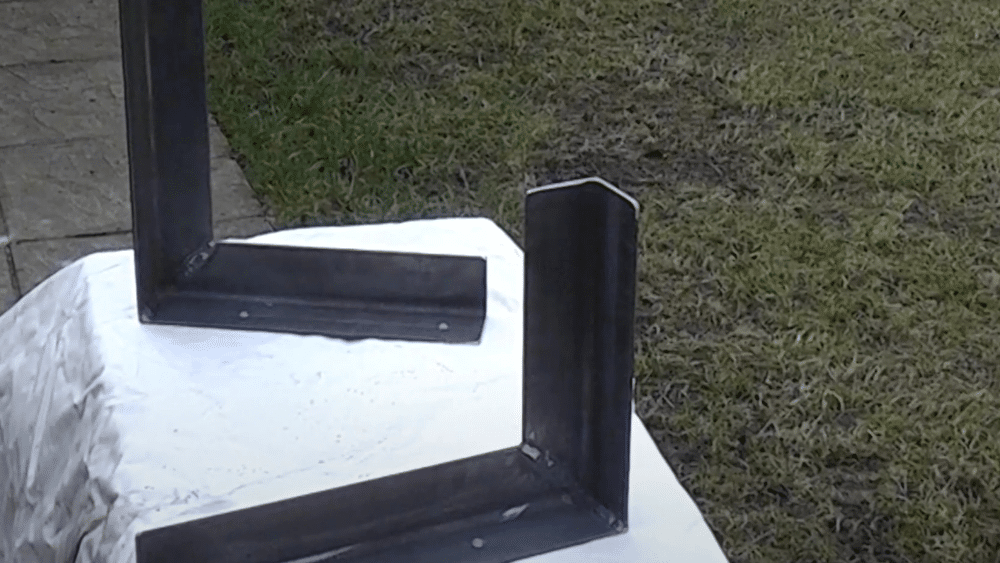
Start by checking your metal surface closely – is it bare metal, already painted, covered in rust, or has a rough texture? This affects the type of primer and paint you’ll need.
Also, consider where this item will be placed: outdoor pieces require tougher coatings than indoor decorations. Your workspace matters as much as your materials.
- Choose a spot with good airflow – garages with open doors work great, or pick a breezy outdoor area away from cars and plants
- Protect everything around you – lay down plastic sheeting or old newspapers, and move anything you don’t want painted
- Check the weather – avoid windy, humid, or very hot days that can ruin your finish
Set your timeline right from the start. Most projects need 2-3 hours of prep work, plus time between coats.
Light-duty items may require touch-ups every 2-3 years, while heavily used pieces may need repainting sooner. Rush the process and you’ll be doing it again much sooner than you planned.
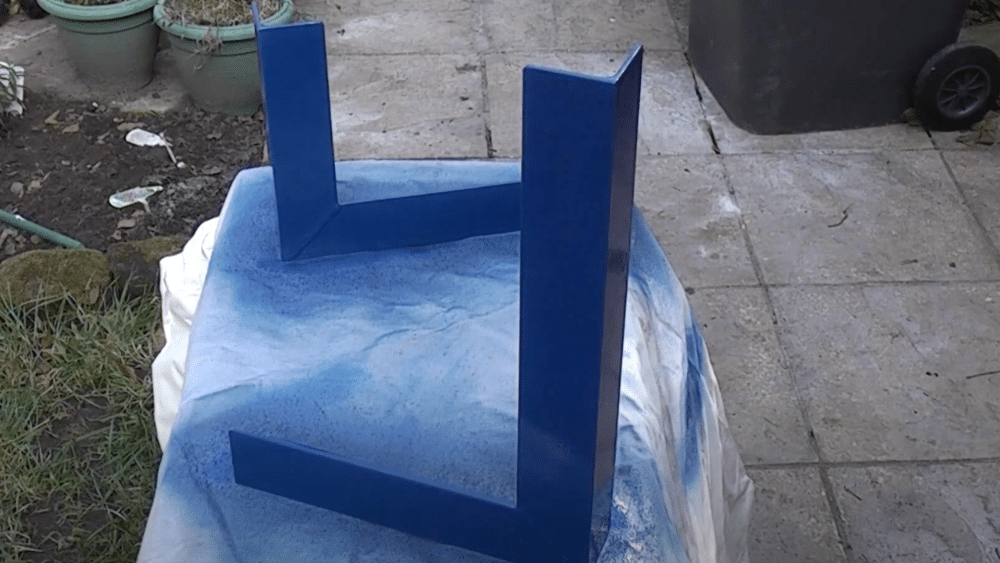
Step-By-Step Guide: Spray Paint Metal
Change dull metal surfaces with ease—follow this quick, step-by-step guide to achieve a smooth, lasting spray paint finish.
Tools & Materials
- Chemical-resistant gloves
- Clean cloth or rag
- Methylated spirits
- Rust-Oleum top coat paint
- Rust-oleum primer
Step 1: Clean the Metal Surface
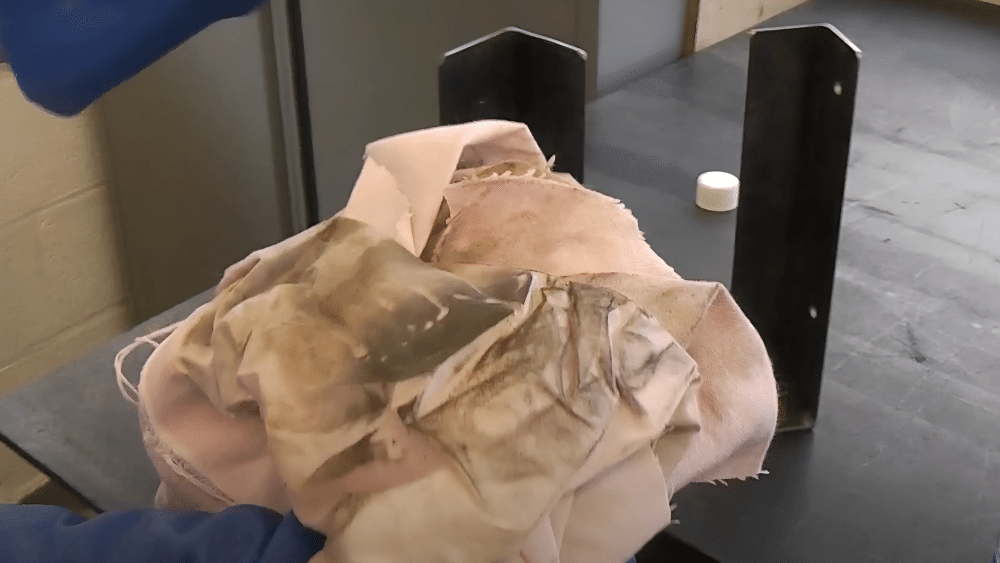
Even brand-new metal needs cleaning before you paint it. Oil, grease, and dirt can stop paint from sticking properly to your surface. Put on chemical gloves and wipe down every part of your metal with methylated spirits and let it dry completely.
- Use a clean rag with methylated spirits to remove all dirt and oils.
- Work in sections to make sure you don’t miss any spots.
- Allow the metal to dry completely before proceeding to the next step.
Note: You’ll be surprised how much dirt comes off even new metal – this step makes a huge difference in paint adhesion.
Step 2: Set up Workspace and Prepare Materials
Move your project outside to avoid breathing harmful fumes and creating a mess indoors. Set up a protected area with drop cloths and give your primer can a vigorous shake for at least one minute. The ball bearing inside needs to mix the paint properly for even coverage.
- Select a calm, well-ventilated outdoor area that is free from other objects.
- Lay down drop cloths to protect surfaces from overspray.
- Shake the primer can for a full minute until you hear the mixing ball moving freely.
Note: Under-mixed paint and poor workspace setup are the top reasons DIY spray jobs fail.
Step 3: Apply Primer Coat
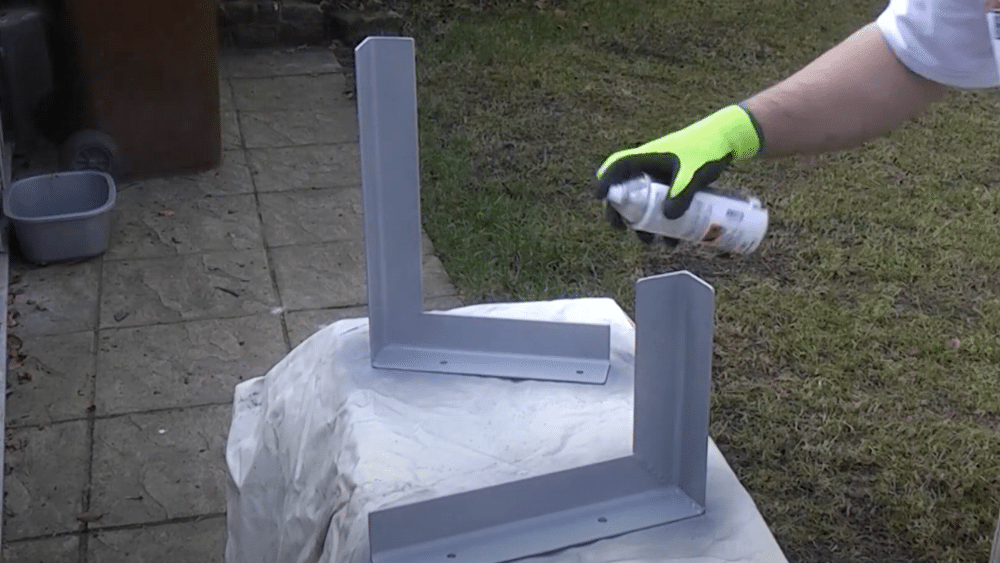
Start spraying with quick, light bursts rather than holding the button down continuously. Keep the can 6-8 inches away and build coverage with multiple thin coats instead of one thick layer. When finished, turn the can upside down and spray until clear gas comes out to clean the nozzle.
- Use short, quick spray bursts rather than continuous spraying.
- Apply several light coats instead of one heavy coat to avoid runs.
- Clean the nozzle by inverting the can and spraying until no paint comes out.
Note: Thick coats create runs and drips that ruin your smooth finish – patience pays off here.
Step 4: Apply Topcoat
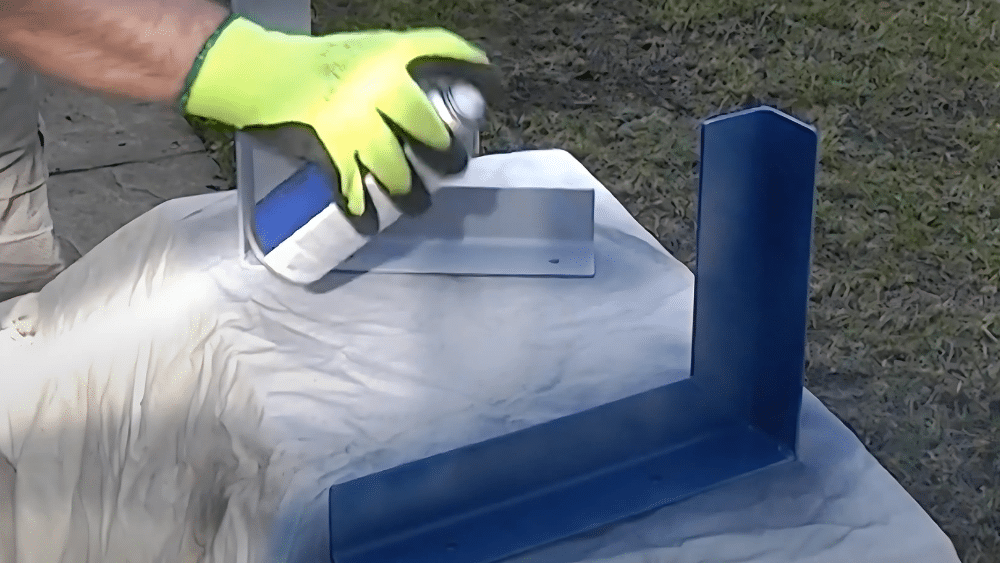
Wait for primer to dry completely, then shake your topcoat paint for two full minutes before use. Apply using the same light, quick spray technique you used for primer. Work systematically across the surface and clean the nozzle when finished by inverting the can and spraying until the liquid is clear.
- Wait for the primer to dry completely before applying the topcoat.
- Shake the topcoat for 2 minutes to ensure proper color mixing.
- Use short, controlled bursts and overlap passes slightly for even coverage.
Note: The topcoat determines your final appearance, so take your time and maintain consistent technique throughout.
Step 5: Final Inspection and Storage
Step back and check your work for any missed spots or imperfections while the paint is still wet enough to fix. Store your paint cans upright in a cool, dry place for future touch-ups. Your metal should now have a smooth, professional finish that will last for years.
- Inspect the entire surface for missed spots or uneven coverage.
- Touch up any problem areas immediately while the paint is still workable.
- Store leftover paint properly for future maintenance and repairs.
Note: A high-quality finish like this should last 3-5 years outdoors with minimal maintenance.
Video Tutorial
For a visual tutorial, refer to this video by Ultimate Handyman
5 Maintenance and Care Tips for Spray Paint Metal
- Clean gently with soap and water – Use mild dish soap mixed with warm water to remove dirt and grime without damaging your paint finish.
- Avoid harsh cleaning products – Skip abrasive cleaners, steel wool, or chemical solvents that can scratch or strip your protective coating.
- Keep leftover paint for quick fixes – Store extra primer and topcoat in a cool, dry place so you can handle small chips or scratches right away.
- Inspect your finish twice a year – Check for rust spots, peeling, or wear areas during spring and fall to catch problems before they spread.
- Plan for recoating every 3-5 years – Outdoor metal needs a fresh topcoat every few years, while indoor pieces can last much longer with proper care.
Common Mistakes to Avoid for Spray Painting Metal
1. Skipping surface preparation – Many people think that new metal doesn’t need cleaning, but even fresh steel has oil residue from the manufacturing process. Dirty or greasy metal prevents paint from bonding correctly, leading to peeling, flaking, and rust breakthrough within just a few months of application.
2. Not shaking paint cans long enough – Most people give the can a few quick shakes and think it’s ready. Under-mixed paint separates into different components, resulting in streaky coverage, color variations, and uneven gloss levels that make your project appear amateurish and unprofessional.
3. Applying thick coats that create drips – It’s tempting to try covering everything in one heavy pass, but thick spray application causes paint to run down vertical surfaces. These drips and sags are nearly impossible to fix once they start setting, leaving permanent marks in your finish.
4. Rushing between coats without proper drying time – Impatience costs you quality when wet primer gets covered with topcoat too soon. This traps solvents underneath, causing bubbling, poor adhesion, and eventual finish failure that requires a complete redo of the project.
5. Painting in bad weather conditions – High humidity prevents proper curing, cold temperatures make the paint thick and hard to spray evenly, and wind blows overspray everywhere, creating dust problems. Bad weather conditions ruin spray patterns and prevent the chemical curing process that creates a durable finish.
Conclusion
Achieving a smooth, lasting finish when spraying paint on metal hinges on preparation, patience, and proper technique. Skip the cleaning step or rush between coats, and you’ll be repainting much sooner than expected.
But follow these proven methods, and your metal projects will look professional and stay protected for years.
The difference between DIY success and frustration lies in knowing these simple steps that professionals use every day. You don’t need expensive equipment or special skills – just the right materials and willingness to take your time.
Ready to start your next metal painting project? Please share your results in the comments below or let us know which tips were most helpful to you. Your experience could help other DIY enthusiasts avoid common mistakes and achieve better results.
Check out more DIY projects to spark your creativity.